A blinking battery light on your Shark robot vacuum is a universal signal that something’s wrong with the charging system or the battery itself. It’s not just a random glitch; it’s your vacuum’s way of communicating specific problems, from a poor connection on the charging dock to a battery that has reached the end of its life. This guide breaks down every blinking pattern, provides step-by-step diagnostic and fix procedures, and helps you determine when a simple reset will work and when a battery replacement is necessary. By understanding these signals, you can troubleshoot effectively, save money on unnecessary service calls, and extend the life of your cleaning robot.
Key Takeaways
- The blinking pattern matters: A slow blink, fast blink, or alternating color (like red/green) each indicates a different issue, from alignment problems to a dead battery.
- Start with the simplest fix: Always begin by cleaning the charging contacts on both the vacuum and the dock with a dry, lint-free cloth to remove dust and debris.
- Resets are powerful first-aid: Performing a soft reset (power cycle) or a factory reset can clear temporary software glitches that cause false battery error signals.
- Battery health is finite: Shark robot batteries typically last 1-3 years. A battery that won’t hold a charge or blinks rapidly after cleaning is likely at the end of its lifecycle.
- Dock placement is critical: The charging dock must be against a wall, on a level surface, with at least 1.5 feet of clear space on either side and nothing in front of it.
- Software updates can help: Outdated robot firmware can sometimes cause communication errors with the battery management system. Check the Shark app for available updates.
- Know when to seek help: If you’ve thoroughly cleaned contacts, reset the unit, and ensured proper dock placement with no success, the issue may be a faulty charging circuit or battery requiring professional service.
📑 Table of Contents
- Decoding the Language of Lights: What That Blinking Battery Indicator Really Means
- The Usual Suspects: Top 5 Reasons Your Shark Battery Light Blinks
- Troubleshooting Roadmap: A Step-by-Step Guide to Fixing the Blink
- Understanding the Blink Patterns: A Model-Agnostic Guide
- When Cleaning and Resetting Fail: Battery Replacement and Advanced Issues
- Preventive Maintenance: Keeping Your Robot’s Heart Healthy
- Conclusion: From Blinking to Brilliant Cleaning
Decoding the Language of Lights: What That Blinking Battery Indicator Really Means
You’ve just sent your trusty Shark robot vacuum out for a cleaning cycle, only to find it stranded in the middle of the floor with its battery light blinking insistently. That little LED isn’t just being moody; it’s speaking a precise diagnostic language. Before you panic or call for service, learning this language is your first and most powerful tool. Shark uses different blinking patterns and colors to pinpoint exactly where the breakdown in the charging or power system has occurred. A slow, steady blink is a different cry for help than a frantic, rapid pulse. Interpreting these signals correctly transforms a frustrating mystery into a straightforward to-do list, saving you time, money, and the annoyance of a home that isn’t getting cleaned.
This guide will serve as your complete translator and repair manual. We’ll move from the most common, easily-fixed culprits—like dusty contacts and dock misalignment—to more complex internal issues. You’ll learn not just *how* to fix each problem, but *why* it happens, empowering you to prevent future occurrences. Whether you own a Shark ION, Shark AI Ultra, or another model in the lineup, the fundamental principles of battery and charging diagnostics remain largely the same. Let’s turn that blinking light from a source of stress into a clear path forward.
The Usual Suspects: Top 5 Reasons Your Shark Battery Light Blinks
While the exact blink pattern refines the diagnosis, over 80% of all “blinking battery light” complaints stem from a handful of common, addressable issues. Think of these as the foundational checks every owner should perform. These problems are almost always external and require no special tools, just a bit of attention and cleaning.
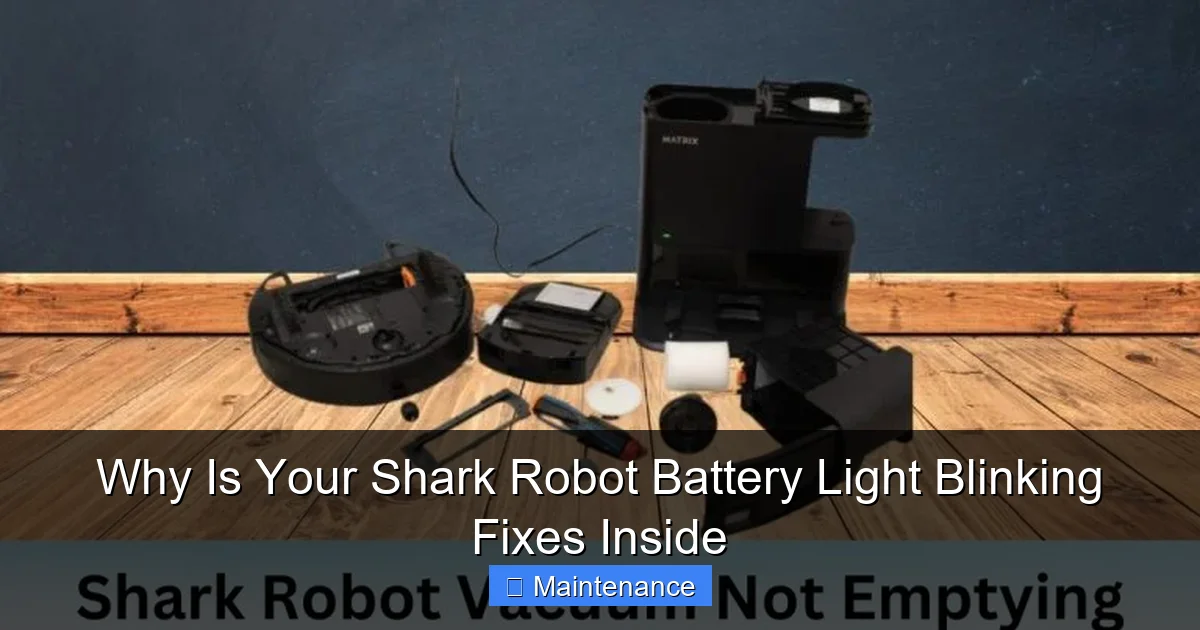
Visual guide about Why Is Your Shark Robot Battery Light Blinking Fixes Inside
Image source: sharkvacuum.blog
1. Dirty Charging Contacts: The #1 Offender
This is, by far, the most frequent cause. The small metal pins on the underside of your Shark robot and the corresponding metal strips on the charging dock must make a perfect, clean connection. Over time, a film of dust, pet hair, carpet fibers, and even a slight oxidation can coat these contacts. This creates an insulating layer that prevents the electrical current from flowing for charging. The robot senses it’s not receiving power and signals the error with a blinking light. It’s a simple problem with a simple solution: meticulous cleaning.
2. Dock Misalignment or Obstruction
Your robot’s “home base” is a precision docking station. If it’s even slightly off-kilter, if the wall behind it is uneven, or if something (a toy, a rug edge, a baseboard) is bumping into the robot as it tries to dock, the connection will fail. The robot might nudge into the dock but not seat correctly, leaving the contacts misaligned. Additionally, the dock requires clear space—Shark recommends at least 1.5 feet on the sides and in front—for the robot to approach and dock without interference. A cluttered or cramped dock area is a recipe for docking failure and a blinking battery light.
3>A Depleted or Aging Battery
All lithium-ion batteries have a finite number of charge cycles (typically 300-500 full cycles) and a lifespan of about 2-3 years. As the battery ages, its ability to hold a charge diminishes. Eventually, it may not hold enough charge to power the robot’s return-to-dock sequence or it may drop to a critically low voltage quickly, triggering the battery warning light. If your robot is a few years old and the blinking persists after cleaning the contacts, the battery itself is the prime suspect.
4. Software Glitches or Firmware Issues
Your Shark robot is a small computer on wheels. Like any computer, its software can experience temporary bugs or freezes that disrupt communication between the battery management system and the main processor. This can cause it to misinterpret a healthy battery as faulty. A simple power cycle or a full factory reset can often clear these transient software errors. Additionally, outdated firmware can have known bugs; keeping the robot’s software current via the Shark app is a key part of maintenance.
5. Faulty Charging Components
Less common, but possible, is a failure within the charging system itself. This could be a broken spring or contact point inside the robot’s charging port, a damaged power adapter or cable for the dock, or an internal fault in the dock’s charging circuitry. If you’ve exhausted all other troubleshooting steps, a failure in one of these components is the likely culprit, often requiring a part replacement.
Troubleshooting Roadmap: A Step-by-Step Guide to Fixing the Blink
Now that we know what we’re looking for, let’s follow a logical, methodical path to diagnosis and repair. Always proceed in order from the simplest, most non-invasive step to the more complex. This prevents unnecessary part replacements and ensures you don’t miss an easy fix.
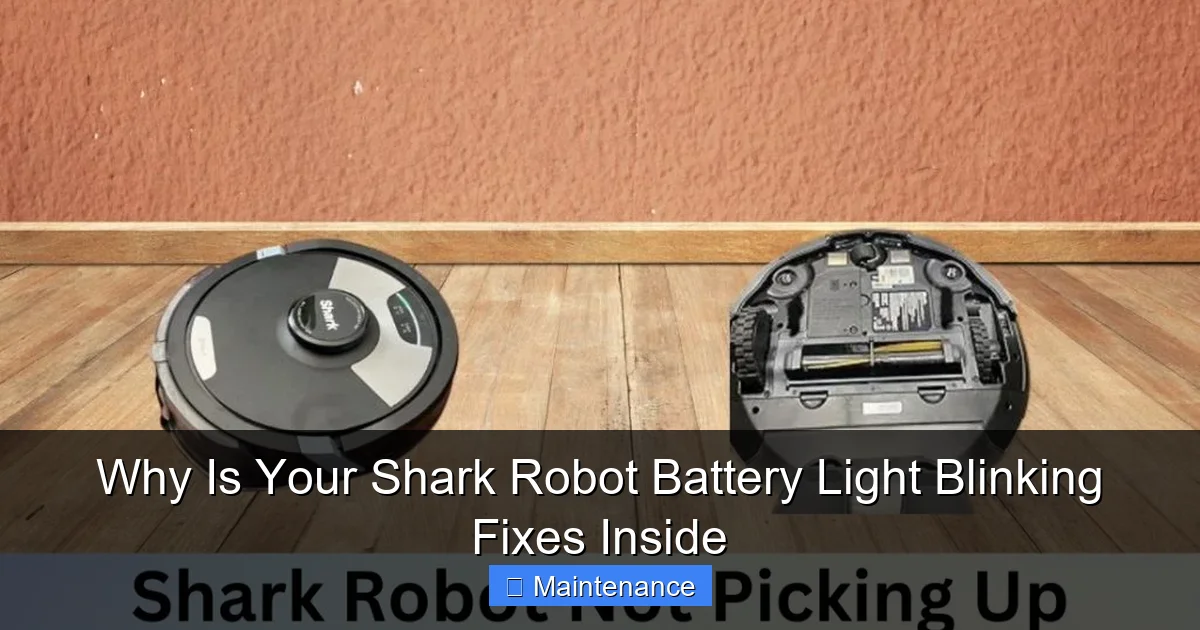
Visual guide about Why Is Your Shark Robot Battery Light Blinking Fixes Inside
Image source: sharkvacuum.blog
Step 1: The Essential Contact Clean
Grab a dry, lint-free microfiber cloth. For stubborn grime, slightly dampen the cloth with isopropyl alcohol (90% or less), wring it out thoroughly so it’s barely damp, and never spray liquid directly onto the robot or dock. With the robot powered OFF and unplugged from the dock, meticulously wipe the two small metal charging pins on the bottom of the robot. Then, wipe the two long metal charging strips inside the dock’s slot. Do this for both the robot and the dock. Let all surfaces air dry completely for 5-10 minutes. This single step resolves a huge percentage of blinking light issues.
Step 2: Perfect Your Dock Setup
Physically inspect your charging dock’s environment. Is it sitting flush and level on the floor? Is the wall behind it smooth and straight? Move any objects within a 1.5-foot radius of the dock’s front and sides. Check that the dock’s power adapter is firmly plugged into both the wall outlet and the back of the dock. Ensure the adapter and cable show no signs of damage. For a definitive test, temporarily move the entire dock to a different, clear location in your home (like a hard floor in the middle of a room) to rule out issues with the original spot’s wall or floor.
Step 3: Perform a Full System Reset
First, do a soft reset. Power off the robot using the onboard button. Unplug the dock from the wall. Wait 60 seconds. Plug the dock back in. Place the robot on the dock, ensuring it seats properly. Power the robot on. See if the light behaves normally (a solid light usually indicates charging).
If that fails, perform a factory reset. The method varies slightly by model, but generally involves pressing and holding a combination of buttons (often the “Clean” button and a dock button) for 10-15 seconds until you hear a tone or see lights flash. Consult your specific Shark model’s manual for the exact procedure. This clears any stored maps and network settings, so you’ll need to set up Wi-Fi and run a new mapping run afterward.
Step 4: Test the Battery Independently
This is a crucial diagnostic. Remove the robot from the dock. Manually power it on using the button on top. Let it run on a hard floor until it dies completely. Note how long it runs—a significant drop from its original runtime (e.g., from 90 minutes to 30) is a clear sign of battery degradation. Once it dies, immediately place it on the dock and watch the light. If it now shows a solid charging light after a dead battery, the battery is *receiving* charge but may not *hold* it well. If it still blinks, the problem is likely in the docking connection or the dock itself, not necessarily the battery’s health.
Step 5: Inspect for Physical Damage and Update Software
Carefully examine the robot’s underside and the dock for any visible damage, bent pins, or debris jamming the mechanisms. Check the battery compartment (if accessible on your model) for any bulging, leakage, or corrosion. Next, open the Shark app on your phone. Navigate to your robot’s settings and check for any available firmware updates. Install any updates, as they often contain bug fixes for battery and docking logic. Restart the robot after the update completes.
Understanding the Blink Patterns: A Model-Agnostic Guide
While colors can vary (red, orange, white), the *pattern* of the blink is the universal code. Here’s what the most common patterns typically mean across Shark’s robot lineup. Remember, your model’s manual is the final authority.
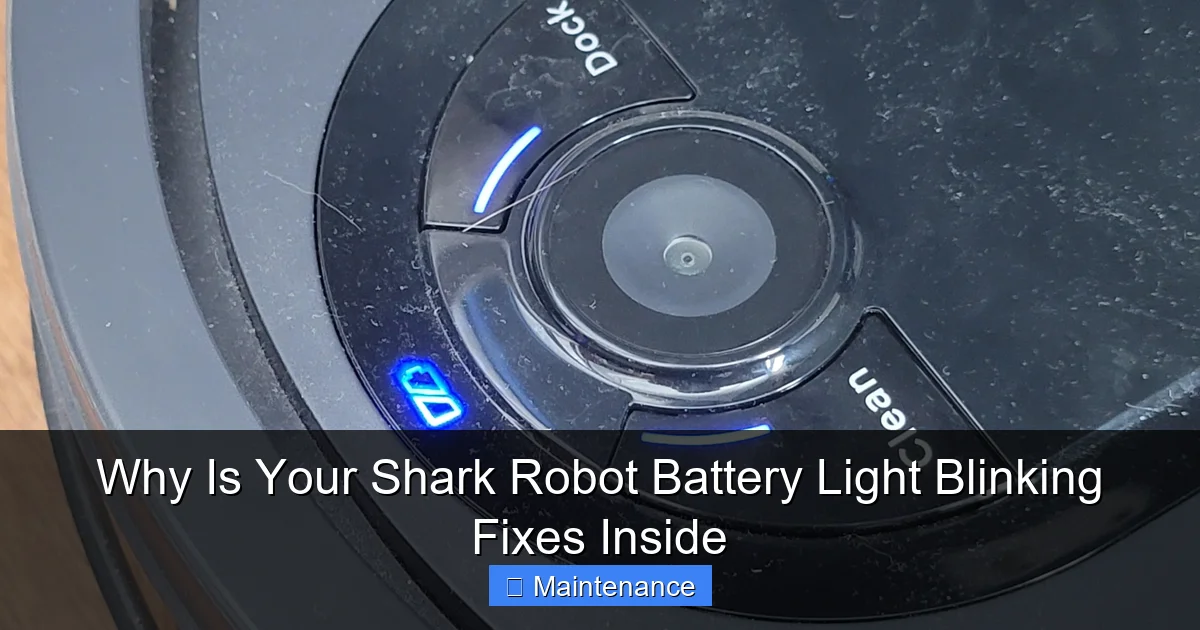
Visual guide about Why Is Your Shark Robot Battery Light Blinking Fixes Inside
Image source: i.redd.it
- Slow, Pulsing Blink (1-2 seconds on/off): This is usually the “I’m trying to dock but can’t connect” signal. It points directly to Step 1 and 2 above: dirty contacts or dock misalignment.
- Rapid, Repeated Blink (faster than 1 per second): This is often a critical battery fault. It means the battery voltage is too low to even initiate charging, the battery is severely degraded, or there’s an internal communication failure with the battery management system. This is where the full discharge test in Step 4 is critical.
- Alternating Colors (e.g., Red then Green): This frequently indicates a communication error between the robot and the dock. It could be a software glitch (reset needed) or a physical obstruction preventing a clean electrical handshake.
- Solid Light that then Blinks: If the light goes solid for a moment upon docking (indicating initial connection) and then starts blinking, it often means the dock is supplying power, but the battery is rejecting the charge or is full but reporting incorrectly. This can be a sign of an aging battery.
When Cleaning and Resetting Fail: Battery Replacement and Advanced Issues
If you’ve completed the entire troubleshooting roadmap and the blinking persists—especially a rapid blink on a fully seated dock after a complete discharge—the battery itself is the most likely component that has failed. Replacing the battery is a common and cost-effective repair that can give your robot another 2-3 years of life.
How to Source and Replace Your Shark Robot Battery
Always purchase a genuine Shark replacement battery (part number typically found on a label under the robot or in the manual) or a high-quality, reputable third-party battery with good reviews. Using a cheap, no-name battery can be a fire risk and often performs poorly. The replacement process is usually straightforward: turn the robot over, remove the battery compartment cover (often held by screws), disconnect the old battery’s plug, and connect the new one. Reassemble. The robot will likely need a full charge cycle (8-12 hours) before first use after replacement.
Diagnosing a Faulty Charging Dock or Adapter
If a new battery doesn’t solve the problem, the fault lies elsewhere. To test the dock, you would ideally use a multimeter to check for voltage output from the dock’s contacts, but this is advanced. A simpler test: if you have a friend with the same Shark model, try your robot on their dock and their robot on your dock. If your robot works on their dock but theirs doesn’t on yours, your dock is faulty. If neither works on your dock, the dock is the problem. Faulty docks or power adapters are less common than battery issues but do happen, especially after power surges or physical damage to the cable.
Preventive Maintenance: Keeping Your Robot’s Heart Healthy
The best fix is the one you never need. Proactive maintenance dramatically reduces the chances of encountering a blinking battery light.
- Clean Contacts Weekly: Make wiping the robot’s and dock’s metal contacts part of your regular cleaning routine, just like emptying the bin.
- Optimize Dock Location: Place the dock on a hard, level floor against a smooth wall, with clear approach and departure paths. Avoid carpets or rugs under the dock.
- Follow Charging Best Practices: Try not to constantly interrupt charging cycles. Let the robot charge fully. If you won’t use it for a while, store it with a ~50% charge in a cool, dry place.
- Keep Software Updated: Enable automatic updates in the Shark app whenever possible.
- Run Cleaning Cycles Regularly: Letting the robot sit idle for very long periods (months) can be harmful to lithium-ion batteries. Use it at least once a week if possible.
Conclusion: From Blinking to Brilliant Cleaning
That blinking battery light is not a verdict; it’s an invitation to diagnose. By approaching the problem systematically—starting with the external, easy fixes of cleaning and alignment, moving to software resets, and finally considering internal hardware like the battery or dock—you reclaim control over your robot vacuum’s health. Most of the time, the solution is a five-minute cleaning job. When it isn’t, you now have the knowledge to make an informed decision about a battery replacement or professional service. Remember, your Shark robot is a significant investment in a cleaner home. Treating its power system with this level of informed care ensures it repays that investment with years of reliable, hands-free cleaning. Don’t let a blinking light be the end of the story; let it be the beginning of a successful DIY fix.
Frequently Asked Questions
What does a rapidly blinking red light on my Shark robot mean?
A rapidly blinking red light is typically a critical battery fault. It means the battery voltage is critically low, the battery is at the end of its life and can’t hold a charge, or there’s a severe communication error with the battery management system. Perform a full discharge test and consider battery replacement if the unit is over 2 years old.
How do I factory reset my Shark robot vacuum?
The exact method varies by model. Generally, locate the “Clean” button on the robot. With the robot powered ON, press and hold the “Clean” button (and sometimes a secondary button like the dock button) for 10-15 seconds until you hear a tone or see the lights flash in a specific pattern. Always consult your user manual for the precise instructions for your specific Shark model number.
Can I use any charger for my Shark robot’s docking station?
No. You should only ever use the original Shark power adapter and cable that came with your specific model. Using a third-party or incorrect voltage/amperage charger can damage the robot’s internal charging circuitry, create a fire hazard, and will likely cause persistent blinking light errors. If your adapter is lost or damaged, order a genuine replacement from Shark.
How long should a Shark robot battery last before needing replacement?
On average, a Shark robot vacuum battery lasts between 1.5 and 3 years, depending on usage frequency and charging habits. If you notice a significant drop in runtime (e.g., from 90 minutes to under 45) or the battery light begins blinking after a short run, it’s likely time for a replacement. Regularly fully depleting and recharging the battery can shorten its lifespan.
My robot docks but the light still blinks. What gives?
If the robot physically docks but the light blinks instead of showing a solid charging indicator, the issue is almost certainly with the electrical connection. Re-clean the metal contacts on both the robot and the dock extremely thoroughly with a dry cloth. Ensure the robot is seated perfectly level in the dock. If the problem persists after cleaning, the battery may be so degraded it cannot accept a charge, even with a good connection.
The battery light blinks, but the robot still runs. Is it safe to use?
It is not recommended. A blinking battery light indicates an underlying problem. The robot may shut down unexpectedly mid-clean, leaving your floor half-done. More critically, a faulty battery can overheat, swell, or in rare cases, pose a safety risk. Stop using the robot, complete the full troubleshooting steps in this guide, and resolve the issue before resuming regular operation.