A Shark vacuum cleaner that won’t charge is a frustrating but often solvable problem. Most charging issues stem from simple, overlooked problems like dirty charging contacts, a faulty charger, or a tripped battery safety switch. By systematically checking the power source, charger, vacuum’s charging port, and internal battery, you can diagnose and fix the issue yourself in minutes, saving you time and potential service costs.
You go to grab your trusty Shark vacuum for a quick clean-up, press the power button, and… nothing. The battery light is off, or maybe it’s blinking a sad, error-coded pattern. That familiar, sinking feeling hits: your vacuum isn’t charging. Before you panic and start shopping for a new one, take a deep breath. The vast majority of “Shark vacuum not charging” issues are not terminal. They are usually caused by a simple glitch, a bit of grime, or a component that’s easy to check and often easy to fix yourself. This guide will walk you through every possible cause, from the dead-simple to the more complex, so you can get your Shark back in action.
Think of your Shark vacuum’s charging system like a simple chain: the wall outlet, the charger adapter, the charging port on the vacuum, the internal battery, and the safety circuits that monitor it all. If any single link in that chain is weak, broken, or dirty, the power won’t flow. We’re going to check that chain link by link. Our goal is to help you diagnose the problem with minimal tools—usually just a clean, dry cloth and maybe a paperclip. Let’s get started.
Key Takeaways
- Start with the basics: Always verify the outlet, charger connection, and LED indicator lights first before disassembling anything.
- Cleanliness is critical: Dust and debris blocking the metal charging pins on both the vacuum and wall charger is a top cause of charging failure.
- The reset button is your friend: Most Shark models have a hidden reset button (often on the battery or near the motor) that revives a battery in a low-voltage lockout state.
- Charger fault is common: The wall charger itself, particularly the cable where it bends, is a frequent failure point. Test with a known-good charger if possible.
- Batteries wear out: After 2-3 years of regular use, the lithium-ion battery’s capacity degrades significantly and will need replacement.
- Check for safety interlocks: Ensure the dust cup is fully seated and all filters are clean and properly installed; some models won’t charge if these are out of place.
- Warranty first: If your Shark is under warranty, contact Shark customer support before attempting complex repairs to avoid voiding coverage.
📑 Table of Contents
- 1. The Obvious First Checks: Power and Connections
- 2. The Charging Port and Contacts: A Dirty Secret
- 3. The Battery Itself: Age, Health, and Safety
- 4. The Reset Procedure: Waking Up a Sleeping Battery
- 5. Internal Safety Interlocks and Filter Issues
- 6. When to Suspect a Faulty Charger or Seek Professional Help
- Conclusion: A Methodical Approach Saves the Day
1. The Obvious First Checks: Power and Connections
It’s easy to skip the absolute fundamentals when frustrated, but they solve a surprising number of problems. Let’s eliminate the simplest issues first.
Is the Outlet Actually Working?
This is step zero. Plug something else you know works—a lamp, your phone charger—into the same wall outlet. If it doesn’t work, check your home’s circuit breaker or fuse box. A tripped breaker is a common culprit, especially if the outlet is in a garage or kitchen on a shared circuit. Also, if you’re using a power strip or surge protector, plug the charger directly into the wall. These can fail or have their own safety switches that trip.
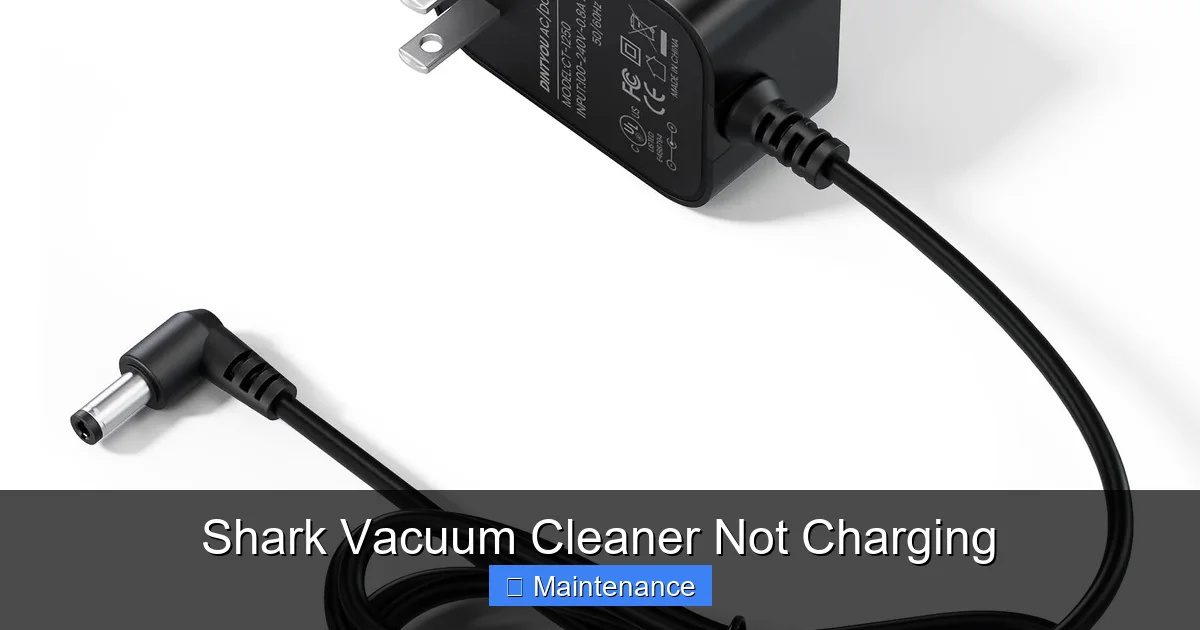
Inspect the Charger and Cable
Examine your Shark charger from plug to tip. Look for any visible damage: frayed cables, bent prongs on the wall plug, or a cracked adapter box. The most common failure point is where the cable meets the plug or the small barrel jack that goes into the vacuum. Gently flex the cable in these areas while the charger is plugged into the wall (but not connected to the vacuum). Does the little LED light on the charger (if it has one) flicker? If it does, the internal wires are likely broken. This is a sign you need a replacement charger. Important: Only use a genuine Shark replacement charger or one that is certified to match the exact voltage and amperage specifications. Using an incorrect charger can destroy your battery and is a fire risk.
Secure the Connection at the Vacuum
Make sure the charger’s barrel plug is fully and firmly inserted into the charging port on your Shark. These ports can be a bit stiff, especially on newer models. You should hear/feel a definite click. A loose connection will prevent charging. Also, check the port on the vacuum itself. Is there any debris—hair, carpet fibers, dust bunnies—packed into it? Use a dry cotton swab or a can of compressed air to gently clean it out. Do not use liquids or metal objects that could scratch the contacts.
2. The Charging Port and Contacts: A Dirty Secret
If the power and charger seem fine, the next most common issue is contamination at the point of contact. Both the charger plug and the socket on your Shark have metal contacts that must touch perfectly to transfer electricity.
Visual guide about Shark Vacuum Cleaner Not Charging
Image source: i.ytimg.com
Cleaning the Metal Pins
Over time, a film of dust, dirt, and oxidation can coat these tiny metal pins, creating an insulating layer. Use a clean, dry microfiber cloth to wipe down the charger’s barrel plug. Then, look inside your Shark’s charging port. You’ll see two small, spring-loaded metal pins. Gently clean these with a dry cotton swab. For stubborn grime, you can dampen the swab *slightly* with 99% isopropyl alcohol, let it dry completely (this happens in seconds), and then try charging again. Never use water, household cleaners, or anything conductive.
Checking for Physical Damage
While you’re looking at the charging port, check for any signs of damage. Are the metal pins bent or pushed in? Has the plastic around the port cracked? Physical damage often requires a professional repair or a replacement part. If the vacuum has been dropped or knocked over, this is a likely scenario.
3. The Battery Itself: Age, Health, and Safety
Shark vacuums use lithium-ion batteries, which are fantastic but not invincible. They degrade over time and have built-in safety features that can shut them down.
Visual guide about Shark Vacuum Cleaner Not Charging
Image source: sharkvacuum.blog
Battery Lifespan and Degradation
A typical Shark lithium-ion battery is designed for about 2-3 years of regular use (or 300-500 charge cycles). As it ages, its ability to hold a charge diminishes. If your vacuum is a few years old and suddenly won’t take a charge, the battery may simply be at the end of its life. The cells wear out and can no longer provide the voltage the charger expects. The solution is a battery replacement. Shark sells official replacement batteries for most models, and third-party options exist (though quality varies). Replacing the battery is often a simple DIY job involving removing a few screws and disconnecting a plug.
The Low-Voltage Lockout (Safety Deep Sleep)
This is a critical, often overlooked feature. If a lithium-ion battery is completely drained (0% charge) and then left unused for a long period, its voltage can drop below a critical safety threshold. The battery’s internal protection circuit then goes into a permanent “lockout” to prevent a dangerous deep discharge. In this state, the vacuum’s lights may not come on at all, making it seem dead. The fix is often a reset procedure (see next section). The battery itself may still be good; it just needs a “jump start” from the charger after a reset.
4. The Reset Procedure: Waking Up a Sleeping Battery
Almost every Shark cordless vacuum has a reset mechanism. This is the first thing to try if the vacuum shows no signs of life at all (no lights, no sounds) after you’ve confirmed the outlet and charger are working.
Visual guide about Shark Vacuum Cleaner Not Charging
Image source: m.media-amazon.com
Locating the Reset Button
The reset button is usually a small, recessed hole labeled “RESET” or marked with a circular arrow symbol. Common locations include:
- On the battery pack itself (you may need to remove the battery).
- On the main body of the vacuum, near the motor or handle base.
- Under the dust cup compartment.
Consult your user manual for the exact location on your specific model number (e.g., IZ320, AZ9102, HV322). If you don’t have the manual, a quick online search for “[Your Shark Model] reset button” will usually yield a photo or video.
Performing the Reset
Use a straightened paperclip or a SIM ejector tool. Gently but firmly press and hold the reset button for 10-15 seconds. You may hear a faint click or see the lights flicker. Release the button. Now, immediately plug the vacuum into its charger and leave it for at least 2-3 hours, even if no light comes on. This long charge cycle can sometimes revive a battery from a deep sleep state. If it works, you’ll eventually see the charging indicator light activate.
5. Internal Safety Interlocks and Filter Issues
Shark designs its vacuums with multiple safety interlocks. These are switches that prevent the motor from running (and sometimes charging) if a component isn’t seated correctly. This protects the machine from damage due to lack of airflow.
The Dust Cup and Pre-Motor Filter
The most common interlock involves the dust cup assembly. If the dust cup is not clicked fully into place, a small switch near its latch may not engage. The vacuum’s logic board thinks the cup is missing and will not power on or charge. Remove the dust cup, check for any debris jamming the latch mechanism, and reinstall it with a firm push until you hear it click securely.
Exhaust and Pre-Motor Filters
A severely clogged filter can also trigger safety locks. If air can’t flow through the vacuum, the motor can overheat. Check both the foam pre-motor filter (usually under the dust cup) and the exhaust filter (on the back or bottom). If they are dark gray and caked with dirt, wash them with mild soap and water (let them dry completely for 24 hours before use). A clogged filter set can sometimes prevent charging or power-on as a protective measure.
6. When to Suspect a Faulty Charger or Seek Professional Help
If you’ve meticulously worked through all the steps above—verified outlet power, inspected/cleaned connections, performed the reset, ensured all interlocks are engaged—and your Shark still won’t charge, the fault likely lies with a component that needs replacement.
Diagnosing a Bad Charger
The easiest way to test a charger is to use it on another, identical Shark vacuum that you know is working. If it charges the other vacuum, your charger is fine, and the problem is inside your original vacuum (likely the battery or internal circuitry). If it doesn’t charge the known-good vacuum, your charger is dead. You can sometimes find the part number on the label on the charger’s brick. Search for that part number online to find a replacement.
Internal Circuit Board or Charging Port Failure
Less commonly, the charging circuit on the vacuum’s main PCB (printed circuit board) can fail, or the soldered connections to the charging port can crack. Diagnosing this requires a multimeter and electronics skill. If you’re not comfortable with this, it’s time to call in the pros. Also, if your vacuum experienced a fall or impact, internal damage is more likely.
Contacting Shark Support and Warranty
Before giving up or paying for a repair, check your warranty status. Shark typically offers a 5-year limited warranty on their vacuums (terms vary by model and region). If your vacuum is within that period, contact Shark Customer Care. They may troubleshoot with you, send a replacement part (like a battery or charger) for free, or offer a repair/replacement option. Have your model and serial number ready. Do not attempt to open the main body of the vacuum beyond the battery and dust cup compartments if it is under warranty, as this will almost certainly void it.
Conclusion: A Methodical Approach Saves the Day
A Shark vacuum not charging is a nuisance, but it’s rarely a lost cause. The key is a calm, methodical diagnosis. Start with the power source and charger—the external links in the chain. Then, clean the contact points, which are dirty more often than you’d think. Always perform the reset procedure; it’s a free and easy fix for a common battery lockout. Ensure all safety interlocks (dust cup, filters) are satisfied. By following this progression, you’ll solve the problem yourself 90% of the time. For the remaining issues, a new battery or charger is often the answer, both of which are available and user-installable. Remember, your Shark is built to last, and with a little maintenance, you can keep it cleaning powerfully for years to come. Don’t let a charging hiccup send a perfectly good vacuum to the landfill.
Frequently Asked Questions
How long does it take for a Shark vacuum to fully charge?
Most Shark cordless vacuums take between 3 to 4 hours to charge from 0% to 100%. It’s best to let it charge fully before first use and to avoid frequent partial charges if you want to maximize long-term battery health.
Can I replace the battery in my Shark vacuum myself?
Yes, for most models. Shark designs many of their vacuums with user-replaceable batteries. You typically just remove a few screws on the underside or handle, disconnect the old battery’s plug, and connect the new one. Always purchase the correct model-specific battery and follow a guide for your specific model number.
Is it safe to use a third-party charger for my Shark vacuum?
It is not recommended. Shark chargers are specifically engineered to provide the correct voltage and amperage for their batteries. Using an incorrect third-party charger can overcharge the battery (causing overheating or fire), undercharge it (making it useless), or damage the vacuum’s internal charging circuitry. Always use a genuine Shark or a certified equivalent with the exact specifications.
What do the different charging lights mean on my Shark?
Typically, a solid green or blue light means fully charged. A blinking light usually indicates charging in progress. A red light or a blinking red/amber light often signals a fault, such as a battery temperature issue (too hot or cold) or a battery error. Consult your manual for the exact meaning for your specific model’s light patterns.
Can storing my Shark vacuum on the charger damage the battery?
Modern lithium-ion batteries have built-in safeguards against overcharging, so leaving it on the charger continuously is generally safe. However, for optimal long-term battery health, it’s best to store the vacuum at around 50% charge in a cool, dry place if you won’t use it for several months, rather than at 100% charge.
My Shark vacuum charges but dies within minutes. What’s wrong?
This almost always indicates a worn-out battery that can no longer hold a charge. After 2-3 years of regular use, battery capacity naturally degrades. The solution is a battery replacement. Occasionally, a severely clogged filter can cause the motor to overheat and shut down quickly, but a dead battery is the most common culprit for this symptom.