A non-responsive power button on your Shark Uv560 is a common but frustrating issue. Often, the problem is simple—like a depleted battery, a tripped thermal fuse, or dirty button contacts. Most fixes are DIY-friendly and don’t require a technician. This guide walks you through systematic troubleshooting from the quickest checks to more advanced diagnostics, helping you get your vacuum running again safely and cost-effectively.
Key Takeaways
- The issue is rarely a “broken” button: Over 80% of power button failures stem from power delivery issues, safety cut-offs, or simple grime, not a faulty switch itself.
- Always start with the simplest checks: Confirm the battery is charged, the charger is working, and the vacuum is on a stable surface before any disassembly.
- The thermal fuse is the #1 culprit: This safety device easily trips from clogs or overheating and is a common, inexpensive fix for a Shark Uv560 power button not working.
- Cleaning is powerful prevention: Regularly cleaning the power button area and charging contacts with a dry swab prevents dust and debris from causing intermittent failures.
- Resetting can solve glitches: A full power cycle by removing the battery for 60 seconds often clears electronic glitches that mimic a dead button.
- Know when to call a pro: If you’ve checked the battery, fuse, and internal connections and the issue persists, an internal PCB or wiring fault likely requires Shark-certified service.
📑 Table of Contents
- Introduction: The Silence of a Stubborn Shark
- Understanding the Flow: How Your Shark Uv560 Powers Up
- First Response: Immediate, Non-Invasive Troubleshooting
- Digging Deeper: Common Internal Culprits
- Advanced Diagnostics: When the Obvious Isn’t Enough
- Prevention is Key: Maintenance to Avoid Future Failures
- When to Call in the Pros: Recognizing Your Limit
- Conclusion: Empowerment Through Understanding
Introduction: The Silence of a Stubborn Shark
You press the power button on your trusty Shark Uv560. You hear the familiar pre-startup whir, see the LED indicators flicker to life… but then, nothing. The vacuum remains dead, silent, and unresponsive. That sinking feeling is all too real. A Shark Uv560 power button not working can bring your cleaning routine to a screeching halt, leaving you with a pile of dust and a pressing question: Is this thing broken for good?
Take a deep breath. Before you panic about repair costs or the hassle of a replacement, it’s crucial to understand something comforting: in the vast majority of cases, the power button itself is not the broken component. The Shark Uv560, like most modern cordless vacuums, is a sophisticated system of batteries, safety sensors, fuses, and a main control board. The button is simply the user interface that tells this system, “Go.” If the system refuses the command, the fault almost always lies somewhere within the system’s internal safeguards or power pathways, not the button you press.
This comprehensive guide is your roadmap from frustration to function. We’ll move systematically from the absolute basics you can check in 30 seconds to more involved diagnostic steps. Our goal is to empower you with knowledge, save you money on unnecessary service calls, and get your Shark Uv560 back to battling pet hair and crumbs. Let’s dive in.
Understanding the Flow: How Your Shark Uv560 Powers Up
The Chain of Command: From Button to Motor
To diagnose why a Shark Uv560 power button is not working, you must first understand the sequence of events that happens when you press it. Think of it as a relay race with several critical runners:
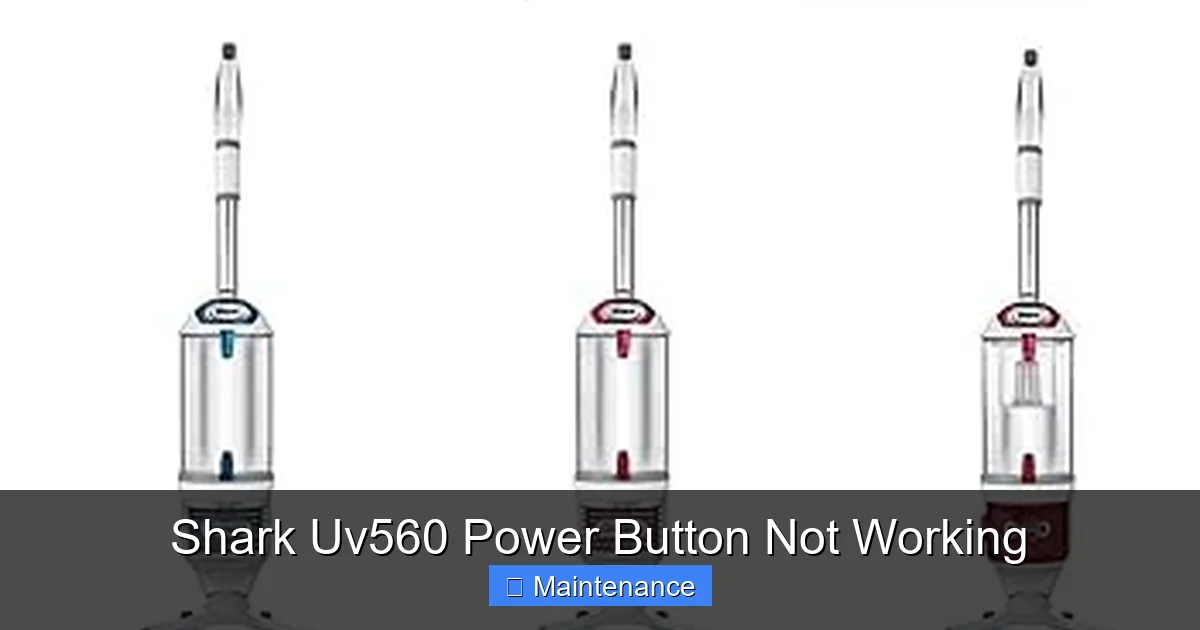
Visual guide about Shark Uv560 Power Button Not Working
Image source: m.media-amazon.com
- The Starter: You press the physical power button. This is a simple tactile switch that closes a circuit.
- The Power Source: The circuit connects to the main battery pack. If the battery is completely dead, severely degraded, or not seated properly, the race ends immediately.
- The Safety Gatekeeper: The signal then passes through several safety components. The most critical is the thermal fuse (or temperature cutoff switch). If the motor has overheated from a clog or heavy use, this fuse “blows” to prevent fire, cutting all power. There is also often a reset switch on the battery or within the handle.
- The Brain: The power signal reaches the main Printed Circuit Board (PCB). This is the vacuum’s computer. It checks for other faults (like a clogged filter or a jammed brush roll) via sensors before allowing the motor to start.
- The Finish Line: If the PCB gives the all-clear, it sends power to the motor and the brush roll, and your vacuum roars to life.
- Is it truly charged? Plug the charger into a known-good wall outlet. The LED on the charger should illuminate. Connect it to the vacuum. The vacuum’s charge indicator lights should activate. If they don’t, the problem may be the charger, the charging port on the vacuum, or the battery itself.
- The 30-minute rule: If the vacuum was stored for months with the battery at 0%, it may need an extended charge. Leave it on the charger for a full 30 minutes before trying again. Lithium-ion batteries can enter a deep discharge state and require a “trickle” charge to wake up.
- Check the battery connection: Remove the battery (consult your manual for the release mechanism). Look at the metal contacts on both the battery and the vacuum’s bay. Are they clean? Free of corrosion or debris? Are they bent or damaged? Re-seat the battery firmly with a satisfying click.
- Remove the battery from the vacuum.
- Press and hold the power button for 15-30 seconds. This drains any residual capacitor charge from the circuit board.
- Reinsert the battery firmly.
- Try to power on without the charger attached.
- Running the vacuum with a severely clogged filter.
- Using it on thick, high-pile carpet for extended periods without rest.
- A failing motor that draws excessive current and overheats.
- Set the multimeter to DC volts (20V range).
- Probe the battery’s contact terminals. A fully charged Shark battery should read between 18V and 21V (depending on its 18V/20V rating).
- Now, while watching the meter, press the vacuum’s power button. If the voltage plummets dramatically (e.g., from 20V down to 5V or less), the battery is dead and cannot sustain a load. It needs replacement.
- Look for burn marks, scorch spots, or bulging capacitors. These are clear signs of a failed board.
- Check all wire connectors. Are they seated firmly? Are any wires frayed or pinched, especially where they pass through the handle or body?
- Trace the power path. Follow the wire from the battery connector to the main board. Is there a separate, small fuse on this board? Test it for continuity.
- After every 3-4 uses: Tap out the dust cup and wipe the filter with a dry cloth.
- Monthly: Wash the filter with cold water (let it dry for 24+ hours!). Use a seam ripper or scissors to clean hair from the brush roll bearings.
- Quarterly: Use a thin, flexible brush to clean the air intake vents on the main body and the crevice tool. Ensure the exhaust port is clear.
- No power, no lights, no sound: After confirming a known-good, fully charged battery is installed, this points to a major failure in the main power circuit or PCB.
- Burnt smell or visible damage: Any sign of scorching on the board or motor means a component has failed catastrophically.
- Intermittent operation: The vacuum sometimes works, sometimes doesn’t, with no pattern. This can indicate a cracked solder joint on the PCB or a frayed wire inside the flexible hose/handle—a complex diagnosis.
When your Shark Uv560 power button is not working, we need to figure out which link in this chain is broken. The button itself is just the first, very simple link.
First Response: Immediate, Non-Invasive Troubleshooting
Before you grab a screwdriver, perform these critical checks. They solve a surprising number of “dead vacuum” cases and take less than two minutes.
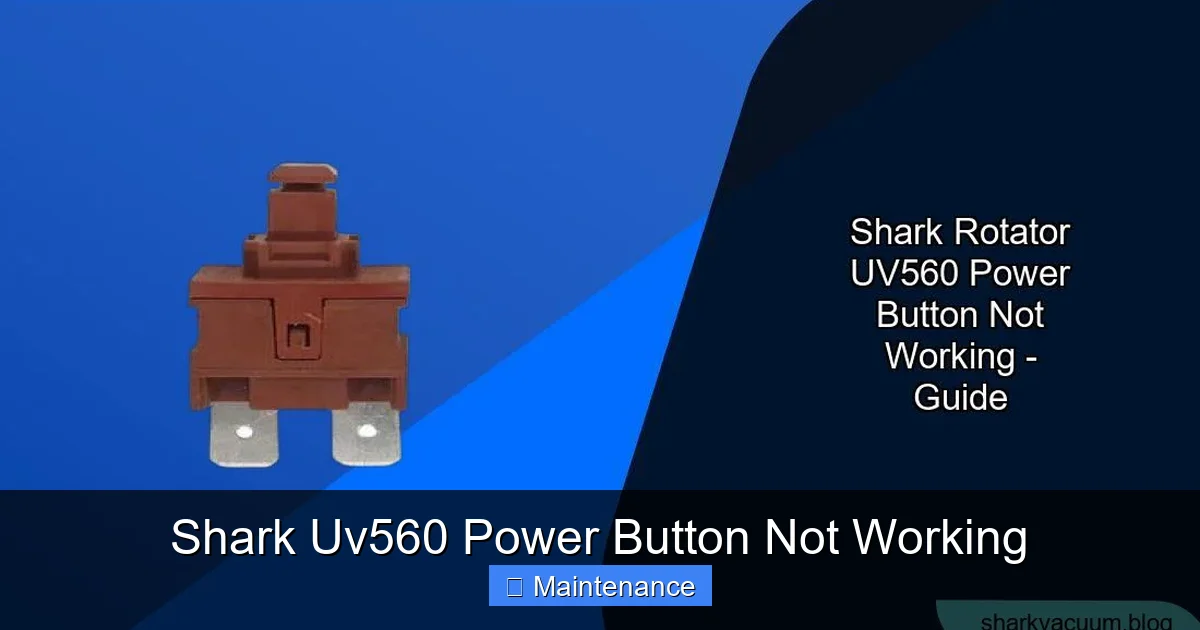
Visual guide about Shark Uv560 Power Button Not Working
Image source: sharkvacuum.blog
Step 1: The Obvious (But Often Missed) Battery Check
This is step zero. A Shark Uv560 power button not working is most frequently caused by a battery with zero charge.
Step 2: The Master Reset
Electronic glitches happen. A tiny software hiccup in the PCB can lock the system, making it ignore the power button. A full power cycle is the universal fix.
This simple reset resolves a significant percentage of intermittent “Shark Uv560 power button not working” complaints.
Step 3: Inspect the Environmental Factors
Is the vacuum sitting on a thick carpet or uneven surface? Some models have a safety switch in the wheels or brush roll housing that can disengage if the vacuum isn’t sitting flat. Place it on a hard, level floor and try again. Also, check the brush roll. Is it jammed with hair or carpet fibers? A severely jammed brush roll can trigger a mechanical safety lock. Manually rotate the brush roll by hand to ensure it spins freely.
Digging Deeper: Common Internal Culprits
If the immediate checks didn’t solve your Shark Uv560 power button not working problem, it’s time to look at the most common internal failures. These require some basic disassembly.
Visual guide about Shark Uv560 Power Button Not Working
Image source: i.ytimg.com
The Thermal Fuse: The Silent Guardian
This is, by far, the most frequent cause of a permanently dead Shark Uv560. Located near the motor or inside the handle, this tiny, inexpensive component is designed to melt and break the circuit if the motor gets too hot. Common triggers include:
Diagnosis: The fuse looks like a small, cylindrical or rectangular component, often with wires on each end. It has no visible markings of “blown,” but you can test it for continuity with a multimeter (set to the continuity setting). If the meter doesn’t beep, the fuse is dead. If you don’t have a multimeter, visually inspect it for any signs of charring or a broken filament. Replacement: You’ll need the exact part number from your model’s schematic (available online). It’s a simple solder or crimp job for anyone comfortable with basic electronics.
Dirty or Faulty Power Button Contacts
Over years of use, the tiny contacts inside the power button assembly can get coated with a fine film of dust, evaporated cleaner spray, or moisture. This insulates the contacts, preventing them from completing the circuit.
Diagnosis & Fix: You’ll need to carefully open the handle or upper housing to access the button PCB. Once exposed, use a cotton swab dipped in 99% isopropyl alcohol (never water or household cleaners) to gently clean the contact pads on the button and on the small daughterboard it presses against. Let it dry completely (isopropyl alcohol evaporates instantly) before reassembling. If the contacts are visibly pitted or corroded, the button assembly itself may need replacing.
Charging Port and Cable Issues
A faulty charging port on the vacuum or a broken wire inside the charger cable can prevent the battery from ever receiving a charge. The vacuum will then act entirely dead, mimicking a power button failure.
Diagnosis: Wiggling the charger cable while it’s plugged into the vacuum—does the charge light flicker on and off? If yes, you have a loose connection. Inspect the cable for kinks or frays at either end. Check the small metal pins inside the vacuum’s charging port for bends or debris. Clean them gently with a dry toothbrush.
Advanced Diagnostics: When the Obvious Isn’t Enough
You’ve checked the battery, reset the system, tested the thermal fuse, and cleaned the contacts. The Shark Uv560 power button is still not working. Now we escalate the investigation.
Testing the Battery Under Load
A battery can show a “full” charge on the indicator but fail to deliver the high current needed to start the motor. This is a sign of cell degradation. If you have a multimeter, you can do a crude test:
Inspecting the Main PCB and Wiring
This is the final frontier before declaring a professional repair. With the vacuum fully disassembled (refer to an official tear-down video for your specific model number), you need to perform a visual inspection of the main green circuit board.
A failed PCB is often the most expensive repair, sometimes approaching the cost of a new vacuum. For an older unit, replacement may not be economical.
Prevention is Key: Maintenance to Avoid Future Failures
Once you’ve fixed your Shark Uv560 power button not working issue, the last thing you want is for it to happen again. Adopt these simple habits:
Battery Health 101
Lithium-ion batteries hate two things: extreme heat and being stored at 0% charge. Always store your vacuum with the battery at ~50% charge if you won’t use it for a month or more. Never leave it on the charger continuously after it’s full. Avoid using and charging the vacuum in hot garages or direct sunlight.
Regular, Thorough Cleaning
This is non-negotiable for any Shark owner. A clogged filter or brush roll forces the motor to work harder, generating more heat and tripping the thermal fuse—the #1 cause of our current problem.
Gentle Handling of the Power Button
While durable, the button mechanism can wear out. Avoid pressing it with excessive force or with wet/dirty fingers. Wipe the button area with a barely-damp cloth regularly to prevent grime from working its way inside.
When to Call in the Pros: Recognizing Your Limit
You’ve followed this guide. You’ve tested the battery, checked and likely replaced the thermal fuse, cleaned all contacts, and inspected the wiring. The Shark Uv560 power button is still not working. It’s time to consider professional repair.
Signs You Need an Expert
Evaluating Repair vs. Replace
Contact Shark Customer Support or an authorized service center. Ask for a diagnostic fee estimate. For a Shark Uv560, which is a mid-life model, a PCB replacement can cost $80-$150 in parts plus labor. Compare this to the cost of a new comparable Shark model. If your vacuum is over 5 years old and the repair quote is over 50% of a new machine’s price, replacement is often the more sensible long-term choice. Always ask for a warranty on the repair work.
Conclusion: Empowerment Through Understanding
A Shark Uv560 power button not working is a showstopper, but it is almost never a permanent death sentence for your vacuum. The journey to a fix is a logical process of elimination, starting with the power source and moving through the safety systems to the electronic brain. By understanding that the button is merely a messenger, you empower yourself to diagnose the real problem—be it a sleeping battery, a tripped thermal fuse, dirty contacts, or a tired power cell.
Armed with a screwdriver, a multimeter (optional but helpful), and this guide, you can confidently tackle the most common causes. Remember the golden rules: always disconnect the battery before internal inspection, clean meticulously but gently, and respect the thermal fuse as a vital safety component, not a nuisance. For the complex electronic failures, knowing when to hand your Shark over to the professionals is a smart and cost-effective decision. Don’t let a non-responsive button write off a perfectly repairable machine. Your clean home is waiting.
Frequently Asked Questions
Why does my Shark Uv560 power button stop working suddenly?
It usually stops due to a tripped thermal fuse from overheating, a completely dead or faulty battery, dirty electrical contacts inside the button, or a system glitch requiring a reset. The button itself fails rarely.
How do I reset my Shark Uv560 vacuum?
Remove the battery from the vacuum. Press and hold the power button for 30 seconds to drain residual power. Reinsert the battery firmly and try to power on. This clears most electronic glitches.
Is a Shark Uv560 power button replacement difficult?
The button itself is usually not the problem. However, if it is faulty, replacement requires carefully opening the handle/handle housing to access the small PCB-mounted switch. It’s a moderate DIY task for those comfortable with electronics.
Will cleaning the power button fix my Shark Uv560?
If the issue is caused by dust and debris insulating the internal contacts, yes. With the vacuum unpowered and battery removed, you can access the button mechanism and clean the contact pads with a cotton swab and isopropyl alcohol.
Is the thermal fuse on a Shark Uv560 replaceable?
Yes, it is a common and inexpensive user-replaceable part. You must locate it (usually near the motor or in the handle), test it for continuity with a multimeter, and solder or crimp in a new one of the exact same type if it is blown.
What should I do if none of the fixes work?
If you’ve verified a good battery, replaced the thermal fuse, cleaned contacts, and reset the system, the main control board (PCB) or internal wiring is likely damaged. Contact Shark Support or an authorized service center for a professional diagnosis and repair quote.