Is your Shark robot vacuum refusing to empty its dustbin? This frustrating issue is almost always fixable with some simple troubleshooting. The most common culprits are clogged filters, full or misaligned dustbins, dirty sensors, and software glitches. You can resolve most problems by thoroughly cleaning the filter, checking the bin’s seal, and performing a full system restart. Regular, proactive maintenance is the ultimate key to preventing this error and ensuring your Shark robot runs efficiently for years.
You’ve just sent your trusty Shark robot vacuum off on its cleaning mission, only to watch it return to its base, beep sadly, and display the dreaded message: “Not Emptying” or a similar bin-full alert. The frustration is real. You just emptied it! What gives? Before you panic and assume the worst—a broken machine or an expensive repair—take a deep breath. In the vast majority of cases, a Shark robot vacuum not emptying is a maintenance issue, not a mechanical failure. It’s your robot’s way of saying, “Hey, I need a little TLC!” This comprehensive guide will walk you through every possible cause, from the simplest fix to more involved diagnostics, empowering you to solve this problem yourself and get back to a truly hands-off clean.
Key Takeaways
- Clogged Filters Are The #1 Cause: A saturated or dirty filter is the most frequent reason for an “Not Emptying” error. Cleaning or replacing it solves most issues.
- Check The Dustbin Seal: Ensure the dustbin is fully seated and the rubber seal is clean and undamaged. An imperfect seal prevents the vacuum from sensing an empty bin.
- Sensors Get Dirty: Small optical sensors inside the charging base and on the robot detect bin fullness. Dust and debris on these sensors cause false readings.
- Software Glitches Happen: Like any smart device, your Shark can experience temporary software bugs. A full power cycle often clears the error.
- Full Maintenance Is Required: This error is a symptom of overall neglect. A deep clean of the entire vacuum—brushes, wheels, sensors, and bin—is necessary for a permanent fix.
- Know When To Seek Help: If cleaning and resetting don’t work, there may be a faulty sensor or internal component. Contact Shark Support before the warranty expires.
📑 Table of Contents
- Understanding The “Not Emptying” Alert: What Your Shark Is Trying To Tell You
- Primary Culprit: The Exhaust Filter Is Clogged
- Dustbin Issues: Seal, Capacity, And Blockages
- Dirty Sensors: The Invisible Cause
- The Nuclear Option: Full System Reset And Software Checks
- Proactive Maintenance: Your Preventative Care Checklist
- When Troubleshooting Fails: Advanced Steps And Support
- The Bottom Line: It’s Almost Always Maintenance
Understanding The “Not Emptying” Alert: What Your Shark Is Trying To Tell You
First, it’s crucial to understand what triggers this alert. Shark robot vacuums, like the Shark IQ Series (RV1001AE, RV1002AE, etc.) and the newer Shark AI Ultra models, use a combination of sensors and algorithms to estimate bin fullness. They don’t have a physical switch that flips when the bin is full. Instead, they monitor:
- Suction Power Drop: As the bin fills, airflow is restricted, and the motor has to work harder. The vacuum detects this change in pressure or power draw.
- Runtime Tracking: The robot’s software estimates how much debris it should pick up in a given cleaning session based on past cycles and floor type.
- Optical Sensors (in some models): Certain Shark bases have sensors that can detect if the robot’s bin door is open or if debris is blocking the empty port during the self-empty process.
When these systems indicate the bin is at capacity, the robot aborts its mission and returns to the base, often displaying an error. The phrase “Not Emptying” can be slightly misleading; it often means “I think I’m full and cannot continue,” or “I attempted to empty at the base and failed.” This distinction is key for troubleshooting.
The Two Main Scenarios: “Bin Full” vs. “Emptying Failed”
There are two primary experiences you might have:
- The robot stops mid-clean and returns to base with a “Bin Full” or “Not Emptying” alert. This means the robot’s internal sensors determined it couldn’t continue. The fix is almost always with the robot itself—cleaning the filter, bin, and sensors.
- The robot successfully cleans but fails to empty when it docks, showing an “Emptying Failed” or similar error. This points to a problem with the self-empty base—a clogged hose, dirty base sensors, or a misalignment between the robot and base.
This article will cover both scenarios, but we’ll start with the most common: the robot stopping mid-cycle.
Primary Culprit: The Exhaust Filter Is Clogged
If there’s one component you need to befriend, it’s the exhaust filter. This foam or mesh filter is located under the dustbin and is the final barrier before air is expelled back into your room. A clogged exhaust filter is the undisputed #1 reason a Shark robot vacuum signals it’s full, even with an empty bin. When air can’t pass through this filter freely, the vacuum’s motor strains, suction plummets, and the robot’s sensors interpret this as a full bin.
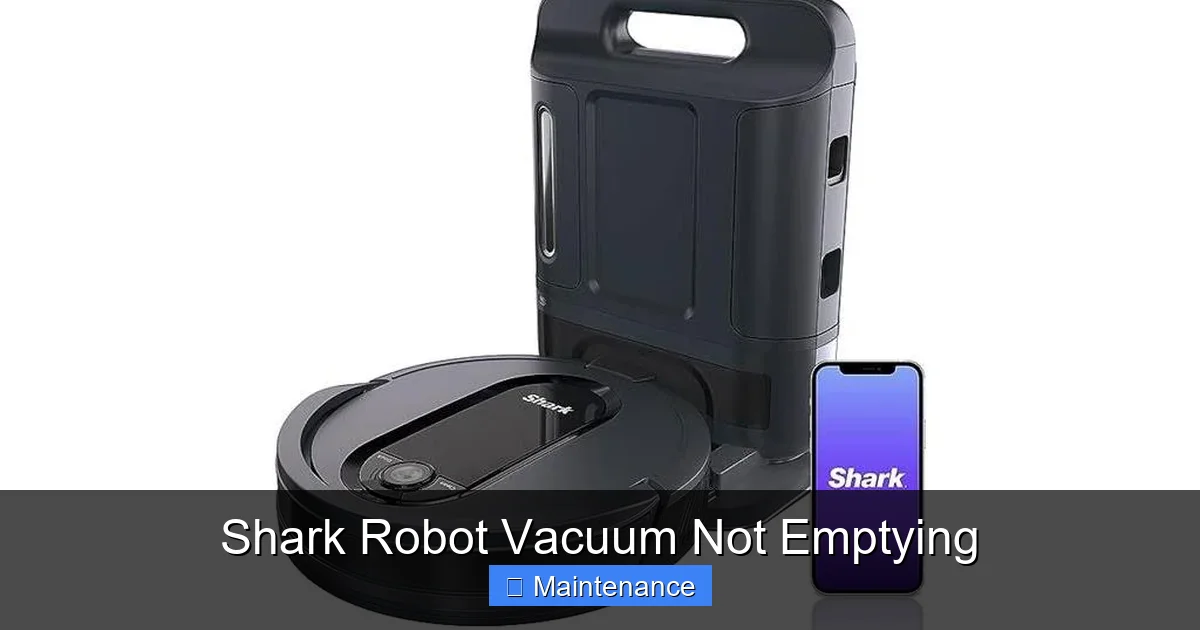
Visual guide about Shark Robot Vacuum Not Emptying
Image source: ronsays.com
How To Access And Clean Your Shark’s Exhaust Filter
The process is straightforward but varies slightly by model. For most Shark IQ and AI Ultra models:
- Remove the Dustbin: Press the release button on the back of the robot and slide the bin out.
- Locate the Filter: On the back of the dustbin assembly, you’ll see a rectangular or square plastic cover. This is the filter housing.
- Open the Housing: Press the tabs (usually two) and pull the cover off.
- Remove the Filter: Gently pull out the foam filter. It may be held by a plastic frame.
- Clean Thoroughly: Rinse the foam filter under cool running water. Gently squeeze and massage it to dislodge embedded dust and hair. Do not use soap or cleaning agents. Shake off excess water and allow it to air-dry completely for at least 24 hours. Never reinstall a damp filter.
- Check the Filter Housing: While the filter is out, use a soft brush or canned air to clean out the housing itself. Debris often accumulates here.
- Reassemble: Ensure the filter is completely dry, then reinsert it, snap the cover shut, and reinstall the dustbin.
Pro Tip: Shark recommends cleaning this filter every 1-2 months for average use. If you have pets, allergies, or carpeted homes, clean it monthly. A visibly gray or dark filter is long overdue for a wash.
Dustbin Issues: Seal, Capacity, And Blockages
Even with a clean filter, problems with the dustbin itself can trigger the alert.
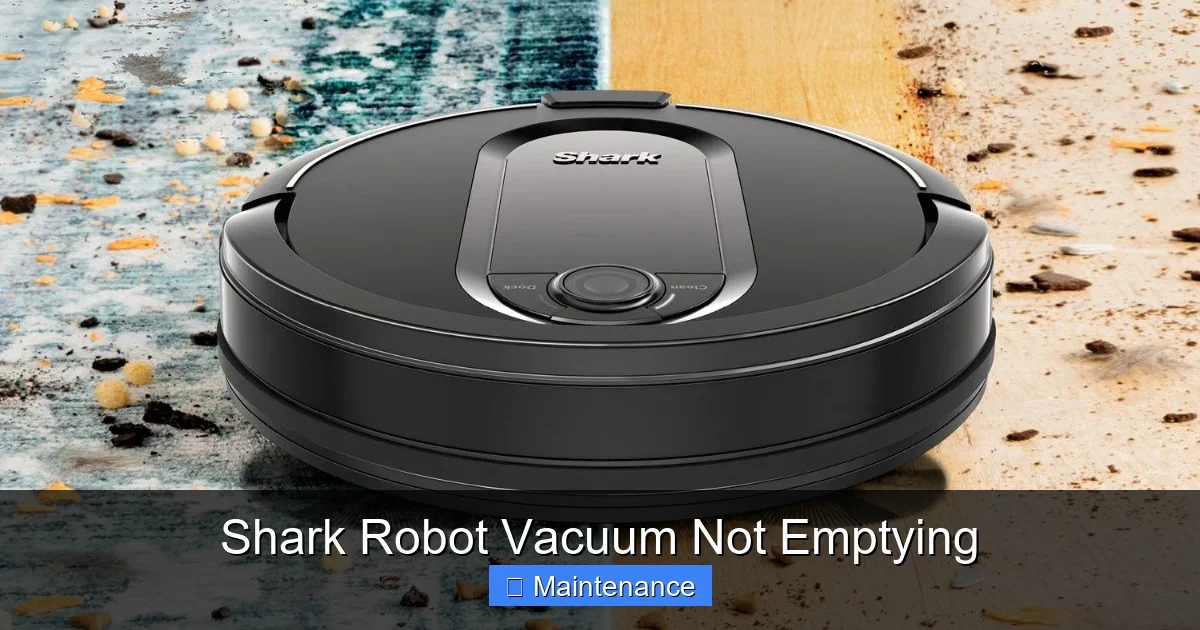
Visual guide about Shark Robot Vacuum Not Emptying
Image source: robots.net
The Critical Rubber Seal
Around the opening where the dustbin connects to the robot’s main body, there’s a soft rubber gasket or seal. Its job is to create an airtight connection. If this seal is:
- Dirty: Caked with dust, hair, or gunk, it won’t seal properly.
- Torn or Damaged: Cracks or tears break the seal.
- Mispositioned: It may have popped out of its groove during a bin removal.
…the vacuum will detect an air leak and think the bin is full or that debris is escaping. Action: Remove the dustbin and inspect this seal meticulously. Clean it with a damp cloth and check for any damage. Ensure it’s seated perfectly in its channel before reinserting the bin.
Is The Bin Actually Overstuffed?
Sometimes, the alert is completely accurate. A bin packed tightly with pet hair, carpet fibers, or fine dust can physically block the airflow even if the “full” sensor hasn’t triggered yet. Action: Empty the bin. Then, reach inside and pull out any large clumps of hair or debris that are wedged against the filter or the bin’s inlet port. Use a cleaning tool (like the included one or a long, thin brush) to scrape the interior walls.
Clearing The Self-Empty Port (For Models With Self-Empty Bases)
If your issue is specifically during the emptying process at the base:
- Check the Base’s Empty Port: Look inside the hole on top of the self-empty base where the robot docks. Is it clogged with a large piece of paper, hairball, or toy fragment?
- Check the Robot’s Port: On the bottom of the robot, where it connects to the base, there’s a small door or port. Ensure this is clean and moves freely.
- Inspect the Hose: The flexible hose that connects the base to its dirt canister can also get clogged. Detach it (if your model allows) and check for obstructions.
Dirty Sensors: The Invisible Cause
Your Shark robot is packed with tiny sensors. Two sets are critical for the “Not Emptying” error:
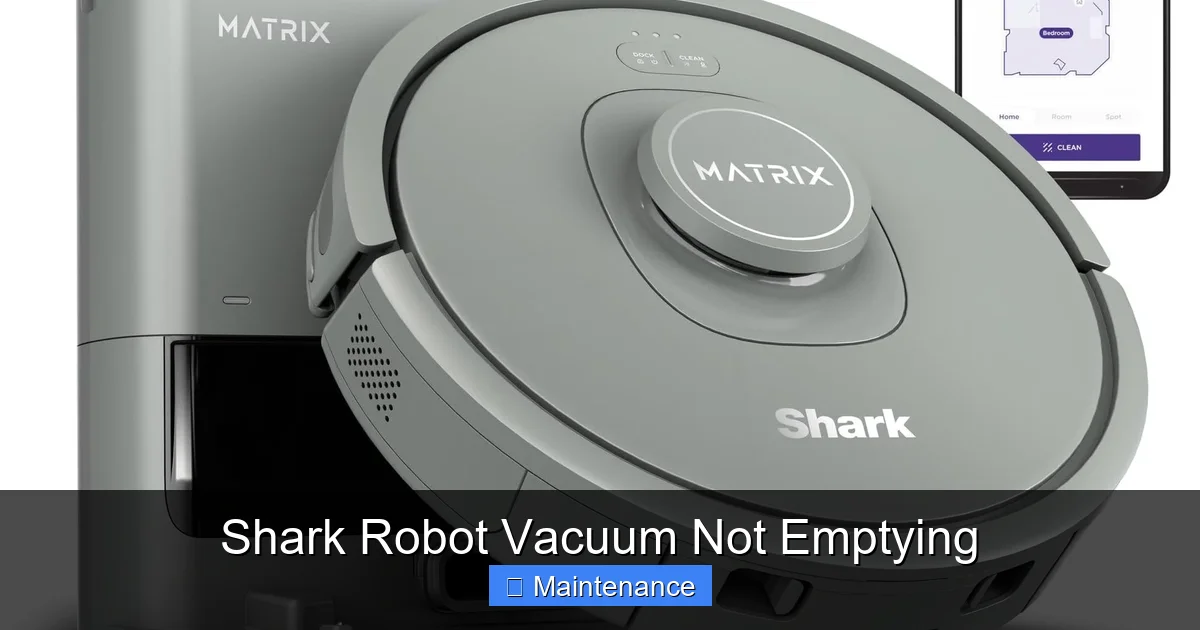
Visual guide about Shark Robot Vacuum Not Emptying
Image source: m.media-amazon.com
1. The Bin Full Sensor (Inside the Robot)
This is usually an optical sensor—a small LED light and a photodetector—that looks through the clear part of the dustbin to detect debris levels. If the inside of the bin is coated in a fine, sticky dust (common from drywall sanding or fine pet dander), it can coat this sensor window, causing a constant “full” reading.
Action: With the dustbin removed, look into the chamber where the bin sits. You’ll see a small plastic window or lens. Clean it gently with a microfiber cloth. Also, clean the corresponding spot on the back of the dustbin itself.
2. The Dock Communication Sensors (On Robot & Base)
For self-empty models, the robot and base communicate via infrared (IR) signals. If these sensors are dirty, the base might not receive the command to start the emptying cycle, or the robot might think the emptying failed.
Action: Locate the small, dark plastic windows on the front of the robot (below the bumper) and on the front of the charging base. Wipe them carefully with a dry microfiber cloth. Ensure no stickers, furniture, or objects are blocking the line of sight between the robot and base when docked.
The Nuclear Option: Full System Reset And Software Checks
Sometimes, the robot’s “brain” gets confused. A temporary software glitch can lock in an error state.
Performing a Hard Reset
This is different from just turning it off and on. A hard reset clears the robot’s internal memory and temporary settings.
- Power Off: Press the power button on the robot to turn it off.
- Remove from Base: Take the robot off the charging base.
- Open the Dustbin: Remove the dustbin entirely.
- Locate the Reset Button: On most Shark IQ/AI models, there is a small recessed reset button on the side or bottom of the robot (you may need a paperclip).
- Press and Hold: Press and hold the reset button for 10-15 seconds until you hear a chime or see the lights flash.
- Reassemble and Reboot: Reinsert the clean, dry dustbin. Place the robot on its base and let it charge fully. After charging, try a new cleaning cycle.
App And Firmware Updates
Open the SharkClean app on your phone.
- Go to your robot’s settings.
- Check for any available firmware updates. Install them. Updates often include bug fixes for sensor algorithms and docking behaviors.
- Ensure your robot is connected to a stable 2.4GHz Wi-Fi network. A weak connection can cause communication errors with the base.
Proactive Maintenance: Your Preventative Care Checklist
Don’t wait for an error to strike. Adopt this simple weekly and monthly routine to keep your Shark performing flawlessly and to avoid the “Not Emptying” alert altogether.
Weekly Quick-Check (5 Minutes)
- Tap out the dustbin after every 2-3 runs, even if it doesn’t look full. Fine dust compacts and reduces airflow.
- Visually inspect the brush roll. Use the included cleaning tool to cut away any hair or fibers wrapped around the bristles and bearings.
- Wipe the front bumper and cliff sensors (the black windows on the bottom front) with a dry cloth.
Monthly Deep Clean (15-20 Minutes)
- Wash the exhaust filter as described above. Let it dry completely.
- Remove and clean the brush roll housing. Take out the brush roll and clean the cavity underneath. Hair and gunk love to hide here.
- Check and clean all wheels. Remove any tangled hair from the main drive wheels and the caster wheel (the small front wheel).
- Wipe all external sensors (bin window, dock sensors, cliff sensors).
- Empty the self-empty base dirt canister and wipe the inside with a damp cloth. Check the hose for blockages.
Quarterly/As-Needed Tasks
- Inspect and clean the charging contacts on both the robot and the base. Use a dry, abrasive-free sponge or cloth to remove any oxidation or grime. Good contact is vital for charging and base communication.
- Check the rubber seal on the dustbin for wear.
- Replace the filter if it’s torn or doesn’t return to its original shape after washing (typically every 6-12 months depending on use).
When Troubleshooting Fails: Advanced Steps And Support
You’ve cleaned the filter, inspected the seal, wiped every sensor, performed a reset, and updated the firmware. The robot still returns with the “Not Emptying” error. Now what?
Listen For Clues During The Emptying Cycle
Place the robot on its base and manually initiate an empty cycle from the app or by pressing the “Clean” button on the base (if applicable). Listen carefully:
- Do you hear the vacuum motor in the base kick on? If not, the base itself may have a fault.
- Do you hear a normal suction sound, but it stops after 1-2 seconds? This suggests the base sensor thinks the robot’s bin door is closed (it should be open to empty) or there’s a immediate clog.
- Does the robot make a strange noise or shake during the attempt? This could indicate a mechanical issue with the base’s emptying mechanism.
Inspect For Physical Damage
Examine the area on the robot where it connects to the base. Is the plastic housing cracked? Is the small door that opens during emptying damaged or not moving freely? Any physical damage here requires professional repair.
Contacting Shark Support: Be Prepared
If you’ve exhausted all self-help options, it’s time to call. Before you do, have this information ready:
- Your robot’s serial number (found on the underside label).
- Your exact model number (e.g., RV1002AE, IZ420).
- A detailed list of all troubleshooting steps you’ve already performed. This shows you’re proactive and will help the support agent skip basic steps.
- The robot’s error code (if it displays one, like “E-1” or “E-5”). Take a photo.
- Proof of purchase (for warranty claims).
Shark’s customer support is generally responsive. Describe the issue clearly: “My [Model] indicates ‘Not Emptying’ after every cycle, even with a completely empty and clean dustbin. I have cleaned the exhaust filter, checked the seal, cleaned all sensors, and performed a hard reset.”
The Bottom Line: It’s Almost Always Maintenance
The message is clear: a Shark robot vacuum not emptying is rarely a sign of a broken machine. It is, instead, a direct and helpful communication from your device that its airflow system is compromised. By understanding the core components—the exhaust filter, dustbin seal, and sensors—and committing to a regular, thorough cleaning schedule, you can resolve this error in minutes and prevent it from ever happening again. Your Shark robot is an investment in a cleaner home. Protecting that investment with simple, consistent care ensures it delivers on its promise of effortless cleaning for the long haul. So next time you see that alert, don’t fret. Grab your cleaning cloth, check your filter, and get ready to enjoy a fully functional, worry-free robot once more.
Frequently Asked Questions
Why does my Shark robot say “Not Emptying” when I just emptied the dustbin?
This is almost always caused by a clogged exhaust filter or a dirty/unsealed dustbin gasket. The robot senses reduced airflow and assumes the bin is full. Clean the filter thoroughly and inspect the rubber seal around the bin for debris or damage.
How often should I clean the filter on my Shark robot vacuum?
Shark recommends cleaning the exhaust filter every 1-2 months with average use. If you have pets, allergies, or primarily have carpet, clean it monthly. The filter must be completely air-dried for 24 hours before reinserting.
Can a software glitch cause the “Not Emptying” error?
Yes. Like any smart device, your Shark’s software can have temporary bugs. Performing a full system reset (power off, remove bin, hold reset button for 10+ seconds) and ensuring your firmware is up-to-date in the SharkClean app can resolve these glitches.
My robot empties fine sometimes but fails other times. Why is it inconsistent?
Inconsistency points to a sensor issue. The optical sensor that looks through the dustbin may be getting intermittently blocked by fine dust. Clean the sensor window inside the robot’s bin chamber and the corresponding spot on the dustbin itself with a dry microfiber cloth.
Is it safe to use soap or detergent to clean my Shark’s filter?
No. Only use cool water to rinse the foam filter. Soap and detergents can break down the foam material and leave residues that restrict airflow even more. After rinsing, squeeze gently and allow it to air-dry completely.
When should I contact Shark Support about this error?
Contact support after you have: 1) Cleaned and dried the exhaust filter, 2) Inspected and cleaned the dustbin seal, 3) Wiped all internal and external sensors, 4) Performed a hard reset, and 5) Updated the firmware. If the problem persists, there may be a faulty sensor or internal component covered under warranty.