A Shark Ion Robot wheel not working is a frustrating but often fixable problem. The issue typically stems from simple debris like hair and carpet fibers wrapping around the axles or wheels, a software glitch, or a worn mechanical component. Most solutions involve a thorough cleaning of the wheel wells and axles, a robot reset, or a firmware update. If these steps fail, a faulty wheel motor or internal gear may require professional repair or part replacement.
There you are, enjoying the quiet hum of your Shark Ion Robot as it diligently navigates your living room floor, when suddenly… it stops. It might beep an error code, or just sit there, one wheel spinning uselessly in place while the other stays stubbornly still. The phrase “Shark Ion Robot wheel not working” flashes through your mind, followed by a sigh. Before you panic and start searching for a replacement or an expensive repair bill, take a deep breath. This is one of the most common – and most frequently fixable – issues with these clever little robots. In this complete guide, we’re going to walk through everything you need to know, from the simple, five-minute clean-up that solves 80% of cases to the more complex diagnostics that tell you when it’s time to call in the pros. Consider this your friendly, step-by-step manual to getting your little cleaning pal back on its wheels.
Key Takeaways
- Debris is the #1 culprit: Hair, string, and carpet fibers are the most common cause of wheel jams. Regular cleaning of the wheel axles and wells is the most effective prevention.
- It’s often a simple fix: You don’t always need a technician. A meticulous 15-minute cleaning session with a screwdriver and tweezers resolves most “wheel not spinning” issues.
- Software can mimic hardware failure: A frozen navigation system or outdated firmware can cause the robot to think a wheel is obstructed. A full reset or update can solve this.
- Listen and watch for clues: A clicking sound usually means a gear is stripped. A grinding noise points to a bearing issue. A wheel that spins freely by hand but not during operation points to the motor.
- Preventative maintenance is key: Incorporate wheel well cleaning into your monthly filter-cleaning routine to avoid repeat failures and extend your robot’s life.
- Warranty first: Before opening the robot, check your warranty status. Shark’s customer support can often diagnose issues and may send replacement parts if your unit is covered.
- Know when to call a pro: If you’ve cleaned thoroughly, reset the robot, updated firmware, and the wheel still doesn’t work, the internal wheel motor or gear assembly likely needs expert replacement.
📑 Table of Contents
- Understanding the Symptoms: What “Not Working” Really Means
- Step One: The Deep Clean – Eliminating Debris
- Software and System Resets: When the Brain is Confused
- Investigating the Mechanical Heart: Motors and Gears
- When to DIY and When to Call for Help: Repair or Replace?
- Preventative Maintenance: Keeping Your Wheels Rolling
- Conclusion: You’ve Got This
Understanding the Symptoms: What “Not Working” Really Means
Before we grab a screwdriver, we need to diagnose the exact symptom. “Wheel not working” can mean several different things, and each points to a different potential fix. Pay close attention the next time your robot has an issue.
The Wheel is Physically Jammed or Stuck
This is the classic scenario. You pick up the robot, and one of the drive wheels (the larger, powered wheels on the sides) doesn’t spin freely when you rotate it by hand. It might feel stiff, gritty, or completely locked. Sometimes, you can even see a visible tangle of hair, carpet fiber, or a rubber band wrapped around the axle where the wheel meets the robot’s body. This is almost always a debris issue.
The Wheel Spins Freely But the Robot Doesn’t Move
Here’s a trickier one. You tilt the robot, and both wheels spin like tops when you flick them. But when you place it on the floor and start a cleaning cycle, one wheel either doesn’t turn at all or just spins in place, causing the robot to pivot or shake in frustration. This often indicates a loss of traction between the wheel and the motor shaft (a stripped gear) or a failed wheel motor that isn’t delivering power.
Intermittent Wheel Issues
The wheel works fine for 20 minutes, then the robot stops and reports an error. Or it works on hard floors but stalls on the carpet. Intermittent problems are frequently software-related. The robot’s navigation system, which constantly monitors wheel rotation to track its position (a process called “dead reckoning”), might get confused. A minor software glitch can cause it to falsely believe a wheel is stuck, triggering a safety shutdown.
Accompanying Error Codes or Sounds
Your Shark Ion Robot communicates. Listen and look. A repetitive, fast clicking sound from the wheel area as it tries to move is the sound of a gear skipping—a classic sign of a stripped plastic gear. A grinding or buzzing noise might point to a failing motor bearing. On models with an app or LED display, note any error codes (like “E3” or a wheel icon blinking). These codes are your first clue and can be looked up in your manual.
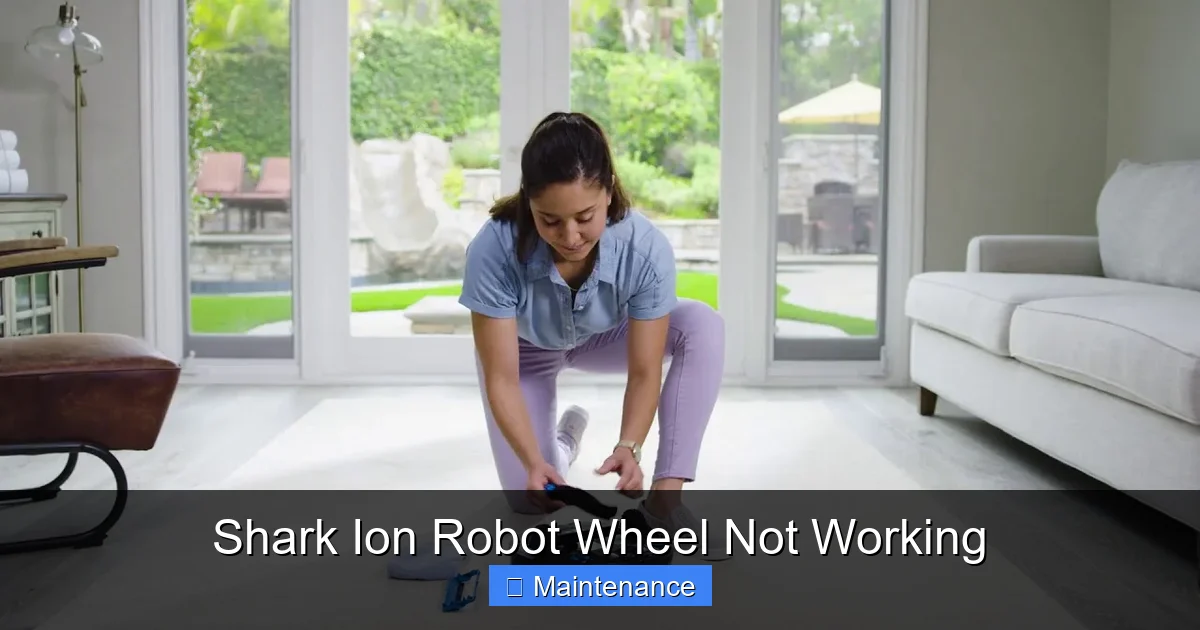
Step One: The Deep Clean – Eliminating Debris
I cannot stress this enough. In my experience with robot vacuums, and from the countless forums and user reports, a full, thorough wheel cleaning solves the vast majority of “wheel not spinning” complaints. Shark designed these robots to be low-maintenance, but the very nature of their job—sucking up dust, hair, and fibers—means the wheel wells are a prime collection point. Let’s get to work.
Visual guide about Shark Ion Robot Wheel Not Working
Image source: sharkvacuum.blog
Gather Your Tools
You won’t need much. Grab a small Phillips head screwdriver, a pair of tweezers (preferably angled), a microfiber cloth, a can of compressed air (optional but helpful), and a good flashlight. A small, soft-bristled brush (like a clean makeup brush or paintbrush) is also excellent for dislodging debris.
The Cleaning Process: A Detailed Walkthrough
1. Power Down and Flip. Always turn the robot completely off using the power button on top, then flip it over onto a soft towel or blanket to protect the finish.
2. Remove the Main Brush Module. This is crucial for access. Locate the release tabs on either side of the main brush roll housing and press them to slide the entire brush module out and away from the robot. Set it aside. This gives you a clear view into the wheel wells.
3. Inspect and Clear the Wheel Well. Shine your flashlight into the cavity where the wheel sits. You’ll likely see a mat of hair, lint, and carpet fibers wrapped around the axle—the small metal shaft the wheel rotates on. This material compacts over time, creating a thick, felt-like belt that binds the wheel.
4. The Tweezer & Screwdriver Technique. This is the core of the fix. Gently but firmly, use the tip of your tweezers to grab the end of the debris mat and start pulling. It will often come out in one long, satisfying strand. For debris packed tightly against the plastic housing, use the flat edge of your screwdriver (carefully, to avoid scratching) to gently pry it loose. Be meticulous here. Even a small piece of fiber left wrapped can cause the wheel to bind again within days.
5. Clean the Wheel Itself. Once the well is clear, spin the wheel by hand. It should rotate smoothly with no gritty feeling. If it feels rough, the debris may have worked its way into the wheel’s internal bearing. Carefully pry off the rubber tire from the plastic wheel rim (it’s usually just a friction fit). Clean any gunk from inside the rim and the axle post. Wipe everything down with your microfiber cloth.
6. Compressed Air & Final Check. Use short bursts of compressed air to blow out any remaining fine dust from the wheel well and the motor gear area (you’ll see a small plastic gear meshed with the wheel). Ensure the wheel spins freely 360 degrees with no resistance. Reinstall the main brush module.
7. Test. Flip the robot right-side up, power it on, and manually place it in an open area. Start a spot clean or just use the remote/buttons to make it drive forward. Does it move straight? Do both wheels engage? If yes, success! If not, move to the next section.
Software and System Resets: When the Brain is Confused
If your wheels are surgically clean but the problem persists, the culprit might be in the robot’s “brain.” Shark Ion Robots use sophisticated navigation and motor control software. A temporary bug or corrupted data can cause a wheel error.
Visual guide about Shark Ion Robot Wheel Not Working
Image source: i.ytimg.com
Performing a Full Reboot (Soft Reset)
This is the first software step. It’s like restarting your computer. Locate the power button on the top of the robot. Press and hold it for 10-15 seconds until you hear a startup chime and see the indicator lights cycle. Release the button and let the robot fully restart. Try a cleaning cycle again. This simple act resolves many temporary communication errors between the mainboard and the wheel motors.
Updating the Firmware via the Shark App
If you have the Shark Ion Robot connected to your home Wi-Fi and the Shark app, check for firmware updates immediately. Outdated firmware can have bugs that affect motor control. Open the app, go to your robot’s settings or device info section, and look for a “Check for Updates” option. Install any available update. These updates often include improved motor algorithms and bug fixes for wheel-related issues.
The Nuclear Option: Factory Reset
If a reboot and update fail, a factory reset will clear all Wi-Fi settings, scheduling data, and cleaning history, returning the robot to its out-of-box state. This can clear deep-seated software corruption. The method varies by model, but it typically involves pressing and holding a combination of buttons (like the “Spot Clean” and “Power” buttons) for a specific duration (often 10-15 seconds) until you hear a series of beeps. Consult your specific model’s manual for the exact procedure. After the reset, you will need to set up Wi-Fi and schedules again, but it’s a powerful troubleshooting step.
Investigating the Mechanical Heart: Motors and Gears
When clean wheels and a fresh software slate don’t fix the problem, we must look at the mechanical components that actually spin the wheels. This involves a bit more disassembly and diagnosis.

Visual guide about Shark Ion Robot Wheel Not Working
Image source: i.ytimg.com
Diagnosing a Faulty Wheel Motor
The wheel is driven by a small DC motor attached to a gear train. To test it, you need to access the motor. After removing the main brush module, look into the wheel well. You’ll see the wheel axle connected to a small, usually black, plastic gearbox. This gearbox contains the motor. Disconnect the robot’s battery first for safety. Gently pry the gearbox assembly out of its housing. It will be connected by one or two small plugs. Disconnect them. Now, you can manually spin the input shaft (where the wheel attaches). It should spin smoothly. If it’s gritty or has play, the motor bearings are shot. More tellingly, you can apply 5-12V of power (from a battery pack or a DC power supply) directly to the motor’s two contact pins (note polarity, but these small motors are often non-polarized). If the motor doesn’t spin or sputters, it’s dead and needs replacement.
Stripped Gears: The Tell-Tale Click
Inside that plastic gearbox are small, delicate nylon gears. Over time, especially if the robot gets stuck on a rug or obstacle frequently, these gears can wear down and lose their teeth. This is what causes the rapid clicking sound. The motor is spinning, but the gear isn’t engaging, so no power reaches the wheel. Unfortunately, these gears are not usually sold separately. The entire gearbox/motor assembly is the replaceable part. If you hear consistent clicking from a non-moving wheel, this is almost certainly your diagnosis.
Wheel Assembly Wear and Tear
The rubber tire itself can wear smooth, especially on high-pile carpet, reducing traction. Check for flat spots or glazing. The plastic hub that the tire mounts to can also crack. Inspect the wheel for any cracks or excessive play when you wiggle it side-to-side on its axle. A wobbly wheel means the internal bushing or bearing is worn, requiring a full wheel assembly replacement.
When to DIY and When to Call for Help: Repair or Replace?
You’ve cleaned, reset, and diagnosed. Now comes the decision point. Shark Ion Robots are a mid-range robot vacuum. The cost of a new unit is a consideration against the cost of a repair.
The DIY Repair Threshold
If your diagnosis points to a faulty wheel motor/gearbox assembly or a cracked wheel assembly, and your robot is out of warranty, you can consider a DIY fix. Genuine Shark replacement parts (search for your exact model number, like “RV1001AE” or “IQ”) are available on sites like Shark’s own parts store, Amazon, and eBay. A motor/gearbox assembly typically costs between $25 and $50. A wheel assembly is usually $15-$30. With a basic screwdriver set and comfort with small electronics, you can replace these parts in 20-30 minutes by following a YouTube tutorial for your specific model. This is often the most economical path for a 2-4 year old robot.
The “Call Shark Support” Threshold
Contact Shark Customer Care first, even if you’re out of warranty. Explain your troubleshooting steps. Sometimes, they can offer a discounted repair service or a trade-in program. More importantly, if your robot is still under the 1-year limited warranty, they will likely ship you a replacement part for free or repair it. Have your serial number and proof of purchase ready. If the issue is with the main motherboard (which controls all wheel functions), that is almost never a DIY job and requires professional service.
The “Time for a New Robot” Threshold
Consider a new robot if: the unit is over 5 years old and has multiple failing components; the repair cost (if going through Shark) approaches 50% of a new comparable model’s price; or you’re simply ready for newer features like better mapping, self-emptying bases, or mopping capabilities. Sometimes, the time and effort of repeated repairs on an aging platform aren’t worth it.
Preventative Maintenance: Keeping Your Wheels Rolling
An ounce of prevention is worth a pound of cure. Integrate these habits into your monthly robot care routine to avoid future wheel lock-ups.
Make Wheel Cleaning a Ritual
Every time you clean the main brush and filters (which you should do monthly), spend 5 extra minutes on the wheels. Flip the robot, remove the main brush module, and do a quick visual and tactile inspection of the wheel wells. Use your tweezers to pull out any emerging hair mats before they become a problem. A quick blast of air never hurts.
Mind Your Flooring
Be aware of high-pile rugs and shag carpets. These are the biggest wheel-trap environments. Consider using boundary strips to keep your robot off particularly thick rugs, or lift those rugs when the robot runs. Also, be vigilant about picking up stray socks, hair ties, and long curtain ties that can be sucked in and wrapped around axles.
Keep the Environment Clean
The less debris on your floor, the less your robot (and its wheels) have to deal with. Regular sweeping or vacuuming high-traffic areas with an upright vacuum can dramatically reduce the hair and fiber load your robot encounters.
Check Wheel Traction
Occasionally, wipe the rubber tires with a slightly damp cloth to remove any waxy or sticky residue that might reduce grip. Ensure the tires are inflated (they are solid, but should be firm) and free of cracks.
Conclusion: You’ve Got This
Finding your Shark Ion Robot with a wheel that won’t turn can feel like a major setback, but it’s almost always a solvable puzzle. Start with the most likely culprit: a thorough, patient cleaning of debris from the wheel axles and wells. This simple act is the hero of this story. If that fails, move up the diagnostic ladder to software resets and firmware updates. Finally, armed with a bit of courage and your screwdriver, you can inspect the mechanical components—the motor and gears. Remember your warranty, know the cost of parts versus a new machine, and never hesitate to call Shark’s support line for guidance. With a little knowledge and some elbow grease, you can diagnose and often fix the “Shark Ion Robot wheel not working” problem yourself, saving money and keeping your trusty cleaning companion rolling for many more miles. Now, go flip that robot over and get to work!
Frequently Asked Questions
How do I clean the wheels on my Shark Ion Robot?
First, power off the robot and remove the main brush module. Flip it over and use tweezers to meticulously pull out all hair and fibers wrapped around the wheel axles inside the wheel wells. Use a screwdriver to gently pry packed debris loose. Wipe everything clean and ensure each wheel spins freely by hand before reassembling.
My wheels spin freely by hand but the robot doesn’t move. Why?
This usually indicates a failure between the wheel and the motor. The most common cause is a stripped plastic gear inside the wheel’s gearbox, which makes a rapid clicking sound. It can also be a failed wheel motor that isn’t delivering power. The gearbox/motor assembly will likely need to be replaced.
Will a factory reset fix my wheel issue?
A factory reset can fix wheel issues caused by software glitches or corrupted navigation data. It’s a good step after you’ve cleaned the wheels and performed a standard reboot. However, it will not fix physical problems like debris jams, stripped gears, or dead motors. Always clean the wheels first before attempting a reset.
Is it worth repairing a Shark Ion Robot with a bad wheel?
Often, yes. A replacement wheel motor/gearbox assembly or wheel typically costs $15-$50. If your robot is otherwise in good shape and under 4-5 years old, a DIY repair is economical. If it’s very old or has multiple issues, investing in a new model might be better. Always check warranty status first.
What does a clicking noise from the wheel area mean?
A fast, repetitive clicking sound coming from a wheel as the robot tries to move is the classic symptom of a stripped gear. The motor is running, but the worn gear teeth can’t transmit power to the wheel. The gearbox assembly for that wheel needs to be replaced.
How can I prevent my Shark Ion’s wheels from getting stuck?
Make wheel well cleaning part of your monthly maintenance routine. Pick up small obstacles like socks and hair ties from floors. Be cautious with high-pile rugs. Keep floors as debris-free as possible. Regularly inspect and clean the wheel axles before hair mats become compacted and problematic.