Is your Shark Ion robot vacuum failing to charge on its docking station? This frustrating issue is almost always fixable without a service call. The most common culprits are dirty charging contacts on either the robot or dock, a worn-out battery, or outdated firmware. Start by thoroughly cleaning both contact points with a dry, lint-free cloth. If that fails, check for software updates and assess your battery’s health based on age and usage. In rare cases, the docking station’s internal power adapter or charging circuitry may be faulty, requiring replacement. This guide walks you through every diagnostic step, from quick cleans to advanced checks, to get your Shark Ion reliably recharging again.
You’ve just finished a cleaning cycle, your Shark Ion robot dutifully returns to its docking station, and then… nothing. The lights don’t glow, the charging chime doesn’t sound. That familiar sinking feeling hits. Your trusty cleaning sidekick is dead, and the very thing meant to revive it—the docking station—seems broken. Before you panic and start shopping for a new robot or dock, take a deep breath. The problem of a Shark Ion docking station not charging is one of the most common issues owners face, and the vast majority of the time, it’s something you can diagnose and fix yourself in under ten minutes with simple tools you already have. This guide will walk you through every possible cause, from the embarrassingly simple to the more complex, so you can get your Shark Ion back on its charging pad and your floors back to being spotless.
Key Takeaways
- Clean Contacts Are Priority #1: The #1 cause of charging failure is grime on the metal charging pins on both the robot and dock. A simple, dry wipe often resolves the issue.
- Battery Age Is A Major Factor: Shark Ion batteries typically last 1-3 years. If your vacuum is older and won’t hold a charge, battery replacement is likely needed.
- Firmware Can Affect Charging: Outdated software can cause communication errors between the robot and dock. Always ensure your Shark app and robot firmware are current.
- Dock Placement Matters: The dock must sit flush on a level surface against a wall, with clear space around it. Poor placement disrupts the robot’s alignment and charging connection.
- Power Source Must Be Solid: Ensure the dock’s power adapter is firmly plugged into a working wall outlet. Test the outlet with another device if unsure.
- Robot Sensors Need Clearing: Cliff sensors and the front bumper must be clean for the robot to navigate and dock correctly, which is a prerequisite for charging.
- Hardware Failure Is Rare But Possible: If all else fails, the dock’s internal charging component or the robot’s charging port may be defective, necessitating a part replacement.
📑 Table of Contents
- Understanding the Charging Dance: How Your Shark Ion Docks and Charges
- Step 1: The 5-Minute Deep Clean (The Most Common Fix)
- Step 2: Environment and Setup Audit
- Step 3: Diagnosing the Robot Itself (Battery & Software)
- Step 4: Advanced Docking Station Diagnostics
- Step 5: When to Contact Shark Support and Warranty Considerations
- Conclusion: Patience and Precision Win the Day
Understanding the Charging Dance: How Your Shark Ion Docks and Charges
Before we start poking and prodding, it helps to understand the elegant, yet sometimes finicky, process that happens when your Shark Ion robot returns to base. It’s not just a matter of the robot bumping into the dock and hoping for the best. It’s a coordinated sequence of events.
The Navigation and Alignment Sequence
Using its upward-facing sensors and a pre-programmed map of your home (if it’s a model with navigation), the robot calculates its path back to the dock’s general location. As it gets closer, it switches to a guided mode, using infrared (IR) signals emitted by the dock. Think of the dock as a lighthouse beacon. The robot’s front bumper has an IR receiver. It follows this “beam” to make a precise approach. The dock’s front ramp and guiding walls are designed to funnel the robot into the perfect, centered position.
The Physical Connection
Once centered, the robot’s underside makes contact with the dock’s charging contacts—two metal strips on the dock that align with two metal pins on the robot’s belly. This is the critical moment. If these metal surfaces don’t touch perfectly, or if there’s any barrier between them, electricity cannot flow. The robot’s internal battery management system then confirms a proper connection and initiates the charging cycle, usually signaled by a light pattern or sound.
So, when your Shark Ion docking station is not charging, the failure is happening at one of these stages: navigation failure (it can’t find/dock), alignment failure (it docks but misaligns), or contact failure (it’s aligned but can’t conduct electricity). Our troubleshooting will target each of these stages.
Step 1: The 5-Minute Deep Clean (The Most Common Fix)
Let’s start with the simplest, most effective, and most overlooked solution. Dust, pet hair, carpet fibers, and sticky spills create an insulating layer over the very surfaces meant to conduct electricity. This is public enemy number one for charging.
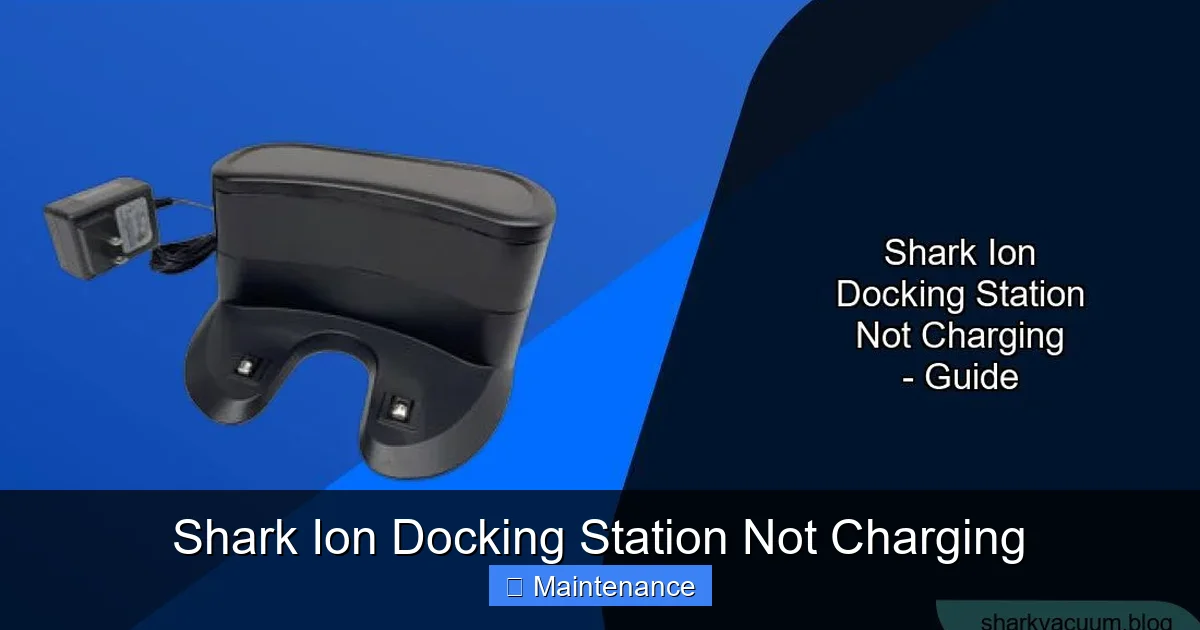
Visual guide about Shark Ion Docking Station Not Charging
Image source: sharkvacuum.blog
Cleaning the Docking Station Contacts
Unplug your docking station from the wall. Turn it upside down. You’ll see two parallel metal strips (sometimes brass-colored). Take a clean, dry microfiber cloth, a cotton swab, or a pencil with a clean eraser. Gently but firmly rub the entire surface of each metal strip. Your goal is to remove any film, oxidation, or debris. For stubborn grime, you can very slightly dampen the cloth with isopropyl alcohol (rubbing alcohol), but ensure it is almost dry and let the contacts air dry completely for 2-3 minutes before plugging the dock back in. Never use water, soap, or abrasive cleaners.
Cleaning the Robot’s Charging Pins
Now, flip your Shark Ion over. Locate the two small, spring-loaded metal pins on its underside, usually near the front or center. These are delicate. Use a dry cotton swab to gently wipe around the base of each pin. Use a can of compressed air to blow away any lint or hair trapped in the cavity around the pins. Do not use liquids here, as they can seep into the robot’s internal electronics. A dry, soft toothbrush can also be useful for sweeping away debris.
Pro Tip: While you’re down there, clean the cliff sensors (the small windows on the bottom edge) and the main brush housing. A clogged brush can cause the robot to struggle when trying to dock, leading to a poor connection.
Step 2: Environment and Setup Audit
Even with perfectly clean contacts, your Shark Ion might be physically unable to dock correctly if its environment isn’t cooperative. This is a classic case of user error, not machine failure.
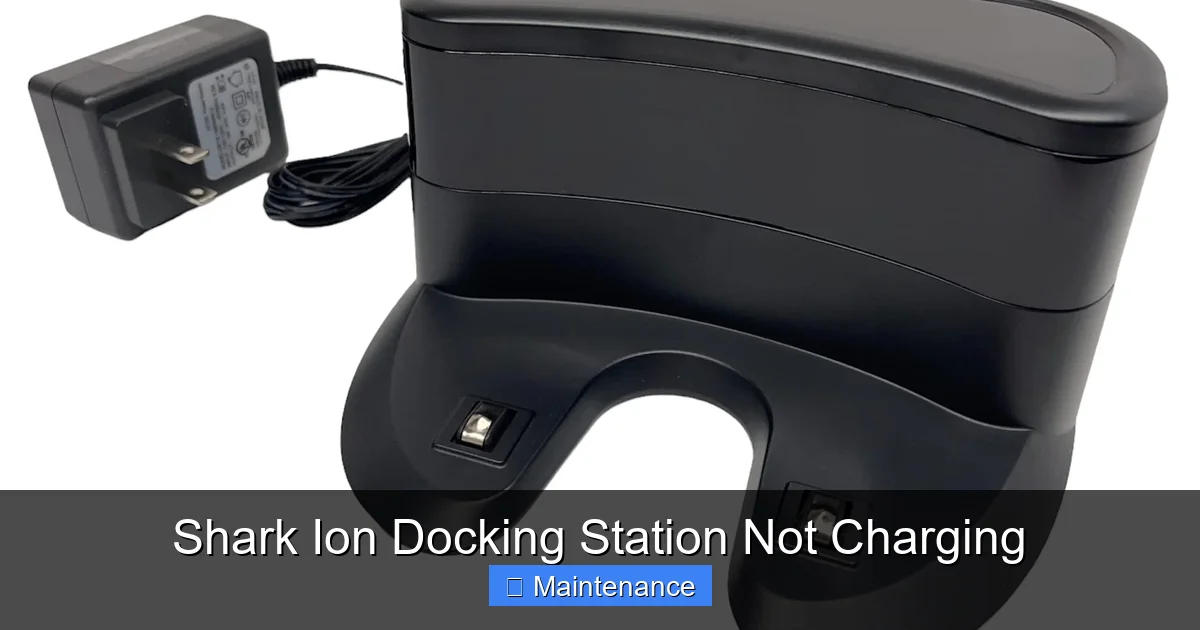
Visual guide about Shark Ion Docking Station Not Charging
Image source: m.media-amazon.com
Is the Dock on a Level, Solid Surface?
The docking station must sit flush on the floor. If it’s on a thick rug, a slippery surface, or a slight incline, the robot may bump into it and bounce off, or the dock itself may slide a few inches during the docking attempt. Place the dock on a hard floor (tile, hardwood, low-pile carpet) and ensure it’s stable. Press down on all four corners; it shouldn’t rock.
Check the “Dock Zone” Clearance
Shark recommends at least 3 feet (about 1 meter) of clear space on either side of the dock and 5 feet in front of it. Why? The robot approaches at an angle and needs room to correct its path. If there’s a chair leg, a table, or a pet bed right next to the dock, the robot will collide with it and fail to dock. Similarly, if the dock is too close to a wall or a piece of furniture behind it, the robot can’t back up far enough to align properly. Create a clear, open “launch and recovery” zone for your dock.
Wall Alignment and Proximity
The dock should be placed directly against a straight wall. A wainscoting, a thick baseboard, or a warped wall can cause the dock to sit at a slight angle, making perfect alignment impossible. Use a small level app on your phone to check if the dock is square. Also, ensure the wall behind the dock is smooth. A textured wall or heavy wallpaper can sometimes interfere with the robot’s rear sensors as it backs into the dock.
Step 3: Diagnosing the Robot Itself (Battery & Software)
If the physical connection is clean and the environment is perfect, the fault may lie with the robot’s ability to accept or hold a charge. This points to two main areas: the battery and the software.
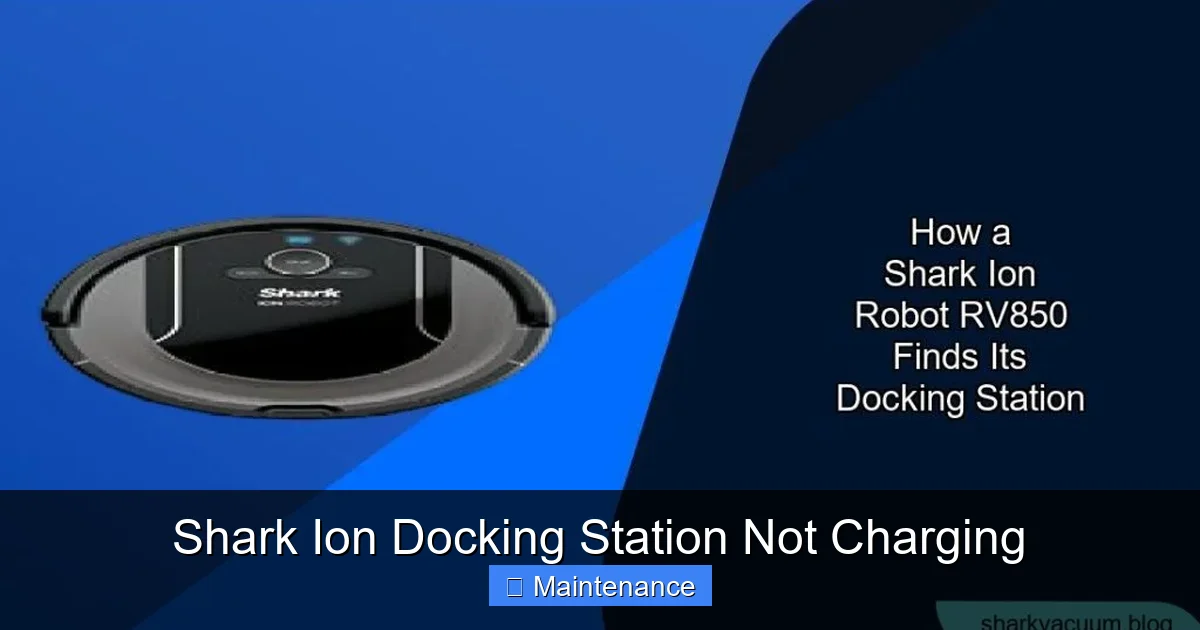
Visual guide about Shark Ion Docking Station Not Charging
Image source: sharkvacuum.blog
The Inevitable: Battery Degradation
Lithium-ion batteries, like the one in your Shark Ion, are consumable parts. Their capacity diminishes over time and charge cycles. A battery that once powered 90 minutes of cleaning might now only last 30. If your robot is more than 2 years old and has been used daily, a worn battery is a prime suspect for Shark Ion docking station not charging symptoms. The battery may still accept a tiny trickle of power (hence a faint light) but can’t hold a meaningful charge, so it appears dead. Solution: Shark sells official replacement batteries for most models. This is a straightforward DIY repair for most users, often requiring just screwdrivers. Check your model number (on the underside) on the Shark website for the correct part and installation guide.
Software Glitches and Firmware Updates
Your robot’s “brain” controls the charging logic. A software bug can cause it to misinterpret signals from the dock or mismanage the charging process. First, restart your robot: Power it off (if your model has a switch), remove the battery for 60 seconds (if accessible), then reinsert and power on. Second, update firmware: Open the SharkNinja app. Navigate to your robot’s settings. Check for any available firmware updates and install them. These updates often include bug fixes for charging and docking algorithms. Also, ensure your phone’s Bluetooth and the app itself are updated.
Step 4: Advanced Docking Station Diagnostics
When you’ve ruled out the robot, the dock itself is the next suspect. The docking station is more than just a piece of plastic with metal strips; it contains a power adapter and charging circuitry.
Testing the Power Adapter and Outlet
This is a crucial step. The small power brick that plugs into the wall and then into the dock can fail. First, ensure the wall outlet is live. Plug a lamp or phone charger into the same outlet. Next, inspect the adapter. Look for fraying cords, bent prongs, or damage to the brick itself. If you have a multimeter, you can test the output voltage (check your adapter’s label for the specified DC voltage, usually around 18V). If you don’t have a multimeter, the easiest test is to borrow an identical power adapter from a friend or neighbor with a Shark robot (many models share adapters) and see if it solves the problem. Never use a third-party or higher-wattage adapter; it can damage your dock.
Internal Dock Component Failure
Inside the dock, the power from the adapter is converted and sent to the charging contacts. The component that does this (often a small circuit board) can fail. Symptoms of a failed dock include: no lights on the dock at all when plugged in, a burning smell, or the dock’s indicator light behaving erratically. If you’re comfortable with basic electronics, you can open the dock (unscrew the base) and look for obvious signs of damage like burnt components or swollen capacitors. However, for most users, a faulty dock means it’s time to purchase a replacement docking station from Shark or an authorized retailer.
Step 5: When to Contact Shark Support and Warranty Considerations
You’ve cleaned, you’ve leveled, you’ve updated, you’ve possibly even replaced the battery. Your Shark Ion docking station is still not charging. Now what?
Gather Your Information Before Calling
Before you contact SharkNinja Customer Care, have this information ready: your robot’s exact model number (found on a sticker on the underside), the serial number, the date of purchase, and a clear, concise list of all troubleshooting steps you’ve already taken (e.g., “Cleaned contacts, tested outlet with other device, updated firmware to version X, robot is 28 months old”). This saves time and shows you’ve done your homework.
Understanding Your Warranty
Shark robots typically come with a limited warranty (often 1-3 years depending on the model and region). The battery is usually considered a consumable and may have a shorter warranty period (e.g., 6 months). If your robot is within the warranty window for the specific faulty component, you may be entitled to a free repair or replacement. Have your proof of purchase ready. If the warranty has expired, Shark may still offer out-of-warranty repair services for a fee, but often the cost approaches that of a new robot, making a replacement more sensible.
Conclusion: Patience and Precision Win the Day
A Shark Ion docking station not charging is a major inconvenience, but it’s rarely a catastrophic failure. The path to a solution is methodical. Always begin with the absolute basics: unplug, clean, and verify power. These three steps solve over 70% of all charging issues. Then, move up the ladder to environment, software, and finally, hardware component testing. The beauty of this process is that each step eliminates a variable, bringing you closer to the root cause. Remember, your Shark Ion is a sophisticated tool, but it’s still a tool that needs a clean connection, a stable home base, and healthy power sources to perform its job. By becoming your robot’s first-line technician, you save money, reduce waste, and deepen your understanding of the machine that works so hard to keep your home clean. Now, go give those contacts a good wipe—you might just be done before you finish reading this sentence!
Frequently Asked Questions
Why does my Shark Ion robot dock but not actually charge?
This almost always indicates dirty charging contacts on either the robot’s pins or the dock’s strips. The robot may be successfully navigating and parking, but an insulating layer of grime prevents the electrical connection. A thorough, dry cleaning of both surfaces is the first and most likely fix.
How do I know if my Shark Ion battery is dead?
Signs of a dead battery include: the robot running for only a few minutes per charge, failing to power on at all, or showing a full charge indicator that drops to zero within seconds of cleaning. If your robot is over 2 years old and exhibits these symptoms, a battery replacement is the probable solution.
Can I use any power adapter for my Shark Ion docking station?
Absolutely not. Using an incorrect voltage, amperage, or third-party adapter can permanently damage your docking station’s internal charging circuitry and void your warranty. Always use only the official Shark power adapter that came with your specific model.
My dock’s light is on, but the robot still won’t charge. What gives?
A lit dock only indicates it has power from the wall outlet, not that it’s successfully charging a robot. The issue is likely with the physical connection (dirty contacts), the robot’s battery health, or a communication fault between the two devices. Focus your troubleshooting on the robot-dock interface.
Is it worth repairing an old Shark Ion docking station?
It depends on the age of your robot and the cost of repair. If the dock is under warranty or the robot is otherwise in perfect condition, a repair may be worthwhile. For older models where the repair cost is high, purchasing a new robot (which includes a new dock and battery) is often more economical in the long run.
What’s the ideal placement for a Shark Ion docking station?
Place the dock on a hard, level floor directly against a straight wall. Ensure there is at least 3 feet of clear space on both sides and 5 feet in front of the dock. Avoid placing it near stairs, reflective surfaces (like mirrors or shiny floors), or in direct sunlight, as these can interfere with the robot’s navigation sensors.