Facing a Shark If251 battery not charging issue is a common but frustrating problem. Usually, the cause is simple: dirty charging contacts, a tripped thermal fuse, or a deeply discharged battery. This guide provides a step-by-step diagnostic process, from quick resets to deeper maintenance, helping you identify and resolve the issue yourself before considering a costly battery replacement.
You go to grab your trusty Shark If251 cordless vacuum for a quick clean, press the power button, and… nothing. The battery icon is empty, or worse, it’s flashing a warning. That sinking feeling is all too familiar. A Shark If251 battery not charging is one of the most frequent issues owners encounter, and it always seems to happen at the worst possible moment. But before you panic and start shopping for a new vacuum or an expensive replacement battery, take a deep breath. In the vast majority of cases, the problem is fixable with a little patience, some basic cleaning, and a systematic troubleshooting approach. This guide will walk you through every possible cause, from the incredibly simple to the more complex, empowering you to diagnose and likely solve the problem yourself. We’ll turn that frustration into a sense of accomplishment as you get your Shark back to its powerful, cordless best.
Key Takeaways
- Start with the basics: Always verify the outlet, charger, and power cable are functional before assuming a battery fault.
- Cleanliness is critical: Dirty or corroded charging contacts on both the vacuum and charger are a leading cause of charging failure.
- The reset is powerful: Performing a full reset by removing the battery and unplugging the charger can clear error states and revive a seemingly dead unit.
- Battery health degrades: If your Shark If251 battery is not charging, it may simply be at the end of its 2-3 year lifespan and need replacement.
- Preventative maintenance is key: Regular cleaning of filters, brushes, and charging ports, along with proper storage, dramatically extends battery life and performance.
- Know when to seek help: If all troubleshooting fails and the battery is old, replacement is the logical next step. Contact Shark support for warranty or genuine part information.
- Safety first: Never attempt to use a damaged charger or battery. Swelling, extreme heat, or foul odors mean immediate discontinuation and proper disposal.
📑 Table of Contents
- Understanding the Shark If251 Charging System
- Immediate Troubleshooting: The First 15-Minute Checklist
- Deep Dive: Advanced Diagnosis When Basics Fail
- Essential Maintenance to Prevent Future Charging Problems
- Battery Replacement: The Inevitable and How to Do It Right
- When to Seek Professional Help or Contact Support
- Conclusion: Empowerment Through Understanding
Understanding the Shark If251 Charging System
To effectively troubleshoot a Shark If251 battery not charging issue, it helps to understand the basic ecosystem at play. It’s not just a battery and a plug; it’s a coordinated system. The vacuum itself, the removable lithium-ion battery pack, the charging dock or wall charger, and the internal charging circuitry all have to communicate and function correctly. A failure in any single component can break the chain.
The Battery: Heart of the System
The Shark If251 uses a lithium-ion (Li-ion) battery pack, prized for its high energy density and lack of “memory effect.” However, Li-ion batteries have a finite lifespan, typically measured in charge cycles (a full 0-100% cycle). Over 2-3 years of regular use, the battery’s capacity naturally degrades. An old battery might charge to 100% but drain incredibly quickly, or it might fail to hold a charge at all, appearing as a “not charging” problem. Physical damage, exposure to extreme temperatures (both hot and cold), and deep discharges (leaving it at 0% for months) can also prematurely kill a battery.
The Charger & Contacts: The Connection Point
Power flows from your wall outlet, through the charger (either a wall-wart or a dock), and into the battery via metal contact points. On the Shark If251, these are two spring-loaded metal pins on the vacuum’s rear, which connect to two metal plates on the charger dock or the adapter. If these contacts are dirty with dust, hair, or gunk, or if they are bent out of alignment, a solid electrical connection cannot be made. The charger might light up, but no power actually reaches the battery cells. This is, by far, the most common culprit behind a Shark If251 battery not charging.
The Internal Circuitry & Safety Features
Inside your Shark, there’s a small but sophisticated charging management circuit. Its job is to monitor battery voltage, temperature, and charge state, safely delivering power. This circuit has built-in safety protocols. If it detects a fault—like an overheated battery, a short circuit, or a severely imbalanced cell—it will deliberately shut down the charging process to prevent fire or damage. This is often indicated by a specific blinking light pattern on the vacuum. These protections can sometimes be “tricked” or need a full system reset to clear the error state.
Immediate Troubleshooting: The First 15-Minute Checklist
Before you dismantle anything or call for help, run through this rapid-fire checklist. It solves over 70% of “Shark If251 battery not charging” complaints.
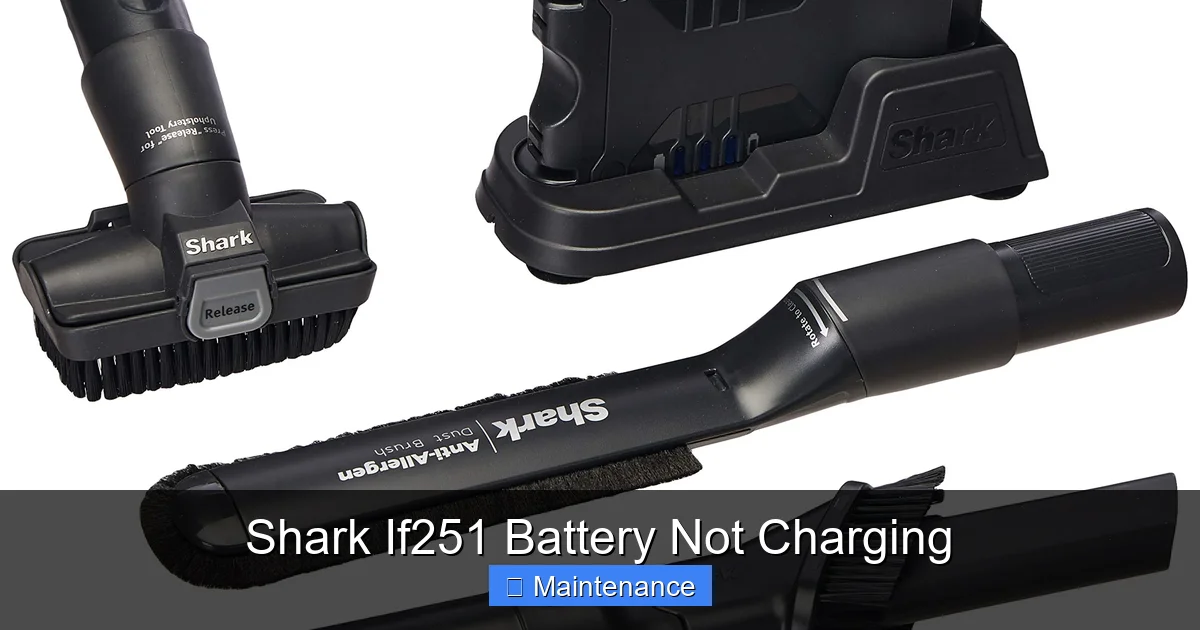
Visual guide about Shark If251 Battery Not Charging
Image source: m.media-amazon.com
1. The Power Source & Charger Test
This is step zero. Is the problem the vacuum, or is it the electricity? First, ensure the wall outlet is working. Plug a lamp or your phone charger into the same outlet. If there’s no power, check your circuit breaker. Next, inspect the charger itself. Look for any frayed cables, bent prongs, or damage to the charging block. If your Shark came with a charging dock, make sure it’s sitting flat on a non-conductive surface (like a wood floor, not a wet basement concrete slab). Try a different, known-good outlet in another room. If you have a multimeter, you can test the charger’s output voltage (refer to your manual for specs), but for most, a simple swap with a friend’s compatible Shark charger (if possible) is the easiest test.
2. The Golden Rule: Clean Those Contacts
Grab a dry, lint-free microfiber cloth. Dampen it *very slightly* with isopropyl alcohol (70% or less). Never spray liquid directly onto the vacuum. Power off the vacuum and remove the battery. Locate the two charging pins on the back of the vacuum body. Gently but firmly wipe them clean. You’ll often see a film of grey dust or a slight tarnish. Now, look at the corresponding contact plates on your charger dock or adapter. Clean them with the same cloth. Ensure they are not bent or recessed. For stubborn grime, use a cotton swab lightly dipped in alcohol. Let everything air dry completely for 2-3 minutes before reassembling. This simple act resolves countless charging failures.
3. The Full System Reset
Your Shark If251 has a brain, and sometimes it gets confused. A full power cycle reset can clear temporary glitches. Here’s the proper procedure: Unplug the charger from the wall. Remove the battery from the vacuum. Press and hold the power button on the vacuum for 15-30 seconds. This drains any residual power from the capacitors. Now, leave the battery and vacuum completely separate for 5 minutes. Reinsert the battery firmly until it clicks. Plug the charger into the wall and then onto the vacuum/dock. Place the vacuum on the dock or connect the adapter. Wait 5-10 minutes and check for any charging indicator lights. This reset is crucial if the vacuum was dropped, got wet (even slightly), or experienced a power surge.
4. Battery Seating & Visual Inspection
Remove the battery again. Look at the battery contacts (the two metal strips on the battery itself) and the contacts inside the vacuum’s battery compartment. Clean these as described above. Reinsert the battery, ensuring it is seated perfectly straight and clicks into place with a solid mechanical sound. A partially engaged battery won’t make contact. While you have the battery out, give it a visual once-over. Look for any signs of swelling, bulging, or casing distortion. If the battery is swollen, STOP. Do not charge it. It is a fire hazard and must be disposed of at an electronic waste facility immediately. Also, check for any leaking electrolyte or corrosion on the contacts.
Deep Dive: Advanced Diagnosis When Basics Fail
If you’ve meticulously completed the first 15-minute checklist and your Shark If251 battery is still not charging, it’s time for deeper investigation. The issue is likely less obvious.
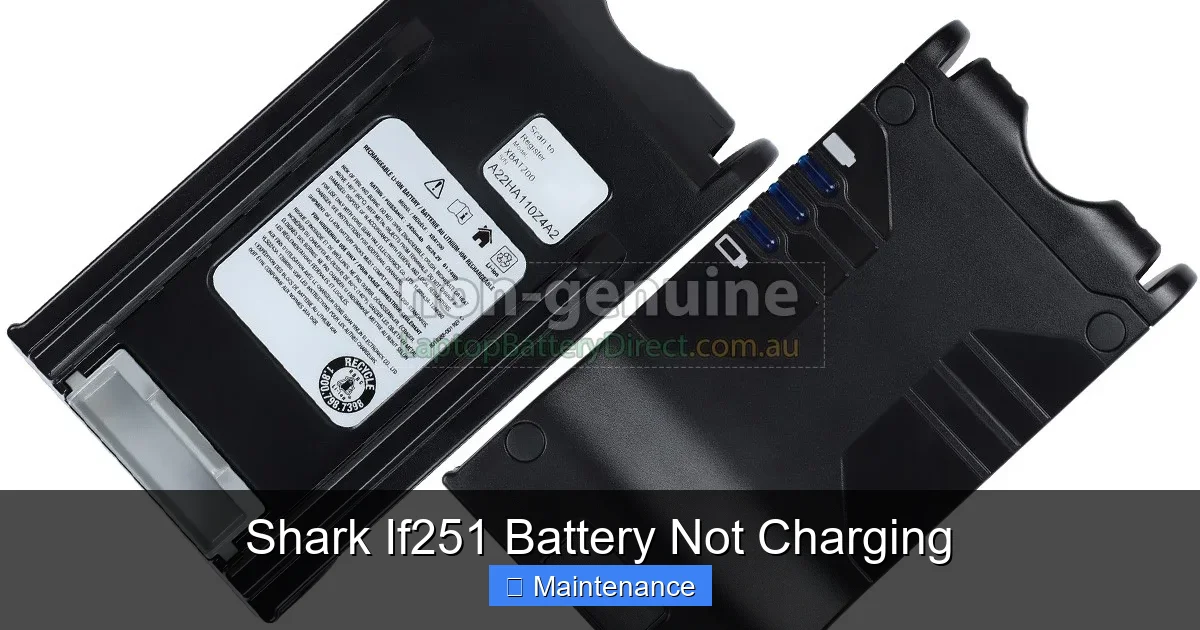
Visual guide about Shark If251 Battery Not Charging
Image source: laptopbatterydirect.com.au
Interpreting the Indicator Lights: What They’re Saying
Your Shark uses LED lights to communicate. Don’t just see “not charging”; learn the language. A solid green light on the charger or vacuum usually means “charging complete” or “fully charged.” A blinking green light typically means “actively charging.” A solid or blinking red light is the universal warning signal. A slow, steady red blink often indicates a “battery fault” or “over-temperature.” A rapid red blink might signal a “communication error” between the battery and the vacuum’s mainboard. Consult your specific model’s user manual for the exact light sequence meanings, as they can vary slightly by production year. This diagnostic code is your first real clue beyond “nothing happens.”
Testing for a Deeply Discharged Battery
Lithium-ion batteries have a protection circuit that kicks in if the voltage drops too low (usually below ~2.5V per cell). In this “sleep mode” or “over-discharged” state, the charger may see the battery as dead and refuse to charge it, showing no lights or a red error. This can happen if the vacuum was left unused for many months. The fix requires a bit of patience. Connect the charger and leave it on the vacuum/dock for a full 24-48 hours without interruption. The charger’s low-current “trickle” mode might slowly revive the battery past its safety cutoff. After this extended period, check for any lights. If it starts showing a charging light after 30 hours, let it charge fully. If there’s still no sign of life after two days, the battery is most likely permanently damaged from the deep discharge.
Investigating the Fuse and Internal Wiring
Shark vacuums, including the If251, often have a thermal fuse or resettable PTC fuse on the battery terminals or within the main body. This is a safety device that blows or trips if the battery or motor overheats. A tripped fuse will break the charging circuit. Visually, you might not see anything. You’ll need to access the battery compartment and, depending on your comfort with electronics, check for continuity with a multimeter across the fuse. If you’re not comfortable with this, this is the point where you might consider a professional repair. Also, inspect the ribbon cables and wire connectors inside the battery compartment. A loose or partially disconnected wire from the battery terminals to the mainboard will prevent charging. Reseat all connectors firmly.
Essential Maintenance to Prevent Future Charging Problems
An ounce of prevention is worth a pound of cure. Adopting a few simple habits will keep your Shark If251 battery healthy and charging reliably for years.
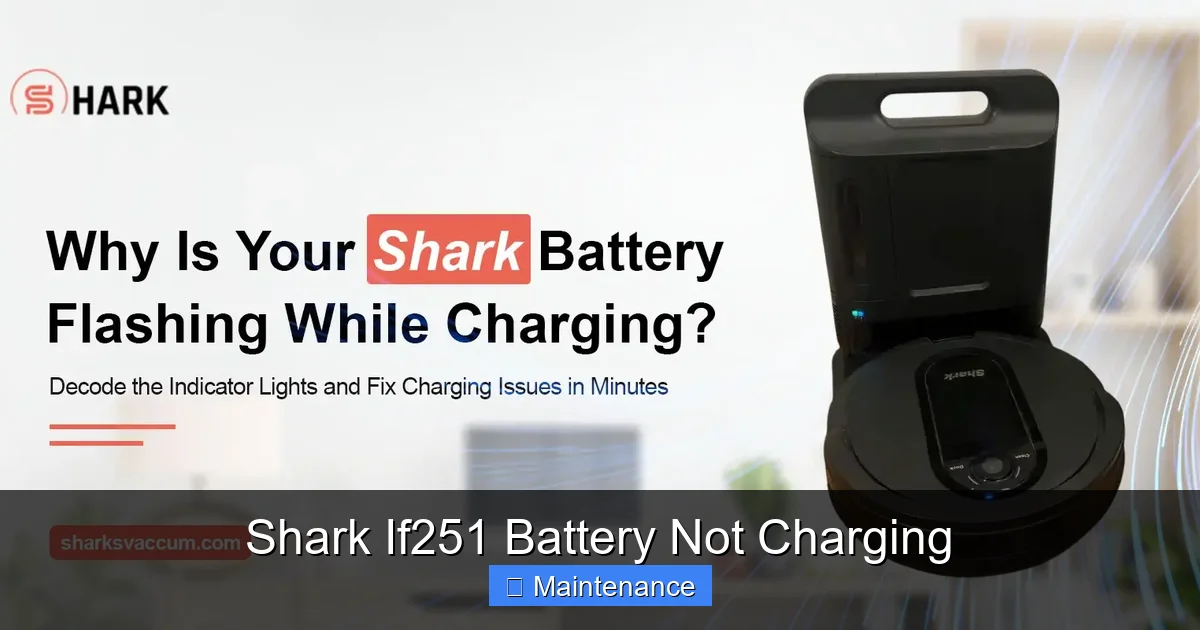
Visual guide about Shark If251 Battery Not Charging
Image source: sharksvaccum.com
Developing a Charging Routine
Forget the old advice to fully discharge lithium-ion batteries. It’s harmful. The optimal practice is to charge your Shark whenever it’s convenient. If you use it for a 10-minute spot clean and it’s at 60%, plug it back in. Frequent, shallow charges are ideal. However, it’s also beneficial to do a full charge cycle (let it run down to auto-shutoff, then charge to 100%) about once a month to help the battery management system calibrate its charge gauge. Never leave it on the charger constantly for weeks on end if it’s already at 100%. While modern chargers have trickle modes, prolonged 100% state-of-charge at room temperature accelerates chemical aging. If you won’t use the vacuum for a month or more, store it with a ~50% charge in a cool, dry place.
Environmental Care: Temperature is a Silent Killer
Extreme temperatures are the arch-nemesis of Li-ion batteries. Never charge or store your Shark If251 in a freezing garage or a hot attic. The ideal operating and storage temperature is between 50°F (10°C) and 80°F (27°C). Charging a cold battery (below 32°F/0°C) can cause permanent damage. If your vacuum has been in a cold car, bring it inside and let it warm to room temperature for several hours before charging. Conversely, leaving it on a sunny patio or in a hot car trunk can cause overheating, triggering safety cut-offs and degrading the cells faster. Always charge and store in a climate-controlled environment.
Holistic Vacuum Maintenance for Battery Longevity
A strained motor works harder and drains the battery faster. Keep your entire vacuum in top shape. Clean the pre-motor and post-motor filters monthly (or as indicated by the indicator). Washable filters should be rinsed with cold water and air-dried completely for 24 hours. Remove hair and debris from the brush roll housing weekly. A clogged brush roll or dirty airway makes the motor struggle. Empty the dust cup after every use. A full dust cup restricts airflow. By minimizing the workload on the motor, you directly reduce stress on the battery, allowing it to last longer per charge and have a longer overall lifespan.
Battery Replacement: The Inevitable and How to Do It Right
If all troubleshooting fails and your Shark If251 battery is more than 2-3 years old, the battery itself is the most probable failure point. Replacement is straightforward but requires care.
Confirming It’s Time for a New Battery
Before ordering a new battery, be absolutely sure. A new battery is an investment. You’ve done the reset, cleaned contacts, tried an extended charge, and checked for error lights. The battery still won’t take a charge or holds a charge for less than 5 minutes. That’s your sign. Also, if the battery case is swollen, misshapen, or feels hot to the touch during a charge attempt, replace it immediately. Do not attempt to use it further.
Sourcing the Correct Replacement
Always opt for a genuine Shark battery (part number IF251-BAT or similar). The Shark If251 uses a specific 18V lithium-ion battery pack. While third-party “compatible” batteries are cheaper, they are notorious for poor cell quality, lacking proper safety circuitry, and having much shorter lifespans. They can also potentially damage your vacuum’s mainboard. Purchase from authorized Shark retailers, the official Shark website, or highly reputable sellers with clear return policies. Have your exact model number (usually on a sticker on the back or underside) handy to ensure compatibility.
Safe Replacement Procedure
1. Ensure the vacuum is OFF and unplugged from any charger. Remove the old battery by pressing the release latch (usually on the back or underside) and pulling the battery straight out. 2. Take the new battery out of its packaging. Do not use if the packaging is damaged or the battery looks defective. 3. Align the new battery with the compartment guides and slide it in firmly until you hear and feel a solid click. 4. Plug the charger in and place the vacuum on the dock or connect the adapter. You should see a solid or blinking green charging light within a few seconds. 5. Let it charge fully (typically 3-4 hours) before first use. Dispose of your old battery properly at a designated e-waste recycling center—never in the regular trash.
When to Seek Professional Help or Contact Support
You’ve been through the wringer: cleaned, reset, waited, and replaced the battery. The Shark If251 battery is still not charging. Now what?
Diagnosing a Faulty Charger or Mainboard
If a brand-new genuine battery does not charge on your vacuum, but it *does* charge on a friend’s identical Shark If251 (if possible), the problem is almost certainly in your vacuum’s main charging circuitry or the charging pins/wiring. A failed component on the mainboard, a broken solder joint, or a damaged charging port requires micro-soldering skills and diagnostic tools. This is beyond the scope of typical DIY. Similarly, if your original charger is suspect and a new battery doesn’t fix it, the charger itself may be dead.
Navigating Warranty and Official Support
Check your purchase date. The Shark If251 typically comes with a limited warranty (often 1-5 years on the motor and 1-2 years on the battery and parts). If your vacuum is still under warranty, contact Shark Consumer Support directly. They may offer to replace the battery, charger, or even the entire unit under the warranty terms. Have your serial number and proof of purchase ready. Be prepared to describe the troubleshooting steps you’ve already taken—this shows you’re serious and can speed up the process. If out of warranty, you can still call for paid repair options, but often, the cost of repair approaches the price of a new vacuum, making replacement the more sensible choice.
Conclusion: Empowerment Through Understanding
A Shark If251 battery not charging is a significant inconvenience, but it is rarely a death sentence for your vacuum. By understanding the system—the battery, the contacts, the charger, and the internal safety circuits—you move from a frustrated user to an empowered problem-solver. Start with the simplest, most common fixes: check your outlet, clean those critical metal contacts obsessively, and perform the full system reset. These three steps resolve the lion’s share of issues. If that fails, interpret the LED codes and consider the battery’s age and health. Remember that preventative maintenance—keeping filters clean, avoiding temperature extremes, and adopting good charging habits—is the ultimate long-term strategy to keep your Shark If251 running powerfully and reliably. When all else fails and the battery is old, a genuine replacement is a cost-effective way to add years of service to your machine. You’ve got this. Now go make those contacts sparkle.
Frequently Asked Questions
How do I perform a full reset on my Shark If251?
Unplug the charger and remove the battery. Press and hold the power button on the vacuum for 15-30 seconds to drain residual power. Leave the battery and vacuum separate for 5 minutes. Reinsert the battery firmly and reconnect the charger. This clears most temporary error states causing a Shark If251 battery not charging.
What is the average lifespan of a Shark If251 battery?
With proper care and typical use (2-3 times per week), the lithium-ion battery in a Shark If251 should last for approximately 2-3 years or 300-500 charge cycles before its capacity noticeably degrades to the point of being unusable.
Can I use a third-party charger with my Shark If251?
While it may physically fit, we strongly advise against using non-genuine chargers. They often lack the correct voltage regulation and safety certifications, which can damage the battery, the vacuum’s internal circuitry, or pose a fire risk. Always use the original Shark charger or a genuine replacement.
My charger light is on, but the vacuum still won’t charge. Why?
This almost always points to dirty or misaligned charging contacts. The charger may have power, but it cannot transfer it to the battery. Thoroughly clean the metal pins on the vacuum and the plates on the charger with a dry or slightly alcohol-dampened microfiber cloth. Also, ensure the battery is seated correctly.
How should I store my Shark If251 for long periods?
For storage longer than a month, charge the battery to about 50%. Remove it from the vacuum to prevent any parasitic drain. Store both the vacuum and the battery separately in a cool, dry place (ideally 50-70°F). Avoid extreme temperatures and humidity. Recharge to 50% every 6 months if in long-term storage.
Is a swollen Shark If251 battery dangerous?
Yes. A swollen or bulging battery is a serious safety hazard. It indicates internal chemical failure and a high risk of fire or explosion. Immediately stop using or charging the vacuum. Do not puncture or dispose of it in regular trash. Take it to an official electronic waste recycling facility or a retailer that offers battery disposal.