Dealing with a Shark cordless upright that won’t hold a charge is frustrating but often fixable. The issue typically stems from battery degradation, poor charging habits, or dirty electrical contacts. This guide walks you through precise troubleshooting steps, from simple cleaning to battery replacement, helping you diagnose the exact cause and restore your vacuum’s power. Learn proper maintenance to significantly extend your battery’s lifespan and avoid future problems.
You march into the living room, Shark cordless upright in hand, ready to conquer the post-dinner mess. You press the power button. The vacuum hums to life for about 30 seconds… and then sputters and dies. The battery indicator, which you swear was full just yesterday, now blinks a sad, low-power red. Sound familiar? When your Shark cordless upright vacuum isn’t holding a charge, it turns a simple chore into a major headache. That reliable cleaning partner is suddenly more frustrating than functional.
The good news is that this is one of the most common issues with all cordless vacuums, not just Sharks, and it’s often solvable without immediately rushing out to buy an expensive new battery. The problem usually lies somewhere in the chain of power: from the wall outlet, through the charger dock, into the battery itself, and finally to the motor. This guide will be your systematic troubleshooting companion. We’ll start with the simplest, most likely fixes and move toward more complex solutions. By the end, you’ll know exactly why your Shark’s battery is dying so fast and what you can do about it, saving you time, money, and aggravation.
Key Takeaways
- Battery Age is Primary Culprit: Lithium-ion batteries naturally degrade over 2-3 years, losing capacity and runtime, which is the most common reason for charge issues.
- Clean Contacts Solve Many Problems: Oxidized or dirty charging contacts on both the vacuum and the dock are a frequent, easily-fixed cause of charging failure.
- Proper Charging Habits Extend Life: Avoid full discharges; store the vacuum on the dock; keep it in a cool, dry place away from direct sunlight or freezing temperatures.
- Resetting the System Can Help: A full power cycle reset (removing the battery and holding the power button) can clear error codes and recalibrate the battery management system.
- Genuine Shark Batteries are Critical: Always replace with a genuine Shark battery part number to ensure safety, compatibility, and optimal performance; off-brand batteries pose risks.
- Diagnosis is Key Before Replacement: Don’t assume the battery is dead. Systematically rule out power source issues, dirty contacts, and software glitches before purchasing a new battery.
- Warranty May Cover Replacement: If your vacuum is still under the limited warranty (typically 1-5 years depending on model), a defective battery may be covered, saving you significant cost.
[FEATURED_IMAGE_PLACEHOLDER]
📑 Table of Contents
- Understanding Your Shark’s Power System: It’s Not Just the Battery
- The Essential First Steps: Ruling Out the Simple Stuff
- Diagnosing Battery Health: Is It Time for a Replacement?
- Battery Replacement: Your Complete Guide
- Advanced Troubleshooting and When to Seek Help
- Proactive Maintenance: Making Your Battery Last Longer
- Conclusion: Empowering Your Cleaning Routine
Understanding Your Shark’s Power System: It’s Not Just the Battery
Before we start pulling things apart, it helps to understand the basic ecosystem that keeps your Shark charged. Think of it as a four-part team: the power source, the charger, the battery, and the vacuum’s brain (its battery management system). A failure in any one part can make it seem like the battery is faulty.
The Wall Outlet and Charger Dock
It all starts here. If the electricity isn’t flowing properly from your wall socket into the Shark’s charging dock, nothing else matters. A tripped circuit breaker, a loose plug, or a faulty wall outlet can silently prevent charging. The charger dock itself has an internal power supply that converts your home’s AC power into the DC power the battery needs. These docks can fail over time.
The Battery: Heart of the Matter
Your Shark uses a lithium-ion (Li-ion) battery pack, prized for its high energy density and lack of “memory effect.” But they aren’t immortal. With each charge and discharge cycle, the battery’s internal chemistry ages. A typical Shark Li-ion battery is designed for about 300-500 full charge cycles before its capacity drops to 70-80% of its original level. If your vacuum is 2-3 years old and sees heavy use, capacity loss is the most probable culprit. Extreme temperatures—both hot and cold—are its worst enemies, accelerating degradation.
The Battery Management System (BMS)
Hidden inside the battery pack is a tiny computer chip, the BMS. This is the battery’s guardian. It monitors temperature, voltage, and current. It prevents overcharging (though modern chargers handle this), overheating, and deep discharging. Sometimes, the BMS can get into a confused state, especially after a power surge or if the battery was deeply discharged. It might incorrectly report a “full” charge when the cells are empty, or it might shut down the battery prematurely as a safety measure. Resetting this system is a key troubleshooting step.
The Essential First Steps: Ruling Out the Simple Stuff
Don’t grab a screwdriver yet! The most common reasons for a Shark not holding a charge are incredibly simple to check and fix. Let’s start here to avoid unnecessary part replacements.
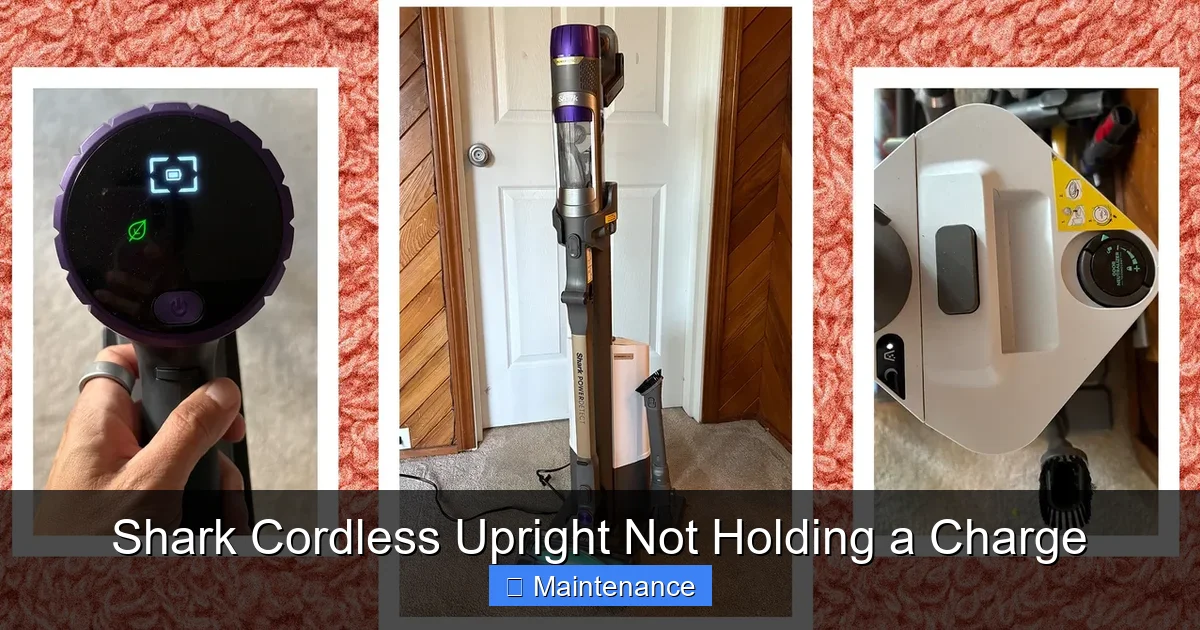
Visual guide about Shark Cordless Upright Not Holding a Charge
Image source: media.wired.com
1. The Power Source Check
This takes two minutes. First, ensure the charger’s plug is firmly inserted into a working wall outlet. Test the outlet with a lamp or your phone charger. Second, check your home’s circuit breaker panel for any tripped breakers, especially if the vacuum is on a dedicated circuit or in a kitchen/bathroom with GFCI outlets. Press the “reset” button on any GFCI outlet in the same room. A lack of power here is the #1 overlooked issue.
2. Inspect and Clean the Charging Contacts
This is the second most common fix and takes five minutes. Over time, dust, hair, and debris collect on the metal charging pins on both the vacuum’s base and the dock’s prongs. A thin layer of grime or a slight oxidation (a white or greenish crust) can completely block the electrical connection.
- What you need: A dry, lint-free microfiber cloth and a cotton swab. For stubborn oxidation, a tiny drop of isopropyl alcohol (90%+) on the swab.
- The process: Unplug the dock from the wall. Visually inspect the two or three metal prongs on the dock and the corresponding metal pads on the vacuum’s underside. Gently wipe both sets of contacts with the dry cloth. If you see any residue, lightly dampen a cotton swab with alcohol and carefully clean the metal surfaces. Let them air dry for 60 seconds. Plug the dock back in and try charging.
Pro Tip: Make this a monthly habit. A quick wipe-down of these contacts prevents 80% of charging-related headaches.
3. Test with a Different Outlet/Extension Cord
If you’re using an extension cord or a power strip, bypass it. Plug the charger directly into a known-good wall outlet. Cheap or damaged extension cords can fail to deliver the consistent amperage the charger needs. Also, try a different outlet in a different room, ideally on a different circuit breaker. This rules out a faulty circuit in your home.
Diagnosing Battery Health: Is It Time for a Replacement?
If the power source and contacts are clean and confirmed working, the battery itself is the prime suspect. But how do you know if it’s truly at the end of its life versus just needing a reset?
Visual guide about Shark Cordless Upright Not Holding a Charge
Image source: sharkvacuum.blog
Signs of a Failing Battery
Look for these clear symptoms:
- Drastic Runtime Drop: It used to run for 45 minutes on a charge; now it dies in 5-10 minutes, even on the lowest suction setting.
- Charging Becomes Intermittent: The charging light flickers on and off, or the battery indicator jumps from 25% to 75% to empty within moments.
- The Battery Feels Warm/Hot: A healthy battery may get slightly warm during charging. If it becomes noticeably hot to the touch within minutes of starting to charge, the cells are likely failing.
- Physical Distortion: Any swelling, bulging, or deformation of the battery pack is a major safety hazard. Stop using and charging it immediately. Dispose of it properly at an electronics recycler.
- Age: If your Shark is more than three years old and used regularly, capacity loss is statistically likely.
How to Perform a True Battery Reset
Before condemning the battery, perform a full system reset. This can clear any erroneous data stored in the BMS and force a recalibration.
- Fully Deplete the Battery: Run the vacuum on the highest setting until it completely shuts off. Do not force it, but let it die naturally. This step is crucial.
- Remove the Battery: Locate the battery release latch (usually on the back or underside). Press it and slide the battery pack out of the vacuum.
- Press and Hold the Power Button: With the battery removed, press and hold the vacuum’s main power button for 15-30 seconds. This drains any residual power from the capacitors, clearing the system’s memory.
- Reinsert and Charge: Slide the battery back in firmly until it clicks. Place the entire unit on the charging dock and plug it in. Let it charge uninterrupted for a full 24 hours, even if the indicator says “Full.” This long, slow charge can sometimes revive a deeply discharged cell.
After this, test the runtime. If there’s no significant improvement, the battery’s health is the issue.
Battery Replacement: Your Complete Guide
If diagnostics point to a dead battery, replacement is the solution. But it’s not as simple as ordering any “Shark battery.”
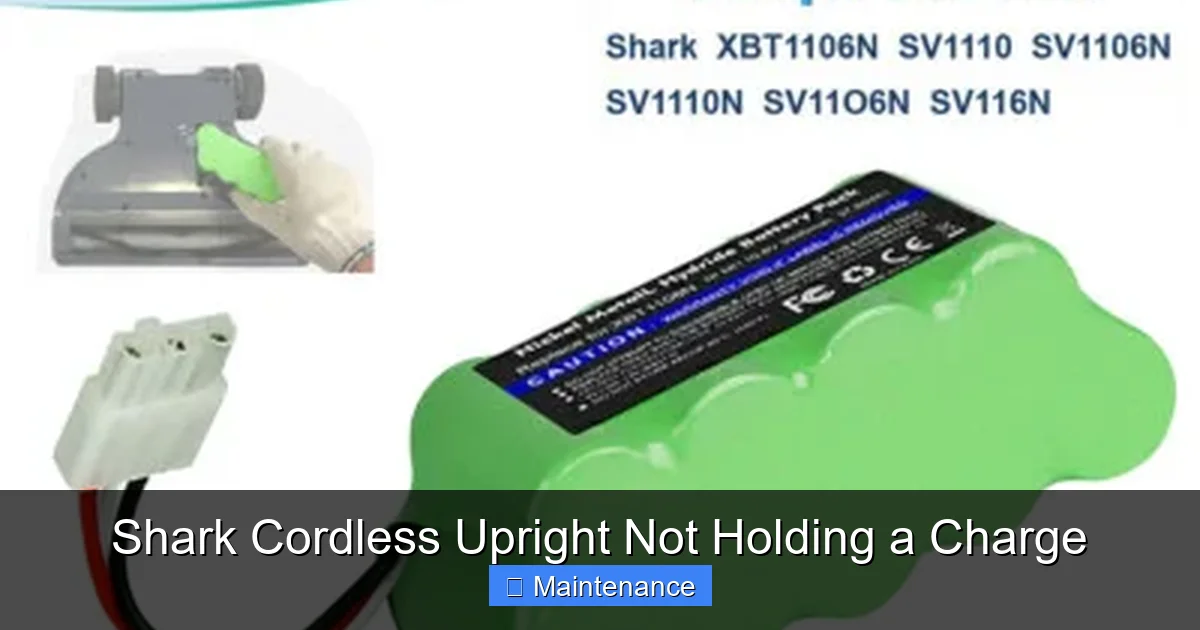
Visual guide about Shark Cordless Upright Not Holding a Charge
Image source: i.ebayimg.com
Finding the Correct Genuine Shark Battery
Using the correct battery is non-negotiable for safety and performance. Shark batteries are model-specific. The part number is printed on a sticker on the original battery itself. Common part numbers include:
- For Shark Vertex/AZ series: XBAT200, XBAT201
- For Shark IZ series: IZBAT01, IZBAT02
- For older Shark Navigator Freestyle: SV780, SV780X
Always double-check your vacuum’s model number (on the back or underside label) against the battery’s compatibility list on Shark’s official website or a reputable authorized parts dealer. Using an incompatible battery can damage the vacuum’s electronics or, in worst cases, cause overheating.
Where to Buy: Genuine vs. Aftermarket
You have three main options:
- Shark Official: The safest, most reliable source. Often the most expensive, but you get a genuine part with a warranty.
- Authorized Retailers (Amazon, Best Buy, Target): They sell genuine Shark parts. Ensure the seller is “Shark” or “SharkNINJA” directly. Be wary of third-party sellers on these platforms.
- Aftermarket/Third-Party Batteries: Exercise extreme caution. These are cheaper but pose significant risks: incorrect voltage, poor-quality cells that degrade faster, lack of proper BMS protection (fire risk), and they can void your vacuum’s warranty. The savings are rarely worth the potential safety hazard and damage to your expensive vacuum.
The Replacement Process: Step-by-Step
Replacing a Shark battery is designed to be a user-friendly task. Here’s the general process (always consult your specific model’s manual):
- Unplug the Dock: Ensure the charging dock is disconnected from the wall outlet.
- Lay the Vacuum Flat: Place the vacuum on its side or back on a soft towel to protect the finish.
- Locate and Release the Latch: Find the battery release lever or button. This is often a gray or black tab on the rear of the battery pack. Press it firmly and slide the battery straight out. Some models require you to tilt the battery upward slightly as you pull.
- Disconnect (if applicable): Some newer models have a small plug-and-socket connector. Gently unplug it.
- Install the New Battery: Align the new battery with the guides in the compartment. Slide it in firmly until you hear/feel a distinct click, ensuring it’s seated fully and the latch engages. Reconnect any plug if your model has one.
- Test: Before reinstalling on the dock, press the power button on the vacuum to ensure it turns on. Then place it on the dock to begin its first charge.
Advanced Troubleshooting and When to Seek Help
You’ve cleaned contacts, reset the system, and installed a known-good genuine battery, but the problem persists. Now it’s time to look at the less common, more complex failures.
Faulty Charging Dock
The dock is an active electronic component, not just a stand. Its internal power supply can fail. A way to test this: if your vacuum’s removable battery can be charged outside the vacuum (some models allow this via a separate port on the battery itself), try that. If the battery charges fine on a standalone charger but not when in the vacuum on the dock, the dock is likely defective. You can purchase a replacement dock separately from Shark.
Internal Electronics Failure
There could be a problem with the power switch, the wiring harness inside the vacuum’s handle or body, or the main control board. Diagnosing this requires a multimeter and technical skill. Look for any visible damage, frayed wires, or loose connectors inside the battery compartment and along the handle’s wiring channel (often under the release button cover). If you’re not comfortable with this, it’s time to call in the pros.
Software Glitches and Firmware
Surprisingly, some Shark models with app connectivity can experience software bugs that affect charging indicators or power delivery. Check the Shark app or Shark website for any firmware updates for your specific model. Updating the software can sometimes resolve phantom power issues.
Proactive Maintenance: Making Your Battery Last Longer
Whether you’ve just replaced your battery or are nursing the old one along, these habits will maximize its lifespan and keep your Shark running strong for years.
The Golden Rules of Charging
- Avoid the Deep Drain: Unlike old nickel-cadmium batteries, Li-ion batteries hate being run to 0%. Try to charge your vacuum when the battery indicator shows one or two bars remaining. Frequent full discharges are the fastest way to kill capacity.
- It’s Okay to Leave It on the Dock: Modern chargers and BMS systems have trickle charging. Once full, they stop feeding power. Storing your vacuum on the dock keeps it ready and maintains a 100% charge without harm. Just ensure the storage area is cool.
- Use It or Lose It: If you won’t use the vacuum for a month or more, store it with a ~50% charge in a cool, dry place. A fully charged battery stored for months will degrade faster.
Environmental Care: Temperature is the Enemy
Never charge or store your Shark in:
- A hot garage in summer
- Next to a radiator or sunny window
- An unheated shed in winter (below 32°F/0°C can cause permanent damage)
The ideal storage and charging temperature is between 50°F and 80°F (10°C – 27°C).
Keep It Clean, Inside and Out
A clogged vacuum works harder, drawing more current and draining the battery faster. Regularly empty the dust cup, clean the pre-motor and post-motor filters (washable ones with water only, let dry 24hrs), and check for blockages in the hose and wand. A clean vacuum is an efficient vacuum, which means a longer runtime per charge.
Conclusion: Empowering Your Cleaning Routine
Your Shark cordless upright is a significant investment in a more convenient home. When it stops holding a charge, it feels like that investment is wasted. But as we’ve seen, the solution is rarely a lost cause. By methodically working through the diagnostic steps—starting with the power source, meticulously cleaning those critical contacts, performing a full system reset, and finally evaluating the battery’s age and health—you can accurately pinpoint the failure.
Remember, the battery is a consumable part, designed to last a few years under normal use. Replacing it with a genuine Shark part is a straightforward, cost-effective way to give your vacuum a second life, often for a fraction of the cost of a new machine. More importantly, adopting the simple maintenance habits outlined—avoiding deep discharges, storing it in a temperate place, and keeping it clean—will protect your new battery and ensure your Shark remains the agile, powerful cleaning tool you bought it to be. Don’t let a power problem sideline your best cleaning weapon. Take control, troubleshoot with confidence, and get back to enjoying a truly cordless clean.
Frequently Asked Questions
How long should a Shark cordless vacuum battery last before it needs replacing?
A well-maintained Shark lithium-ion battery typically retains about 70-80% of its original capacity after 2-3 years of regular use (300-500 charge cycles). Significant runtime loss before this age may indicate a defective battery covered by warranty.
Can I use my Shark vacuum while it’s charging on the dock?
No. Shark cordless vacuums are designed to charge only when parked on their dock with the power button off. Attempting to use it while on the dock can damage the charging circuit and is a safety hazard. Always remove it from the dock to use.
Is it safe to buy a third-party replacement battery for my Shark?
We strongly advise against it. Third-party batteries often lack proper safety certifications, may use inferior cells that degrade rapidly or swell, and can have incompatible voltage that damages your vacuum’s motor and electronics. Always use a genuine Shark battery part for safety and performance.
My vacuum charges for a few minutes then the light goes off. What’s wrong?
This usually points to dirty charging contacts on either the vacuum or the dock. Oxidation or debris prevents a complete circuit, so the charger “thinks” the vacuum is removed and stops. A thorough cleaning of both contact points with a dry cloth and isopropyl alcohol often resolves this instantly.
Can extreme temperatures ruin my Shark’s battery?
Yes. Both high heat (above 80°F/27°C) and freezing cold (below 32°F/0°C) can cause permanent capacity loss and damage to lithium-ion cells. Never charge or store your vacuum in a hot garage, car trunk, or cold shed. Always keep it in a climate-controlled indoor space.
My vacuum is under warranty. What should I do about the battery issue?
Contact Shark Customer Support directly with your model and serial number and a description of the issue. They will guide you through warranty troubleshooting. If the battery is deemed defective under the warranty terms (usually 1-5 years), they will provide a free genuine replacement, though you may need to pay for shipping.