Experiencing a Shark battery not holding charge is a common but frustrating issue for vacuum owners. This problem typically stems from battery degradation, charging system faults, or software glitches. This guide provides a structured diagnostic approach, from simple resets and cleaning to advanced testing and replacement decisions. Understanding your specific Shark model and practicing proper maintenance are key to restoring power and extending battery life.
Key Takeaways
- Battery Age is Primary Culprit: Lithium-ion batteries naturally degrade over 2-3 years, losing capacity and failing to hold a full charge, which is the most frequent cause of this issue.
- Diagnosis is Systematic: Always start with the simplest solutions: reset the machine, clean charging contacts, and test with a known-good charger before assuming the battery is dead.
- Model Matters: Issues differ between Shark Stick Vacuums (like Vertex, IZ) and Shark Robots (AI Ultra, IQ). Robot vacuums have additional software and navigation-related power drains.
- Genuine Parts are Critical: Using non-genuine or incorrect replacement batteries can cause poor performance, safety risks, and void warranties. Always source parts from Shark or authorized dealers.
- Prevention Extends Life: Proper storage (cool, dry, partially charged), avoiding complete discharges, and regular filter cleaning significantly slow battery degradation and maintain performance.
- Charging System Faults Mimic Battery Failure: A faulty charging port, cable, or wall adapter can prevent a healthy battery from charging. Isolating the component is essential for an accurate diagnosis.
- Software Glitches Occur: Especially in robot vacuums, firmware bugs can cause excessive power drain or charging errors. A full reset or firmware update often resolves these phantom issues.
📑 Table of Contents
- Introduction: The Dreaded “Shark Battery Not Holding Charge” Moment
- Understanding Your Shark’s Power Source: Lithium-Ion Battery Basics
- Systematic Diagnosis: Is It the Battery, Charger, or Something Else?
- Model-Specific Nuances: Stick Vacs vs. Robot Vacuums
- Step-by-Step Troubleshooting and Repair Guide
- When Replacement is Inevitable: Choosing and Installing a New Battery
- Preventative Maintenance: Keeping Your Shark Battery Healthy for Years
- Conclusion: Empowering You to Solve the Problem
Introduction: The Dreaded “Shark Battery Not Holding Charge” Moment
You plug your Shark vacuum into the charger, the light indicates it’s full, you unplug it, and it dies in minutes. Or your Shark robot vacuum returns to the dock, claims it’s charged, but can’t clean a single room. This scenario, a Shark battery not holding charge, is one of the most common and frustrating issues homeowners face with cordless vacuums and robots. It turns a reliable cleaning tool into a useless plastic paperweight. The good news? This problem is often diagnosable and fixable without immediately jumping to a costly replacement.
This guide will walk you through everything you need to know, from the fundamental science of why batteries fail to step-by-step troubleshooting for your specific Shark model. We’ll cover Shark stick vacuums like the Vertex, IZ, and Stratos series, as well as robot vacuums like the Shark AI Ultra and Shark IQ. By the end, you’ll be equipped to determine if your battery is truly dead, if your charger is at fault, or if a simple reset and cleaning can bring your Shark back to life.
Understanding Your Shark’s Power Source: Lithium-Ion Battery Basics
Before diving into fixes, it’s crucial to understand what you’re dealing with. All modern Shark cordless vacuums and robots use lithium-ion (Li-ion) batteries. These are fantastic power sources—lightweight, powerful, and with no “memory effect.” However, they are consumable components with a finite lifespan, typically rated for 300-500 full charge cycles before their capacity degrades to 80% of the original. This degradation is a chemical process, not a defect.
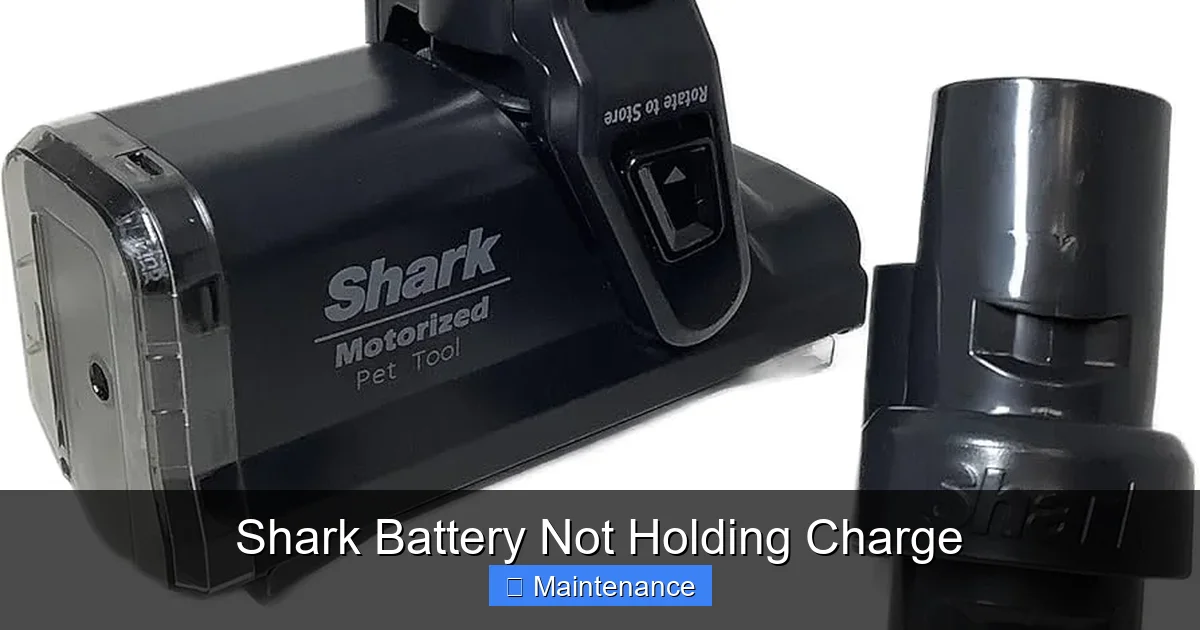
Visual guide about Shark Battery Not Holding Charge
Image source: m.media-amazon.com
The Chemistry of Degradation
Every time you charge and discharge a Li-ion cell, tiny changes occur inside. Electrolytes break down, and the anode and cathode surfaces develop a passivation layer. This increases internal resistance. A battery with high internal resistance can show a “full” voltage when at rest but collapses under load (like when the vacuum motor starts). This is why your Shark might show 100% on the indicator but shut off instantly when you press the trigger—the battery can’t deliver the required current.
Factors That Accelerate Death
While time is the main factor, your habits can drastically shorten battery life:
- Heat is Enemy #1: Storing your vacuum in a hot garage or leaving it on a sunny patio cooks the battery. High temperatures permanently damage the internal chemistry.
- Deep Discharges: Regularly running the battery to 0% before charging stresses it. Li-ion batteries prefer shallow discharges (e.g., 20-80%).
- Using the Wrong Charger: A charger with the wrong voltage or amperage output can undercharge or, worse, damage the battery management system (BMS).
- Physical Damage: A drop or puncture can compromise the cell internals, leading to immediate failure or, dangerously, thermal runaway.
Systematic Diagnosis: Is It the Battery, Charger, or Something Else?
When faced with a Shark battery not holding charge, never assume the battery is bad. A systematic approach saves money and prevents unnecessary replacements. Follow this flowchart in order.
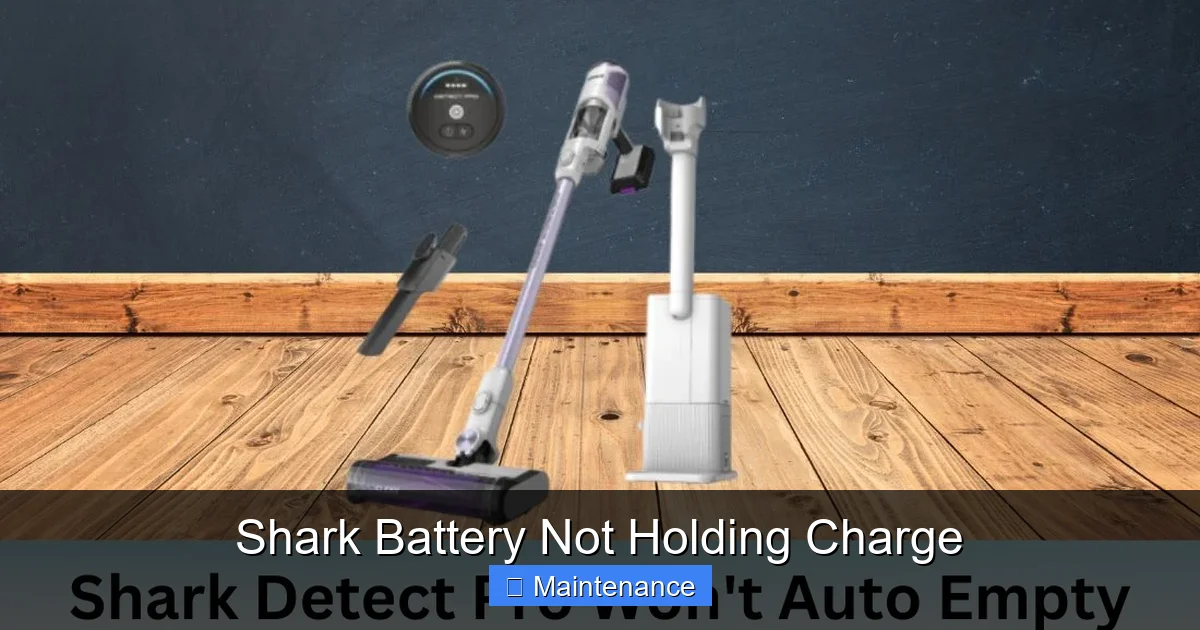
Visual guide about Shark Battery Not Holding Charge
Image source: sharkvacuum.blog
Step 1: The Visual and Physical Inspection
Begin with your eyes and fingers. Check the battery contacts on both the vacuum and the charger/dock. Are they clean? Look for any white/green corrosion, dust bunnies, or sticky residue. Even a thin film of grime can prevent a proper electrical connection. Use a dry cotton swab or a pencil eraser to gently clean the metal contacts. Inspect the battery casing for any visible swelling, cracks, or punctures. A swollen battery is a safety hazard—stop using it immediately and dispose of it properly at a battery recycling center.
Step 2: The Charger and Power Source Test
This is the most overlooked step. Your charger or the wall outlet could be the problem.
- Test the Outlet: Plug another device, like a lamp or phone charger, into the same outlet. Ensure it works.
- Inspect the Charger/Cable: Look for frayed wires, bent prongs, or damage to the charging cable. Smell it—a burnt odor indicates internal failure.
- Check Charger Output: If you have a multimeter, you can test the charger’s output voltage. It should match the voltage printed on the charger’s label (e.g., 18V, 20V, 22V). A significantly lower reading means a faulty charger.
- Try a Different Shark Charger: If you have a friend with a compatible Shark model, see if their charger works on your vacuum. This is the quickest way to isolate a charger fault.
Step 3: The Reset Procedure (The Magic Fix for Many)
Shark vacuums, especially robots, have internal computers and BMS that can glitch. A full reset clears temporary errors and recalibrates the battery gauge.
- For Stick Vacuums (Vertex, IZ, etc.): Remove the battery. Press and hold the power button on the vacuum body for 10-15 seconds to discharge any residual power. Reinsert the battery firmly. Connect it to the charger and let it charge uninterrupted for at least 4 hours, even if the light says “full.”
- For Robot Vacuums (AI Ultra, IQ, etc.): Locate the reset button (often a small pinhole on the underside or side). Use a paperclip to press and hold it for 10 seconds. Alternatively, power off the robot, remove the battery for 60 seconds, reinsert, and dock it. Then, perform a full charge cycle.
Model-Specific Nuances: Stick Vacs vs. Robot Vacuums
While the core battery principles are the same, the symptoms and some fixes differ between Shark’s main product lines.
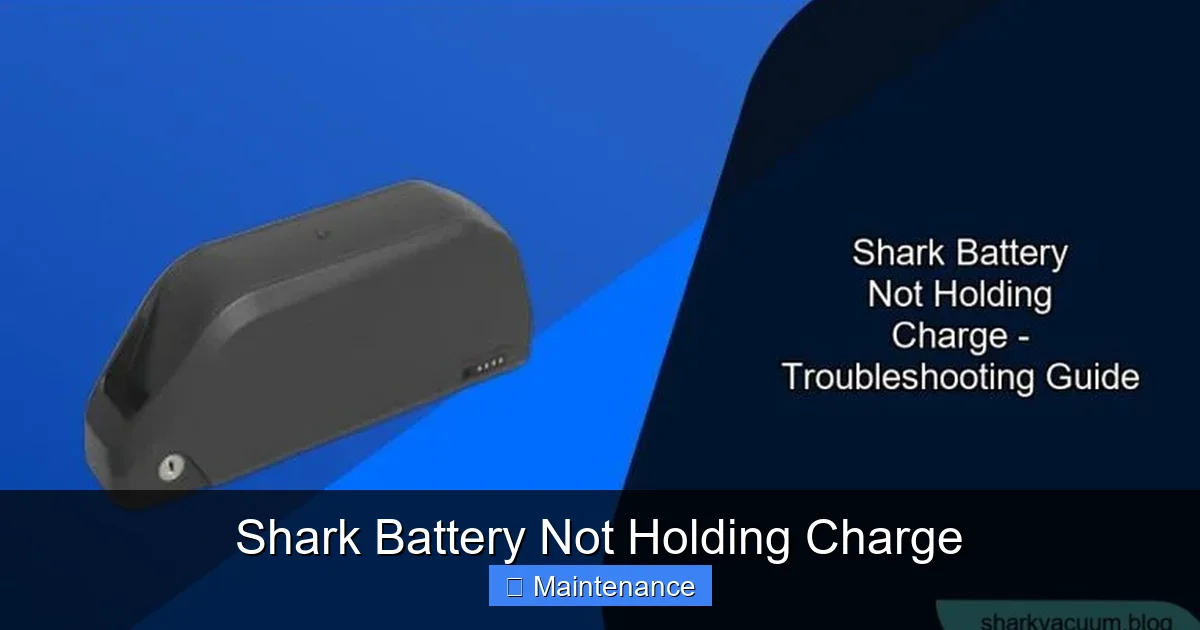
Visual guide about Shark Battery Not Holding Charge
Image source: sharkvacuum.blog
Shark Cordless Stick Vacuums (Vertex, IZ, Stratos, etc.)
The classic “Shark battery not holding charge” complaint often comes from these models. The issue is usually straightforward: the battery is old. The main diagnostic steps above apply perfectly. A key tip: these vacuums often have a removable battery. If you have a second, compatible battery, test your vacuum with it. If the second battery works fine, your first battery is dead. Also, check if your model has a battery indicator button. Pressing it can show the exact remaining charge percentage, which helps diagnose if the gauge itself is faulty (showing 100% but voltage is low).
Shark Robot Vacuums (AI Ultra, IQ, RV, etc.)
Robot vacuums add layers of complexity. A “Shark robot battery not holding charge” can be due to:
- Software/Power Management: The robot’s navigation system (AI, IQ) is power-hungry. A software bug can cause the system to run unnecessarily or fail to enter deep sleep mode, draining the battery even when docked.
- Dock Communication: The robot and dock must “handshake.” Dirty charging contacts on the robot’s bottom or the dock’s charging probes will prevent charging. The robot may think it’s docked and charging when it’s not.
- Wheel Motor Drag: If a wheel motor is binding or has debris wrapped around it, the robot works harder to move, draining the battery faster. This can mimic a bad battery.
- Firmware: Outdated firmware can have power management bugs. Always ensure your robot is updated via the SharkClean app.
Robot-Specific Diagnostic: Manually place the robot on its dock, ensuring the contacts align perfectly. Observe the dock’s light. Is it solid (charging) or blinking (error)? Check the robot’s app for any error messages about charging or docking.
Step-by-Step Troubleshooting and Repair Guide
Assuming you’ve completed the basic diagnosis (cleaned contacts, reset, tested charger), here is a more advanced, actionable plan.
For Stick Vacuums: The Battery Replacement Decision
If your stick vacuum’s battery is over two years old and fails the tests, replacement is likely the only solution.
- Identify Your Exact Model Number: This is critical. Find the label on the vacuum body or battery itself (e.g., HV322, IZ682, SV780).
- Source the Correct Battery: Go to Shark’s official website or an authorized parts retailer like PartSelect or eReplacementParts. Enter your model number. Never buy a generic “fits Shark” battery from a marketplace without verifying the exact part number (e.g., “XNHV321” for an HV322). Generic batteries often use inferior cells and lack proper BMS, leading to poor performance and safety risks.
- Replacement Process: Usually, it involves unlocking the battery compartment (a latch or screw), removing the old battery, and sliding/clicking the new one in. Ensure it’s seated fully. Dispose of the old Li-ion battery at a designated recycling facility—do not throw in the trash.
- Post-Replacement Calibration: For the first 3-5 cycles, let the new battery fully discharge (until the vacuum shuts off) and then charge it to 100% uninterrupted. This helps the BMS accurately gauge capacity.
For Robot Vacuums: Deeper Cleaning and Dock Checks
Before replacing a robot battery, exhaust these steps:
- Deep Clean the Charging Contacts: Use a cotton swab dipped in a tiny amount of isopropyl alcohol (90%+) to clean the metal charging pins on both the robot’s underside and the dock. Wipe dry. Do this monthly.
- Inspect and Clean the Wheels: Remove the robot’s main wheels (usually pull out). Clean any hair, string, or grit from the wheel axles and the wheel wells. Spin the wheels freely by hand. Any resistance means the wheel motor or gearbox may be failing, causing excess drain.
- Check for Software Issues: In the SharkClean app, check for and install any firmware updates. Perform a factory reset of the robot through the app settings. Reconfigure it from scratch.
- Test Without the Dock: Manually power on the robot and let it run on the floor until it dies. Note the runtime. If it’s dramatically less than the advertised time, the battery is suspect. If it’s close to normal, the problem may be with the dock or the robot’s ability to find/dock with it.
When Replacement is Inevitable: Choosing and Installing a New Battery
If all diagnostics point to a dead battery, it’s time for a replacement. Here’s how to do it right.
How to Identify the Correct Replacement Battery
Do not guess. The safest method:
- Locate the model number on your Shark vacuum/robot (e.g., on a label on the back or underside).
- Go to Shark’s official customer support or parts page.
- Search for your model. The parts list will show the official battery part number (e.g., “Battery Pack, XNHV321”).
- Purchase this exact part from Shark or a verified retailer. The cost for a genuine Shark battery typically ranges from $60 to $120, depending on the model and capacity.
Warning About Third-Party Batteries: While cheaper, third-party batteries often lack the sophisticated Battery Management System (BMS) that protects against overcharging, overheating, and over-discharging. They can swell, leak, or even catch fire. They also rarely hold the advertised capacity, so you’ll be disappointed again quickly.
Installation: Stick Vacs vs. Robots
- Stick Vacuum: Usually a simple slide-and-lock mechanism. Ensure the locking tabs click into place. A loose connection will cause intermittent power.
- Robot Vacuum: Often involves removing a bottom cover with screws. Disconnect the old battery’s plug (note the orientation) and connect the new one. Reassemble carefully, ensuring no wires are pinched.
After installing any new battery, follow the calibration procedure mentioned earlier: 3-5 full charge/discharge cycles to condition the cells and allow the BMS to learn the new capacity.
Preventative Maintenance: Keeping Your Shark Battery Healthy for Years
An ounce of prevention is worth a pound of cure. Adopt these habits to maximize your Shark battery’s lifespan.
The Ideal Charging and Storage Routine
Contrary to old advice, you don’t need to fully discharge Li-ion batteries. In fact, it’s harmful.
- Charge When Convenient: Top up the battery whenever it’s convenient. Avoid letting it sit at 100% for weeks on end if the vacuum is not in use.
- For Long-Term Storage (e.g., seasonal use): Store the vacuum with the battery at about 50% charge. Remove the battery from the vacuum and store it separately in a cool, dry place (around 60-70°F / 15-21°C). Check and recharge to 50% every 3-6 months.
- Avoid Extreme Temperatures: Never charge or store in freezing temps or direct summer sun. The optimal operating temperature is 60-80°F (15-27°C).
Regular Cleaning is Non-Negotiable
A clogged vacuum works harder, draining the battery faster and generating more heat.
- Filters: Wash pre-motor filters monthly (if washable) and replace post-motor filters every 3 months. A blocked filter restricts airflow.
- Brush Rolls: Remove hair and debris from the brush roll and its bearings weekly. A jammed brush roll strains the motor.
- Charging Contacts: As emphasized, clean these monthly with a dry cloth or alcohol swab.
Software Updates for Robots
For Shark robots, firmware updates are part of maintenance. They often include improved power management algorithms and bug fixes that directly impact battery life and charging efficiency. Enable automatic updates in the app if available.
Conclusion: Empowering You to Solve the Problem
A Shark battery not holding charge is a symptom, not a final verdict. By understanding that batteries degrade, chargers can fail, and software can glitch, you now have a powerful diagnostic framework. Start simple: clean, reset, test your charger. For robots, add dock and wheel checks. If those fail, identify your exact model and source a genuine replacement battery. Remember, this is a consumable part, and replacing it is often more economical than replacing the entire vacuum. By adopting the preventative habits outlined—especially avoiding heat, practicing shallow discharges, and maintaining a clean machine—you can squeeze 2-3 years or more of reliable service from every new Shark battery you install. Your vacuum is an investment; treat its battery with care, and it will return the favor with powerful, cord-free cleaning for the long haul.
Frequently Asked Questions
How do I know if my Shark battery is actually bad?
First, clean all charging contacts and perform a full reset. Then, use a multimeter to check the battery’s voltage at the terminals. A healthy 18V-22V battery should read near its nominal voltage (e.g., 18V). If it reads significantly lower (e.g., 10V) or drops instantly when you try to use the vacuum, the battery is dead. The most definitive test is trying a known-good, compatible battery in your machine.
Why does my Shark robot vacuum show it’s charging but the battery doesn’t last?
This is often a poor connection issue. The charging contacts on the robot’s underside or the dock’s probes are dirty or misaligned, preventing a full charge cycle. It could also be a software bug where the battery gauge is miscalibrated. Try a full reset, clean the contacts meticulously with isopropyl alcohol, and ensure the robot is seated perfectly on the dock.
Can I use a third-party replacement battery for my Shark vacuum?
While available and cheaper, we strongly advise against it. Third-party batteries often use inferior lithium cells and lack a proper Battery Management System (BMS). This leads to poor runtime, potential swelling, safety hazards, and can even damage your vacuum’s electronics. Always use a genuine Shark battery or one from an authorized Shark parts dealer.
How long should a Shark vacuum battery last before it needs replacing?
>Under normal use and with proper maintenance, a Shark Li-ion battery should maintain good capacity for 2-3 years, or roughly 300-500 charge cycles. After this, you’ll notice a significant drop in runtime (e.g., from 60 minutes to 20 minutes). If your vacuum is within this timeframe and has poor runtime, the battery is the likely culprit.
My Shark vacuum won’t turn on at all, even after charging. Is it the battery?
Not necessarily. A complete failure to power on can also be caused by a faulty charger (so no charge occurred), a blown internal fuse, a failed power switch, or a severe battery failure where the BMS has shut everything down for safety. Start by testing with a different, known-good charger. If that doesn’t work, the battery or internal electrical fault is the next suspect.
Is it safe to leave my Shark vacuum on the charger all the time?
Yes, modern Li-ion vacuums and robots have built-in charge controllers that stop charging once the battery reaches 100%. However, keeping it at a constant 100% state of charge, especially in a warm environment, will accelerate long-term capacity loss. For occasional use, it’s fine. For storage periods longer than a month, it’s best to charge to ~50% and then remove the battery.