Is your Shark Apex vacuum’s brush roll suddenly stopped spinning? This common issue is almost always fixable without a costly service call. The primary culprits are usually debris jams, a worn or broken drive belt, or a tripped thermal fuse. This guide provides a systematic, safe diagnostic process and detailed, illustrated repair steps for each potential failure point, empowering you to restore your vacuum’s deep-cleaning power yourself.
Key Takeaways
- Debris is the #1 Cause: Hair, string, and carpet fibers routinely wrap around the brush roll bearings and ends, creating a jam that prevents rotation. Regular cleaning is essential prevention.
- The Drive Belt is a Prime Suspect: This rubber belt connects the motor shaft to the brush roll. It can stretch, wear thin, break, or slip off its pulleys, completely disengaging power.
- Thermal Fuse Protection: The motor has a safety thermal fuse that can trip if the vacuum overheats (often from a jam). This is a common, easy-to-reset fix.
- Motor or Clutch Failure is Rare: While possible, a failed motor or the Apex’s unique “Active-Glide” clutch assembly is less common than belt or jam issues. Diagnose these last.
- Always Disconnect Power: Never attempt any inspection or repair with the vacuum plugged in. This is the single most important safety rule.
- Preventive Maintenance is Key: Cleaning the brush roll housing and checking the belt every few months prevents most “not engaging” problems and extends your vacuum’s life.
- Parts are Readily Available: Official Shark belts (part # 131-AA) and brush rolls are inexpensive and easy to order online, making DIY repairs economical.
📑 Table of Contents
- The Dreaded Silence: When Your Shark Apex’s Brush Roll Stops Spinning
- First Steps: Safety and Initial Diagnosis
- Cause #1: The Debris Jam – A Preventable Nightmare
- Cause #2: The Drive Belt – The Silent Saboteur
- Cause #3: The Thermal Fuse – The Safety Switch That Tripped
- Cause #4: The Clutch Assembly (Select Apex Models)
- Cause #5: Motor Failure – The Last Resort
- Your Step-by-Step Repair Decision Tree
- Conclusion: Empowerment Through Understanding
The Dreaded Silence: When Your Shark Apex’s Brush Roll Stops Spinning
You’re in the zone, pushing your trusty Shark Apex across the living room floor. The familiar, satisfying hum of the motor and the whirring of the brush roll as it agitates ground-in dirt is music to a clean-freak’s ears. Then, it happens. The sound changes. The vacuum still sucks, but that vital, deep-cleaning agitation is gone. The brush roll is dead silent. That powerful roll-up of pet hair and carpet fibers? It’s not happening. The Shark Apex brush roll not engaging is one of the most common—and frustrating—issues owners face. But before you panic and search for your receipt or a service center, take a deep breath. In the vast majority of cases, this is a do-it-yourself fix. This guide will walk you through every possible cause, from the simplest jam to more complex component failures, with clear, step-by-step instructions. We’ll get that brush roll spinning again and restore your vacuum’s legendary cleaning power.
The Shark Apex, with its “Active-Glide” technology and self-sealing suction, is a marvel of engineering. Its brush roll is the heart of its system on carpets. When it stops, it feels like the vacuum has lost its soul. The good news is that the design, while sophisticated, is also quite accessible for basic repairs. The problem almost always lies in the power transfer from the motor to the brush roll, which happens via a simple belt drive or, in some models, a clutch mechanism. Something in that chain is broken, blocked, or disconnected. Our job is to find the weak link.
First Steps: Safety and Initial Diagnosis
Before you lay a single tool on your Shark Apex, you must internalize one non-negotiable rule: ALWAYS DISCONNECT THE VACUUM FROM THE WALL OUTLET. This is not a suggestion. The brush roll motor and the main suction motor are separate, and even with the vacuum off, you could accidentally trigger a switch or cause a short. Unplug it. Then, turn the vacuum on and off once without it plugged in to discharge any residual power. Your safety is worth more than any repair.
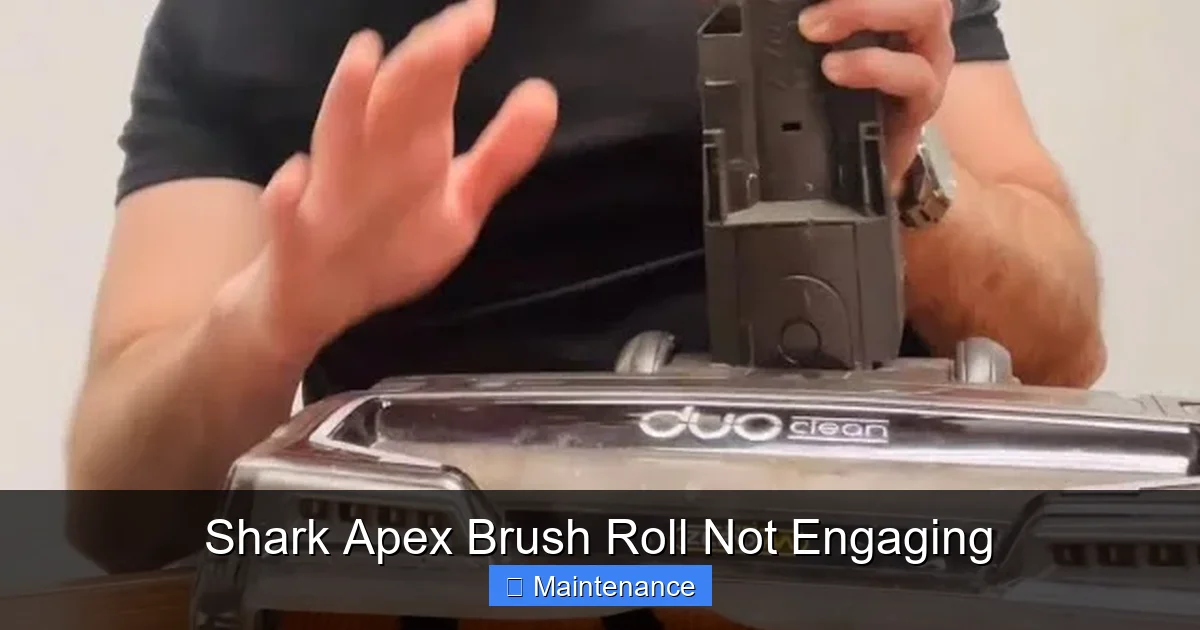
Visual guide about Shark Apex Brush Roll Not Engaging
Image source: i.ytimg.com
Now, let’s start with the most basic observation. Tilt your Shark Apex onto its side or flip it over to get a clear view of the brush roll housing (the large rectangular or oblong opening on the vacuum’s underside). Visually inspect the brush roll itself. Can you see it? Is it covered in a thick mat of hair, string, or carpet fibers? Can you spin it freely by hand? These initial checks answer 50% of the questions right away.
The Hand-Spin Test: Your Most Valuable Diagnostic Tool
With the vacuum unplugged, locate the brush roll. It’s the cylindrical roller with bristles, usually tan or black. Using your fingers, try to rotate it along its axis. Here’s what you’re feeling for:
- Spins Freely & Smoothly: This is great news! It means the brush roll bearings are not jammed. The problem is likely a slipped/broken belt, a tripped thermal fuse, or a more electrical/motor issue.
- Hard to Spin, Grinding, or Completely Stuck: This indicates a severe jam. The bearings are packed with debris, or something is physically caught between the brush roll and the housing. This is your first task to fix.
- Spins but with a “Thump” or “Click”: This could mean a bearing is worn out, or the brush roll end caps are damaged. It may still need cleaning, but the component itself might be faulty.
Perform this test. It takes 10 seconds and immediately narrows down the diagnostic tree.
Cause #1: The Debris Jam – A Preventable Nightmare
This is the heavyweight champion of brush roll failures. As your Shark Apex agitates carpet fibers, it inevitably collects hair, string, ribbon, carpet yarn, and even small pieces of clothing (like stray socks). This material doesn’t just sit on the bristles; it wraps tightly around the metal axles at each end of the brush roll, binding against the plastic bearings inside the end caps. Over time, this creates a solid, compressed plug that seizes the entire roller. The motor strain from trying to turn this seized roller can then cause the thermal fuse to trip, adding a second layer of failure.
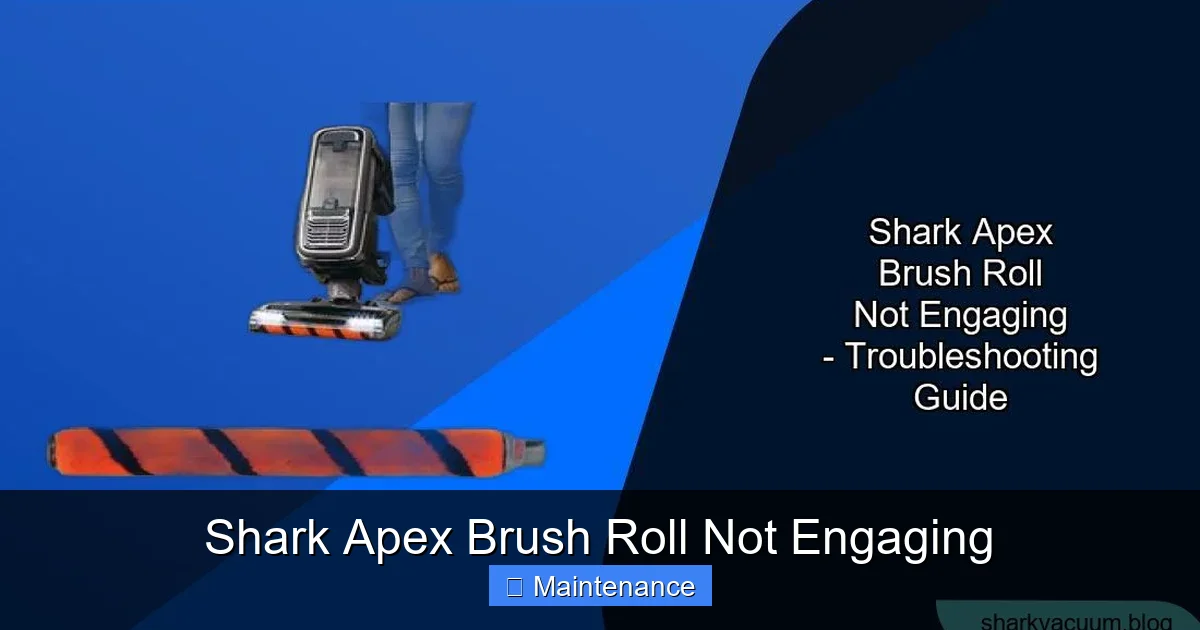
Visual guide about Shark Apex Brush Roll Not Engaging
Image source: sharkvacuum.blog
How to Perform a Full Debris Extraction
This is a messy but satisfying job. You’ll need a pair of needle-nose pliers, scissors, and maybe a seam ripper or a dedicated “vacuum roller cleaner” tool. A bright flashlight is also helpful.
- Lay the Vacuum on its Side: Ensure good lighting. Have a trash bag nearby.
- Remove the Brush Roll Cover: On most Shark Apex models, this is a gray or black plastic plate on the underside, secured by 4-6 screws (usually Torx/Star bits, often T10 or T15). Unscrew it and set the screws aside safely.
- Extract the Brush Roll Assembly: Once the cover is off, the brush roll should lift out. It may be held by a small belt. If so, slide the belt off the brush roll pulley (the small plastic wheel on one end). Gently pull the brush roll straight out.
- The Cleaning Process: This is where the pliers and scissors come in. Work methodically. Start at one end. You’ll see a solid mass of debris packed around the metal axle. Use the scissors to cut through the outer layers of hair/string. Then, use the needle-nose pliers to grab and pull the cut sections away. Be meticulous. The goal is to get the axle completely bare and the bearing inside the end cap visible. Often, you’ll find a small plastic bearing (a white or cream-colored cylinder) inside the cap. It should spin freely when you poke it with a pen. If it’s packed with debris, clean it out.
- Check the Housing: With the brush roll out, look into the cavity it sat in. There will be a small idler wheel or pulley on a spring arm. Make sure it can spin freely and isn’t clogged. Clear any loose debris from the housing floor.
- Reassembly: Once both ends of the brush roll are completely clean and the axles spin freely, reinsert it. If your model uses a belt, stretch it over the motor shaft pulley (you’ll see it when you look in the housing) and then over the brush roll pulley. Ensure it’s seated properly. Replace the cover and screws. Do not overtighten the plastic screws.
Pro Tip: Consider applying a tiny dab of silicone-based lubricant (like 3-in-One oil) to the metal axles after cleaning. This helps prevent future debris from bonding as tightly. Wipe off any excess.
Cause #2: The Drive Belt – The Silent Saboteur
If your brush roll spins freely but still doesn’t engage when the vacuum is on, the drive belt is the most likely culprit. This is the critical link that transfers the motor’s rotational force to the brush roll. Shark Apex models typically use a round, rubber o-ring-style belt (part number 131-AA is very common). Over years of use, this belt endures heat, friction, and tension. It can stretch, develop a glazed shiny surface (reducing friction), crack, or—most dramatically—snap entirely.
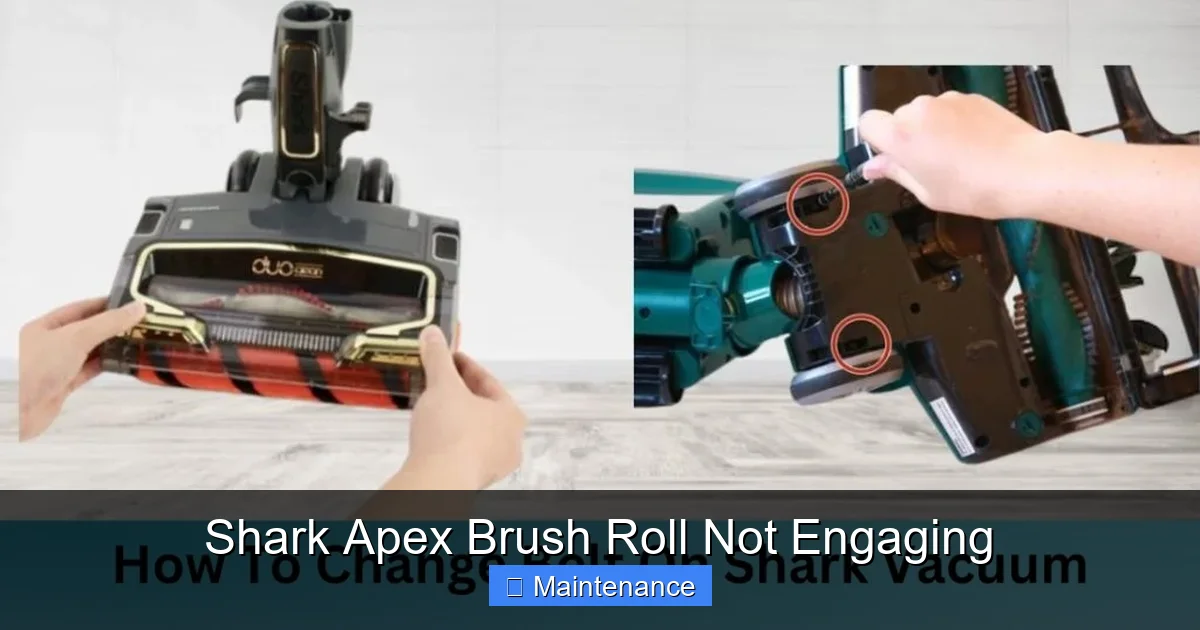
Visual guide about Shark Apex Brush Roll Not Engaging
Image source: sharkvacuum.blog
Inspecting and Replacing the Drive Belt
Accessing the belt requires the same initial steps as the debris removal: unplug, remove the bottom brush roll cover, and take out the brush roll assembly. With the brush roll out, you’ll see the belt. It’s a loop of rubber stretched between two pulleys: a small one on the motor shaft (usually at the front of the housing) and a larger one on the brush roll itself.
- Visual Inspection: Look for cracks, splits, or areas that are worn thin and shiny. Stretch the belt gently. Does it feel loose and elastic, or tight? A significantly stretched belt will slip on the pulleys even if it’s not broken.
- The “Seat Check”: Ensure the belt is properly seated in the groove of both pulleys. A belt that has jumped off a pulley is a common cause of disengagement.
- Replacement: If the belt is damaged, worn, or missing, replacement is straightforward. To install a new belt, you typically need to stretch it over the motor shaft pulley first (this is the trickier part due to tension), then rotate the brush roll to guide the belt onto its larger pulley. Some models have a small access panel on the side or back that allows you to replace the belt without removing the brush roll. Consult your user manual for your specific Apex model number (usually on a sticker on the back).
Important: Always use a genuine Shark replacement belt (or a high-quality equivalent with the correct dimensions). Cheap, off-brand belts can be too stiff, too soft, or the wrong size, leading to immediate re-failure.
Cause #3: The Thermal Fuse – The Safety Switch That Tripped
Your Shark Apex’s motor is a powerful workhorse. To prevent it from burning out due to overheating—often caused by a clogged filter, a full dust cup, or the aforementioned jammed brush roll—it has a thermal fuse. This is a small, usually rectangular, red or black component on the motor wiring. When it gets too hot, the fuse “blows,” breaking the circuit and shutting down the brush roll motor (and sometimes the main motor) to prevent damage. This is a resettable fuse on many models.
Locating and Resetting the Thermal Fuse
This is the easiest fix of all, and you should always check it after clearing a jam.
- Access the Motor Compartment: This usually involves removing the top cover of the vacuum. Lay the vacuum on its back. There are typically screws along the perimeter of the top plastic shell. Remove them and gently pry the shell off. You’ll see the main motor and the wiring harness.
- Find the Fuse: Look for a small component (about the size of a fingernail) with two wires coming out of it. It’s often mounted on the side of the motor housing or on a bracket nearby. It will have a small, colored button on top (usually red or black).
- The Reset: Simply press that button firmly until you hear or feel a click. That’s it. The fuse is reset.
- Reassemble and Test: Put the top cover back on (don’t forget all the screws!), plug in the vacuum, and test the brush roll. If it engages, you’ve solved it! But remember: The fuse tripped for a reason. You must identify and fix that underlying cause (a jam, clogged filters, full dust cup) or the fuse will trip again immediately.
If the button is missing or the fuse feels mushy and won’t click, it’s permanently blown and needs replacement. These fuses are inexpensive and sold online by part number.
Cause #4: The Clutch Assembly (Select Apex Models)
Some Shark Apex models, particularly those with the “Active-Glide” self-propelled feature, use a mechanical clutch system to engage and disengage the brush roll automatically based on floor type. This is a more complex system involving gears, springs, and a clutch pad. If the clutch is worn, broken, or its engaging mechanism is stuck, the brush roll will not receive power even if the belt and motor are fine.
Diagnosing Clutch Issues
Diagnosing a clutch problem is more advanced and often requires partial disassembly of the rear wheel or drive assembly. Signs point to a clutch if:
- The brush roll and belt are in perfect condition.
- The motor runs (you can hear it), but the brush roll does not spin.
- You may hear a faint whirring or clicking from the rear wheel area when turned on.
- The self-propelled drive function may also be affected.
Fixing this typically involves removing the rear wheel, then the clutch cover, and inspecting the plastic clutch gears and pad for worn teeth or glazing. Replacement clutch kits are available for specific Apex models. For most users, if you’ve ruled out jams, belts, and the fuse, a clutch failure is the next likely diagnosis, and it may be time to weigh the cost of parts/labor against the value of the vacuum.
Cause #5: Motor Failure – The Last Resort
It’s rare, but the small, dedicated brush roll motor itself can fail. Its windings can burn out, or the brushes inside can wear down. Symptoms of a dead brush roll motor include:
- No sound from the brush roll area at all (the main suction motor may still run).
- A distinct, acrid “burnt electronics” smell when you attempt to run it.
- All other components (belt, fuse, brush roll) are confirmed good.
Testing the motor usually requires a multimeter to check for continuity. If you’re not comfortable with electronics diagnostics, this is the point where calling Shark customer support or a professional appliance repair technician is the most sensible path. Replacement motors are available but can be a significant portion of the cost of a new vacuum.
Your Step-by-Step Repair Decision Tree
Let’s synthesize this into a clear action plan. After unplugging your vacuum:
- Hand-Spin Test: Is it jammed? → Go to Section 2 (Debris Jam) and clean it thoroughly. Reset the thermal fuse afterward.
- If it spins freely: Remove the brush roll and visually inspect the belt. Is it broken, stretched, or missing? → Replace the belt (Section 3).
- If the belt is good: Locate and reset the thermal fuse (Section 4). Try again.
- If still not working: Listen closely when you turn the vacuum on. Do you hear a faint motor whir from the brush roll area? If yes, but no spin → Suspect clutch failure (Section 5) or a slipped belt (re-check seating).
- If you hear nothing from the brush roll motor: Suspect a failed motor or a wiring issue (Section 6).
By following this logical flow, you eliminate 95% of problems with methodical, low-cost checks before considering major component replacement.
Conclusion: Empowerment Through Understanding
The “Shark Apex brush roll not engaging” problem is a rite of passage for owners, but it’s one you can overcome. It’s almost never a sign of a dead vacuum; it’s a sign of a vacuum that needs a bit of attention. The most powerful tool you have is not a screwdriver, but knowledge. By understanding that the issue is almost always a physical blockage, a worn belt, or a tripped safety fuse, you demystify the problem and take control. The 30 minutes you spend performing a deep clean of the brush roll housing and checking the belt is an investment that will save you money, prevent waste, and extend the life of a machine you relied on. Your Shark Apex was built to tackle tough messes. With this guide, you’re now equipped to tackle its most common ailment. So unplug it, flip it over, and get your hands dirty. That satisfying whir of the brush roll is just a few steps away.
Frequently Asked Questions
Could a clogged filter or full dust cup cause the brush roll to stop?
Yes, indirectly. A severely clogged filter or overfilled dust cup creates immense back-pressure and strain on the main suction motor, which can cause the system to overheat and trip the thermal fuse, shutting down the brush roll. Always maintain clean filters and empty the cup regularly.
How often should I clean my Shark Apex brush roll to prevent this issue?
For households with pets or high-pile carpet, inspect and clean the brush roll every 1-2 months. For average use on low-pile carpet, a thorough cleaning every 3-4 months is sufficient. A quick visual check and hand-spin during regular maintenance is a great habit.
My brush roll spins when I push the vacuum, but not when it’s on. What’s wrong?
This classic symptom points directly to a slipped, broken, or missing drive belt. The vacuum’s wheels are turning the brush roll manually, but the motor’s power isn’t being transferred. You must re-seat or replace the belt.
Is it worth repairing an older Shark Apex, or should I just buy a new one?
If the repair is a simple belt ($5-10), debris clean-out (free), or fuse reset (free), absolutely repair it. These vacuums are built to last. If the diagnosis points to a failed motor or clutch assembly (parts often $40-70+), compare that cost plus your time to the price of a new mid-range Shark. For a vacuum you already own and like, repairing a belt or jam is almost always the economical choice.
Can I use any rubber band or loop as a temporary belt?
No. Vacuum belts are specifically sized and formulated for the high-RPM, high-torque demands of the motor. A random rubber band will either be too loose (slipping), too tight (straining the motor), or will break instantly. Always use the correct replacement part.
After fixing the jam, the brush roll still doesn’t work. What’s next?
First, reset the thermal fuse (it almost certainly tripped during the jam). If that doesn’t work, your next step is to remove the brush roll and inspect the drive belt—it may have broken during the seizure. Ensure it’s properly seated on both pulleys.