Raptor SD drive belt problems can cripple your UTV’s performance, but most issues are diagnosable and fixable. Common symptoms include a burning smell, loss of power, squealing noises, and visible belt damage. The root causes typically involve improper tension, misaligned pulleys, contaminated belts, or simply normal wear and tear. Addressing these problems promptly with the right diagnosis, a quality replacement belt, and proper installation techniques is crucial to avoid costly secondary damage to your clutch or engine. Regular inspection and maintenance are your best defenses against unexpected breakdowns.
Key Takeaways
- Symptom Recognition: Key signs of drive belt failure include power loss to wheels, a distinct burning rubber smell, high-pitched squealing (especially at startup or under load), and visible cracks, glazing, or fraying on the belt itself.
- Primary Culprits: The most frequent causes are incorrect belt tension (too tight or too loose), pulley misalignment causing side wear, and belt contamination from water, mud, or oil leaks degrading the belt material.
- Diagnosis is Key: Never guess. A proper inspection involves checking belt condition, measuring tension with a gauge, and verifying all pulleys spin freely and are perfectly aligned. A simple “flick” test can indicate tension issues.
- Quality Replacement Matters: Always use an OEM-specification or high-grade aftermarket belt (like Gates, Dayco, or OEM) designed for your Raptor SD’s CVT system. Cheap belts fail prematurely and can damage expensive clutch components.
- Installation Precision: Correct installation is non-negotiable. This includes ensuring the belt is fully seated in all pulley grooves, setting the exact factory-specified tension (using a tension gauge, not guesswork), and verifying the primary and secondary clutches are properly aligned.
- Preventive Maintenance: Incorporate belt and clutch inspection into your routine service schedule. Keep the CVT housing clean, check for oil leaks, and ensure the air intake is sealed to prevent dust/debris ingestion that can contaminate the belt.
- Address Root Causes: Replacing a belt that immediately fails again means you missed the underlying problem. Always investigate and fix pulley alignment, bearing wear, or contamination sources before installing a new belt.
📑 Table of Contents
- Introduction: That Sinking Feeling When Your Raptor SD Loses Power
- Section 1: Recognizing the Symptoms – What’s Wrong With My Raptor?
- Section 2: Unpacking the Root Causes – Why Belts Fail Prematurely
- Section 3: The Diagnostic Process – A Systematic Approach
- Section 4: The Replacement Guide – Doing It Right the First Time
- Section 5. Preventive Maintenance – Keeping Your Belt Healthy
- Section 6: When to Consider Performance Upgrades
- Conclusion: Knowledge is Power (And a Healthy Belt)
Introduction: That Sinking Feeling When Your Raptor SD Loses Power
You’re out on the trail, enjoying the raw power of your Raptor SD, when suddenly the engine revs climb but the UTV doesn’t accelerate like it should. Or maybe you hear a horrendous squealing noise coming from the CVT cover. That sinking feeling in your stomach isn’t just about a ruined ride—it’s the unmistakable sign of a Raptor SD drive belt problem. The drive belt is the critical, and often overlooked, heart of your UTV’s Continuously Variable Transmission (CVT) system. It’s the component that translates engine power into the thrust that moves your wheels. When it fails or performs poorly, your adventure grinds to a halt.
Understanding these problems isn’t just for seasoned mechanics. Every Raptor SD owner should know the basics of diagnosis, the common culprits, and the correct steps to fix them. This guide will walk you through everything you need to know, from the first ominous symptom to the final torque wrench click on a new belt. We’ll talk in plain language, focus on practical, actionable steps, and help you ensure your Raptor SD is always ready to deliver the performance you expect. Let’s dive in and demystify the drive belt.
Section 1: Recognizing the Symptoms – What’s Wrong With My Raptor?
Before you can fix a problem, you have to know it exists. Raptor SD drive belt problems announce themselves in several distinct ways. Paying attention to these early warnings can save you from a complete breakdown and prevent secondary damage to your expensive clutch components.
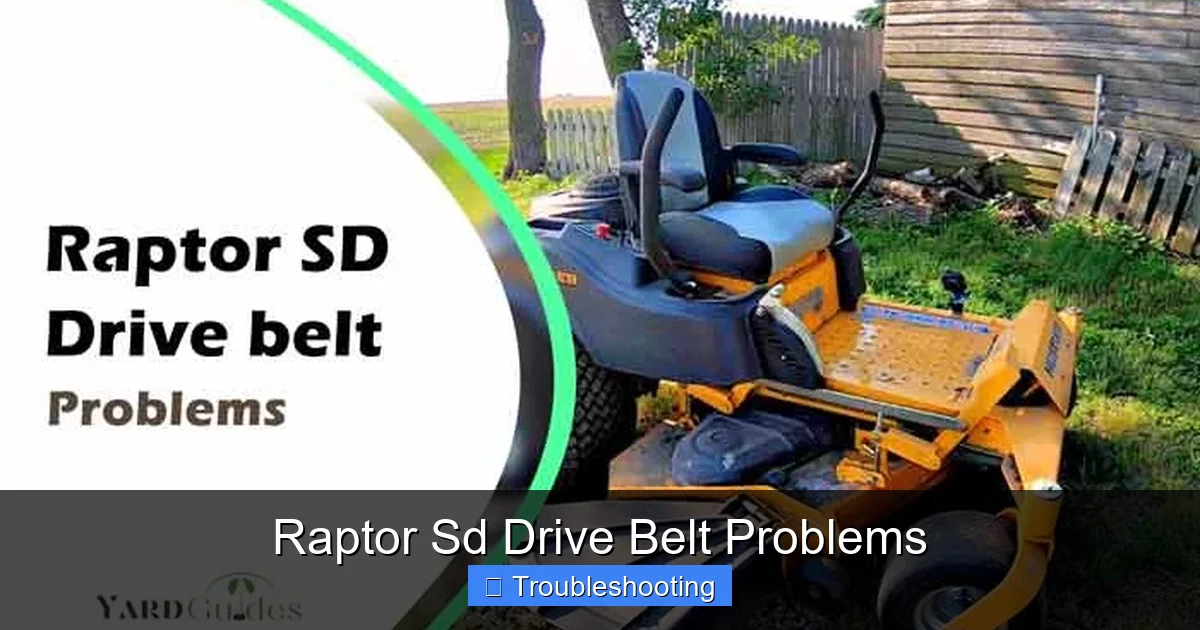
Visual guide about Raptor Sd Drive Belt Problems
Image source: yardguides.com
The Classic: Slipping and Lagging Acceleration
The most common and frustrating symptom is a lack of connection between engine RPM and vehicle speed. You’ll press the throttle, the engine noise rises sharply, but the UTV feels like it’s in neutral for a moment before lurching forward. This is the belt slipping on the pulleys. It’s often most noticeable when you try to accelerate from a dead stop or when climbing a steep hill. You might also feel a shudder or vibration as the belt grabs and releases repeatedly. This isn’t just an annoyance; slipping generates immense heat, which rapidly degrades the belt material and can scorch the clutch surfaces.
The Soundtrack of Failure: Noises From the CVT
Your ears are a valuable diagnostic tool. A high-pitched, ear-splitting squeal that changes with engine speed is a classic sign of a belt that is too loose, has lost its friction coating, or is dealing with pulley contamination. A rhythmic chatter or rattle at low speeds can indicate the belt is jumping teeth or is excessively worn. A deep, grinding groan under load might point to a failing clutch bearing, which often goes hand-in-hand with belt issues. Any new, persistent noise from the CVT area warrants immediate investigation.
The Tell-Tale Signs: Smell and Visual Inspection
Nothing says “belt problem” like the acrid, unmistakable stench of burning rubber. If you smell this after hard acceleration or while climbing, pull over safely (with the engine off) and let the CVT cool. This smell means the belt is overheating from extreme slippage. Once cooled, a visual check is crucial. Remove the CVT cover (consult your manual for safe removal procedures and let the engine be stone cold). Look at the belt:
- Cracks: Deep cracks in the rubber, especially on the ribbed side, are a sign of age and heat damage.
- Glazing: A shiny, smooth appearance on the belt ribs means the friction material has worn away, causing slippage.
- Fraying/Chunking: Pieces of rubber missing from the edges or ribs. This is often from pulley misalignment or debris.
- Oil/Grease Contamination: Any dark, slick spots on the belt. This destroys the belt’s grip immediately and indicates a seal leak in the clutch assembly.
- Uneven Wear: The belt ribs should wear evenly. If one side is more worn than the other, your pulleys are misaligned.
These visual clues don’t lie. A belt in this condition is a ticking time bomb and must be replaced immediately.
Section 2: Unpacking the Root Causes – Why Belts Fail Prematurely
Replacing a failed belt is only half the battle. If you don’t identify and fix the cause, your new belt will meet the same fate, often much sooner. True Raptor SD drive belt troubleshooting means playing detective. Here are the primary villains behind belt failures.
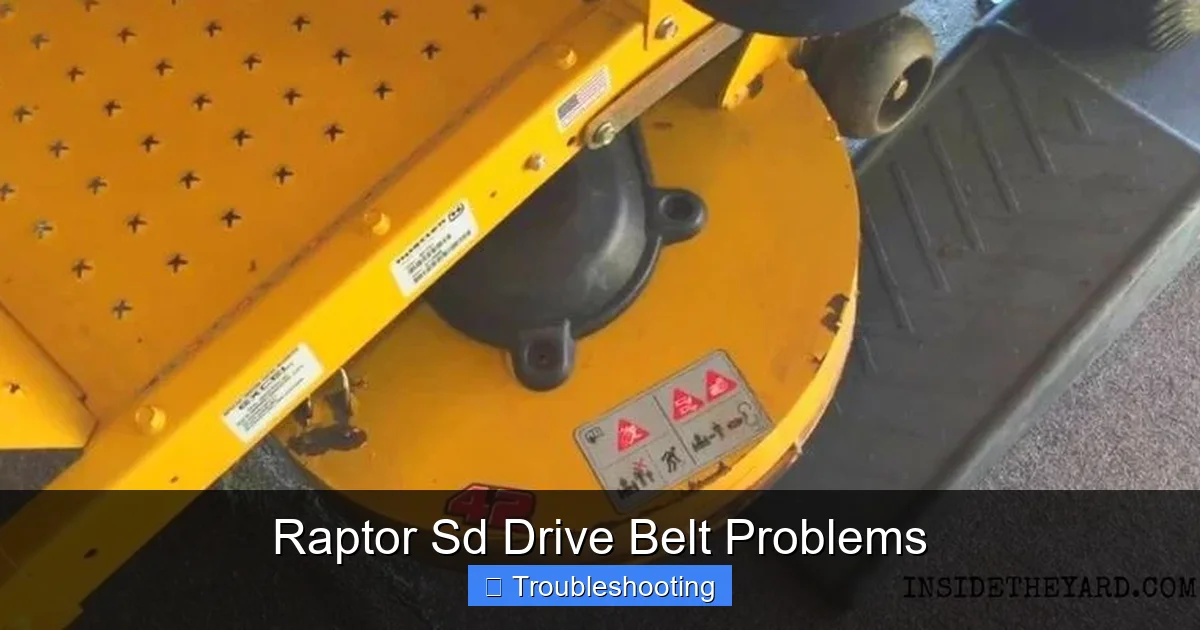
Visual guide about Raptor Sd Drive Belt Problems
Image source: insidetheyard.com
The Goldilocks Principle: Belt Tension Gone Wrong
Belt tension must be just right. Too loose, and the belt slips, heats up, and destroys itself. Too tight, and it places excessive side load on the clutch bearings, causing them to overheat and fail, which in turn leads to pulley misalignment and rapid belt destruction. The tension is set by the position of the secondary clutch on its sliding shaft. Over time, the clutch can “walk” out of adjustment due to vibration or improper initial setup. Never set tension by feel or sound; you must use a proper belt tension gauge designed for your model and follow the factory specifications exactly.
The Straight and Narrow: Pulley Misalignment
The primary (engine-side) and secondary (wheel-side) clutches must be perfectly parallel. If they are even slightly out of alignment, the belt will be forced to run at an angle, wearing down one side of its ribs much faster. This is called “side loading.” Misalignment is usually caused by:
- Worn or Damaged Clutch Bearings: A bearing that has play or is gritty allows the pulley to wobble.
- Bent Clutch Shaft/Spider: More common after a hard impact or crash.
- Improper Clutch Reassembly: Forgetting a spacer or installing components incorrectly.
Checking alignment requires a straight-edge or laser alignment tool. This is a critical step often skipped by DIYers, leading to repeated belt failures.
The Contamination Catastrophe
A drive belt is a friction device. Its specialized rubber compound must have perfect grip. Contaminants act as a lubricant, destroying that grip instantly.
- Water & Mud: While the CVT is designed to handle some moisture, excessive submersion or riding through deep, thick mud can force contaminants into the clutch housing, washing away the belt’s friction dust and causing immediate slippage.
- Oil & Grease: This is the worst culprit. A leaking crankshaft seal, a failing clutch bearing seal, or even excess grease from a recent clutch service can get on the belt. An oily belt is a dead belt and will also contaminate the clutch faces, requiring a full clutch cleaning or rebuild.
- Dust & Sand: A compromised air intake system (missing filter, torn intake boot) can suck fine abrasive dust into the CVT, acting like sandpaper on the belt and pulleys.
The Inevitable: Normal Wear and Tear
Let’s be honest: belts are a wear item. The intense friction, heat, and constant flexing will eventually wear out even a perfectly maintained belt. High-performance riding—constant high RPM, heavy loads, hot conditions—accelerates this process. A belt that is old, hard, and brittle will lose its elasticity and friction properties, leading to slippage and eventual breakage. Knowing your typical belt lifespan based on your riding style helps you plan for proactive replacement before it leaves you stranded.
Section 3: The Diagnostic Process – A Systematic Approach
Armed with knowledge of symptoms and causes, you can now methodically diagnose your Raptor SD drive belt. Rushing to replace the belt without diagnosis is the #1 mistake. Follow this checklist.

Visual guide about Raptor Sd Drive Belt Problems
Image source: wiringall.com
Step 1: The Cold Visual & Tactile Inspection
With the engine completely cold and the UTV on a level surface, remove the CVT cover. Visually scan the entire belt for the damage signs listed in Section 1. Then, with the belt still in place, use your thumb to press firmly on the middle of the belt’s straight section (the “back” of the belt, opposite the ribs). You should feel a firm resistance. If you can easily depress it significantly, the tension is likely too low. If it feels like a steel cable, it may be too tight.
Step 2: The “Flick” Test for Tension
This is a quick, practical field test. With the CVT cover off, start the engine and let it idle. Wearing safety glasses and keeping hands clear of moving parts, use a long screwdriver or stick to gently flick the side of the moving belt (the ribs) at its midpoint. A properly tensioned belt will produce a clear, crisp “ping” or “twang” sound and will not deflect excessively. A loose belt will produce a dull “thud” and will visibly jump. A belt that is too tight may not deflect much at all and will sound overly taut.
Step 3: Pulley Alignment Check
This is the most critical and often skipped step. You need a straight-edge or a set of alignment rods.
- Method (Straight-Edge): Place a long, true metal straight-edge against the face of the primary clutch pulley. It should sit flush against the pulley and, if long enough, also against the face of the secondary clutch pulley. There should be no gap between the straight-edge and the face of either pulley. Any gap indicates misalignment.
- Method (String/Laser): Some mechanics run a string or use a laser level across the pulley faces. The string/laser line should touch both pulley faces evenly.
If misalignment is found, the cause must be found—usually a bearing—and fixed before a new belt goes on.
Step 4: Clutch Bearing Check
With the belt removed, manually spin each clutch pulley (primary and secondary). They should spin smoothly, quietly, and with no rough spots or play side-to-side. Any grinding, roughness, or wobble indicates a failed bearing that must be replaced. Also, check for any oil or grease on the pulley faces or inside the clutch housing.
Step 5: Check for External Leaks
Inspect the engine’s crankshaft seal area (where the engine meets the CVT) and the output shaft seal on the transmission. Look for fresh oil or grease buildup. A leak here is a direct path for contaminants to reach your belt. These seals must be replaced.
Section 4: The Replacement Guide – Doing It Right the First Time
If your diagnosis confirms a bad belt (and you’ve addressed any root causes like misalignment or leaks), it’s time for replacement. Here is a step-by-step guide to ensure your new belt enjoys a long, healthy life.
Tools and Parts You’ll Need
Gather these before you start to avoid frustration:
- New, correct specification drive belt (OEM or premium aftermarket)
- Belt tension gauge (specific to your model or a universal CVT gauge)
- Socket set and ratchet
- Torque wrench (CRITICAL for clutch bolts)
- Flat-blade screwdriver or clutch puller (if needed for your model)
- Clean rags and CVT-safe cleaner (if you need to clean pulleys)
- Service manual for your specific Raptor SD year/model (highly recommended)
Step-by-Step Replacement Procedure
1. Safety First: Ensure the UTV is on a level surface, the parking brake is set, and the key is out. Let the engine be stone cold.
2. Access: Remove the CVT cover. This usually involves removing several bolts and possibly the front or rear bumper on some models. Keep bolts organized.
3. Old Belt Removal: Note the belt’s routing. It typically goes from the primary clutch (front) over the top and down to the secondary clutch (rear). You may need to rotate the primary clutch (by hand or with a tool) to create slack and roll the belt off the pulleys. Do not force or pry it off with screwdrivers.
4. Inspection & Cleaning: With the belt off, this is your last chance to inspect the pulleys. Clean any belt debris from the pulley grooves with a brass brush and rag. Check for glazing (shiny spots) on the pulley faces—these may need light sanding with fine-grit sandpaper to restore friction. Do not use chemical cleaners on clutch faces.
5. Install the New Belt: Place the new belt onto one pulley first, then carefully work it onto the other. Ensure it is fully seated in the groove of both pulleys. Rotate the pulleys by hand to make sure the belt tracks correctly in the center of each groove and isn’t twisted.
6. Set the Tension: This is the most important adjustment. Refer to your manual for the exact procedure, as it varies. It usually involves loosening the secondary clutch bolts, moving the clutch to a specific mark or measurement on the shaft, and then torquing the bolts to the factory specification (often 30-40 ft-lbs). Use a belt tension gauge to verify the tension matches the spec (e.g., 8-12 lbs of deflection at a certain point). Never guess.
7. Reassembly: Reinstall the CVT cover. Torque all cover bolts to spec.
8. Initial Start-Up: Start the engine and let it idle. Listen for any abnormal noises. Do not rev the engine high at first. Take it for a short, gentle test ride to allow the new belt and clutch surfaces to “break in” and mate together. Avoid full-throttle, high-stress riding for the first 30-60 minutes.
Section 5. Preventive Maintenance – Keeping Your Belt Healthy
An ounce of prevention is worth a pound of cure. Incorporating these simple checks into your regular service routine will dramatically extend the life of your Raptor SD drive belt and prevent most failures.
Routine Visual Checks
Every time you wash your Raptor SD, take an extra 5 minutes to remove the CVT cover (once the engine is cold) and visually inspect the belt. Look for the early signs of trouble: minor glazing, small cracks, or debris in the grooves. Catching a small issue early can prevent a major failure on the trail. Also, visually check the belt’s position. It should run dead-center on both pulleys. If it’s tracking to one side, you have an alignment issue that needs addressing.
Maintain Your Air Intake and Seals
This is your first line of defense against contamination. A clean, properly seated air filter is essential. A torn intake boot or loose filter box allows dust and sand straight into the engine and, by extension, the CVT. Regularly inspect the crankshaft and output shaft seals for any signs of leakage. A small drip is a warning sign to replace the seal before it drenches your belt.
Mind Your Riding Environment
Be aware of your conditions. Repeatedly submerging the CVT in deep water or mud is a surefire way to introduce contaminants. If you must ford deep water, after your ride, remove the CVT cover and let everything dry thoroughly before starting the engine. Wipe down the clutch housings. Consider applying a light coat of high-temperature silicone-based spray (like a clutch dressing) to the belt ribs after cleaning, as recommended by some manufacturers, to help repel moisture.
Clutch Maintenance is Belt Maintenance
The health of your belt is directly tied to the health of your clutches. Worn clutch sliders, broken springs, or damaged weights can cause erratic shifting that shocks the belt. Follow the manufacturer’s recommended service intervals for your primary and secondary clutches. This often involves disassembly, cleaning, inspecting all components, and replacing worn parts. A smoothly operating clutch system is a gentle one on the belt.
Section 6: When to Consider Performance Upgrades
For many Raptor SD owners, especially those who modify their UTVs with larger tires, lift kits, or performance exhausts, the stock drive belt can become a weak link. Increased torque and rotational mass put extra strain on the belt. If you find yourself replacing belts more frequently than expected, or if you’ve made significant performance mods, it might be time to consider an upgrade.
Heavy-Duty and High-Performance Belts
Companies like Gates, Dayco, and OEMs offer “heavy-duty” or “high-performance” versions of the standard belt. These are typically built with stronger, more heat-resistant cord materials and enhanced rubber compounds. They are designed to handle higher torque loads and operating temperatures. While they may cost 20-50% more than a standard belt, for a modified machine, they can provide much-needed durability and peace of mind. Always ensure the belt you choose is specifically listed for your Raptor SD’s CVT model and year.
Clutch Kits as a System Upgrade
Often, the best solution is a matched clutch kit. These kits, from companies like Dalton Clutches or Team Industries, include specially designed weights, springs, and sliders that are tuned to work optimally with a high-performance belt. They manage the engine’s powerband more efficiently, reducing shock loads and heat on the belt. If you’ve significantly increased your engine’s output, a full clutch calibration paired with a heavy-duty belt is the professional approach to ensuring reliability.
Important Note: Any performance modification must be balanced. A huge clutch kit on a stock engine can make the belt slip worse. Research is key. Talk to reputable UTV shops or tuners who understand the entire drivetrain system for your specific setup.
Conclusion: Knowledge is Power (And a Healthy Belt)
Raptor SD drive belt problems are a fact of life for owners of these powerful machines, but they don’t have to be a constant source of frustration. By learning to recognize the symptoms—slipping, noise, smell, visual damage—and understanding the root causes—tension, alignment, contamination, wear—you transform from a victim of circumstance into a proactive mechanic. The diagnostic process, while requiring patience and the right tools like a tension gauge and straight-edge, is straightforward and saves you from repeated, costly mistakes.
Remember, the belt is just one part of a system. True longevity comes from treating the entire CVT as an integrated unit. Maintain your air filter, fix leaks immediately, keep pulleys clean and aligned, and service your clutches on schedule. When replacement is necessary, invest in a quality belt and follow the installation procedures with precision, especially the all-important torque specifications.
Your Raptor SD is built for adventure and capability. A healthy drive belt ensures that capability is always at your fingertips. Take the time to understand this critical component, perform regular check-ups, and you’ll spend more time conquering trails and less time stuck on the side of the road with a smoking CVT. Now, go enjoy your ride!
Frequently Asked Questions
What is the most common cause of Raptor SD drive belt failure?
Improper belt tension is the #1 culprit, either from incorrect adjustment or a clutch that has “walked” out of position. This leads to slippage, overheating, and rapid belt destruction.
How often should I inspect my Raptor SD drive belt?
You should perform a quick visual and tension check at least every 10-20 hours of riding, or at the start of every season. A more thorough inspection with the cover removed is recommended every 50-100 hours, depending on your riding conditions.
Can I use any aftermarket belt for my Raptor SD?
No. You must use a belt with the exact OEM specifications for length, width, and rib profile. High-quality brands like Gates, Dayco, and the OEM belt itself are safe choices. Avoid cheap, generic belts as they often fail prematurely and can damage your clutch.
How do I know if my pulleys are misaligned?
With the belt removed, place a long, straight metal edge against the face of the primary clutch. It should sit flush against both the primary and secondary clutch faces with no gap. Any gap indicates misalignment that must be corrected before installing a new belt.
My new belt squeals for the first few minutes of riding. Is this normal?
A very slight, temporary noise can occur as the new belt and clutch surfaces “break in” and mate together. However, a loud, persistent squeal indicates a problem—usually incorrect tension or pulley contamination—and should be investigated immediately.
What is the “flick test” and is it reliable?
The flick test involves starting the engine and gently tapping the side of the running belt with a screwdriver. A properly tensioned belt gives a crisp “ping” sound and minimal deflection. A loose belt gives a dull “thud” and jumps significantly. It’s a good quick field check but should be confirmed with a proper tension gauge.