The Hydrogear ZT 3100 is a powerful workhorse, but it’s not immune to problems. Common issues include overheating, fluid leaks, unusual noises, and loss of power or steering control. This guide breaks down these frequent ZT 3100 failures, offers step-by-step troubleshooting advice, and clarifies when a DIY fix is possible versus when you need a professional. Understanding these Hydrogear ZT 3100 problems is the first step to restoring your equipment’s performance and avoiding costly breakdowns.
Key Takeaways
- Overheating is the most common ZT 3100 problem: Often caused by low fluid, clogged cooling fins, or a failing pump, leading to severe internal damage if ignored.
- Fluid leaks are a clear warning sign: Leaks from seals, hoses, or the case itself indicate worn components and will cause overheating and contamination if not addressed.
- Unusual noises point to specific failures: Whining usually means air in the system or low fluid. Grinding or knocking often signals worn bearings or gears.
- Loss of power or “slip” has multiple causes: It can be as simple as a worn drive belt or as complex as a failed charge pump or damaged motor.
- Steering issues are often linked to the transaxle: Weak or uneven steering response frequently points to internal wear, low fluid, or a faulty steering valve.
- Preventive maintenance is non-negotiable: Regular fluid changes, filter replacements, and cooling system cleaning are the absolute best ways to avoid major Hydrogear ZT 3100 problems.
- Diagnosis requires a systematic approach: Start with the simplest checks (fluid level, belt tension) before moving to complex internal inspections.
📑 Table of Contents
- Understanding Your Workhorse: The Hydrogear ZT 3100
- The Usual Suspects: Most Common Hydrogear ZT 3100 Problems
- A Systematic Approach to Diagnosing ZT 3100 Issues
- DIY Fixes vs. Professional Repair: Knowing Your Limits
- Prevention: The Ultimate Cure for Hydrogear ZT 3100 Problems
- Conclusion: Knowledge is Power (and a Healthy Transaxle)
Understanding Your Workhorse: The Hydrogear ZT 3100
If you own a commercial-grade zero-turn mower or a rugged utility vehicle from the last two decades, there’s an excellent chance your machine is powered by a Hydrogear ZT 3100 hydrostatic transaxle. It’s legendary for its durability and smooth operation. But like any mechanical system under constant stress, it can develop problems. Recognizing the signs of failing Hydrogear ZT 3100 components early can mean the difference between a simple fix and a catastrophic, expensive failure. This guide is your definitive resource for identifying, understanding, and addressing the most common Hydrogear ZT 3100 problems.
We’ll move beyond just listing symptoms. You’ll learn the “why” behind each issue, which empowers you to make smarter decisions about repair. Is that whining noise just air in the lines, or is your pump on its last legs? Can you replace a seal yourself, or is the transaxle case cracked? We’ll cover it all with a clear, conversational tone, focusing on practical advice you can use today.
The Usual Suspects: Most Common Hydrogear ZT 3100 Problems
When a ZT 3100 acts up, the symptoms often cluster into a few key categories. Identifying which category your issue falls into is the crucial first step in troubleshooting. Let’s dissect the most frequent complaints we hear from owners and technicians.
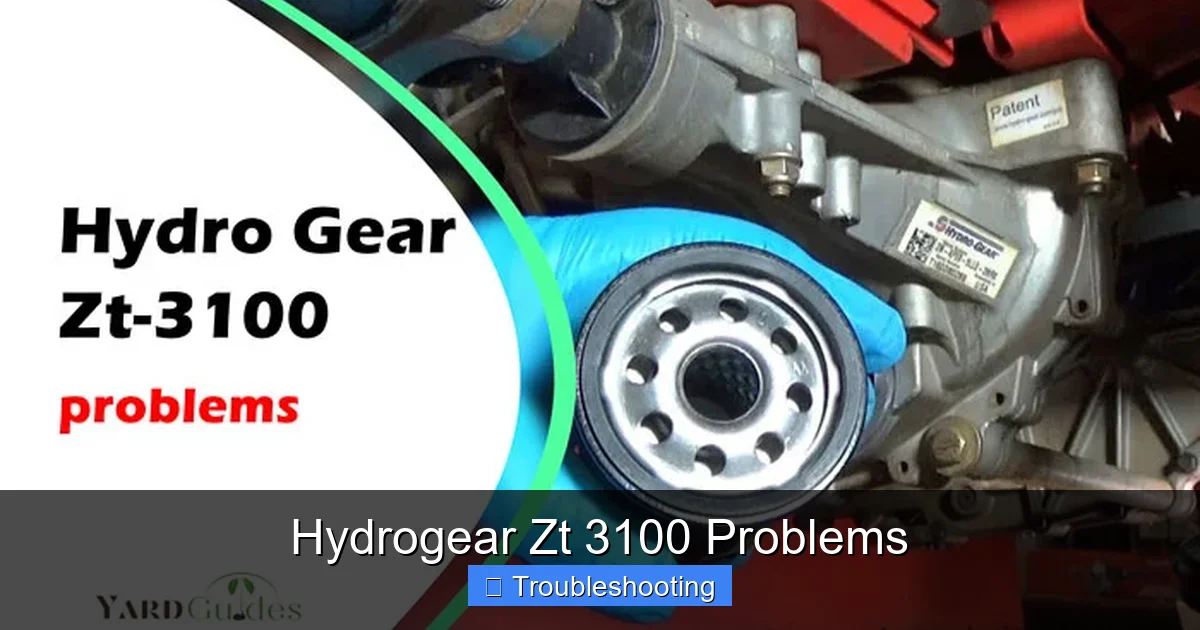
Visual guide about Hydrogear Zt 3100 Problems
Image source: yardguides.com
Symptom 1: The Overheating Transaxle
This is, by far, the number one villain. An overheating ZT 3100 is a ticking time bomb. You might notice the mower losing power on hills, the transaxle housing being too hot to touch after short operation, or even a distinct burnt smell. The internal oil breaks down rapidly when too hot, leading to premature wear of precision components like pumps and motors.
Primary Causes:
- Low or Degraded Fluid: This is the #1 cause. Fluid leaks, neglect of scheduled changes, or using the wrong Hydrogear-specific oil (like HPG or equivalent) will destroy cooling and lubrication.
- Clogged Cooling Fins: The transaxle housing is covered in cooling fins. Grass clippings, dust, and debris pack into these fins, acting like an insulator. This is especially common for mowers used in wet, tall grass conditions.
- Failed or Weak Charge Pump: The charge pump supplies cool, filtered fluid to the system. If it’s worn, it can’t maintain proper pressure and flow, causing the main pump and motor to starve and overheat.
- Internal Wear/Damage: Worn components create excessive internal clearance, causing fluid to churn and heat up (aeration) instead of doing useful work.
Practical Tip: After every mowing session, take 30 seconds to blow out the cooling fins with a leaf blower or compressed air. It’s the single most effective preventive action you can take against overheating.
Symptom 2: Fluid Leaks – The Telltale Drips
Finding oil spots under your mower is never good. With a ZT 3100, leaks usually originate from a few predictable places. The location of the leak often tells you what’s wrong.
Common Leak Points & What They Mean:
- Axle Seals (where the axle shafts exit the case): These are the most common leak points. Worn axle shaft seals are a standard wear item, especially on machines with high hours. Replacement usually requires pulling the axle shaft.
- Input Shaft Seal (where the engine PTO shaft connects): A leak here can be tricky. It might just be a seal, but it can also indicate a worn bearing causing shaft movement, which destroys the seal quickly.
- Vent/Breather: A clogged or missing breather can pressurize the case, forcing oil out through the weakest seal. Always check this first if you have multiple small leaks.
- Case Cracks: Rare but serious. A visible crack in the aluminum housing, often near a mounting boss or the axle tube, means the transaxle is fundamentally compromised and needs replacement or specialist welding.
Action Step: Clean the entire transaxle with degreaser, run the machine for a few minutes, then inspect. A clean surface makes finding the source of a leak much easier. Don’t just top off fluid; you must find and fix the leak.
Symptom 3: Noises – The Language of Failure
Your ZT 3100 will communicate problems through sound. Learning to interpret these sounds is a valuable skill.
- High-Pitched Whine or Squeal: Often the sound of air being drawn into the system (aeration) due to a low fluid level or a leak on the suction side. It can also be a failing bearing in the pump or motor. Check fluid level and quality first.
- Grinding or Rumbling: This is a more severe metallic sound. It typically indicates gear or bearing failure inside the pump or motor. This is an internal failure that requires a major rebuild or replacement.
- Clicking or Popping: Can be related to the charge pump, a failing coupler between the pump and motor, or even something in the wheel hub. Isolate the sound to the transaxle itself versus the wheel assembly.
- Knocking: A deep, rhythmic knock often points to a severely worn motor or pump, where internal components have excessive play. This is usually accompanied by a major loss of performance.
Pro Tip: Use a mechanic’s stethoscope or a long screwdriver placed against the transaxle housing to pinpoint the exact source of the noise (pump end vs. motor end).
Symptom 4: Loss of Power, Slip, or “Bogging Down”
Your mower feels weak, struggles on inclines, or the transaxle seems to slip (engine revs but mower doesn’t move). This is a classic Hydrogear ZT 3100 problem with a wide range of causes, from simple to complex.
Diagnostic Ladder:
- Check the Drive Belt: A worn, glazed, or loose drive belt from the engine to the transaxle input shaft is a very common cause of slip. Tension it or replace it.
- Check Fluid Level & Condition: Low fluid or burned, dark fluid will cause immediate slip. The system cannot build pressure.
- Check for Leaks: As mentioned, leaks cause low fluid and air entry, leading to slip.
- Neutral Adjustment: If the transaxle doesn’t fully disengage, it can create a constant load, making the mower feel sluggish. The neutral adjustment screws need to be set correctly.
- Internal Failures: If all the above are good, the problem is likely internal. A worn pump (low displacement), a worn motor (low displacement), or a failed charge pump (can’t maintain system pressure) will all cause severe power loss. A pressure test is required to confirm.
Symptom 5: Steering Problems – One-Sided Weakness
Zero-turn mowers steer by varying the speed of each transaxle. If one side feels weak, slow to respond, or you have to constantly correct, the problem is often with that specific ZT 3100 unit.
Likely Culprits:
- Low Fluid in That Side: Some ZT 3100s have a unified reservoir, but others have individual reservoirs or balance issues. Check the specific level for that transaxle.
- Faulty Steering Valve: The steering valve (or “control valve”) directs flow to the motor. If it’s sticking, worn, or has debris, it won’t send enough fluid to one motor, causing weak steering.
- Worn Motor on That Side: The motor itself could be worn, generating less torque.
- Air in the System: Air trapped in the steering lines or valve can cause a spongy, unresponsive feel. Bleeding the system is necessary.
Important: Always compare the performance of both sides. If both are weak, the problem is likely in the common system (pump, reservoir, filter). If only one is weak, focus on that side’s motor, valve, and associated lines.
A Systematic Approach to Diagnosing ZT 3100 Issues
Throwing parts at a problem is expensive. A methodical diagnosis saves time and money. Follow this checklist before disassembling anything.
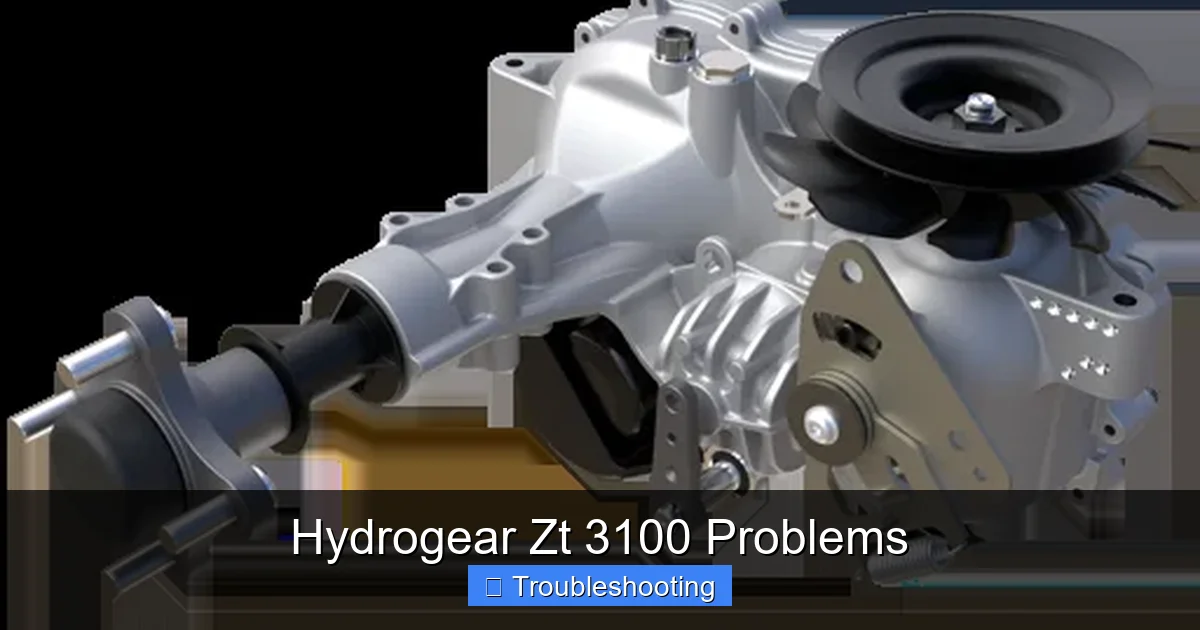
Visual guide about Hydrogear Zt 3100 Problems
Image source: hydro-gear.com
Step 1: The Basic Fluid & Visual Check
This should take 5 minutes and solves 30% of all problems. Check the fluid level when the transaxle is at operating temperature and on level ground. Is it low? Top it up with the correct Hydrogear HPG oil (or exact equivalent). Now, look at the fluid. Is it dark brown or black? Does it smell burnt? That’s a sign of internal damage and overheating. Are there metal shavings or a milky substance (water)? Any contamination means a full fluid change and filter replacement is mandatory, and internal damage is likely.
Step 2: The Cooling System Audit
With the machine cool, use a flashlight. Are the cooling fins packed with grass and dirt? Clean them thoroughly. Check the cooling fan (if equipped) for damage and ensure it’s securely attached to the input shaft. A missing or broken fan is a guaranteed path to overheating.
Step 3: Belt and Coupler Inspection
Inspect the drive belt from the engine to the transaxle. Look for glazing (shiny), cracks, fraying, or oil contamination. Check tension according to the manufacturer’s spec. Also, inspect the rubber coupler between the engine PTO and the transaxle input shaft. A shredded or oil-soaked coupler will slip and cause power loss.
Step 4: Listen and Feel
Run the machine. With the mower deck disengaged, listen for noises from each transaxle. Try moving forward and reverse on level ground. Does it move smoothly? Try turning in place (zero-turn). Is turning equally fast and crisp in both directions? Uneven turning points to one side’s problem.
Step 5: Pressure Testing – The Professional Truth
This is the definitive test for internal health. A Hydrogear-specific pressure test kit is used to check the system’s relief pressure and the individual motor pressures. Low system pressure points to a failing charge pump or worn main pump. Low pressure on one motor points to that motor or its steering valve. This test requires knowledge and tools, so it’s often where DIY diagnosis ends and professional repair begins.
DIY Fixes vs. Professional Repair: Knowing Your Limits
Some Hydrogear ZT 3100 problems are well within the grasp of a competent DIYer with basic tools. Others are complex, requiring specialized knowledge, tools, and a clean workspace.
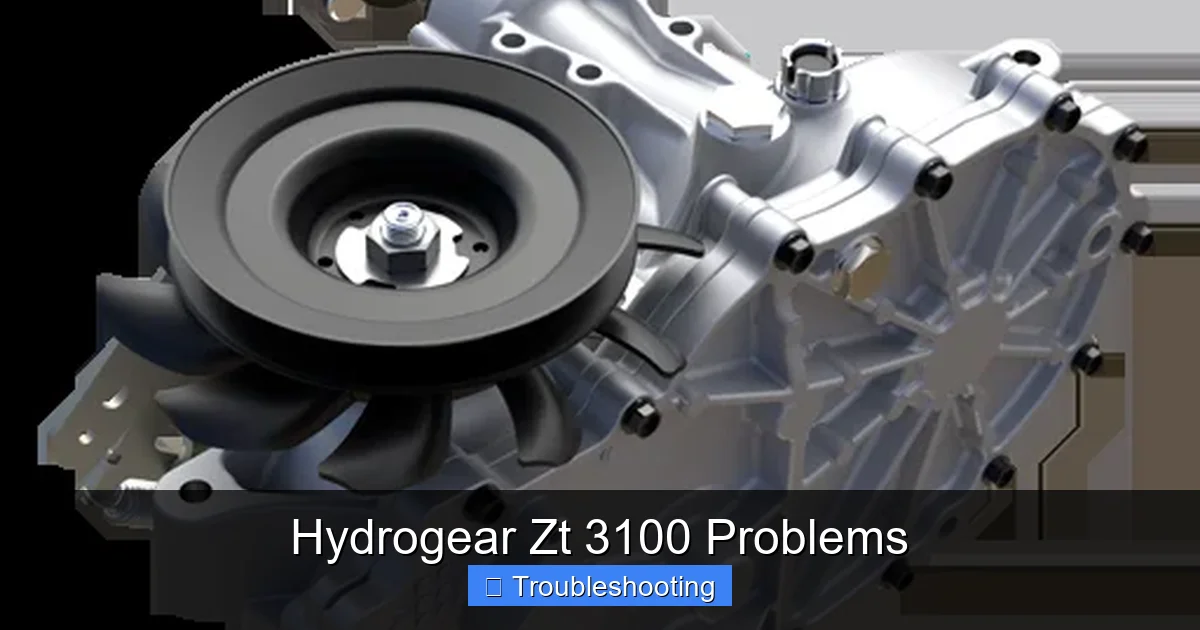
Visual guide about Hydrogear Zt 3100 Problems
Image source: hydro-gear.com
Appropriate DIY Projects:
- Fluid and Filter Changes: This is the #1 maintenance task. It’s messy but straightforward. Always use the specified oil and filter.
- Replacing Axle Shaft Seals: A moderate job requiring axle shaft removal. You need a puller, seal driver, and patience. Not for beginners, but doable with a good service manual.
- Cleaning Cooling Fins: Non-negotiable routine maintenance. Simple and critical.
- Replacing Drive Belts and Couplers: Basic mechanical skill required.
- Bleeding Air from the System: A specific procedure (often involving loosening a line at the motor) that must be followed correctly.
Warning: Working on hydrostatic systems requires extreme cleanliness. One speck of dirt in the system can destroy a $1,000 pump.
When to Call a Pro:
- Any Internal Failure: If diagnosis points to a worn pump, motor, or charge pump. Rebuilding these requires a bench, a hydraulic press, precise tolerances, and specialized seal kits.
- Cracked Case: Requires specialist welding or case replacement.
- Steering Valve Replacement: These are sensitive to contamination and installation procedure.
- Lack of Tools/Confidence: A botched repair can turn a $500 fix into a $3,000 paperweight.
The Bottom Line: If you’re hearing grinding noises, have metal in the oil, or have confirmed low internal pressure after all external checks, your ZT 3100 has suffered internal damage. At this stage, getting a professional rebuild or a quality remanufactured unit is often the most cost-effective path.
Prevention: The Ultimate Cure for Hydrogear ZT 3100 Problems
An ounce of prevention is worth a pound of cure, especially with hydrostatic transaxles. A strict maintenance schedule is not optional; it’s essential.
The Non-Negotiable Maintenance Schedule
Hydrogear recommends specific intervals, but a good rule of thumb for commercial use is:
- Every 50-100 Hours: Check fluid level daily. Clean cooling fins weekly. Inspect belts and couplers.
- Every 200-250 Hours: Change the fluid and filter. This is the most critical interval. Use only Hydrogear HPG or a direct equivalent (like Mobil 1 synthetic 15W-50 *only if* approved for your specific model and climate—check your manual). Never use automotive oil or generic hydraulic oil.
- Every 500-1000 Hours: Consider a more in-depth inspection. Check axle shaft play, inspect for any small leaks, and verify steering valve function.
Document Everything: Keep a logbook with hours, date, service performed, and fluid type/quantity. This is invaluable for troubleshooting and proving maintenance if you sell the machine.
Operational Best Practices
How you use the machine directly impacts transaxle life.
- Avoid Continuous Hill Work: The ZT 3100 is strong, but prolonged work on steep slopes causes extreme heat buildup. If you must mow hills, take frequent breaks to let the transaxle cool.
- Don’t Use as a Bulldozer: Don’t push or pull heavy loads with a mower not designed for it. The transaxle is designed for the machine’s weight and a light tow load. Overloading creates excessive pressure and heat.
- Warm Up and Cool Down: Allow the engine and transaxle to warm up for a minute before engaging the blades and putting under load. At the end of the day, run it unloaded for a minute to circulate cool fluid.
- Mind the Cooling: Never operate with a damaged or missing cooling fan. Keep the entire underside of the mower deck clean to reduce debris thrown at the transaxle.
Conclusion: Knowledge is Power (and a Healthy Transaxle)
Hydrogear ZT 3100 problems are a reality of owning powerful, hard-working equipment. But they are not mysterious, unsolvable failures. By understanding the core symptoms—overheating, leaks, noises, power loss, and steering issues—and following a logical diagnostic process, you can take control of the situation. Remember that the vast majority of catastrophic failures stem from neglected maintenance: dirty cooling fins, old fluid, and ignored leaks.
Your action plan is clear. Start with the simple, free checks: fluid level and quality, cooling fin cleanliness, and belt condition. These steps alone will solve many issues and prevent many more. For the complex internal problems, recognize your limits. Investing in a professional rebuild or a properly remanufactured Hydrogear ZT 3100 is far smarter than a DIY attempt that could destroy the core components. Treat your transaxle with respect through vigilant maintenance, and your ZT 3100 will continue to provide years of reliable, powerful service. When in doubt, consult your official operator’s manual or a certified Hydrogear service technician.
Frequently Asked Questions
What is the most common cause of Hydrogear ZT 3100 overheating?
The most common cause is clogged cooling fins packed with grass clippings and debris, which prevents heat dissipation. This is almost always followed by low or degraded hydraulic fluid, which reduces the fluid’s ability to lubricate and carry heat away.
Can I use any hydraulic oil in my ZT 3100?
Absolutely not. The ZT 3100 requires Hydrogear HPG (Hydrostatic Pump and Gear) oil or a direct equivalent specified by Hydrogear for your specific model and climate. Using the wrong oil (like standard hydraulic oil or automotive engine oil) will cause rapid wear, overheating, and failure. Always consult your manual.
How often should I change the fluid and filter in a ZT 3100?
For commercial use, Hydrogear recommends changing the fluid and filter every 200-250 hours of operation. For residential use with lighter loads, every 300-400 hours may be sufficient. However, if the fluid is dark, smells burnt, or has metal particles, change it immediately regardless of hours.
My ZT 3100 makes a whining noise. Is it serious?
A whining noise is often an early warning sign. It usually means air is entering the system (aeration) due to a low fluid level or a suction-side leak. It can also indicate a failing bearing. Check the fluid level and inspect for leaks immediately. If the fluid is full and clean, the problem is likely internal and needs professional diagnosis.
How much does it cost to rebuild a Hydrogear ZT 3100?
A full professional rebuild, including all new seals, bearings, and wear items, typically costs between $1,200 and $2,500+ for parts and labor, depending on the shop and the extent of damage. A remanufactured unit from a reputable supplier is often in the same price range and comes with a warranty. DIY rebuild kits cost $400-$800 but require significant skill and tools.
What are the signs that my ZT 3100 is beyond repair?
Clear signs of terminal failure include: a cracked aluminum case, severe metal contamination in the oil (visible with a magnet on the drain plug), a grinding or knocking noise that persists, and extremely low pressure test readings. If the cost of a rebuild approaches or exceeds 70% of the value of the machine, replacement of the entire mower or transaxle unit may be more economical.