Regularly washing your Shark Navigator’s dust cup is non-negotiable for maintaining powerful suction and a hygienic home. This guide provides a detailed, safe method to disassemble, hand-wash with mild soap, thoroughly dry, and correctly reassemble the cup and its filters. Avoid the dishwasher, ensure complete dryness to prevent odors, and establish a monthly cleaning routine to keep your vacuum performing like new and extend its lifespan.
Key Takeaways
- Unplug & Disassemble: Always disconnect the vacuum and fully separate the dust cup, filters, and seals before any cleaning.
- Hand Wash Only: Use lukewarm water and a mild dish soap; never use the dishwasher, harsh chemicals, or abrasive scrubbers.
- Focus on Filters: The pre-motor foam and felt filters require gentle squeezing, not rubbing, and must be 100% air-dry for 24+ hours.
- Dry Completely: Reassembling even a slightly damp dust cup or filters will cause musty odors, mildew, and potential motor damage.
- Check Seals & Latches: Clean the rubber seals and ensure all locking latches click securely to prevent suction loss from air leaks.
- Monthly Routine: A quick rinse after every 2-3 uses and a deep clean monthly keeps performance consistent and prevents clogs.
- Inspect Regularly: Look for cracks in the plastic cup or tears in filters during cleaning; damaged parts need immediate replacement.
📑 Table of Contents
- Why Washing Your Shark Navigator Dust Cup is Absolutely Critical
- Understanding Your Shark Navigator Dust Cup System
- Essential Prep: Tools & Safety First
- Step-by-Step: Disassembly, Washing, and Drying
- Reassembly: Ensuring a Perfect, Airtight Seal
- Pro Maintenance Tips & Common Mistakes to Avoid
- Troubleshooting: Persistent Odors & Weak Suction After Cleaning
- Conclusion: A Small Chore for a Big Return
Why Washing Your Shark Navigator Dust Cup is Absolutely Critical
Let’s be honest: the dust cup on your Shark Navigator is the hardworking hero of your cleaning routine. It’s where all the dirt, hair, dander, and fine dust collects. But what happens when that cup gets full? Suction drops, the vacuum works harder (and sounds louder), and you’re essentially just pushing dirt around instead of capturing it. More importantly, a dirty, damp dust cup becomes a breeding ground for bacteria, mold, and unpleasant odors that can circulate back into your home’s air every time you vacuum. That’s why learning how to wash Shark Navigator dust cup components correctly isn’t just a maintenance tip—it’s essential for your vacuum’s health, your home’s cleanliness, and even your family’s indoor air quality. Think of it like regularly emptying and cleaning your reusable water bottle; neglect it, and it gets gross fast.
The good news? This process is straightforward, requires no special tools, and takes less than 15 minutes once you get the hang of it. Mastering this simple task will restore your vacuum’s original suction power, eliminate funky smells, and significantly extend the life of your machine. We’re going to walk through every single step, from safe disassembly to perfect reassembly, ensuring you avoid common pitfalls that can cause damage. Your Shark Navigator deserves this care, and your floors will thank you for it.
Understanding Your Shark Navigator Dust Cup System
Before we touch a drop of water, it’s vital to understand what you’re working with. The “dust cup” isn’t just one piece; it’s an assembly of several key components that work together. Identifying these parts will make the following instructions crystal clear.
Visual guide about How to Wash Shark Navigator Dust Cup
Image source: cdn11.bigcommerce.com
The Main Components
The primary assembly includes the clear plastic collection canister (the cup itself), a top lid with a locking mechanism, a foam pre-motor filter, a felt filter (on some models), and one or two rubber seals or gaskets. The foam filter is usually located right at the top, inside the cup, catching larger debris before air reaches the motor. The felt filter, if your model has one, sits below it and traps finer dust particles. The rubber seals are critical—they create an airtight seal between the cup and the vacuum body and between the cup and its lid. If these seals are dirty, cracked, or misplaced, you will lose suction.
Model Variations Matter
Shark has released many Navigator iterations (like the Lift-Away, Rotator, and newer Pro models). While the core washing principles are identical, the exact disassembly method can vary slightly. Some models have a simple twist-lock lid, while others have separate release buttons. Always consult your specific model’s user manual for an illustrated diagram. You can usually find this online by searching for your exact model number (found on the back or underside of the vacuum). This initial 60 seconds of research can save you from forcing a part and breaking a plastic tab.
Essential Prep: Tools & Safety First
Gathering your supplies beforehand makes the process smooth and prevents you from rummaging through cabinets with a dirty, dripping vacuum part.
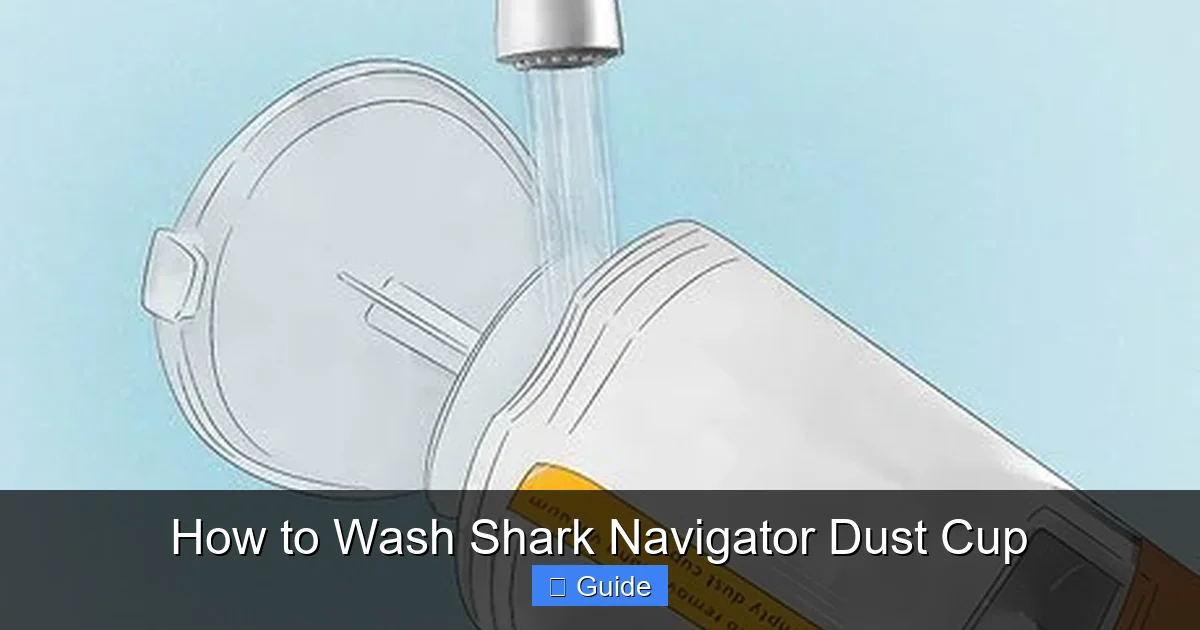
Visual guide about How to Wash Shark Navigator Dust Cup
Image source: wikihow.com
What You’ll Need
You don’t need anything fancy. Grab a soft scrub sponge or a non-abrasive cloth, a small bowl or your sink, and a mild dish soap like Dawn or Ivory. Avoid any soap with lotions, moisturizers, or heavy fragrances, as residues can leave a film. Have a clean, dry towel or microfiber cloth ready for drying. For the filters, you’ll just use your hands to gently squeeze them. That’s it. No special vacuum cleaners, no solvents, no brushes with stiff bristles.
Safety is Non-Negotiable
The very first rule, and the most important one: always unplug your Shark Navigator from the wall outlet. This seems obvious, but it’s a critical safety step to prevent any accidental startup. Next, take the vacuum to a location where a little water splash won’t matter—your kitchen sink, a laundry room tub, or even outside on a clean patio table. Have your trash can nearby to tap out excess debris before washing. This keeps the process tidy and prevents you from tracking dust through your house.
Step-by-Step: Disassembly, Washing, and Drying
Now, the heart of the process. We’ll break this down into three clear phases: taking it apart, washing, and the most crucial phase—drying.
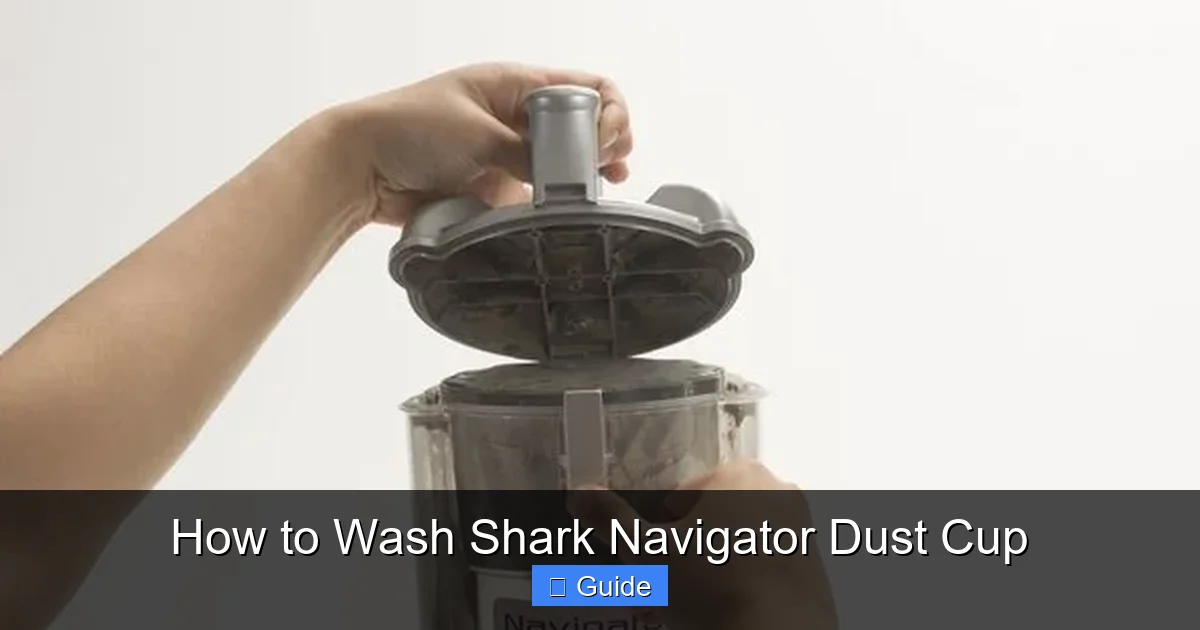
Visual guide about How to Wash Shark Navigator Dust Cup
Image source: d3nevzfk7ii3be.cloudfront.net
Phase 1: The Gentle Disassembly
Hold the dust cup over your trash can. Press the release button(s) or twist the lid according to your model’s design. Lift the lid straight off. You should see the foam filter sitting on top of the felt filter (if equipped). Carefully lift out both filters. You’ll likely see a lot of fine dust caked on them. Gently tap both filters against the side of the trash can to dislodge as much loose debris as possible. Next, locate the rubber seal—it’s either on the rim of the cup or inside the lid. Carefully peel it off with your fingers and set it aside. If your model has a separate filter cage or frame, remove that too. Place all small parts (seals, filters, cage) in a safe spot so they don’t get lost.
Phase 2: The Hand-Washing Ritual
Fill your sink or bowl with lukewarm water. Hot water can warp plastic over time; cold water won’t dissolve grease and oils effectively. Add a drop or two of your mild dish soap. Submerge the clear plastic dust cup and swish it around. For stubborn dirt caked on the ribs inside, use your soft sponge. The key is to let the soapy water do the work; avoid scrubbing with excessive force, which can scratch the plastic and make it look permanently cloudy. Pay special attention to the area where the cup locks into the vacuum body—this channel collects a lot of fine dust. For the rubber seal, gently rub it between your palms with a bit of soapy water to remove any dust film that would break its seal. Rinse everything thoroughly under running water until all soap suds are gone. A lingering soap residue will create sticky dust-attracting films and can smell strange when the vacuum heats up.
Phase 3: The #1 Most Important Step – Complete Drying
This is where most people mess up, and it leads to the classic “musty Shark vacuum” smell. Moisture is the enemy. Shake off all excess water from every component. Place the dust cup upside down on your clean towel. For the foam and felt filters, do not wring them out! Wringing tears the delicate foam fibers. Instead, gently press them between two towels to absorb water. You can also spin them in a salad spinner if you have one—it’s incredibly effective. Now, the waiting game. Find a warm, well-ventilated spot with good airflow (like near a fan or an open window). Let every single part—the cup, lid, filters, seal—air dry completely for at least 24 hours. Do not be tempted to reassemble early. Put a fan on them if you’re in a hurry. The filters are especially dense and hold water deep inside their material. If they are even 90% dry, the remaining moisture will fester inside the sealed vacuum, creating mildew that is nearly impossible to remove. Patience here guarantees a fresh-smelling, high-performing vacuum.
Reassembly: Ensuring a Perfect, Airtight Seal
Once every part is bone dry to the touch (feel the inside of the cup and the filters carefully), it’s time to put it all back together. This step is just as important as washing.
The Correct Order
First, ensure the rubber seal is clean, pliable, and seated perfectly in its groove on either the lid or the cup rim—check your manual. A misaligned seal is a guaranteed suction leak. Next, place the felt filter (if you have one) into the bottom of the cup. Then, place the foam pre-motor filter on top of it. Some models have a plastic cage that holds the filters; reassemble that now if applicable. Finally, align the lid with the cup. You should feel and hear a distinct “click” as all the locking latches engage. Do not force it. If it doesn’t click easily, you’ve likely misaligned the lid or a seal is out of place. Double-check everything. A properly assembled dust cup should feel solid, with no wiggle between the lid and canister.
The Post-Reassembly Check
Before you start cleaning your living room, do a quick test. Plug in your Shark Navigator, turn it on, and lift it so the brush roll is off the floor. Listen to the sound—it should be the familiar, strong whir of a healthy vacuum. Now, carefully place your hand over the suction opening on the dust cup (the part that connects to the hose). You should feel a powerful, steady pull. If the motor sounds strained or the suction feels weak, immediately turn it off and re-check your assembly. Something isn’t sealed correctly. This 30-second test saves you from a frustrating cleaning session with poor results.
Pro Maintenance Tips & Common Mistakes to Avoid
Going beyond the basic wash will keep your Shark Navigator in peak condition for years.
Establish a Smart Cleaning Calendar
Don’t wait for the “empty” indicator light (if your model has one). A good rule is to empty the dust cup after every 2-3 uses. Tap it out over the trash. Then, do a quick rinse with water (no soap needed) to wash away the fine dust that sticks to the plastic. This prevents a heavy, baked-on layer from forming. Schedule a full deep wash with soap and filter cleaning once a month for an average household with pets or carpets. For a single person with mostly hard floors, every 6-8 weeks may suffice.
What NEVER To Do
The biggest mistake? Putting any part in the dishwasher. The intense heat and harsh detergents will warp the plastic cup, degrade the rubber seals, and destroy the foam filter’s structure. Never use bleach, ammonia, or all-purpose cleaners like 409—they leave toxic residues that can be vented into your air. Never use a wire brush or scouring pad on the plastic; it creates micro-scratches that hold dirt. And never, ever reassemble with damp parts. We’re saying it again because it’s that critical.
Filter-Specific Care
Your Shark Navigator’s filters are consumable parts. The foam pre-motor filter is usually washable and reusable indefinitely if treated gently. The felt filter, however, is often designed as a “replace annually” part because its dense fibers become permanently clogged with fine dust over time, even after washing. If your suction doesn’t fully return after a deep clean, the felt filter is likely the culprit and needs replacement. Always check your manual for filter part numbers (like “Shark NVF-01”). Having a spare on hand means you can wash one while the other is drying, ensuring zero downtime.
Troubleshooting: Persistent Odors & Weak Suction After Cleaning
So you followed all the steps, but your vacuum still smells musty or seems underpowered. Let’s diagnose.
The Dreaded Mildew Smell
This almost always points to incomplete drying. The moisture hides in the foam filter’s core, inside the lid’s crevices, or on the rubber seal. Disassemble everything again. Place the filters in a sunny, breezy window for another full day. Use a hair dryer on a cool setting to gently blow air into the channels of the plastic cup. Wipe the rubber seal with a cloth dampened with a 50/50 white vinegar and water solution—vinegar kills mildew spores—then rinse and dry it thoroughly. Reassemble only when everything is 100% dry.
Suction Still Not What It Used To Be
If the dust cup assembly is correct and dry, the issue lies elsewhere. First, check the brush roll. Hair and string can wrap around the bearings, jamming it. Use scissors to carefully cut away any debris. Next, inspect the hose and wand for blockages. Drop a small coin through it to test for clear passage. Finally, your primary motor filter (the foam one) may be past its prime. If it’s discolored dark gray or brown and doesn’t spring back when squeezed, it’s clogged at a microscopic level and needs replacement. A clean dust cup with a clogged motor filter will still have poor suction because the air can’t pass through the filter to reach the motor.
Conclusion: A Small Chore for a Big Return
Washing your Shark Navigator dust cup is one of the most impactful maintenance routines you can adopt. It’s a simple, 15-minute monthly investment that pays immediate dividends in powerful, consistent suction, a fresher-smelling home, and a vacuum that will faithfully serve you for years. By hand-washing with mild soap, prioritizing complete air-drying, and handling the rubber seals and filters with care, you avoid the common pitfalls that lead to odors and damage. Remember, your vacuum’s performance is directly tied to the cleanliness of this single component. Make it a habit, follow this guide, and enjoy the satisfying, deep-clean feeling only a perfectly maintained Shark Navigator can deliver. Your floors—and your vacuum—will be in perfect harmony.
Frequently Asked Questions
Can I put my Shark Navigator dust cup in the dishwasher?
No, you should never put any part of the dust cup assembly in the dishwasher. The high heat and harsh detergents will warp the plastic, degrade the rubber seals, and destroy the foam filter’s structure, rendering it ineffective and potentially damaging your vacuum.
How often should I deep wash the dust cup and filters?
For most households, a full hand-wash with soap and a complete filter cleaning should be done once a month. If you have pets, allergies, or primarily carpeted floors, consider cleaning every 3 weeks. Always tap out and rinse the cup with water after 2-3 uses.
Can I use any soap to wash the dust cup?
Use only a mild, fragrance-free dish soap like original Dawn or Ivory. Avoid soaps with lotions, moisturizers, heavy fragrances, or bleach, as these can leave residues that attract dust or create odors when heated by the vacuum motor.
My vacuum smells bad even after I washed everything. Why?
>The most common cause is incomplete drying. Moisture trapped inside the foam filter or on the rubber seal leads to mildew. Reassemble only when every single part is 100% bone dry for at least 24 hours. Wipe the rubber seal with a vinegar-water solution to kill any spores.
Is it okay to wring out the foam filter to dry it faster?
Absolutely not. Wringing or aggressively twisting the foam filter tears its delicate internal structure, permanently reducing its ability to trap fine dust and protect the motor. Always gently press it between towels or use a salad spinner to remove excess water before air-drying.
What if the rubber seal looks cracked or damaged?
A damaged seal will cause major air leaks and suction loss. You should replace it immediately. You can find the correct replacement seal by searching for your Shark Navigator model number online. Using the vacuum with a bad seal is inefficient and can strain the motor over time.