Removing your Shark vacuum’s roller is a simple but essential maintenance task. First, always unplug the vacuum. The exact method varies by model—look for levers, buttons, or screws. Once removed, clean hair and debris thoroughly before reinstalling correctly to restore suction and prevent damage.
Key Takeaways
- Safety First: Always unplug your Shark vacuum before attempting any removal or cleaning to prevent accidental startup.
- Model Matters: The release mechanism (lever, button, or screw) differs significantly between Shark Navigator, Rotator, and IZ series vacuums.
- Tools are Simple: Most rollers require no tools; for others, a Phillips screwdriver is typically all you need.
- Clean Thoroughly: Remove all wrapped hair, fibers, and grime from the roller, end caps, and housing to restore optimal performance.
- Check for Wear: Inspect the roller bristles and bearings for damage during removal; replace if necessary for effective cleaning.
- Reinstall Correctly: Ensure the roller is seated properly in its housing and that any belts or clips are correctly engaged before testing.
- Consult the Manual: Your specific model’s user guide is the ultimate resource for model-specific diagrams and instructions.
📑 Table of Contents
- Why Removing Your Shark Vacuum Roller is Crucial for Maintenance
- Essential Prep Work Before You Begin
- Locating the Roller and Its Release Mechanism
- Step-by-Step: How to Remove the Shark Vacuum Roller
- Deep Cleaning and Inspection: The Heart of the Task
- Reinstalling Your Shark Vacuum Roller Correctly
- Troubleshooting Common Problems and FAQs
- Conclusion: Making Maintenance a Habit
Why Removing Your Shark Vacuum Roller is Crucial for Maintenance
Ever notice your Shark vacuum struggling to pick up debris, leaving bits of dirt behind, or maybe it’s making an unusually loud, grinding noise? The culprit is often the vacuum’s roller, also called the brush roll or beater bar. This spinning cylinder with bristles is the hardworking heart of your vacuum’s carpet-cleaning power. But to keep it working, you must regularly remove it for a deep clean. Hair, string, carpet fibers, and general grime wrap tightly around the roller and its bearings, creating drag. This strains the motor, reduces suction, and can even cause a burning smell. Learning how to properly remove a Shark vacuum roller isn’t just a chore—it’s a vital skill for any homeowner wanting to extend the life of their investment and maintain peak cleaning performance. This guide will walk you through every step for all major Shark models, turning a daunting task into a simple, five-minute routine.
Essential Prep Work Before You Begin
Before you even touch your Shark vacuum, a little preparation ensures a smooth, safe process. Rushing in can lead to frustration or, worse, injury. Here’s your pre-removal checklist.
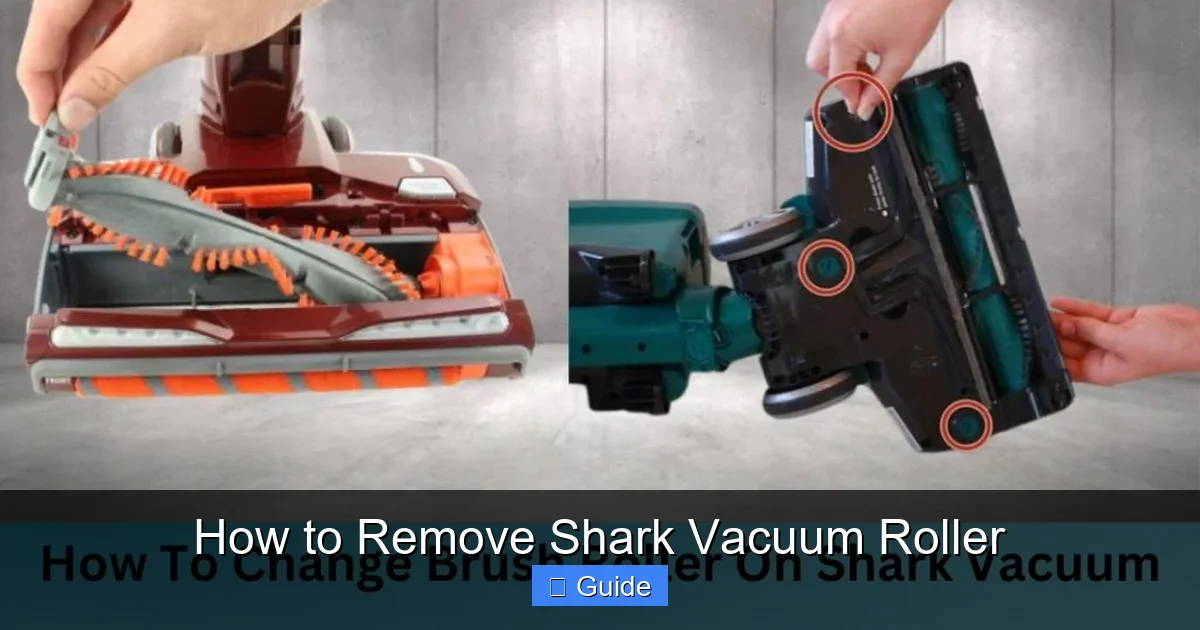
Visual guide about How to Remove Shark Vacuum Roller
Image source: sharkvacuum.blog
The Non-Negotiable First Step: Unplug the Vacuum
This cannot be stressed enough. Always ensure your Shark vacuum is completely powered off and unplugged from the wall outlet. The roller is connected to a motor, and if the vacuum accidentally turns on while your fingers are near the mechanism, serious injury can occur. Make it a habit: see the plug? Pull it out. Don’t assume the switch is enough.
Gather Your Tools (You’ll Likely Need None)
The beauty of Shark vacuums is their mostly tool-free design. For most Navigator and Rotator models, your hands are the only tools required. However, for some older models or specific series like the Shark IZ, you might need a simple Phillips head screwdriver. Have one handy just in case. Also, grab a pair of scissors—they are invaluable for cutting away stubborn, wrapped hair and fibers. A trash bag, a well-lit area (a flashlight helps), and maybe a small container for screws (if any) will make your job easier.
Identify Your Shark Model
Shark has numerous series—Navigator, Rotator, Vertex, IZ, Stratos, etc. The removal method can vary. Locate the model number, usually on a sticker on the back or bottom of the vacuum’s canister or body. Write it down or have your phone ready to search. Knowing your exact model (e.g., “Shark Navigator Lift-Away NV352” or “Shark Rotator NV502”) is the fastest way to find specific instructions if you get stuck. This guide covers the most common mechanisms, but your model’s manual is the final authority.
Locating the Roller and Its Release Mechanism
The roller is housed on the underside of the vacuum’s floor head—the part that glides over your carpets and floors. You’ll need to flip your Shark over onto its top to access the business end. Once there, your mission is to find how the manufacturer has secured it. Shark uses three primary release systems across its product line.
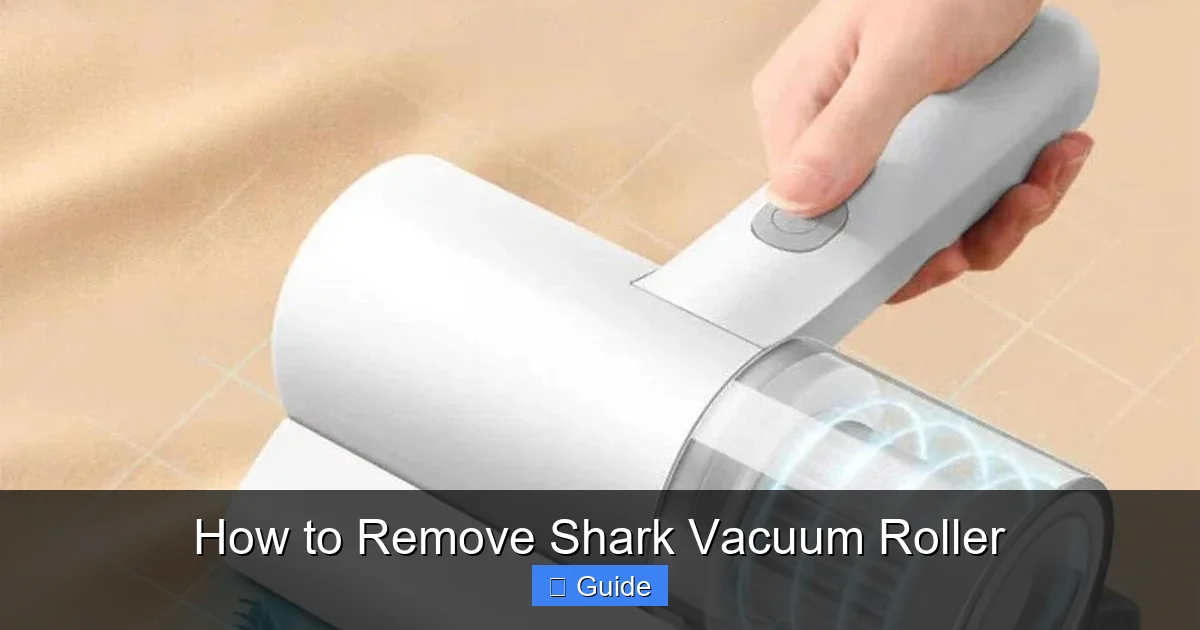
Visual guide about How to Remove Shark Vacuum Roller
Image source: i.ebayimg.com
Type 1: The Lever or Tab Release (Most Common)
This is the mechanism you’ll find on the vast majority of modern Shark Navigator and Rotator models. Look for a colored (often red, black, or gray) plastic lever or tab on the side or rear of the roller housing. It might be labeled “Release” or have an icon. This lever is spring-loaded. You simply press it inward (toward the vacuum body) or downward, and the roller assembly will lift up and out easily. Example: On a Shark Navigator Lift-Away, there’s a prominent red lever on the left side of the floor head. Pressing it releases the entire roller cage.
Type 2: The Button or Push-to-Release System
Some models, particularly certain Shark IZ cordless vacuums and newer designs, use a prominent button. Instead of a lever you pull, there’s a large, often rectangular button you press. Pressing this button unlocks the roller from its housing, allowing you to pull the entire roller unit straight out. The button might be on the side or integrated into the rear of the floor head. This system is very intuitive—press, then pull.
Type 3: The Screw-On or Captive Screw Design
Older Shark models or some commercial-grade versions may use one or two Phillips head screws to secure the roller end caps to the housing. These screws are often captive (they won’t fall out) and are located on the sides of the roller housing, near the ends of the roller itself. Using your Phillips screwdriver, turn these screws counter-clockwise to loosen and remove them completely. Once the screws are out, the roller should drop free or slide out. Tip: Keep a firm hold on the roller as you remove the last screw, as it can sometimes fall out unexpectedly.
Step-by-Step: How to Remove the Shark Vacuum Roller
With your vacuum unplugged and your release mechanism identified, it’s go time. Follow these generalized steps, adapting slightly for your specific lever, button, or screw type.
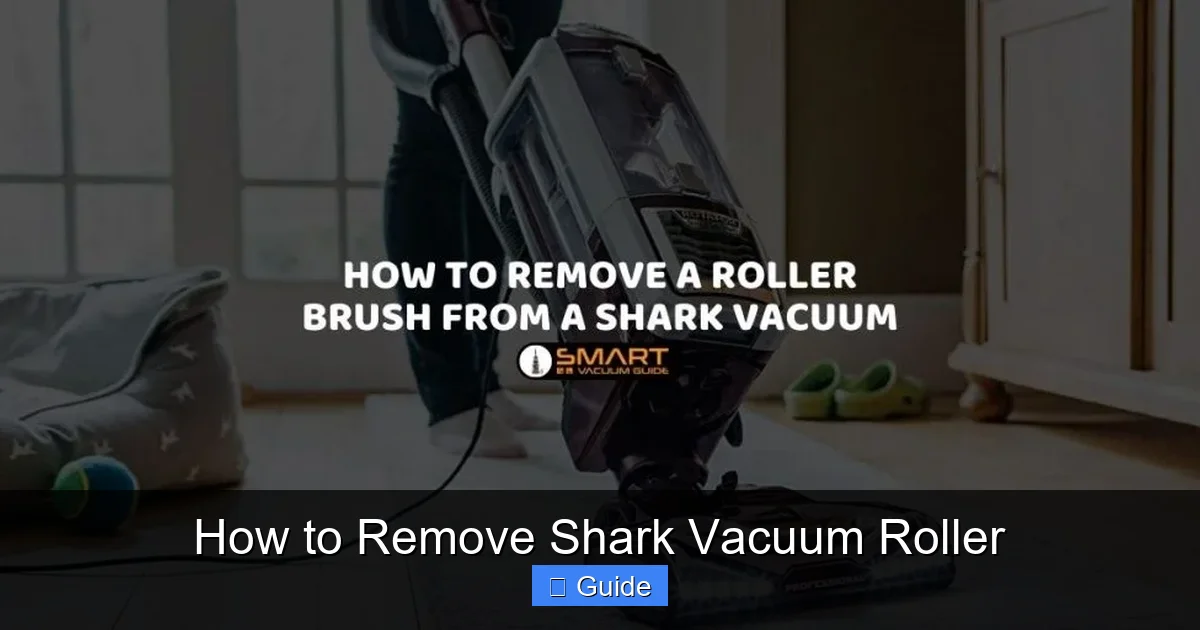
Visual guide about How to Remove Shark Vacuum Roller
Image source: smartvacuumguide.com
The Removal Dance: A Simple 4-Step Process
Step 1: Position and Access. Lay the vacuum on its back or side on a clean surface, with the floor head facing up. Have your trash bag and scissors within reach.
Step 2: Engage the Release. For a lever, press it firmly inward or down while supporting the roller housing with your other hand. For a button, press it and pull the roller assembly toward you. For screws, remove them completely and set them aside.
Step 3: Extract the Roller. Once the mechanism is disengaged, gently pull the entire roller cartridge straight out. It may have a slight angle or require a small wiggle. Be mindful of any drive belts (rubber bands) that might be looped around the roller—these are common in some models. Don’t yank; a steady, moderate pull is sufficient.
Step 4: Separate the Roller from the Housing (If Needed). Often, the entire cartridge comes out as one piece. If your model has the roller secured within a plastic cage or housing with end caps, you may need to pop the end caps off the roller shaft to free the brush roll itself. These caps usually snap on and can be pried off with a flathead screwdriver or even your fingernails, being careful not to break the plastic clips.
Deep Cleaning and Inspection: The Heart of the Task
You’ve conquered the removal! Now comes the most rewarding part: the cleanup. A clean roller makes your vacuum work like new.
Cutting Away the Tangled Nightmare
Lay the roller on a flat surface. You’ll likely see a solid mat of hair, carpet fibers, and maybe even pet fur wrapped around the bristles and bearings. Don’t try to pull this off—it’s packed too tight. Instead, use your scissors. Carefully snip through the mats lengthwise along the roller. You can then peel the chunks away. For hair wound tightly around the bearings (the plastic caps on each end), use the pointed tip of the scissors to gently pick and cut it away. Be patient; this step takes a few minutes but is critical.
Cleaning the Housing and End Caps
While the roller is out, don’t ignore the housing it came from. This cavity is often filled with the same debris that clogged the roller. Use a dry microfiber cloth, a cotton swab, or even the crevice tool from your vacuum (if you have a secondary one) to scoop out all the accumulated gunk. Wipe the end caps and the interior of the roller cage clean. A little mild soapy water on a cloth can help with sticky grime, but ensure everything is completely dry before reassembly. Moisture inside the housing can damage the motor.
Critical Inspection: Is Your Roller Worn Out?
This is your chance to assess the roller’s health. Look at the bristles. Are they bent, missing, or worn down to nubs? Worn bristles won’t agitate carpet fibers effectively. Spin the roller by hand. Does it rotate smoothly, or is there a grinding, gritty feeling? That indicates worn or dirty bearings. If the bearings feel gritty even after cleaning, or if the roller shaft is bent, it’s time for a replacement. You can order a genuine Shark replacement roller by model number from Shark’s website or authorized retailers. It’s an inexpensive fix that dramatically improves performance.
Reinstalling Your Shark Vacuum Roller Correctly
Reassembly is straightforward but has one golden rule: do not force anything. If it doesn’t slide in easily, you’re likely misaligned. Here’s how to put it back together right.
Reassembly in Reverse
If you separated the roller from its housing/end caps, reattach the end caps first. Align the roller shaft with the holes in the caps and snap or screw them back on securely. Now, take the entire roller assembly and position it in the empty housing on the underside of the vacuum. It should fit snugly into its tracks or guides. For lever-release models, you often need to align the roller’s axle with the slots in the housing, then lower it in and listen/feel for a definitive click as the lever automatically locks it into place. For button models, push it in fully until you hear it snap. For screw models, reinsert the screws and tighten them securely but do not overtighten and crack the plastic.
Checking for Belt Engagement (If Applicable)
Some Shark models, particularly older ones or certain Shark Rotator versions, have a small rubber drive belt that connects the vacuum’s motor shaft to the roller. If your model has a belt, ensure it is still looped around the roller’s drive cog (a raised plastic gear on one end of the roller) and the motor pulley inside the housing. If the belt came off during removal, stretch it over both pulleys. It should sit flat, not twisted. A missing or broken belt will cause the roller to not spin at all.
The Final Test: Before You Vacuum
Before you plug the vacuum back in, give the roller a final spin by hand. It should rotate freely and smoothly within the housing. Listen for any rubbing against the housing sides. Once you’re satisfied, plug the vacuum in, turn it on, and engage the brush roll (if your model has a separate “brush roll on/off” button). Lower the vacuum onto a carpet and watch—the roller should be spinning vigorously. Listen for normal sounds, not screeching or grinding. If it doesn’t spin, unplug immediately and recheck your installation. Most often, a roller that won’t spin is simply not seated correctly or a belt is misrouted.
Troubleshooting Common Problems and FAQs
Even with this guide, you might hit a snag. Let’s address the most common hiccups.
The Roller Won’t Come Out
First, double-check you’ve found the correct release mechanism and are pressing it fully. Sometimes debris-packed grime can jam the lever. Use a flashlight and probe with a tool to dislodge any obstruction around the lever pivot point. If it’s a screw, ensure you’ve removed it completely. As a last resort, gently but firmly wiggle the roller assembly while holding the release; sometimes it gets stuck on a belt or housing lip.
The Roller Spins Freely But the Vacuum Has No Power
If the roller spins easily by hand but the vacuum motor doesn’t run, the issue is unrelated to the roller removal. Check for a full dust cup, a clogged filter, or a tripped thermal fuse (let the vacuum cool for 30 minutes). The roller being out should not prevent the motor from running in most models, but some have safety switches that disable the motor if the roller isn’t detected.
My Shark Model Has a Different Release!
If your vacuum doesn’t match the lever, button, or screw descriptions above, your model may have a unique system. This is where your model number and manual are essential. You can also find excellent, model-specific video tutorials on platforms like YouTube by searching “[Your Shark Model Number] remove brush roll“. Seeing the exact process for your machine is incredibly helpful.
Conclusion: Making Maintenance a Habit
Removing and cleaning your Shark vacuum’s roller is one of the most impactful maintenance tasks you can perform. It takes less than ten minutes, requires almost no tools, and pays massive dividends in suction power, quieter operation, and extended motor life. By making this a monthly habit—or more frequently if you have pets or shag carpets—you ensure your Shark vacuum remains a powerful, reliable cleaning partner for years to come. Remember the core principles: unplug first, identify your model’s release, clean meticulously, and reinstall with care. Now, go flip that vacuum over, locate that lever or button, and give that hardworking roller the TLC it deserves. Your carpets—and your vacuum’s motor—will thank you.
Frequently Asked Questions
How often should I remove and clean my Shark vacuum roller?
For most households, check and clean the roller monthly. If you have pets, long-haired family members, or thick carpets, clean it every 1-2 weeks. A visibly clogged roller or a drop in suction means it’s time immediately.
What if my Shark vacuum roller is stuck and won’t come out?
Ensure the vacuum is unplugged. Verify you are activating the correct release lever or button fully. Use a flashlight to see if debris is jamming the release mechanism itself. Gently wiggle the roller while holding the release. If it’s a screw model, confirm screws are completely removed. Forcing it can break plastic clips.
Do all Shark vacuums have the same roller removal process?
No. While most modern Navigator and Rotator models use a lever or button release, some older or specific models (like certain Shark IZ cordless vacuums) use a button, and a few may have screws. Always identify your specific model number for the most accurate instructions.
Can I wash the Shark vacuum roller with water?
You can rinse the plastic roller and end caps with water to remove sticky grime, but never soak the bearings (the plastic caps on the ends). Water inside the bearings will rust the internal ball bearings. If you rinse, let every part air-dry completely for 24 hours before reassembly to prevent motor damage.
Is the “brush roll” the same as the “roller”?
Yes, in Shark vacuum terminology, “brush roll,” “beater bar,” and “roller” all refer to the same cylindrical component with bristles that agitates carpet fibers. The terms are used interchangeably in user manuals and guides.
My roller spins fine after reinstallation, but the vacuum still has no suction. Why?
The issue is likely unrelated to the roller. Check if the dust cup is full, the pre-motor and post-motor filters are dirty, or there’s a clog in the hose or wand. Also, ensure the dust cup is properly sealed and the vacuum is on the correct suction setting for your floor type.