Knowing if your Shark vacuum is charging is simple once you learn its indicator language. Most models use LED lights—a solid red light typically means charging, while a solid blue or green light often indicates a full charge. Some newer models also show a battery icon on a digital display or emit a gentle sound. Always consult your specific model’s manual, as patterns can vary. If no indicators appear, check your outlet, charger connection, and battery health to troubleshoot the issue effectively.
Key Takeaways
- LED lights are the primary charging indicator: A solid red light almost always means charging is in progress, while a solid blue or green light signifies a full battery. Blinking lights usually indicate an error or a specific mode.
- Your model’s manual is the ultimate authority: Shark’s indicator light patterns (colors, solid vs. blinking) can vary slightly between series like Vertex, IZ, or Stratos. Always cross-reference with your user guide.
- Digital displays provide precise battery info: Models with an LCD screen will show a charging battery icon or a percentage that increases as the battery fills, offering more detail than simple LEDs.
- No lights mean no power flow: If absolutely no indicator illuminates, the problem is usually the power source (faulty outlet, tripped breaker), a damaged charger, or a completely dead battery.
- Charging time varies by battery size and model: Expect anywhere from 3 to 4 hours for a full charge on most modern Shark stick vacuums. Factors like battery age and ambient temperature affect this.
- Proper charging habits extend battery life: Avoid letting the battery fully deplete regularly, keep charging contacts clean, and store the vacuum in a cool, dry place to maximize long-term performance.
📑 Table of Contents
- Why Knowing Your Shark Vacuum’s Charging Status Matters
- Decoding Shark’s Visual Signals: The Universal Language of Lights
- Beyond the Blink: Sounds, Haptics, and Digital Displays
- How Long Should It Take? Realistic Charging Time Expectations
- Troubleshooting: When Your Shark Won’t Charge (The Complete Checklist)
- Maximizing Battery Life: Charging Best Practices for Longevity
- Conclusion: Your Vacuum’s Vital Signs Are Simple to Read
Why Knowing Your Shark Vacuum’s Charging Status Matters
You’ve just finished cleaning your home, and you dutifully place your Shark vacuum back on its wall-mounted charging dock or plug the charger into the unit. But how can you be absolutely sure it’s actually charging? It’s a simple question with a crucial answer. Knowing whether your Shark vacuum is charging isn’t just about convenience; it’s about ensuring your machine is ready for its next use and maintaining the long-term health of its lithium-ion battery. A misunderstood indicator can lead to a dead battery when you need it most, or worse, unknowingly practicing habits that degrade battery capacity over time.
Shark, as a brand, has evolved its user interface over the years. From the earliest stick vacs to the latest Vertex and IZ series, the methods for communicating charging status have diversified. This guide exists to cut through the confusion. We will decode every possible signal—from the humble LED light to sophisticated digital displays—so you can look at your Shark and know with confidence that it’s powering up. We’ll cover common pitfalls, troubleshooting steps, and best practices to keep your vacuum’s battery thriving for years.
Decoding Shark’s Visual Signals: The Universal Language of Lights
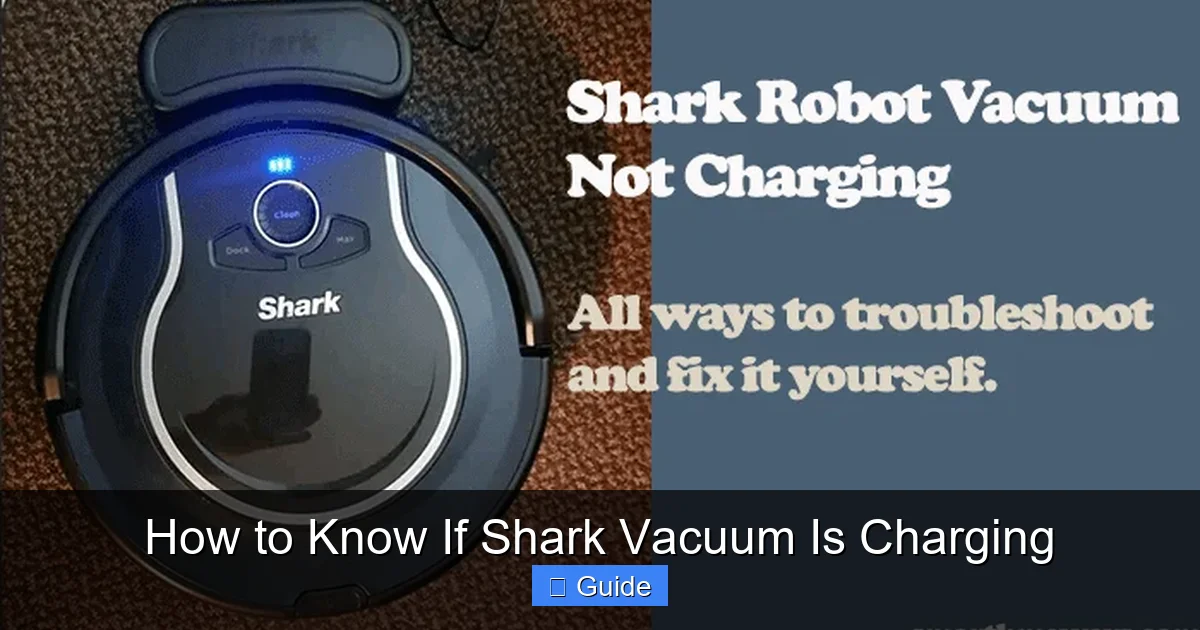
For the vast majority of Shark cordless vacuums, the LED indicator light is your first and most important source of information. This small light, often located on the vacuum’s body near the power button or on the charging dock itself, uses color and behavior to communicate. While there are model-specific nuances, Shark adheres to a fairly consistent logic that, once learned, becomes second nature. Let’s break down the most common light patterns you’ll encounter.
Visual guide about How to Know If Shark Vacuum Is Charging
Image source: smarthomeways.com
The Standard Red/Blue/Green Code
This is the classic trio you’ll see on models like the Shark IZ682, AZ6002, and many others in the Vertex and Stratos lines.
- Solid Red Light: This is the “heartbeat” of a charging vacuum. When you connect your Shark to its charger and plug it into the wall, a solid red light should illuminate within a few seconds. This is your definitive visual confirmation that electrical current is flowing from the outlet, through the charger, and into the vacuum’s battery. It means the charging process has begun. If this light does not come on, the charging cycle has not started.
- Solid Blue or Green Light: When the battery reaches 100%, the indicator will typically change from red to a solid blue or solid green light. This means the vacuum is fully charged and the charger has switched to a trickle or maintenance mode to keep the battery topped off without overcharging. Your vacuum is now ready for a full cleaning session.
- Blinking/Flashing Lights: A blinking light is rarely a good sign during charging. It almost always indicates a problem. A red light blinking rapidly could signal a battery fault, a communication error between the vacuum and charger, or that the battery temperature is outside the safe charging range (too hot or too cold). A blue or green light blinking might indicate the vacuum is in a special mode or, on some docks, that it’s in “Eco” or “Quiet” charging mode. Consult your manual for blink codes specific to your model.
Interpreting Patterns on Specific Shark Series
While the red=charging, blue/green=full logic is standard, the journey between those states can look different.
- Shark Vertex Series (e.g., SV780, SV851): These often have a single, multi-color LED. It will glow solid red while charging. As the battery fills, it may pulse or blink slowly before turning solid blue when complete. Some Vertex models have a charging dock with its own LED ring that mirrors the vacuum’s status.
- Shark IZ Series (e.g., IZ682, IZ420): These popular stick vacs typically use a straightforward three-light system on the body: a red charging light, a blue “power on” light, and sometimes a separate battery level gauge. During charging, only the red light is active and solid.
- Shark Stratos Series (e.g., AZ6002): Similar to the IZ, but often with a more prominent battery fuel gauge (a series of small LEDs) on the back or top. While charging, the red light is on, and you may see the battery gauge LEDs progressively fill from left to right.
- Shark Rocket Ultra Series: Many models in this line have the charging indicator on the charger itself, not the vacuum. A light on the wall charger plug will be red while charging the connected vacuum and turn green when the battery is full. The vacuum body may have no light at all during charging.
Pro Tip: When you first get your Shark, actively observe the charging process from a dead or low battery to full. Note the exact light sequences. This creates a mental baseline for what “normal” looks like for your specific machine.
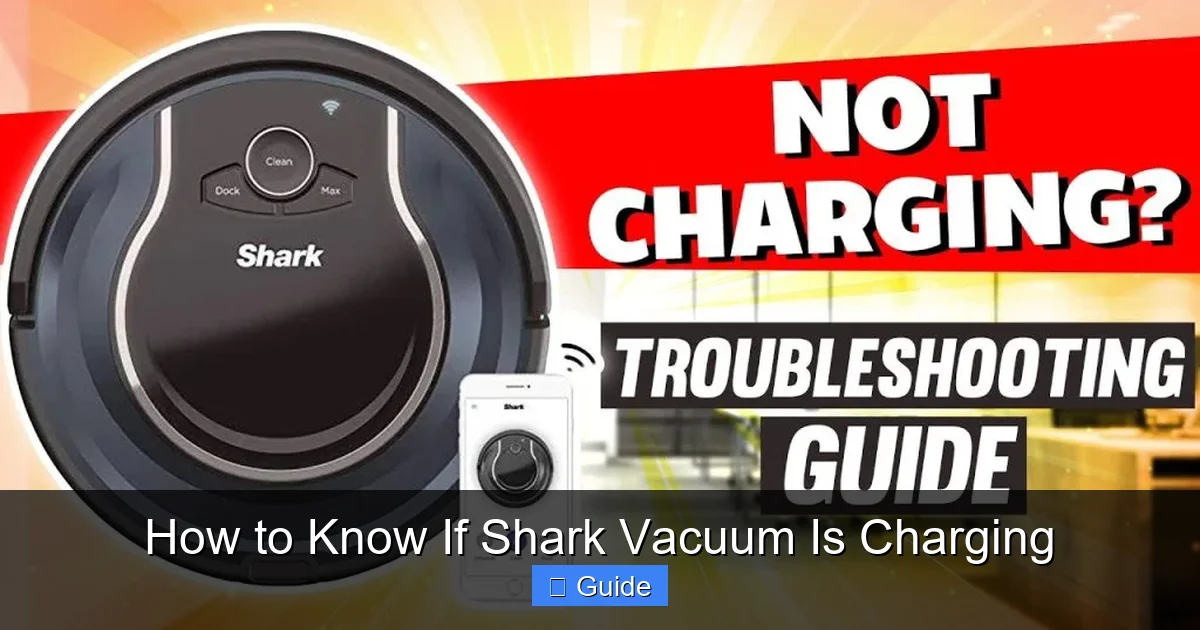
Beyond the Blink: Sounds, Haptics, and Digital Displays
Not all Sharks communicate with light alone. As technology has advanced, Shark has incorporated additional sensory feedback, particularly on its higher-end and robot vacuum models. These secondary signals can confirm what the lights are telling you or provide information when the vacuum is out of direct sight.
Visual guide about How to Know If Shark Vacuum Is Charging
Image source: settinghelp.com
Auditory Confirmation: The Chime of Charge
Some Shark cordless models, especially those with more advanced electronics, emit a gentle audible tone when you first connect them to the charger. This single “chime” or beep is an immediate, hands-free confirmation that the electrical connection is good and charging has initiated. Similarly, a different tone may sound when charging is complete. If your model is supposed to make a sound and doesn’t, it’s an early clue that something is amiss with the connection or the vacuum’s internal circuitry.
The Subtle Buzz: Haptic Feedback
While less common in stick vacuums, haptic (vibration) feedback is a standard feature in Shark’s robot vacuums, like the Shark AI Ultra Robot. When a robot vacuum docks and begins charging, it will often give a short vibration pulse. This tactile signal is useful in a noisy home environment where a chime might be missed. For stick vacs, this is rare, but always check your manual for any mention of vibration cues during charging.
The Crystal-Clear Battery Icon: Digital Display Models
The most advanced Shark vacuums, such as those with an LCD screen (found on some Vertex and AI-enabled models), provide the most detailed charging status. Instead of guessing from a colored light, you get a visual representation.
- The Charging Animation: On these models, when you place the vacuum on its dock or plug it in, the screen will typically light up and display a clear battery icon. This icon will often animate, showing lightning bolts, a plug symbol, or the battery bars filling from empty to full in real-time.
- Percentage Readout: The gold standard of clarity. The display will show an exact percentage (e.g., “Charging… 45%”). You can glance at it and know precisely how much longer you must wait. It will count up until it reads “100%,” at which point the icon may change color or the word “Full” may appear.
- Error Codes: A major advantage of digital displays is their ability to show alphanumeric error codes (like “E1,” “E2”) if a charging fault occurs. This takes the guesswork out of troubleshooting. Your manual will have a dedicated section decoding these specific codes.
How Long Should It Take? Realistic Charging Time Expectations
Knowing if your Shark is charging is step one. Knowing how long it should take to reach full capacity is step two, and it manages expectations. Charging time is not arbitrary; it’s dictated by battery capacity (measured in watt-hours, Wh) and the charger’s output (measured in watts, W).
Visual guide about How to Know If Shark Vacuum Is Charging
Image source: smarthousewizard.com
The General Timeline for Modern Shark Stick Vacs
For most Shark cordless vacuums released in the last 5 years, you can expect a full charge from 0% to 100% to take between 3 and 4 hours. This assumes you’re using the correct, original Shark charger and the battery is in good health. Models with smaller batteries for lighter cleaning (like some Shark WandVac variants) may charge in under 3 hours, while those with larger, high-capacity batteries for extended runtime (like the Shark Vertex with its “DuoClean” powerhead) may push closer to 4 hours.
Factors That Can Slow Down the Charge
If your vacuum seems to be taking forever to charge, several factors could be at play:
- Battery Age and Health: Lithium-ion batteries degrade over time. A battery that is 2-3 years old will not only hold less charge but may also accept a charge more slowly than a new one.
- Ambient Temperature: Batteries are sensitive to temperature. Charging in a very cold room (below 40°F / 4°C) or a very hot room (above 85°F / 29°C) can significantly slow the chemical process. Shark’s batteries have built-in protection and may refuse to charge at all in extreme temps.
- Using the Vacuum While Charging: Some Shark models allow for “charge-and-go” use, but this drastically increases charging time. The power is being used to run the motor while simultaneously replenishing the battery, a much slower process.
- A Faulty or Underpowered Charger: Using a non-original charger, a damaged charger, or a charger from a different Shark model (with a lower wattage rating) will result in painfully slow charging or no charging at all. Always use the charger that came with your specific model number.
Troubleshooting: When Your Shark Won’t Charge (The Complete Checklist)
You’ve plugged everything in, but the red light never comes on. The battery icon on the screen remains stubbornly empty. Don’t panic. A charging failure is usually a simple issue. Work through this systematic checklist from the most common to the more complex.
Step 1: The Power Source Audit
Before blaming the vacuum, blame the outlet.
- Test the outlet: Plug a known-working lamp or phone charger into the same outlet. Does it power on? If not, the problem is your home’s electrical circuit. Check for a tripped breaker or a blown fuse.
- Inspect the charger: Look at the charger brick. Is it warm? Does it have any visible damage, fraying, or chew marks on the cable? Smell it—a burnt odor is a major red flag. Try a different, known-good Shark charger that matches your model’s voltage and wattage requirements if possible.
- Check the connection points: Examine both the charger’s plug that goes into the wall and the DC connector that plugs into the vacuum. Are the metal pins bent, dirty, or corroded? A poor physical connection will prevent power transfer. Clean gently with a dry cotton swab.
Step 2: The Vacuum and Battery Inspection
If power is reaching the charger, the issue is likely at the vacuum’s end.
- Locate and clean the charging contacts: On the vacuum (usually on the back or underside) and on the charging dock, you’ll find two metal charging pins or pads. These must be perfectly clean and free of dust, hair, and debris for a connection to be made. Use a dry microfiber cloth or a cotton swab dipped in a tiny amount of isopropyl alcohol to clean them thoroughly. Let them dry completely.
- Ensure proper seating: If using a wall dock, make sure the vacuum is clicked all the way into place. The pins must align perfectly. If using a direct-plug charger, ensure the connector is fully inserted into the vacuum’s port until you hear or feel a click.
- Reset the vacuum: Many Shark models have a internal battery management system that can glitch. To reset it, remove the vacuum from the charger, press and hold the power button for 10-15 seconds to fully discharge any residual power, then re-seat it on the charger.
- Remove and reseat the battery (if applicable): On models with a removable battery (like many Shark IZ and Rocket models), take the battery out. Inspect the battery contacts and the contacts inside the vacuum’s battery compartment. Clean them if necessary. Firmly reseat the battery, ensuring it’s locked in place.
Step 3: Diagnosing a Dead or Faulty Battery
If you’ve exhausted steps 1 and 2, the battery itself is the prime suspect.
- The “no light, no sound” scenario: If absolutely nothing happens—no lights, no sounds—and you’ve verified the outlet and charger are good, the battery may be completely dead or have an internal fault that prevents it from accepting any charge.
- The “light comes on but doesn’t change” scenario: A solid red light that never turns blue after many hours, even when the vacuum is cool and clean, often points to a battery that can no longer hold a full charge. It’s reached the end of its lifespan.
- Battery replacement: Shark sells official replacement batteries for most of its popular models. Replacing the battery is often a simple process involving removing a few screws or releasing a latch. Always purchase a genuine Shark battery or a reputable, certified third-party battery with good reviews to ensure safety and performance.
Maximizing Battery Life: Charging Best Practices for Longevity
Your Shark’s lithium-ion battery is a powerful but finite resource. How you charge it directly impacts how long it will last and how much runtime you’ll get per charge over the years. Following these simple habits will keep your vacuum performing strongly.
The 20-80 Rule and Avoiding Deep Discharges
Lithium-ion batteries are happiest when they’re not consistently pushed to their absolute extremes.
- Avoid the 0% trap: Try not to regularly run your vacuum until it completely dies and shuts off. A full deep discharge stresses the battery. It’s better to recharge when you notice a significant drop in power or see the low-battery indicator.
- No need for 100% every time: For everyday top-ups, charging to about 80-90% is perfectly fine and is actually less stressful on the battery than a full 100% charge. The “full charge” for longevity is more about long-term storage (see below) than daily use.
- The exception: If you have a big cleaning job coming up (like deep-cleaning the entire house), do a full charge cycle to 100% beforehand to maximize your available runtime.
Temperature is the Silent Battery Killer
Heat is the number one enemy of lithium-ion batteries. Never charge or store your Shark vacuum in:
- A hot garage or attic.
- Direct sunlight, especially on a charging dock near a window.
- Next to a radiator, fireplace, or other heat source.
Charging generates a small amount of heat. If the ambient temperature is already high, the combined heat can accelerate battery degradation. Always charge and store your vacuum in a cool, dry place at room temperature (roughly 60-75°F or 15-24°C).
The “Set It and Forget It” Safety Net
Modern Shark chargers and battery management systems are smart. They are designed to stop charging automatically once the battery reaches 100% and switch to a trickle charge to maintain that level. It is safe to leave your Shark on its charger indefinitely. This is the recommended storage method if you use the vacuum regularly. The system will keep the battery at an optimal charge without overcharging it. For long-term storage (over a month), Shark recommends charging the battery to about 50% before putting it away in a cool, dry place.
Conclusion: Your Vacuum’s Vital Signs Are Simple to Read
Understanding whether your Shark vacuum is charging boils down to becoming fluent in its specific set of indicators. For most, it’s the simple, steadfast glow of a red light. For others, it’s the rising percentage on a digital screen or the satisfying chime of a completed cycle. By taking a few minutes to observe your model’s unique behavior during a full charge cycle and keeping its charging contacts clean, you remove all doubt. You’ll never again walk into a room with a dead battery and a vague hope that it charged. You’ll know. And with that knowledge, coupled with good charging habits, you’ll ensure your Shark vacuum remains a powerful, reliable cleaning partner for years to come, always ready to spring into action at a moment’s notice.
Frequently Asked Questions
What does a solid red light mean on my Shark vacuum?
A solid red light is the universal sign that your Shark vacuum is actively charging. It indicates a good connection between the charger and the battery, and power is flowing into the battery pack. This light should appear within seconds of plugging in the charger.
How long does it take for a Shark vacuum to fully charge?
Most modern Shark cordless vacuums take between 3 and 4 hours to charge from 0% to 100% when using the correct original charger. The exact time depends on the specific model’s battery capacity. Larger, high-power models may take closer to 4 hours.
Can I use my Shark vacuum while it’s charging?
Some Shark models allow for “charge-and-go” use, but it is not recommended for regular, heavy cleaning. Using the vacuum while it charges drastically slows down the charging process and can generate excess heat, which may stress the battery over time. For best results, charge the vacuum fully before use.
Why is my Shark vacuum not charging? No lights come on.
This usually points to a power issue. First, verify the wall outlet is working by testing it with another device. Next, inspect the charger for damage and ensure it’s the correct model for your vacuum. Finally, clean the metal charging contacts on both the vacuum and the charger with a dry cloth to remove any debris blocking the connection.
What does a blinking red light mean during charging?
A blinking or flashing red light typically indicates a fault or error. Common causes include: the battery temperature is too hot or too cold to charge safely, there’s a communication error between the battery and charger, or the battery itself has failed and can no longer accept a charge. Consult your user manual for the specific blink code meaning for your model.
How can I tell if my Shark vacuum’s battery needs to be replaced?
Signs of a failing battery include: a significantly reduced runtime (e.g., from 60 minutes down to 15), the vacuum dying suddenly during use, the charger light staying solid red forever without turning blue/green (indicating it can’t reach full capacity), or the vacuum not charging at all despite a good charger and clean contacts. Shark sells official replacement batteries for most models.