A hard reset on a Shark robot vacuum restores it to its original factory settings, erasing all learned data, schedules, and Wi-Fi connections. This is a powerful troubleshooting step for persistent errors, connectivity issues, or if you’re planning to sell or gift the device. The process typically involves a physical button combination or a factory reset option within the Shark app. Always back up your cleaning schedules and note your Wi-Fi credentials before proceeding, as you will need to set up the robot from scratch afterward.
So, your Shark robot vacuum is acting up. Maybe it’s getting stuck in the same spot every time, it’s disconnected from the app and won’t reconnect, or you’re seeing a persistent error code that just won’t quit. You’ve tried turning it off and on again, but the problem lingers. It’s frustrating. When your trusty cleaning sidekick develops a stubborn software hiccup, a hard reset—often called a factory reset—can be the ultimate “fresh start” button. But what does that *really* mean, and how do you do it without causing more chaos? This guide will walk you through everything you need to know about performing a hard reset on your Shark robot, from the crucial “why” and “when” to the exact, model-specific “how.” We’ll make sure you go into this process confident and come out the other side with a fully reset and ready-to-clean robot.
Think of your Shark robot’s internal software like the operating system on your phone. Over time, it accumulates data: it learns the layout of your home, stores your scheduled cleanings, and remembers your preferred settings. Sometimes, that data can become corrupted, or a software bug can take root. A soft reset (just power cycling) is like restarting your phone—it clears the temporary memory. A hard reset, however, is like restoring your phone to its original factory settings. It wipes the slate completely clean. All the learned maps, all your set schedules, the Wi-Fi credentials—all of it is gone. The robot will boot up as if it just came out of the box. This nuclear option is incredibly effective for wiping out deep-seated software problems, but it comes with the significant trade-off of requiring a full re-setup. That’s why understanding the process is so important.
Key Takeaways
- Purpose: A hard reset solves deep software glitches, app pairing failures, and clears corrupted map data by returning the robot to factory defaults.
- Data Loss: It permanently erases all cleaning schedules, preferences, and stored maps. You must reconfigure everything post-reset.
- Model Variations: The exact reset method (button combo vs. app option) varies by Shark model series (e.g., IQ, AI, Ultra). Identify your model first.
- Pre-Reset Checklist: Note your Wi-Fi network name/password and ensure the robot is powered on and on its home base before starting.
- Post-Reset Steps: After resetting, you must re-pair the robot with the Shark app and your home Wi-Fi network as if it were new.
- Not a First Resort: Try simpler fixes like rebooting the robot and router, cleaning sensors, or updating the app firmware before a full hard reset.
- Physical Access: Most resets require physical access to the robot’s buttons; you cannot perform a hard reset remotely via the app alone.
📑 Table of Contents
- Understanding the Hard Reset: What It Is and Isn’t
- Step 1: Preparation—The Most Critical Phase
- Step 2: The Hard Reset Process—Methods by Model Series
- Step 3: Post-Reset—Setting Your Shark Robot Up Anew
- Troubleshooting: What If the Reset Fails or Gets Stuck?
- When to Hard Reset vs. Other Solutions
- Conclusion: A Fresh Start for a Reliable Clean
Understanding the Hard Reset: What It Is and Isn’t
Before you go pressing buttons, it’s vital to have a clear mental model of what a hard reset accomplishes. This knowledge will help you decide if it’s the right move and prepare you for the aftermath.
The “Wipe and Start Over” Analogy
A hard reset is a complete restoration of the robot’s firmware to its original, out-of-the-box state. It does not delete the firmware itself—the core programming that makes the robot move and clean stays intact. Instead, it erases the user-specific data stored on top of that firmware. This includes:
- All Cleaning Schedules: Your set days and times for auto-cleaning are deleted.
- Stored Home Maps: Any multi-floor maps saved in the Shark app for your specific home are removed from the robot’s memory.
- Wi-Fi Network Credentials: The robot forgets your home network. It will no longer connect automatically.
- App Pairing: The link between that specific robot unit and your Shark app account is broken. The app will see it as a new, unpaired device.
- Preferences & Settings: Custom settings like suction power preferences, edge cleaning modes, or virtual no-go zones (if supported by your model) are reset to default.
In short, after a hard reset, the robot is a blank slate. It will respond to the physical power button and seek its home base, but it has no memory of your home or your schedule.
What a Hard Reset Does NOT Fix
It’s equally important to know the limits of this procedure. A hard reset cannot fix hardware problems. If your Shark robot has a:
- Dead or swollen battery
- Faulty wheel motor
- Clogged or broken brush roll
- Damaged charging contacts
- Broken sensor (cliff, bumper, wall)
…then a reset will be a waste of time. The software can’t make broken hardware work. Always do a basic physical inspection first: clean the brushes, empty the bin, check for tangled hair, wipe the sensors and charging contacts with a dry microfiber cloth, and ensure the home base is plugged into a working outlet.
Step 1: Preparation—The Most Critical Phase
Rushing into a reset without preparation is a recipe for frustration. The most important rule is: Do not reset until you have the necessary information handy. You will be locked out of your own robot until you complete the setup again.
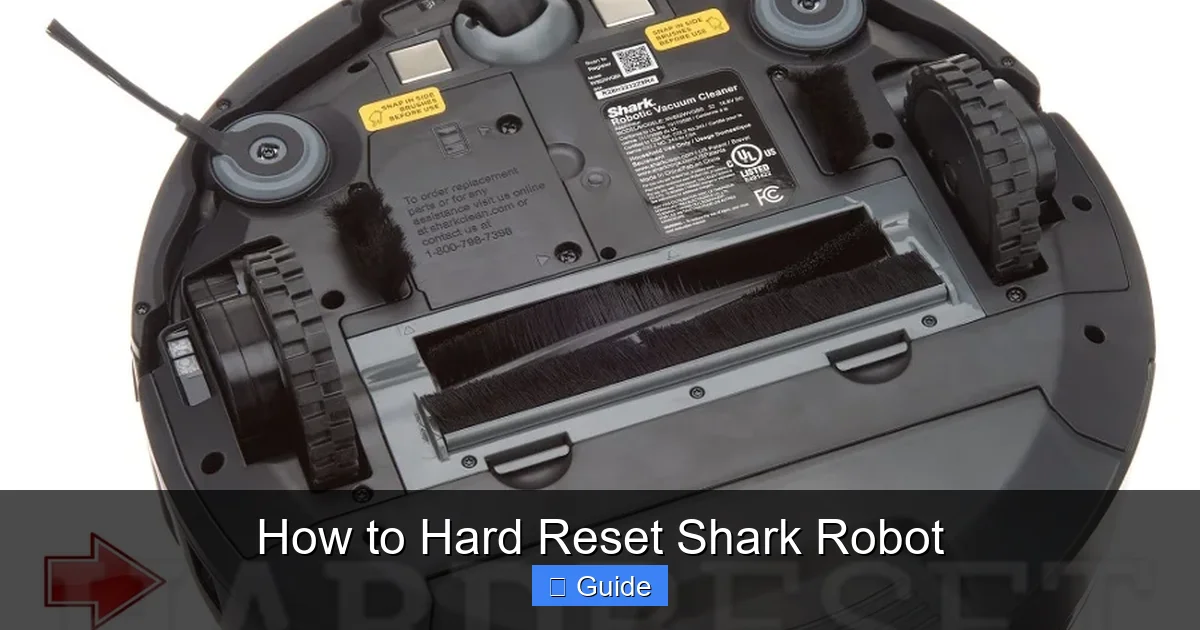
Visual guide about How to Hard Reset Shark Robot
Image source: hardreset.info
Gather Your Wi-Fi Credentials
This is non-negotiable. You must know:
- Your Wi-Fi Network Name (SSID): This is the name you see when you connect your phone or laptop to Wi-Fi. Be mindful of case sensitivity and any special characters.
- Your Wi-Fi Password: You’ll need to enter this during the re-pairing process.
Pro Tip: If you have a dual-band router (2.4 GHz and 5 GHz), Shark robots typically require a 2.4 GHz connection. Have that specific network’s credentials ready. The app will usually guide you, but knowing this in advance prevents confusion.
Identify Your Exact Shark Model
The reset procedure is not one-size-fits-all. Shark has several series—Shark ION Robot (RV), Shark AI Ultra (VA), Shark IQ (RV), and others. The method can differ between a Shark ION RV2502 and a Shark AI Ultra with Base. Your model number is on a sticker on the underside of the robot or on the original box. It usually starts with “RV” or “VA.” Knowing this is the single most important piece of information for finding the correct instructions.
Optional but Helpful: Document Your Setup
If you have complex schedules or specific preferences, consider taking screenshots of your current setup in the Shark app. This isn’t essential, but it makes recreating your preferred cleaning routine much faster after the reset.
Step 2: The Hard Reset Process—Methods by Model Series
Now for the main event. There are two primary methods to perform a factory reset: using the physical buttons on the robot itself, or using the Shark app (which is often simpler if you still have app access). The availability depends on your model’s software and age.

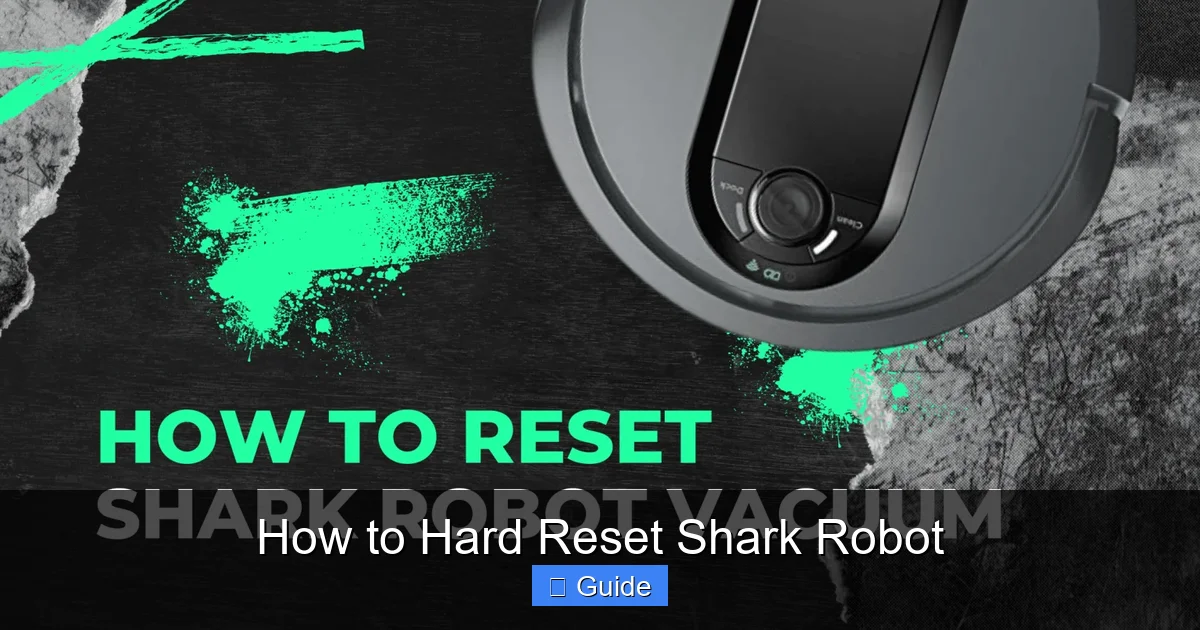
Visual guide about How to Hard Reset Shark Robot
Image source: i.ytimg.com
Method A: The Physical Button Combo (Universal Fallback)
This method works on most Shark robot models, even if you’ve lost app connectivity. It requires direct access to the robot. The robot must be powered on and placed on its home base for this to work on many models.
- Locate the Buttons: Find the Power/Clean button (usually a large circular button on the top) and the Home/Dock button (often a smaller, distinct button, sometimes with a house icon). On some newer models like the AI Ultra, there is a single multi-function button.
- The Sequence: The classic combo for many Shark ION and IQ models is: Press and hold the Home/Dock button, then press the Power button while still holding Home. You must hold both buttons simultaneously for about 10-15 seconds.
- Listen and Watch: You should hear a series of beeps (often two or three) and see the indicator lights flash in a specific pattern (like blinking blue or white). The robot may voice a confirmation like “Resetting.”
- Release and Wait: After the beeps/flashes, release the buttons. The robot will power down and then restart. This process can take 1-2 minutes. When it boots back up, it will be in factory default mode, likely announcing it’s ready for setup or blinking a pairing light (often blue and white alternating).
Important Model-Specific Note for Shark AI Ultra (VA Series): On models with the single top button, the process is often: Press and hold the single button for 10+ seconds until you hear a tone and the light ring spins or flashes. Always consult your specific model’s manual for the definitive button combo.
Method B: Factory Reset via the Shark App (Cleanest Method)
If your robot is still connected to the app and the app is functioning, this is the preferred method. It’s guided and less ambiguous.
- Open the Shark App: Ensure you’re logged into the correct account and your robot is selected/connected.
- Navigate to Settings: Go to your robot’s control page. Look for a gear icon (Settings) or a “More” menu (three dots).
- Find the Reset Option: Within Settings, look for options labeled:
- Factory Reset
- Reset Robot
- Unpair & Reset
- Erase Robot Data
- Confirm: The app will warn you that all data will be erased. Confirm the reset. The app will then send the command to the robot, which will reboot itself.
- App Unpairing: After the reset completes, the robot will disappear from your app’s device list. It is now unpaired and ready to be set up again as a new device.
Why this method is better: It eliminates guesswork on button combos and provides on-screen confirmation. However, it requires that the robot is still communicative with the app, which isn’t always the case when a reset is needed.
Step 3: Post-Reset—Setting Your Shark Robot Up Anew
The reset is done. The robot is blinking, ready to be born again. Now you must guide it through the initial setup process. This is where your preparation pays off.
Visual guide about How to Hard Reset Shark Robot
Image source: i0.wp.com
The Re-Pairing Dance
1. Put the Robot in Pairing Mode: After a reset, the robot should automatically enter pairing mode. You’ll typically see a blinking blue and white light or a specific voice prompt like “Press the button to connect.” If it doesn’t, press the Power button once to wake it and ensure it’s on its home base.
2. Open the Shark App and Add a Device: In the app, tap the “+” icon or “Add Robot” from the main screen.
3. Connect to the Robot’s Wi-Fi: Your phone will temporarily disconnect from your home Wi-Fi and connect to the robot’s own temporary Wi-Fi network (its name will be something like “Shark-XXXX”). Follow the in-app prompts. You’ll then select your home Wi-Fi network from a list and enter the password you prepared earlier.
4. Wait for Confirmation: The app will show a progress bar as the robot connects to your home network and registers with Shark’s servers. Once complete, you’ll get a success message. The robot’s lights will become solid or show a connected pattern.
Recreating Your Cleaning World
Now the real work begins. You have a clean slate.
- Re-map Your Home: If you had multi-floor maps, you must run a Complete Clean on each floor again to generate new maps. Do this when the home is tidy for the best results.
- Re-establish Schedules: Go back into the app’s scheduling section and set your preferred days and times for each floor map.
- Re-configure Preferences: Reset your suction power preferences, set any no-go zones or no-mop zones (if applicable), and adjust other settings to your liking.
- Test Run: Do a spot clean or a full clean of a single room to ensure everything is working as expected before relying on schedules.
Troubleshooting: What If the Reset Fails or Gets Stuck?
Sometimes, the reset process doesn’t go smoothly. Here’s how to handle common post-reset hiccups.
Robot Won’t Enter Pairing Mode After Reset
If the lights are solid or off and the app can’t find it:
- Ensure the home base is plugged into a working outlet.
- Power cycle the robot: manually turn it off using the power button, wait 10 seconds, turn it back on, and place it on the base.
- Try the physical reset sequence again, holding the buttons for a full 15 seconds to be sure.
- Check for any error voice prompts. A persistent error after a reset might indicate a hardware issue.
App Can’t Connect to Robot During Setup
This is often a Wi-Fi issue.
- Double-check your password: Enter it carefully, watching for case sensitivity.
- Router Distance: Keep your phone very close to the robot and home base during setup.
- Router Settings: Some routers have “AP isolation” or “client isolation” enabled. This prevents devices on the same network from talking to each other. You may need to disable this temporarily in your router’s admin settings.
- Band Steering: If your router combines 2.4GHz and 5GHz under one SSID, try creating a separate, dedicated 2.4GHz network for the robot during setup.
- Restart Everything: Power cycle your router, modem, and the robot’s home base. Then try the pairing process again.
When to Hard Reset vs. Other Solutions
A hard reset is a powerful tool, but it’s not always the first one you should reach for. Using it unnecessarily means you lose all your convenient settings and maps. Here’s a decision hierarchy.
Try These First (Softer Fixes)
- Power Cycle: Turn off the robot, unplug the home base for 30 seconds, and restart. This fixes many temporary glitches.
- Clean Thoroughly: Remove and clean the brush roll, extractor, side brush, and sensors. A clogged sensor can cause navigation failures that mimic software bugs.
- Update Everything: Check for firmware updates for the robot in the app settings. Also, update the Shark app itself on your phone. Compatibility issues are often resolved with updates.
- Re-pair Without Resetting: In the app, you can often “Unpair Robot” or “Forget Device” without doing a full factory reset. This removes it from your app but keeps the robot’s internal data intact. Then try pairing it fresh. This is a great mid-step.
- Check Shark Support: Look up your specific error code in Shark’s online support articles. They often have targeted solutions that don’t require a full reset.
When the Hard Reset is the Right Call
Proceed with the factory reset if you’ve tried the above and the robot still:
- Consistently fails to connect to your Wi-Fi despite correct credentials.
- Gets stuck in endless loops or on a single spot with no apparent obstacle.
- Displays a persistent, non-descriptive error code that support articles don’t fix.
- Is behaving erratically after a failed firmware update.
- You are preparing to sell, gift, or return the device and need to wipe your personal data.
Conclusion: A Fresh Start for a Reliable Clean
Performing a hard reset on your Shark robot vacuum is a straightforward but decisive action. It’s the equivalent of a system reboot for a deeply tangled software problem. The key to a stress-free experience lies in preparation: knowing your Wi-Fi password and your exact model number. Follow the precise button sequence or use the guided app method, and then be patient during the re-setup. Re-mapping your home and rebuilding schedules takes a little time, but the reward is a robot that is no longer burdened by corrupted data or stubborn bugs. It’s back to being a blank, efficient slate, ready to learn your home’s layout anew. Remember, resetting is a powerful troubleshooting last resort, not a regular maintenance task. Use it wisely, and your Shark robot will likely return to its reliable, autonomous cleaning self, ready to tackle your floors with a clean state of mind.
Frequently Asked Questions
Can I perform a hard reset on my Shark robot without the physical buttons?
Yes, if your robot is still connected to the Shark app and the app is functioning, you can usually perform a factory reset directly from the app’s settings menu under your robot’s device options. This is often the simplest method.
Will a hard reset delete my saved maps?
Yes, absolutely. A hard reset erases all stored map data from the robot’s memory. You will need to run complete cleaning cycles again to generate new maps for each floor of your home.
My Shark robot is stuck on a red light after resetting. What does this mean?
A solid red light typically indicates a hardware error or a charging issue, not a software one. After a reset, first ensure the robot is properly seated on its home base and that the base is plugged into a working outlet. Clean the charging contacts on both the robot and the base with a dry cloth. If the red light persists, it suggests a problem with the battery or internal components, not a failed reset.
Is there a difference between a “soft reset” and a “hard reset”?
Yes. A soft reset is simply turning the robot off and back on again (power cycling). It clears temporary memory but preserves all your settings, schedules, and maps. A hard reset (factory reset) completely wipes all user data and settings, returning the robot to its original factory condition.
How often should I hard reset my Shark robot?
You should only perform a hard reset when necessary to resolve persistent software or connectivity issues. It is not a regular maintenance task. Frequent resets indicate an underlying problem that should be investigated, such as router incompatibility, Wi-Fi signal issues, or a failing battery.
Can I reset my Shark robot if I no longer have the original app account?
Yes. The physical button reset method works independently of the app or any user account. You can always perform a factory reset using the button combination on the robot itself, which will clear all stored data regardless of previous account associations. You will then need to set it up with a new Shark app account.