Shark Robot Error 6 indicates a problem with the robot’s cliff sensors, which prevent it from falling down stairs. This common issue is usually caused by dirty, blocked, or malfunctioning sensors and is almost always fixable at home without a technician. The primary solution involves thoroughly cleaning the sensors and their surrounding areas, checking for obstructions, and performing a full system reset. Follow our comprehensive guide to diagnose and resolve Error 6 quickly and safely.
Key Takeaways
- Error 6 Means Cliff Sensor Fault: This specific error code points directly to an issue with the sensors that detect stairs and drops, not a general malfunction.
- Dirt is the #1 Culprit: Dust, hair, and debris coating the sensor lenses or blocking their openings are the most frequent cause of this error.
- Immediate Action is Cleaning: The first and most critical step is a meticulous, targeted cleaning of all cliff sensors and the robot’s underside.
- Filter & Brushroll Health Matters: A clogged filter or tangled brushroll can cause excessive motor strain and vibration, indirectly confusing the sensors.
- A Full Reset is Often Necessary: After physical cleaning, performing a hard reset clears the error memory and reboots the sensor system.
- Check for Physical Damage: Inspect sensors for cracks and ensure their rubber bumper shrouds are intact and properly seated.
- Contact Support for Persistent Issues: If Error 6 returns after thorough cleaning and resetting, a sensor component may need professional replacement.
📑 Table of Contents
- Understanding Shark Robot Error 6: The Cliff Sensor Alert
- Immediate Troubleshooting: The First Response to Error 6
- Deep Dive: Cleaning the Cliff Sensors and Underside
- Beyond the Sensors: Supporting System Health
- Resetting the Robot’s Brain: Hard Reset Procedures
- Advanced Diagnostics and When to Seek Help
- Conclusion: Your Robot’s Safety Net is Back Online
Understanding Shark Robot Error 6: The Cliff Sensor Alert
You’re in the middle of your day, and you press the clean button on your trusty Shark robot vacuum. Instead of the familiar whir and beeline across your floor, you hear a series of sad beeps and see a cryptic “Error 6” flash on the display. Don’t panic! This isn’t a death sentence for your robotic helper. In the Shark lexicon, Error 6 is a very specific and common alarm, and it’s telling you exactly what’s wrong: your robot’s cliff sensors have encountered a problem.
These tiny, usually black or clear, sensors are located on the underside of your Shark robot, typically around the front bumper or along the edges. Their job is absolutely critical for safety. They constantly emit a low-power infrared signal. When this signal hits a solid surface and bounces back, the robot knows the floor is solid. If the signal doesn’t return—like when it points over the edge of a stair or a sudden drop—the robot immediately stops, turns around, and avoids the fall. Error 6 means this system has failed its self-check. The robot thinks it might be perched on the edge of a cliff, or the sensor itself is broken, so it refuses to move to prevent a potentially catastrophic tumble. The good news? This is one of the most fixable errors because it’s almost always related to cleanliness or a simple glitch, not a major mechanical failure.
Why Your Shark Robot Thinks It’s on a Staircase
The cliff sensor system is elegantly simple but highly sensitive. It relies on two components: the emitter that sends the signal and the receiver that catches it. For this to work, the path between them must be perfectly clear. Imagine trying to see through a dirty window. That’s what your robot’s sensors experience when coated in grime. Common scenarios that trigger Error 6 include:
- Dust Bunnies & Pet Hair: A thick layer of dust or a clump of pet hair can completely block the sensor lens, making it “blind.”
- Sticky Residue: Spilled soda, cooking grease, or even the sticky residue from old adhesive mats can create a film over the sensor.
- Debris in the Sensor Well: These sensors are often recessed into small holes or wells in the plastic bumper. A single pebble, a piece of gravel tracked in from outside, or a tangled string can lodge in this well, physically blocking the sensor’s view.
- Scuffs and Scratches: Over time, the smooth plastic over the sensor can become scratched or hazed from contact with rough surfaces, diffusing the infrared beam.
- Loose or Damaged Bumper: The sensors are mounted in the rubber or plastic bumper. If the bumper is cracked, misaligned, or not clicking fully into place, the sensor’s angle and calibration can be thrown off.
Before you consider any complex solutions, you must address these fundamental physical issues. Your first 90% of the battle is getting down on the floor with a good light and a set of cleaning tools.
Immediate Troubleshooting: The First Response to Error 6
When Error 6 appears, your immediate goal is to reset the robot’s “panic” mode and prepare it for a proper diagnosis. Rushing into cleaning without a clear plan can lead to missed spots. Follow this initial protocol every time.
Visual guide about How to Fix Error 6 on Shark Robot
Image source: sharkvacuum.blog
Step 1: Power Cycle and Clear the Area
First, stop the robot. Press the power button to turn it off completely. If it’s on its charging dock, lift it off. Place it on a clear, flat section of your floor—preferably on a hard surface like tile or wood, not carpet, for the initial tests. This ensures you’re not dealing with carpet-related navigation quirks. Clear any small toys, cables, or rugs from the immediate area. You want a controlled environment.
Step 2: Perform a Soft Reset
Locate the power button. With the robot powered OFF, press and hold the power button for 10-15 seconds. You might see a light blink or hear a chime. This is a soft reset, which clears the temporary error memory and reboots the main control board. After releasing the button, wait 30 seconds, then power it back on. Sometimes, a transient glitch is all it takes to trigger Error 6, and a simple reset clears it. If the error returns immediately or after a few seconds of attempted movement, proceed to the physical inspection.
Deep Dive: Cleaning the Cliff Sensors and Underside
This is the heart of the fix. You need to be thorough. Think like a detective and a surgeon. Your tools: a soft, lint-free microfiber cloth, cotton swabs (Q-tips), a can of compressed air (optional but helpful), a flashlight, and maybe a soft-bristled brush like a clean toothbrush.
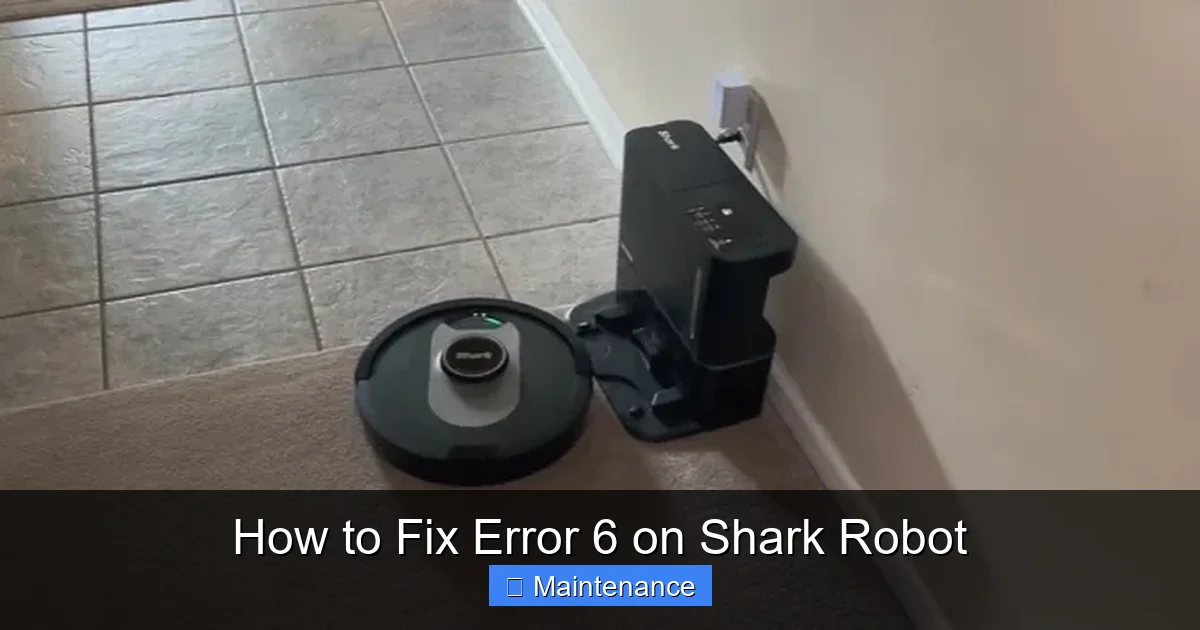
Visual guide about How to Fix Error 6 on Shark Robot
Image source: smarthomepassion.com
Locating Your Specific Sensors
Sensor placement varies slightly by Shark model. For most Shark ION Robots (like the RV50, RV60, RV65 series) and Shark AI Ultra models, look for a row of small, dark circular or oval openings along the front bumper. There are usually 3-4 of them. For older Shark 850 series or some Navigators, you might find them on small “wings” or protrusions on the sides of the front bumper. Consult your user manual’s diagram if you’re unsure. The key is to find any hole or clear plastic window on the underside that isn’t the main brushroll housing or the wheels.
The Cleaning Process: A Methodical Approach
With the robot upside down on a soft towel to protect its finish:
- Dry Debris Removal: Use the compressed air (short bursts) or the soft brush to dislodge any visible lint, hair, or crumbs from around the sensor openings. Be gentle; you don’t want to push debris further in.
- Swab the Wells: Take a cotton swab. If it’s dry, gently insert it into each sensor opening and twist slightly. You’ll often see the swab come out with a dark tip of accumulated dust. For stubborn grime, slightly dampen the swab with isopropyl alcohol (90% or less). Never use water, household cleaners, or acetone, as these can damage the sensor plastic or leave residues. The alcohol evaporates quickly and leaves no film.
- Polish the Lenses: Use a corner of your microfiber cloth, slightly dampened with alcohol, to wipe the plastic surface directly over the sensor. Polish in small circles. Check your work with the flashlight—the plastic should be crystal clear, not hazy.
- Inspect the Bumper: Run your fingers along the entire length of the front bumper. Feel for any cracks, splits, or areas where the plastic seems loose. Ensure the bumper is clicking securely into its mounting clips on the robot’s body. A misaligned bumper will misalign the sensors.
- Check the “Cliff” on the Bottom: While you’re down there, look at the very front edge of the robot’s chassis, just behind the bumper. Some models have additional downward-facing sensors there. Give that area a quick wipe too.
Reassemble the robot (if you removed any parts), place it on a hard floor, and power it on. Let it attempt a spot clean. If the error is gone, you’ve solved it! If it persists, move to the next section.
Beyond the Sensors: Supporting System Health
Sometimes, Error 6 is a symptom of a broader issue. A robot that’s struggling mechanically can create vibrations or positioning errors that confuse the sensitive cliff sensors. Ensuring the entire cleaning system is healthy is crucial for a permanent fix.
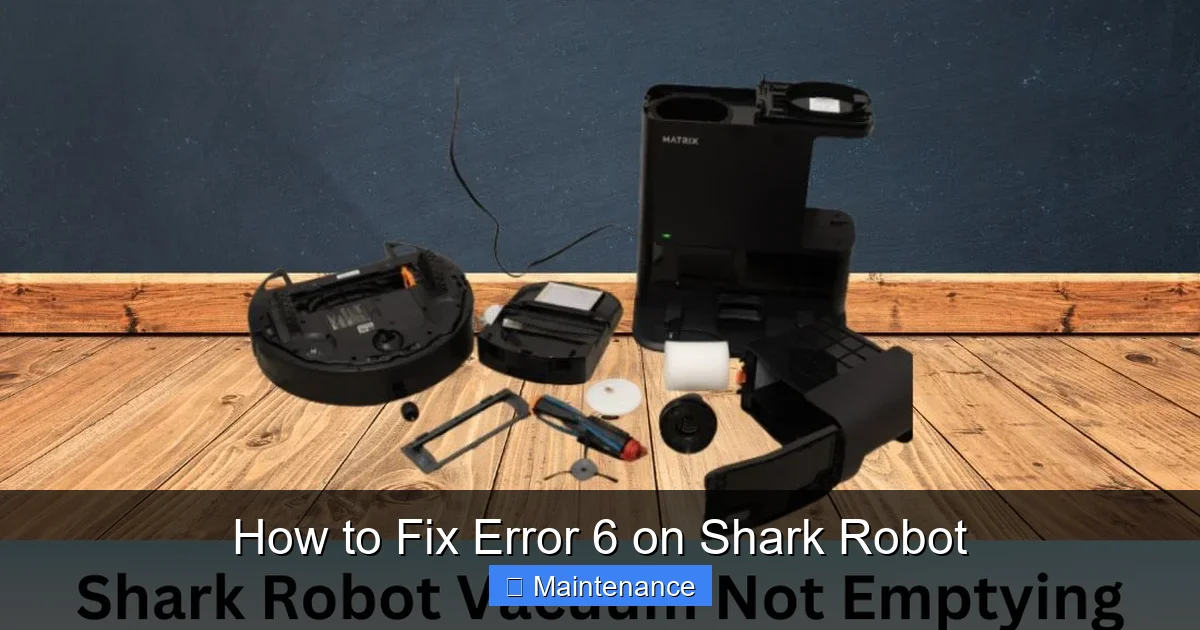
Visual guide about How to Fix Error 6 on Shark Robot
Image source: sharkvacuum.blog
Filter Maintenance: The Breath of Your Robot
A clogged filter makes the vacuum motor work harder, increasing overall vibration and noise. This can subtly affect sensor readings. Shark recommends cleaning the filter every 2-3 uses and replacing it every 3-6 months. To clean: remove the filter (usually accessed from the side or top), tap it firmly over a trash can to dislodge debris, then wash it with cool water. Never use soap or detergent. Allow it to air-dry completely for at least 24 hours before reinserting. A damp filter can cause moisture-related errors.
Brushroll and Side Brush Inspection
A brushroll tangled with hair, string, or carpet fibers will create uneven drag and shaking. Turn the robot over and manually rotate the main brushroll. It should spin freely. Use scissors or the included cleaning tool to cut away any wraps. Check the rubber seals on either end of the brushroll; if they’re damaged, replace the entire brushroll module. Also, remove the side brush (the little rotating brush on the side) and clear any hair from its base and bristles. A stuck side brush can cause the robot to pivot awkwardly during startup, tripping the cliff sensor calibration.
Wheel and Caster Check
Inspect the main drive wheels and the front caster wheel (the small, free-rolling wheel at the front). Remove any hair or string wrapped around the axles. Spin each wheel by hand—it should rotate smoothly. A wheel that is sticky or seized will cause the robot to pull to one side, which can be misinterpreted by the navigation system as a potential cliff scenario during its initial drive tests.
Resetting the Robot’s Brain: Hard Reset Procedures
After you’ve cleaned everything, a full factory reset is often the final key to clearing the persistent Error 6 from the robot’s memory. This is different from the simple power cycle.
The Standard Hard Reset (Most Models)
1. Place the robot on its charging dock and ensure it’s powered on.
2. Open the SharkClean app on your phone.
3. Go to your robot’s settings menu.
4. Look for an option called “Factory Reset,” “Reset Robot,” or “Erase Robot Data.”
5. Confirm the reset. The robot will restart and reconnect to your Wi-Fi as if it were new. You will need to set up maps and schedules again.
The Manual Hard Reset (If App Fails)
For models without the app option or if the app is unresponsive:
1. Turn the robot OFF.
2. Press and hold the Clean/Power button and the Dock button (or the Spot Clean button, depending on model) simultaneously.
3. Continue holding for 10-15 seconds until you hear a series of beeps or see all the indicator lights flash in a pattern.
4. Release the buttons. The robot will reboot. This clears all internal error logs and map data.
Important: After any reset, run the robot in an open area without any docks or virtual walls for a full cleaning cycle. This allows it to build a fresh map and recalibrate its sensors from a clean slate.
Advanced Diagnostics and When to Seek Help
If you’ve followed every step—meticulous sensor cleaning, filter/brushroll maintenance, and a full reset—and Error 6 still plagues your Shark Robot, the problem is likely internal.
Diagnosing a Failed Sensor
The cliff sensor itself is a small, black, plastic-encased component soldered to the mainboard. Physical damage from a impact (like hitting a heavy object) can crack the sensor housing or loosen its connection. Diagnosing this requires opening the robot’s top cover to inspect the sensor wiring and the component itself. This is not recommended for most users due to the risk of damaging clips, wires, or voiding the warranty.
Software Glitches and Firmware
Rarely, a bug in the robot’s firmware can cause sensor misreads. Ensure your robot is connected to Wi-Fi and check for firmware updates in the SharkClean app. Install any available updates. Sometimes, an update will specifically address sensor calibration routines.
Contacting Shark Support
If all else fails, it’s time to call in the pros. Have your robot’s serial number (found on the underside label) ready. Explain you’ve performed all recommended maintenance steps (sensor cleaning, filter washing, brushroll clearing, hard reset) and Error 6 persists. If your robot is still under the limited warranty (typically 1-3 years depending on model), you may be eligible for a repair or replacement. Shark support may guide you through additional model-specific diagnostics or initiate an RMA process.
Conclusion: Your Robot’s Safety Net is Back Online
Facing Error 6 on your Shark Robot can be an initial frustration, but it’s ultimately a blessing in disguise. This error is your robot’s way of saying, “I can’t see the edge properly, and I won’t risk falling.” It’s a safety feature, not a failure. By understanding that this points squarely to the cliff sensors, you empower yourself to perform targeted, effective maintenance. The process—from the immediate power cycle to the detailed, alcohol-swabbed cleaning of each sensor lens, from the supportive care of the filter and brushroll to the decisive hard reset—is a complete tune-up that benefits your entire machine.
You’ve now transformed a moment of confusion into an opportunity to reconnect with the tool that keeps your home clean. You’ve peered under its chassis, understood its simple yet vital sensory world, and restored its confidence to navigate. The next time you press that clean button and hear that familiar, happy hum as it glides across the floor, you’ll know you didn’t just fix an error; you reaffirmed a partnership. Your Shark Robot is once again ready to patrol your home, its cliff sensors sparkling and clear, a silent guardian against the dangers of stairs. Now, enjoy your clean floors and your peace of mind.
Frequently Asked Questions
What exactly does Error 6 mean on my Shark Robot?
Error 6 specifically indicates a fault or obstruction in the cliff/drop sensor system. These sensors prevent the robot from falling down stairs. The robot has detected that one or more of these sensors is not functioning correctly, so it shuts down as a safety measure.
Can I use water or regular cleaner on the cliff sensors?
No. Never use water, soap, window cleaner, or any household detergent on the sensors. These can leave residues, damage the sensor plastic, or cause moisture to fog the lens. Use only a dry microfiber cloth, a dry cotton swab, or a cotton swab very lightly dampened with isopropyl alcohol (90% or less), which evaporates cleanly.
How often should I clean the cliff sensors to prevent Error 6?
As part of your regular maintenance, inspect and lightly clean the sensor areas every 2-3 cleaning cycles. A quick wipe with a dry microfiber cloth during your weekly filter cleaning routine is sufficient to prevent dust buildup. Do a more thorough cleaning with swabs and alcohol every month or if you track in a lot of dirt or have pets that shed heavily.
My filter is clean and the sensors are spotless, but Error 6 remains. What now?
After ensuring physical cleanliness, your next steps are: 1) Perform a full hard reset via the SharkClean app or the manual button combination. 2) Check for and install any available firmware updates. 3) Thoroughly inspect and clean the brushroll, side brush, and all wheels for tangles. 4) Ensure the front bumper is fully seated and undamaged. If the error persists, a sensor component may have failed and requires professional service.
Do all Shark Robot models have the same cliff sensor locations?
No. While the function is identical, placement varies. Most modern Shark ION and AI Ultra robots have a row of 3-4 sensors in the front bumper. Some older Navigator models have them on small “wings” on the sides of the front. Always consult your specific model’s user manual diagram for the exact location to avoid missing them.
Is Error 6 covered under the Shark warranty?
It depends on the cause and the age of your robot. The warranty covers manufacturing defects. If a sensor has failed due to normal use within the warranty period, Shark will repair or replace it. However, if the error is due to neglect (e.g., sensors clogged with months of debris) or physical damage from an impact, it may not be covered. Contact Shark Support with your serial number for a definitive answer based on your situation.