Struggling with your Shark Ion Robot? A factory reset often resolves persistent connectivity issues, error codes, and scheduling glitches by restoring the vacuum to its original settings. This guide provides clear, model-specific instructions for performing a reset using the physical buttons on the robot, through the SharkClean app, or via your voice assistant. Always back up your cleaning schedules and check for firmware updates after a reset to ensure optimal performance.
So, your trusty Shark Ion Robot vacuum has started acting up. Maybe it’s disconnected from Wi-Fi for the hundredth time, it’s getting stuck in the same spot despite your best efforts, or the app just won’t communicate with it anymore. Before you consider a costly repair or replacement, there’s one powerful troubleshooting step you should try: a factory reset. Think of it as giving your robotic helper a complete mental and digital reboot, wiping its memory clean so it can start fresh. This comprehensive guide will walk you through everything you need to know about performing a factory reset on your Shark Ion Robot, from the “why” and “when” to the exact button presses and app taps for every model.
We’ll break down the different types of resets, clarify the steps for various Shark Ion series (like the ION Robot, ION AV, ION 750, etc.), and provide crucial tips to avoid common pitfalls. A factory reset is a simple yet profound action, but it must be done correctly. By the end of this article, you’ll have the confidence to diagnose your robot’s issues and execute a reset that brings it back to its out-of-the-box efficiency. Let’s get your floors back on automatic clean.
Key Takeaways
- A factory reset erases all data: This includes your cleaning schedules, saved maps (if applicable), Wi-Fi credentials, and any custom preferences you’ve set in the app.
- Resets solve specific problems: They are most effective for fixing recurring Wi-Fi disconnections, unresponsive robots, persistent error codes, and app syncing issues.
- There are multiple reset methods: You can reset directly on the robot using button combinations, remotely via the SharkClean app, or sometimes through a connected voice assistant like Alexa or Google Home.
- Preparation is key: Ensure your robot is fully charged and placed on its dock before starting. Have your Wi-Fi network name and password ready to reconnect afterward.
- Not all resets are the same: A “Wi-Fi reset” or “soft reset” only clears network settings, while a “full factory reset” clears everything. Know which one you need.
- Post-reset steps are crucial: After resetting, you must go through the full initial setup process again, including reconnecting to your Wi-Fi network and re-configuring your robot in the SharkClean app.
📑 Table of Contents
Understanding the Factory Reset: What It Is and When You Need One
Before we dive into the “how,” it’s absolutely critical to understand what a factory reset actually does and, just as importantly, when you should—and shouldn’t—use it. A factory reset, sometimes called a hard reset or master reset, returns your Shark Ion Robot’s internal software to the exact state it was in when it first left the factory. It’s the nuclear option of troubleshooting, wiping the slate completely clean.
What a Factory Reset Erases
Performing a full factory reset will permanently delete the following information from your robot’s memory:
- All Wi-Fi Network Credentials: The robot will forget your home network name and password. It will act as if it has never connected to Wi-Fi before.
- Cleaning Schedules & Preferences: Any specific days and times you’ve programmed for automatic cleaning are erased. This includes “Clean Now” preferences like room selection or power level if saved.
- User Account Link: The connection between your specific robot and your SharkClean app account is severed. The robot becomes unlinked.
- Error & Usage History: Any stored logs of past cleaning cycles, errors, or maintenance reminders are cleared.
- Firmware Version (Temporarily): The robot will revert to the base firmware version it shipped with. After you reconnect it to Wi-Fi, it will automatically check for and install the latest available firmware update, which is a necessary final step.
For models with smart mapping capabilities (like the Shark ION Robot AV), a factory reset will also delete the stored floor map. You will have to let the robot remap your home during its next full clean cycle, which can take some time.
When to Perform a Factory Reset
Don’t hit the reset button for minor hiccups. Reserve this tool for persistent, unresolved issues. A factory reset is recommended when you encounter:
- Chronic Wi-Fi Connection Failures: The robot constantly shows as “Offline” in the app, fails to reconnect after a router reboot, or you’ve changed your Wi-Fi password/network and cannot get it to connect through the standard “Add Robot” process.
- Unresponsive or Frozen Behavior: The robot doesn’t respond to button presses on its body, gets stuck on a single error code (like “Error 5” or “Error 9”) that doesn’t clear with a simple power cycle, or the app shows it as “Disconnected” with no apparent reason.
- App Syncing Glitches: The SharkClean app shows incorrect status, won’t start a clean, or displays phantom errors that don’t match the robot’s actual state, even after restarting your phone and the robot.
- Before Selling or Gifting: This is a mandatory step to protect your privacy and allow the new owner to set up the device under their own account.
- After a Major Firmware Update Glitch: Rarely, a firmware update can fail or cause software conflicts. A reset can clear these corrupted files.
When NOT to Factory Reset
Avoid a full reset for these common, often simpler, problems:
- Poor Cleaning Performance: If the robot isn’t sucking well, first check and clean the filters, brushes, and wheels. Empty the dustbin. This is 95% of performance issues.
- Getting Stuck: Address physical obstacles, secure loose rugs, and use boundary strips. The robot isn’t “confused”; it’s encountering a physical barrier.
- Short Runtime: This is almost always a battery issue. Allow the robot to charge fully on the dock for at least 3 hours. If runtime is still poor, the battery may need replacement.
- Loud or Unusual Noises: Turn the robot over and inspect the brushes, bearings, and wheels for hair, debris, or damage.
- Simple Wi-Fi Drop: If it just disconnected once, try power cycling your router and the robot (turn it off at the switch on the bottom, wait 30 seconds, turn back on).
Rule of Thumb: Always try a simple power cycle (off/on) and check for physical maintenance issues before resorting to a factory reset. A reset is a software solution for software problems.
Preparation: The Essential Pre-Reset Checklist
Skipping preparation is the #1 reason resets fail or cause more frustration. Taking five minutes to get ready will save you hours of troubleshooting later.
Visual guide about How to Factory Reset Shark Ion Robot
Image source: safetywish.com
1. Ensure a Full Charge
This is non-negotiable. Your robot must have sufficient battery power to complete the reset process and the subsequent initial setup, which involves a network scan and possibly a mapping run. Place it on the charging dock and confirm the indicator light shows it’s charging. Let it charge for at least one hour to be safe. Do not attempt a reset with a low or critically low battery.
2. Locate Your Wi-Fi Credentials
You will need your exact Wi-Fi network name (SSID) and password after the reset. Have them written down or ready on your phone. Double-check for any special characters or case sensitivity. If you have a dual-band router (2.4GHz and 5GHz), Shark Ion Robots typically require the 2.4GHz network for setup. Ensure you know which is which.
3. Update the SharkClean App
Open your phone’s app store (Google Play or Apple App Store) and search for “SharkClean.” If an update is available, install it. An outdated app can have compatibility issues with your robot post-reset and may not display the correct setup prompts.
4. Have Your Phone Ready & Close to the Robot
During the app-based setup after a reset, your phone will need to communicate with the robot via Bluetooth and then your Wi-Fi network. Make sure your phone’s Bluetooth is turned on, and place your phone within a few feet of the robot during the setup process.
5. Note Your Current Settings (Optional but Helpful)
If you have complex schedules or preferred settings, take screenshots of your current configuration in the SharkClean app. This will make re-entering them much faster after the reset. Also, note the robot’s serial number (found on the underside) just in case you need support.
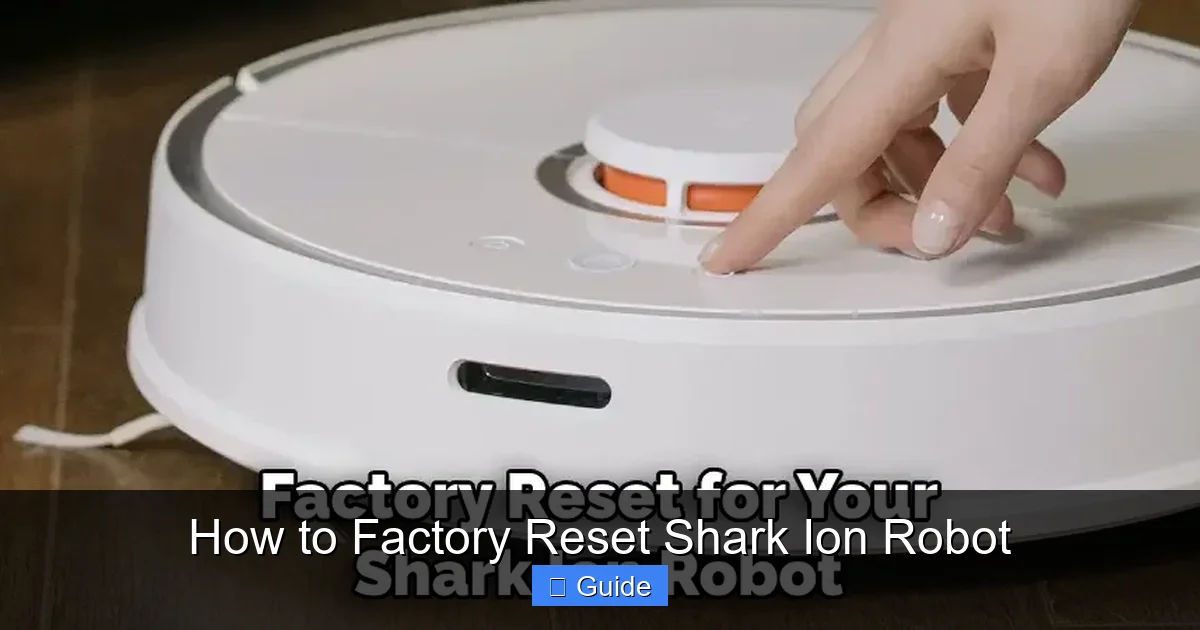
Method 1: The Physical Button Reset (For All Models)
This is the most universal method and works even if your robot has no Wi-Fi connection or your phone is unavailable. It involves a specific sequence of button presses on the robot itself. The exact combination varies slightly by model series, so identify yours first.
Visual guide about How to Factory Reset Shark Ion Robot
Image source: safetywish.com
Identifying Your Shark Ion Model
Look for the model number on a sticker on the underside of your robot or on the original box. Common prefixes include:
- RV1001, RV1002, etc. (Shark ION Robot): The classic square design with a central “Clean” button.
- AV750, AV752, etc. (Shark ION Robot AV): The round or oval “AI” model with a lidar dome on top.
- Ion 750, 850, etc. (Shark ION): Later models in the series, often with a similar button layout to the AV series.
The Universal “3-Button” Reset Sequence
For the vast majority of Shark Ion Robots (RV1000 series and newer AV/700/800 series), the factory reset is performed using the three buttons on the top: Home, Clean, and Spot (or sometimes labeled with icons).
- Place the robot on a flat, hard surface and ensure it is powered ON. The power switch is on the bottom. If it’s off, flip it on.
- Press and hold all three top buttons simultaneously (Home, Clean, Spot). You must press and hold them all at once.
- Continue holding for 10-15 seconds. You will know it’s working when the robot’s status light or display (if it has one) begins to blink or flash in a pattern, often cycling through colors or turning a solid blue/white. The robot may emit a series of beeps.
- Release the buttons. The robot will now reboot. This process can take 1-2 minutes. You will hear it power cycle and may see its lights change. When it’s done, it will typically beep and show a solid or blinking light indicating it is ready for setup (often a blinking blue light for Wi-Fi pairing mode).
Important: If your specific model only has a single “Clean” button (some very early models), the reset sequence is different: power on, then press and hold the single Clean button for 10+ seconds until you hear multiple beeps and the light pattern changes. Always consult your user manual for your exact model number if the 3-button method doesn’t trigger a reset.
What Success Looks Like
After a successful physical reset, your robot is now in a “virgin” state. It will not connect to your old Wi-Fi. Its light will indicate it’s in pairing mode (commonly a blinking blue light). It will not respond to old schedules from the app because the link is broken. You are now ready for the full initial setup process again.
Method 2: The App-Based Reset (SharkClean App)
If your robot is still connected to Wi-Fi and communicating with the SharkClean app, this is often the easiest method. The reset is initiated remotely from your smartphone.

Visual guide about How to Factory Reset Shark Ion Robot
Image source: safetywish.com
Step-by-Step App Reset Process
- Open the SharkClean App on your smartphone and ensure you are logged into the correct account.
- Select your Shark Ion Robot from the main dashboard by tapping on its tile/name.
- Enter the Robot Settings. Look for a gear icon ⚙️ or a “Settings” tab/button within the robot’s control screen.
- Find the Reset Option. Scroll through the settings menu. The option may be labeled as:
- Factory Reset
- Reset Wi-Fi & Network Settings (this may be a softer reset)
- Unlink Robot (this often triggers a reset prompt)
- Restore Default Settings
The exact wording varies by app version. Look for any option that implies a full or factory reset.
- Confirm the Reset. The app will warn you that all data will be erased. You will likely need to type “RESET” or confirm with a tap. Read the warning carefully to ensure you’re doing a full reset and not just forgetting the network.
- Wait for Confirmation. The app will send the command to your robot. You should see a confirmation message. The robot’s lights will change, and it will reboot. The app will then show the robot as “Offline” or “Disconnected” because the link is broken.
The “Unlink Robot” Shortcut
In many current SharkClean app versions, the most direct path is to go to: Menu (☰) > My Robots > Select Your Robot > Settings (⚙️) > Unlink Robot. This will ask you to confirm. Upon confirmation, it performs a factory reset and removes the robot from your account simultaneously. After this, the robot will appear as a new, unclaimed device in pairing mode.
App Reset vs. Physical Reset
The app method is convenient but requires the robot to be online and responsive. If your robot is already showing as “Offline” in the app or is unresponsive, you must use the physical button method (Method 1). The app cannot communicate with a disconnected robot to send a reset command.
Method 3: Voice Assistant & Smart Home Reset
If your Shark Ion Robot is linked to Amazon Alexa or Google Home, you might find reset options within those
Frequently Asked Questions
What is How To Factory Reset Shark Ion Robot?
How To Factory Reset Shark Ion Robot is an important topic with many practical applications.