Emptying your Shark Rotator vacuum is a quick, essential task that maintains peak performance. First, always unplug the machine and locate the dust cup release. The exact process varies slightly between the original Rotator, Lift-Away, and newer Vertex models. Regularly emptying the cup—before it reaches the “Max Fill” line—prevents clogs, protects the motor, and ensures strong suction. Remember to also clean the filters and check for blockages during this routine. Mastering this simple maintenance step will keep your Shark vacuum working efficiently for years.
Key Takeaways
- Safety First: Always unplug your Shark vacuum before attempting to empty it or perform any maintenance to avoid accidental startup.
- Model Matters: The exact emptying method differs between the original Shark Rotator, Rotator Lift-Away, and Rotator Vertex series. Identify your specific model.
- Empty Before Full: Get in the habit of emptying the dust cup when it’s about half to three-quarters full, not at the absolute maximum, to maintain optimal airflow.
- Avoid Water on Filters: Never wash the pre-motor foam and felt filters with water unless your specific model’s manual explicitly states they are washable. Most require tapping to clean.
- Check for Clogs: Use the emptying process as a chance to inspect the hose, wand, and brush roll for hair or debris blockages that reduce suction.
- Reassemble Correctly: Ensure the dust cup and all filters are securely reinserted and locked in place before using the vacuum to prevent debris from escaping.
- Regular Routine: Incorporate emptying and a quick filter check into your weekly cleaning schedule for consistent performance and to extend your vacuum’s life.
📑 Table of Contents
- Why Properly Emptying Your Shark Rotator Vacuum is Non-Negotiable
- Know Your Beast: Identifying Your Shark Rotator Model
- Essential Preparation: Setting Up for a Clean Empty
- The Step-by-Step Emptying Process for Your Model
- Beyond the Cup: Critical Maintenance During Your Emptying Routine
- Troubleshooting: When Emptying Doesn’t Fix the Problem
- Creating a Sustainable Maintenance Habit
- Conclusion: Your Emptying Routine is the Key to Longevity
Why Properly Emptying Your Shark Rotator Vacuum is Non-Negotiable
Let’s be honest: emptying the vacuum is often the last chore on our cleaning list. It’s messy, it’s a bit dusty, and it’s easy to just keep vacuuming until the machine sounds like it’s struggling. But if you own a Shark Rotator vacuum—whether it’s the classic upright, the versatile Lift-Away, or the powerful Vertex—understanding how to empty it correctly is one of the most important things you can do for its health and your home’s cleanliness. Think of it like changing the oil in your car. Skip it, and you’re heading for a breakdown. Do it right, and your machine runs smoothly, powerfully, and lasts for years.
The Shark Rotator series is famous for its excellent suction and swiveling maneuverability. But that brilliant suction is a double-edged sword. It works so well that it packs debris into the dust cup with impressive force and efficiency. If you don’t empty that cup properly, you create a bottleneck. All that packed dirt, hair, and dander restricts airflow, forcing the motor to work harder, which leads to weaker suction, overheating, and eventually, premature wear and tear. Furthermore, a full dust cup is a breeding ground for odors and can even send dust particles back into your air if not sealed correctly. Mastering the emptying process isn’t just a chore; it’s a critical piece of maintenance that protects your investment and ensures every time you plug in your Shark, it delivers the deep clean you expect.
Know Your Beast: Identifying Your Shark Rotator Model
Before we dive into hands-on steps, we need to identify which specific Shark Rotator you have. The “Rotator” name covers a family of vacuums, and the emptying mechanism has evolved. Using the wrong method for your model can be frustrating and might even seem like your vacuum is broken. Don’t worry; it’s easy to figure out.
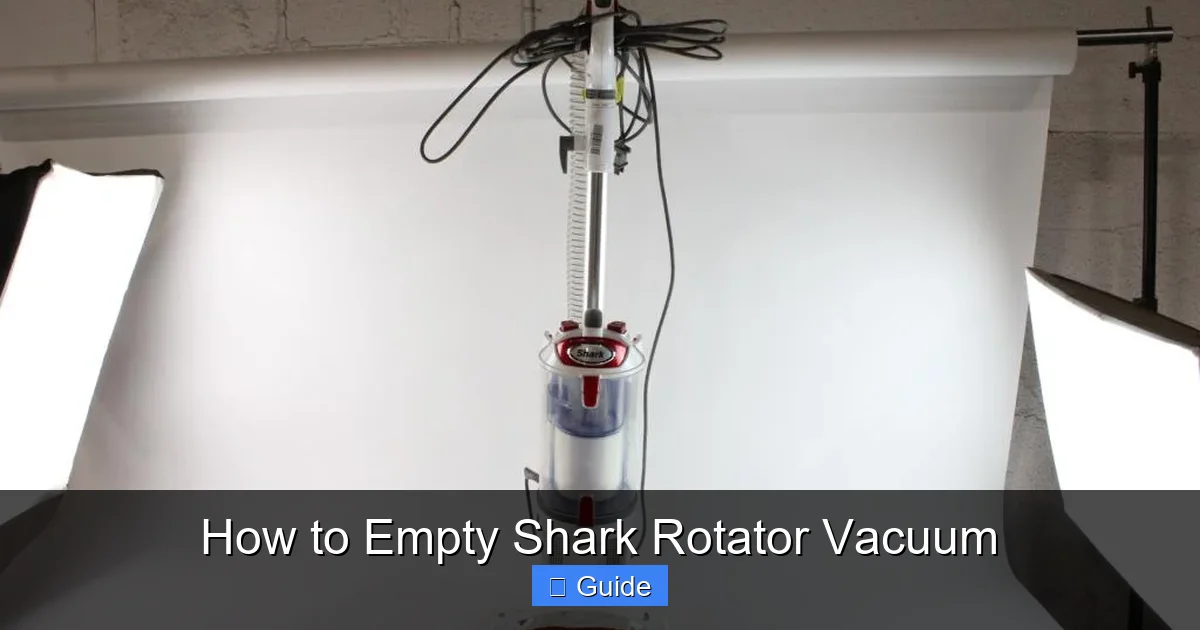
Visual guide about How to Empty Shark Rotator Vacuum
Image source: content.propertyroom.com
The Original Shark Rotator (NV350, NV356, etc.)
This is the classic upright that started the revolution. It features a large, transparent dust cup that sits on top of the vacuum body, just behind the handle. The cup is held in place by a locking mechanism, usually a large, colored (often red or orange) release button or lever on the front or top of the cup. When you press it, the entire cup pivots forward and down, opening at the bottom to empty its contents. There is no separate container; the cup itself is the container.
The Shark Rotator Lift-Away (NV350, NV352, etc.)
As the name implies, this model has a “lift-away” feature. The entire pod containing the motor, dust cup, and handle can be detached from the upright base for portable cleaning. The dust cup is similar to the original but is integrated into this pod. The release mechanism is often a button on the back of the pod, near the top, which allows you to lift the pod off the base. To empty the cup on these, you typically press a separate release button on the cup itself, causing the bottom to drop open. The key identifier is the ability to lift the entire cleaning head off the floor.
The Shark Rotator Vertex (AZ6002, etc.)
The Vertex series is the latest evolution, featuring a unique “DuoClean” system with two roller bars and a redesigned dust cup. The cup is still on top but has a more streamlined, rectangular shape. The emptying mechanism is often a large, one-touch button on the front that, when pressed, releases a bottom door that swings open. Some Vertex models also have a “Seal+Release” system that you twist to unlock before pressing the button. The most notable feature is the absence of a separate handle pod; it’s a more traditional upright form with the powerhead directly attached.
How to Identify: Look at your vacuum. Can you lift the main body (with the handle) off the floor brush? That’s a Lift-Away. Is the dust cup a large, round, transparent cylinder on top? Likely an original Rotator. Is it more rectangular and sleek with a prominent front button? That’s probably a Vertex. Your model number is on the rating plate, usually on the back or bottom of the vacuum.
Essential Preparation: Setting Up for a Clean Empty
Rushing into the emptying process is how you end up with dust clouds in your living room. A little prep work makes it a quick, clean, and efficient task. Here’s your pre-empty checklist.
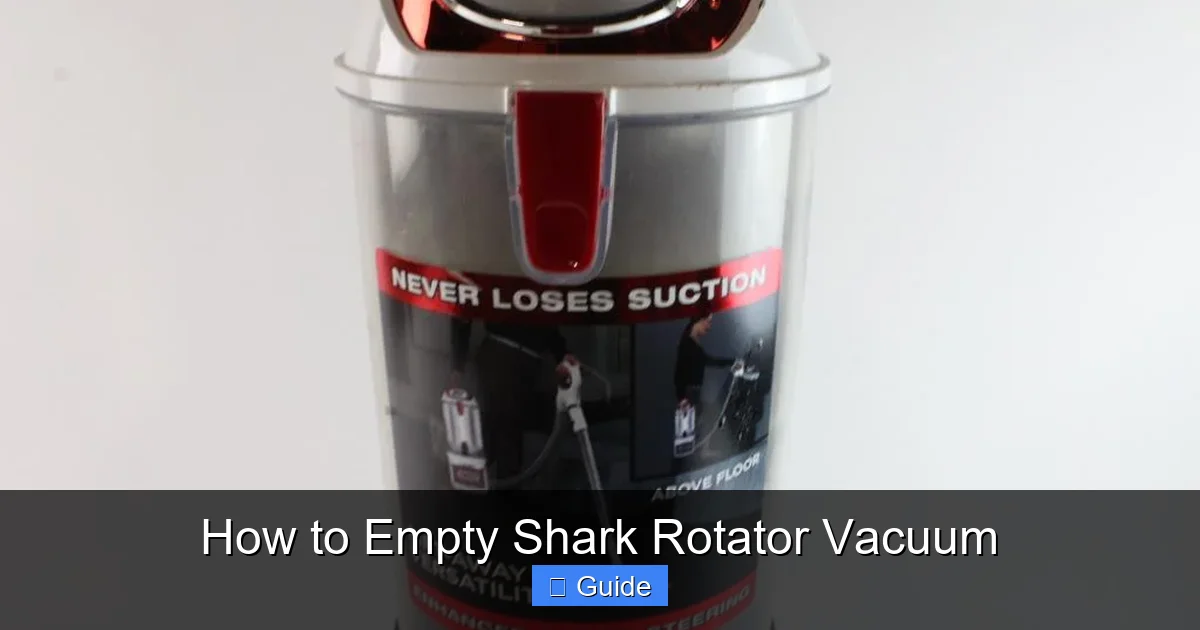
Visual guide about How to Empty Shark Rotator Vacuum
Image source: content.propertyroom.com
Step 1: Power Down and Unplug
This is the absolute, non-negotiable first rule. Never attempt to empty or service your vacuum while it’s plugged in or powered on. The rotating brush roll or accidental trigger press can cause injury. Locate the power cord and give it a firm, full pull from the wall outlet. Place the cord neatly out of your way to avoid tripping.
Step 2: Choose Your Location Wisely
Emptying over a trash can is the goal, but it’s harder than it sounds. Debris can bounce. The best practice is to take the vacuum to a large, outdoor trash can or a very sturdy indoor bin with a large opening. If you must empty indoors, line your trash can with a heavy-duty bag and do it over a surface you can easily wipe down, like a tile floor or newspaper laid out. I recommend doing the final empty outdoors whenever possible, especially if you have pets or a lot of carpet hair. The initial “tap out” can be done over the bin, but the final dump often releases a puff of fine dust.
Step 3: Gather Your Tools
For a basic empty, you just need your hands. But for a truly thorough clean, have these on hand: a pair of scissors (for hair tangles), a microfiber cloth (for wiping seals), and a soft-bristled brush (like an old toothbrush) for cleaning the dust cup’s filter area. If your model has a washable pre-motor filter, have your sink ready with mild soap and water.
Step 4: Position the Vacuum
Place the vacuum in a stable, upright position. For Lift-Away models, this means the pod is securely attached to the base. Tilt the vacuum slightly forward (handle towards the floor) to allow debris to slide out easily when you open the cup. Ensure the dust cup’s release button is accessible and facing you.
The Step-by-Step Emptying Process for Your Model
Now for the main event. We’ll walk through the process for the three main categories. The principles are the same—release, empty, clean, reseal—but the mechanics differ.
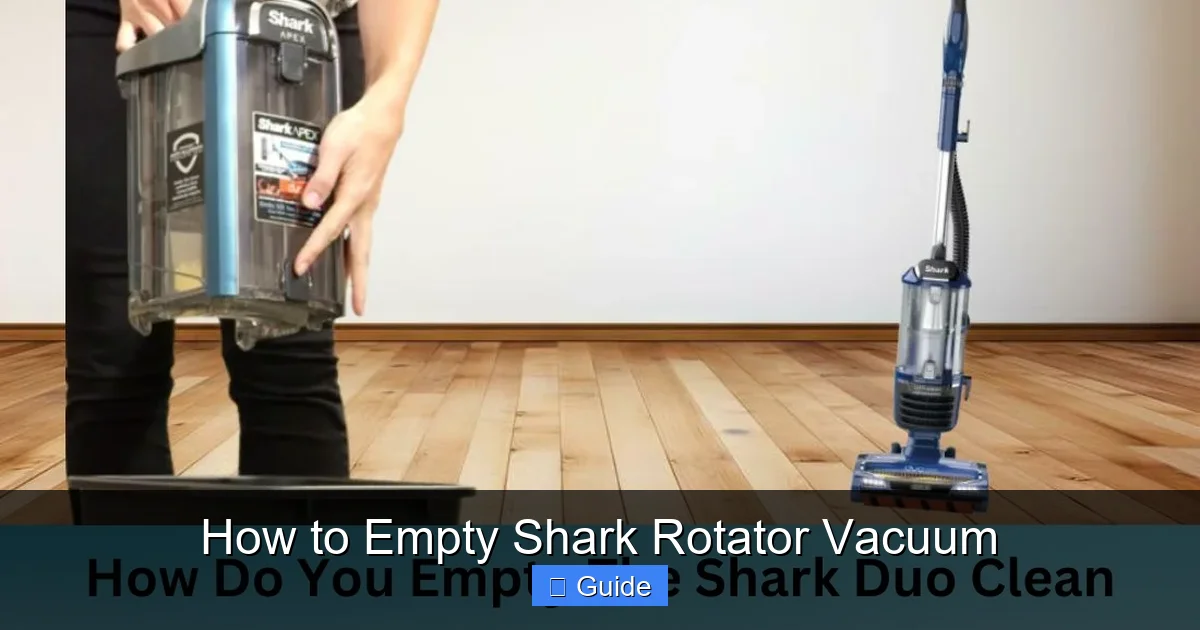
Visual guide about How to Empty Shark Rotator Vacuum
Image source: sharkvacuum.blog
Emptying the Original Shark Rotator (Non-Lift-Away)
- Locate the Release Mechanism: On the front or top of the transparent dust cup, you’ll see a large, colored button or lever. It’s usually labeled with an icon of a cup with an arrow pointing down.
- Press and Pivot: Firmly press the release button. You should feel a click. The entire bottom half of the dust cup will pivot forward and downward on a hinge, like a trapdoor. Guide it with your hand.
- Empty the Contents: Hold the vacuum over your trash can. Tap the top of the dust cup firmly with the palm of your hand to dislodge compacted debris. You can also gently shake it side-to-side. For stubborn hair or lint packed at the top near the intake, use your fingers or a tool to pull it out. Avoid using sharp objects that could scratch the plastic.
- Inspect and Wipe: With the cup open, take a moment. Look inside. You’ll see a cone-shaped filter (the post-motor filter) at the top, inside the cup. Do not wash this. Use your dry microfiber cloth or soft brush to gently wipe away any dust that has settled on the walls of the cup and on the rubber seal that runs around the opening. A clean seal is crucial for maintaining suction.
- Close and Lock: Swing the bottom door back up until it snaps securely into place. You should hear and feel a firm click, indicating the latch is engaged. Give it a gentle tug to ensure it’s locked. The cup should not move.
Emptying the Shark Rotator Lift-Away
The process is very similar, but with one extra step if you want to fully detach the pod.
- Detach the Pod (Optional but Recommended): On the back of the pod (the main body with the handle and dust cup), locate the Lift-Away release button, usually near the top. Press it and lift the entire pod straight up and off the base. This gives you full access and stability to empty the cup without the weight of the base.
- Press the Dust Cup Release: On the front of the pod, find the dust cup release button. Press it firmly. The bottom of the dust cup will drop open, just like on the original model.
- Empty and Clean: Empty the debris over your trash can, tapping the top to loosen compacted material. Pay special attention to the area where the cup meets the pod—this is a common spot for hair and dust to accumulate. Wipe the seal and interior walls with your dry cloth.
- Re-seal the Cup: Swing the bottom door back up until it clicks shut. Ensure it’s flush with the rest of the cup.
- Reattach the Pod: Align the pod’s connectors with the slots on the base unit. Slide it down firmly until you hear a click, confirming it’s locked in place. Always give it a slight pull to verify it’s secure before vacuuming.
Emptying the Shark Rotator Vertex
The Vertex has a slightly different, often more streamlined, mechanism.
- Locate the “Seal+Release” or One-Touch Button: On the front of the dust cup, you’ll see a large, prominent button. On some models, you first need to twist a ring around the button counter-clockwise to unlock it. Look for a lock/unlock symbol.
- Unlock (If Applicable) and Press: If your model has a twist-lock, turn it until the symbols align. Then, press the main button down firmly. You’ll feel and hear a distinct release. The entire bottom panel of the dust cup will drop open on hinges.
- Empty Thoroughly: The Vertex cup is often shallower but wider. Debris can pack into the corners. Use your hands to scrape out any material from the corners and along the top rim where the suction intake is. Tap the sides of the cup. Because of the DuoClean system, fine dust can accumulate on the inner walls; a dry microfiber cloth is perfect for wiping this down.
- Check the DuoClean Rollers (If Accessible): With the cup open, you might have a clear view into the area where the two roller bars are. This is a great time to check for hair or string wrapped around them. Use your scissors to carefully cut and remove any entanglements. Do not attempt to remove the rollers unless you are comfortable doing so; consult your manual.
- Close and Lock: Swing the bottom panel back up. If you had a twist-lock, twist it clockwise until it’s tight and locked. Press on the door to ensure it’s seated correctly. The seal must be perfect.
Pro Tip: Always perform the “empty and inspect” routine over a light-colored surface or sheet of paper for the first few times. This helps you see if you’re missing fine dust or if the cup is truly clean. It also helps you learn how much debris your cup holds before it’s truly “full.”
Beyond the Cup: Critical Maintenance During Your Emptying Routine
Emptying the dust cup is the main event, but if you stop there, you’re only doing 70% of the job. A truly effective maintenance routine ties the emptying process to inspecting and caring for the other critical components that keep your Shark Rotator performing like new. This integrated approach prevents small problems from becoming big, costly ones.
The Filter Trio: Your Vacuum’s Lungs
Your Shark has a multi-stage filtration system, typically consisting of a pre-motor foam filter, a pre-motor felt filter, and a post-motor HEPA filter (or a combination filter in some models). These filters trap fine dust and allergens that the dust cup misses. During your emptying routine, you must check them.
- Pre-Motor Foam & Felt Filters: These are usually located inside the dust cup itself or in a compartment on the back of the pod. This is crucial: Most Shark foam and felt filters are NOT washable. The manual will say “tap to clean.” Gently remove them from their housing. Take them outside or over a trash can and firmly tap them against a hard surface to dislodge trapped dust. You can also use a soft brush to sweep debris off. If they are excessively dirty, dark, or torn, they need replacement. Washing them with water will ruin the material and cause mold.
- Post-Motor/HEPA Filter: This is the final filter, often housed in a compartment on the back or bottom of the vacuum body. Its job is to clean the air that exhausts back into your room. It’s usually a pleated, paper-like material. This filter is almost never washable. It should only be tapped or brushed gently. If it’s visibly dirty, it must be replaced. A clogged post-motor filter is a primary cause of loss of suction.
Action: Every time you empty the dust cup, perform this quick filter check. Tap them clean over the trash can. Make a mental note of their condition. Set a calendar reminder to do a deeper filter inspection every 3 months.
The Brush Roll: The Heart of Agitation
The rotating brush roll is what agitates carpet fibers and kicks up debris. It’s also the most common place for hair, string, and fibers to wrap and cause a jam. While you have the vacuum in a stable position during emptying, take 30 seconds to inspect the brush roll.
- Use the tip of your scissors to carefully cut any hair or carpet fibers wrapped around the bristles and the end caps. Do not pull, as this can damage the bristles.
- Look for any debris jammed in the bearings at the ends. Clear it out.
- If the brush roll isn’t spinning freely when you turn it by hand, there’s a deeper jam or bearing issue that needs investigation.
Action: Make brush roll inspection a non-negotiable part of your emptying routine, especially if you have pets or long-haired individuals in your home.
Hose, Wand, and Attachments: The Airways
Suction is lost not just at the cup, but anywhere there’s a blockage in the air pathway. While your vacuum is apart, is the perfect time to check.
- Wand: Detach the wand from the pod and from the hose. Look through it. Shine a flashlight. You’d be surprised what can get stuck inside, especially small toys or pens.
- Hose: Detach the hose from both the vacuum body and the wand. Look for kinks or obstructions. You can often see a clog by looking from one end. A long, flexible brush (a “hose brush”) is a great tool for this.
- Attachments: Check the crevice tool and upholstery brush. Hair loves to tangle in the bristles of the upholstery tool.
Action: Once a month, do a full “airway check” by detaching and visually inspecting every segment of the hose and wand system.
Troubleshooting: When Emptying Doesn’t Fix the Problem
You’ve followed all the steps. You’ve emptied the cup, cleaned the filters, cleared the brush roll. But your Shark Rotator still seems weak. Don’t panic. The emptying process is your first and best diagnostic tool. Here’s how to use it to troubleshoot.
Symptom: Loss of Suction After Emptying
If suction is weak immediately after a proper empty and filter clean, the problem is likely a blockage further down the line.
- Check the Hose: This is the #1 culprit. Disconnect the hose from the vacuum and the wand. Try to blow air through it from one end. If you can’t, there’s a clog. Use a long, flexible brush or a straightened wire coat hanger (be extremely gentle to avoid puncturing the hose) to dislodge the object.
- Check the Upright Head: With the vacuum upright, look down into the opening where the brush roll is. Can you see all the way to the back? A object could be lodged in the intake tunnel. Use a flashlight. You may need to lay the vacuum down and remove the brush roll to access this area better.
- Check the Exhaust: Feel the air blowing out of the exhaust port (usually on the back or top of the pod). Is it strong? If the exhaust air is weak, the blockage is before the post-motor filter. If the exhaust air is strong but the floor suction is weak, the blockage is in the floor hose, wand, or brush head.
Symptom: Dust Escaping from the Vacuum
If you see dust puffing out of the back or sides of your vacuum, the filtration system is compromised.
- Dust Cup Seal: Re-open the dust cup. Inspect the rubber gasket or seal that runs around the rim where the cup locks onto the pod. Is it cracked, torn, or covered in a thick layer of debris? Clean it meticulously. If it’s damaged, it must be replaced. An imperfect seal lets unfiltered air escape.
- Filters: Your filters are installed incorrectly, are the wrong model, or are so clogged they’ve failed. Re-install them exactly as shown in the manual. If they are old and dark, replace them.
- Dust Cup Damage: Check the dust cup itself for cracks, especially around the hinge area or the top where it connects to the vacuum.
Symptom: Strange Noises or Burning Smell
This is serious and unrelated to the dust cup. Unplug immediately. A burning smell indicates motor stress, often caused by a severe, long-term blockage (like a full dust cup) that has overheated the motor. Strange grinding or screeching noises point to a brush roll bearing failure or a foreign object jamming the brush roll. These require professional service or part replacement.
Creating a Sustainable Maintenance Habit
Knowing the steps is one thing. Making them a consistent, effortless part of your cleaning routine is another. The goal is to create a “maintenance habit loop” that is so simple it becomes automatic.
The 3-Minute Weekly Reset
Dedicate the first 3 minutes of your weekly vacuuming session to this checklist. It will save you hours of frustration and poor performance later.
- Visual Check: Glance at the dust cup. Is it more than 50% full? If yes, empty it now, before you even start vacuuming.
- Quick Tap: After emptying, tap your pre-motor filters over the trash can.
- Brush Roll Glance: Flip the vacuum over and do a quick visual scan of the brush roll for obvious hair wraps. Cut them if you see them.
This entire process should take less time than it takes to unroll your vacuum’s cord.
The Monthly Deep Dive
Once a month, go deeper. This is your 15-minute session.
- Perform the full emptying procedure as detailed above.
- Completely remove all filters. Tap them clean outside. If your model’s manual specifies a washable pre-motor foam filter, wash it in cool water with a mild detergent, squeeze out excess water, and let it air dry for 24-48 hours before reinserting. Never use a wet filter.
- Detach the hose and wand. Visually inspect and clear both ends.
- Wipe down the exterior of the vacuum with a damp cloth. Clean the wheels and the swivel joint.
- Check the vacuum’s belt (if your model has an accessible one—many Sharks are belt-less). If it’s worn, frayed, or has a glazed appearance, replace it.
Seasonal Overhaul (Bi-Annual)
Twice a year, treat your Shark to a spa day.
- Replace all filters. Even if they look okay, filter media degrades over time and loses its effectiveness. Having a set of fresh filters on hand is one of the best investments you can make.
- Deep clean the dust cup. Wash it with warm, soapy water (unless your manual says otherwise). Rinse thoroughly and let it dry completely. This prevents stale odors.
- Inspect the brush roll bristles. Are they worn down, melted, or uneven? Replace the brush roll.
- Check the vacuum’s wheels for embedded hair and debris. Clean them out to ensure smooth rolling.
- Review your manual’s specific maintenance schedule and parts list.
By tying these habits to specific time intervals (weekly, monthly, seasonally), you remove the guesswork. Your vacuum will consistently deliver the powerful, deep-cleaning performance it was designed for, and you’ll avoid the costly repairs that come from neglect.
Conclusion: Your Emptying Routine is the Key to Longevity
Emptying your Shark Rotator vacuum is far more than a simple disposal task. It is the cornerstone of a holistic maintenance philosophy that directly impacts the machine’s suction power, hygiene, and operational lifespan. We’ve journeyed from identifying your specific model—the original Rotator, the versatile Lift-Away, or the advanced Vertex—through the precise, model-specific steps for a clean, complete empty. We’ve expanded the scope to include the critical, simultaneous inspection of filters, the brush roll, and the entire airway system. Most importantly, we’ve framed these actions not as occasional chores, but as a sustainable, tiered habit system: a quick 3-minute weekly reset, a more thorough monthly deep dive, and a comprehensive bi-annual overhaul.
Remember, your Shark Rotator is an investment in a cleaner, healthier home. Like any investment, it requires regular, informed care. The dust cup is its stomach; if you let it remain full, the entire system suffers. By taking the time to empty it properly—unplugging first, using the correct release, tapping out debris, wiping the seal, and checking the filters—you are actively preserving that investment. You are ensuring that every time you push that red power button, you’re greeted with the familiar, powerful roar of a vacuum operating at its peak. You’re protecting your carpets from ground-in dirt, your hard floors from scatter, and your indoor air quality from recirculated allergens. So, the next time you finish vacuuming, don’t just lean the Shark against the wall. Take those few extra minutes. Your vacuum—and your clean home—will thank you for it, week after week, year after year.
Frequently Asked Questions
How often should I empty my Shark Rotator vacuum’s dust cup?
You should empty the dust cup before it reaches the “Max Fill” line, typically when it’s about half to three-quarters full. For most households, this means emptying it after every couple of vacuuming sessions. Waiting until it’s completely full severely restricts airflow and reduces suction power.
Can I wash the filters in my Shark Rotator vacuum with water?
It depends entirely on your specific model. Most Shark Rotator pre-motor foam and felt filters are not washable and should only be tapped or brushed clean. Washing them can damage the material and cause mold. Always consult your user manual. Some newer models may have washable pre-motor filters, but the post-motor HEPA filter is never washable and must be replaced when dirty.
My dust cup won’t lock back into place after emptying. What’s wrong?
This is usually caused by debris packed into the locking mechanism or on the rubber seal. First, ensure the cup is properly aligned with the pod. Then, check the latch area and the seal on the cup for packed hair, carpet fibers, or dust. Clean these areas thoroughly with a dry cloth or tool. If the latch or seal is visibly cracked or broken, that part may need to be replaced.
Why is dust coming out of the back of my vacuum after I empty it?
This indicates a loss of seal in the filtration system. First, re-open the dust cup and inspect the rubber gasket/seal that sits between the cup and the vacuum body. Clean it meticulously of any debris. Ensure the cup is locked securely. Next, check that all filters are installed correctly, are the right model, and are not overly clogged or damaged. A damaged seal or filter is the most common cause.
Is it normal for my Shark Rotator to be loud after emptying the dust cup?
A slight change in sound is normal as the motor works with less resistance. However, if the vacuum becomes excessively loud, screechy, or you hear a grinding noise, stop immediately. This is not related to the dust cup. It indicates a problem with the brush roll bearings, a foreign object jamming the brush roll, or a failing motor. Unplug the vacuum and inspect the brush roll area for blockages.
What’s the best way to dispose of the vacuum debris to avoid a mess?
Always empty your vacuum over a large, outdoor trash can if possible. The initial dump often releases a puff of fine dust. If emptying indoors, do it over a trash can lined with a heavy-duty bag and do it slowly. A pro tip: after emptying the bulk of the debris, use a damp paper towel to wipe the interior walls of the dust cup and the seal before closing it. This captures the last bit of fine dust and prevents odors.