Emptying your Shark Vacuum Navigator correctly is crucial for maintaining suction power, preventing clogs, and ensuring hygiene. The process involves a simple, tool-free release mechanism to detach the dust cup, tap or scrape out debris, and thoroughly clean the bin and filters. Always ensure the vacuum is unplugged and avoid getting water in the motorized parts. Regular emptying after each use and a monthly deep clean will keep your Navigator performing like new for years.
There’s a unique satisfaction that comes from a clean home, but that feeling can quickly turn to frustration when your trusty Shark Vacuum Navigator starts to lose its powerful suction. You find yourself going over the same spot twice, the brush roll seems sluggish, and a faint smell of old dust hangs in the air. More often than not, the culprit is a simple, overlooked task: a full dust cup. Knowing how to empty a Shark Vacuum Navigator properly isn’t just about tidiness; it’s the single most important routine maintenance step you can take to preserve your vacuum’s performance and extend its lifespan. This comprehensive guide will walk you through every single step, from the initial safety precautions to a thorough deep clean, ensuring your Navigator works as powerfully as the day you brought it home.
Shark’s Navigator series is famous for its “Never Lose Suction” technology, but that promise hinges on a clear airway. A packed dust cup creates a barrier, forcing the motor to work harder and dramatically reducing the airflow that generates suction. Furthermore, a full bin can redistribute dust back into your home and create a breeding ground for odors and allergens. Whether you have the classic Navigator Lift-Away (NV350, NV356), the sleek Navigator Swivel Pro (NV360), or any other model in the extensive lineup, the core emptying principle remains beautifully consistent. Let’s dive in and master this essential skill.
Key Takeaways
- Safety First: Always unplug your Shark Navigator before attempting to empty or clean any parts to prevent accidental startup and electrical hazards.
- Locate the Release Mechanism: The “Push to Open” or latch button is typically on the handle or top of the dust cup; pressing it releases the bin from the vacuum body.
- Empty Over a Trash Bag: Perform the emptying process over a large trash bag to contain fine dust and debris, minimizing mess in your home.
- Clean Filters Separately: The pre-motor foam and felt filters must be removed, washed with water only, and dried completely for 24 hours before reuse.
- Inspect for Clogs: Use the emptying opportunity to check the hose, wand, and brush roll for hair and debris blockages that reduce suction.
- Ensure a Secure Seal: When reassembling, listen for a distinct “click” to confirm the dust cup is fully locked back onto the vacuum body to prevent leaks.
- Establish a Routine: Empty the dust cup after every major cleaning session and perform a full deep clean monthly for optimal long-term performance.
📑 Table of Contents
- Safety First: The Non-Negotiable First Step
- Locating and Releasing the Dust Cup: Navigator Basics
- The Emptying Process: A Mess-Free Method
- Deep Cleaning the Dust Cup and Filters: Monthly Must-Do
- Reassembly: Ensuring a Perfect Seal
- Troubleshooting: When Emptying Doesn’t Fix Suction Loss
- Conclusion: Making Maintenance a Habit
Safety First: The Non-Negotiable First Step
Before you even touch your Shark Navigator, your safety must be the absolute priority. These are powerful electrical appliances with moving parts. A moment of carelessness can lead to a pulled muscle, a shocked finger, or a damaged machine. Making safety a habit protects you and your investment.
The Golden Rule: Unplug It
This cannot be stressed enough. The first and final action in any maintenance procedure involving the brush roll, hose, or dust cup is to unplug the vacuum cleaner from the wall outlet. It’s a simple step that eliminates the risk of the vacuum suddenly activating while your fingers are near the brush roll or inside the dust cup. Never, under any circumstance, attempt to empty or clean your Navigator while it is plugged in. Treat the power cord as your primary safety switch.
Let It Cool Down
If you’ve just finished a long cleaning session, the motor and internal components will be warm. Give your Navigator 5-10 minutes to cool down on a flat, stable surface. This prevents potential burns from hot plastic parts and ensures all internal mechanisms are at rest. Place it on a protected surface like a towel or old sheet to catch any residual dust during disassembly.
Mind the Moving Parts
While the main brush roll is the most obvious hazard, be mindful of the swivel steering joint and any articulating wand connections. These can pinch fingers if not handled carefully. When separating the dust cup, hold the main body of the vacuum firmly with one hand to prevent it from tipping or falling.
Locating and Releasing the Dust Cup: Navigator Basics
Shark designed the Navigator series for intuitive, one-handed operation, and that philosophy extends to emptying the dust cup. The release mechanism is engineered to be easy to find and operate, even in low light. However, the exact location and style can vary slightly between model generations. Identifying your specific mechanism is the first hands-on step.
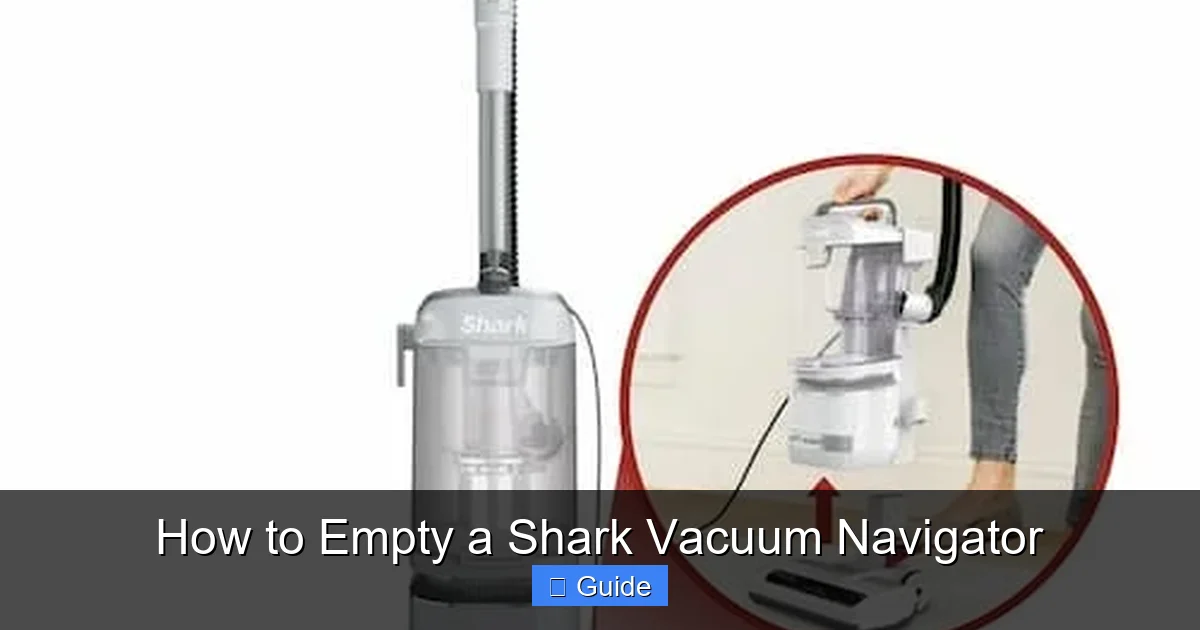
Visual guide about How to Empty a Shark Vacuum Navigator
Image source: moneysavingmom.com
Finding the “Push to Open” Button
The most common design across modern Navigator models features a large, often gray or black, button labeled “PUSH” or with an icon of a hand pressing a button. You’ll typically find this button:
- On the Handle: Just below where the wand connects to the main vacuum body, on the front or side of the handle grip.
- On the Dust Cup Itself: On the top or front rim of the transparent dust cup, near where it attaches to the vacuum.
Press this button firmly, and you should hear a click as the locking mechanism disengages. The dust cup will then pivot forward and downward, hanging freely from the handle or main body, ready to be removed.
Alternative Latch or Ring Systems
Some earlier Navigator models or specific variants might use a different system:
- Rotating Release Ring: A large, usually white or gray, plastic ring at the junction of the dust cup and the vacuum body. You twist it counter-clockwise (lefty-loosey) to unlock and then pull the cup off.
- Side Latch: A smaller lever or tab on the side of the dust cup housing that you flip up to release.
If you’re unsure, consult your user manual—the diagram on the first page of the “Maintenance” section will show you exactly how your model releases its cup. The key takeaway is that no tools are ever required for this basic separation. If you’re reaching for a screwdriver, you’re trying too hard.
The Emptying Process: A Mess-Free Method
Now for the main event. With the vacuum unplugged and the dust cup released, you’re ready to empty it. The goal here is to remove all debris—fine dust, hair, carpet fibers, and larger particles—without creating a secondary cloud of dust in your living room. Patience and the right technique make all the difference.
Visual guide about How to Empty a Shark Vacuum Navigator
Image source: robotchores.com
Step 1: Prepare Your Disposal Zone
Do not empty your dust cup directly into your indoor trash can. The act of dumping will inevitably puff a cloud of ultra-fine dust into the air, where it will settle on your furniture and floors. Instead, take the entire vacuum (with the detached cup) to your outdoor trash bin or a large, sturdy trash bag placed on the floor. If you must empty indoors, open a large black trash bag and hold the dust cup entirely inside it as you empty. This bag will act as a containment chamber.
Step 2: The Tap, Tap, Scrape Technique
Hold the dust cup with the opening pointed down into your trash bag/bin. Firmly tap the sides and bottom of the cup against the side of the bin. The impact shakes loose compacted debris, especially fine dust that clings to the plastic due to static. For stubborn mats of hair and carpet fibers that form a solid felt-like layer (a common issue with pet owners), use a non-metallic tool. The blunt end of a wooden spoon, a plastic spatula, or even the edge of a sturdy cardboard piece works perfectly. Gently scrape the interior walls and the mesh filter screen to dislodge every last bit. Avoid using sharp metal tools, as they can scratch the plastic or, worse, pierce the seals.
Step 3: Don’t Forget the Filter
Inside the dust cup, you’ll see a circular, pleated mesh filter (the primary filter). This is a critical component that traps fine dust before the air is expelled. You must clean this filter every time you empty the cup. Simply pull it straight out. Tap it firmly over the trash to dislodge trapped debris. You’ll be amazed at how much dust is packed into its pleats. For a deeper clean, proceed to the next major section on filter washing.
Deep Cleaning the Dust Cup and Filters: Monthly Must-Do
Emptying removes the bulk of the debris, but a monthly deep clean is what prevents odors, maintains maximum suction, and keeps your vacuum hygienic. This involves washing the dust cup and the reusable filters with water. Shark’s filters are designed to be washable, but there is a critical, non-negotiable rule: they must be 100% dry before use.
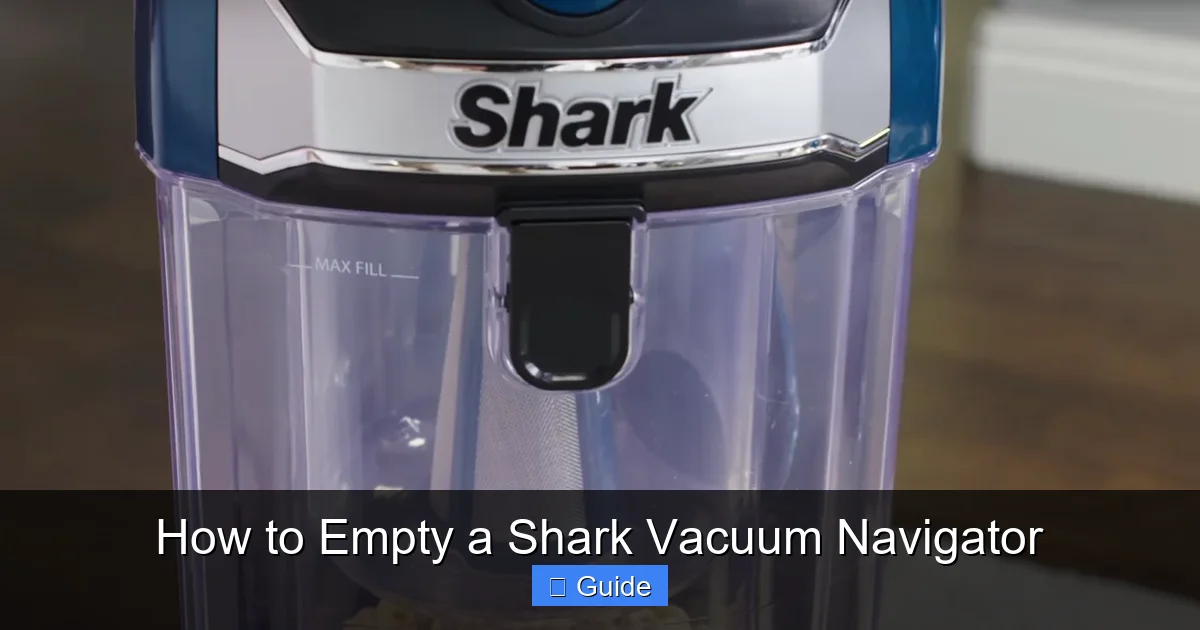
Visual guide about How to Empty a Shark Vacuum Navigator
Image source: appliancehunter.co.uk
Washing the Dust Cup
The dust cup itself is a simple, hollow shell. Take it to the sink. Use warm water and a drop of mild dish soap. With a soft sponge or cloth, wash the interior, the lid, and the gasket seal (the black rubber ring that creates an airtight closure). Pay special attention to the small channels and the mesh filter screen housing. Hair and dust can compact into these tiny crevices. Rinse thoroughly under running water until all soap suds are gone. Shake out excess water and set it aside to air dry completely. Do not use a dishwasher, as the high heat can warp the plastic.
Washing the Filters Properly
Your Navigator has at least two washable filters: the pre-motor foam filter (usually white and spongy) and the pre-motor felt filter (usually gray and dense). Some models also have a post-motor foam filter near the exhaust.
- Removal: Locate the filter access panel on your Navigator (often on the back or bottom). Open it and pull the filters straight out.
- Washing: Under cool or lukewarm running water, gently squeeze and rinse each filter. Do not use soap, as residues can damage the filter media and create smells. Continue rinsing until the water runs clear.
- Drying – The Most Important Step: This is where most mistakes happen. Squeeze out excess water, then place the filters on a towel in a warm, well-ventilated area. They must air dry for a full 24 hours. Do not use a hair dryer, radiator, or clothes dryer, as heat can melt the filter materials. Reinstalling a damp filter will block airflow, strain the motor, and can cause a musty odor immediately.
Reassembly: Ensuring a Perfect Seal
With all parts completely dry, it’s time to put your Navigator back together. A faulty reassembly is a common cause of suction loss and dust leakage. Take your time here.
Reinstalling the Primary Filter
Slide the clean, dry primary mesh filter back into its housing inside the dust cup. It should fit snugly and sit flush against the back wall. Ensure it is seated correctly; a misaligned filter will allow dust to bypass it and clog the exhaust.
Closing the Dust Cup Lid
Place the lid on the dust cup. If your model has a rubber gasket, ensure it is seated properly in its groove on the lid or cup. A twisted or pinched gasket will prevent an airtight seal.
Locking it Back Onto the Vacuum
This is the critical moment. Align the tabs on the dust cup with the slots on the vacuum body. Push the cup upwards until you hear and feel a definitive, solid CLICK. This sound confirms the locking mechanism is fully engaged. Gently tug downwards on the dust cup to verify it is secure. If it comes off easily, you didn’t lock it properly. A loose cup will pop open during use, spewing dust back onto your floor and ruining your cleaning session.
Troubleshooting: When Emptying Doesn’t Fix Suction Loss
You’ve followed all the steps: unplugged, emptied, deep cleaned, and reassembled with a satisfying click. Yet, your Navigator still feels weak. Don’t panic. The issue is likely a secondary clog somewhere in the air pathway. Now is the perfect time to perform a full system check.
Check the Hose and Wand
Detach the hose from both the vacuum body and the wand. Look through it from both ends. Use a long, flexible brush (a coat hanger works in a pinch) to dislodge any lodged hair or large objects. Check the wand for blockages as well. A single Lego block or dense hair clog in the wand can reduce suction by 50% or more.
Inspect the Brush Roll Housing
Flip your Navigator over. Look at the brush roll (the cylindrical brush at the suction head). Is it spinning freely? Use a seam ripper or scissors to cut away any hair or carpet fiber wrapped tightly around the brush roll bearings. Also, check the suction opening directly behind the brush roll. A piece of paper or thick rug fringe can easily get sucked up and lodge there, completely blocking airflow.
Examine the Exhaust Filter
If your model has a post-motor filter (often a rectangular foam filter at the back or top where air exits), check if it is clogged. A dirty exhaust filter is like a blocked tailpipe; it chokes the entire system. Clean or replace it according to your manual’s schedule.
Conclusion: Making Maintenance a Habit
Mastering how to empty a Shark Vacuum Navigator transforms it from a chore into a quick, satisfying ritual. It’s the cornerstone of care that guarantees your vacuum remains a powerful, efficient cleaning partner. By integrating the simple post-cleanup empty with a monthly deep clean of the cup and filters, you invest just a few minutes to save hours of frustration with a underperforming machine. Remember the core principles: always unplug first, empty over a trash bag, tap and scrape thoroughly, wash filters with water only, and dry them for a full day. Treat your Navigator with this consistent care, and it will reward you with pristine floors and reliable “Never Lose Suction” performance for countless cleaning sessions to come. Your clean home starts with a clean vacuum.
Frequently Asked Questions
How often should I empty my Shark Navigator’s dust cup?
For optimal performance, you should empty the dust cup after every single use, or at the very least, when the “Full” indicator light comes on. Allowing it to get completely full restricts airflow and reduces suction power significantly.
Can I wash the primary mesh filter with soap?
No, you should never use soap or detergent on any Shark washable filter. Soap residues can degrade the filter material and trap odors. Rinse all filters thoroughly with cold or lukewarm water only until the water runs clear.
My dust cup won’t lock back on. What am I doing wrong?
>The most common issue is misalignment. Ensure the tabs on the dust cup are perfectly aligned with the slots on the vacuum body. Push up firmly and evenly until you hear a definitive click. Also, check that nothing is obstructing the locking mechanism, like a piece of debris or a warped gasket.
Why does my vacuum smell bad even after I empty it?
>A lingering odor usually indicates that debris, especially pet dander or wet materials, has been sitting in the dust cup or on the filters for too long. Perform a full deep clean: wash the dust cup with soapy water, rinse it perfectly, and ensure the foam filters are washed and completely dry before reinstalling.
I emptied the cup but suction is still weak. What else could it be?
>A full dust cup is the most common cause, but if that’s addressed, check for clogs in the hose, wand, and brush roll housing. Also, inspect the exhaust filter (if your model has one) and ensure the pre-motor filters are clean and dry. A blocked airway anywhere in the system will kill suction.
Can I use a vacuum bag in my Shark Navigator?
No. Shark Navigator models are designed as bagless vacuums with a sealed dust cup system. They are not compatible with vacuum bags. Attempting to use one would damage the vacuum and void the warranty. Stick to the provided dust cup and washable filters.