Connecting your Shark robot to WiFi via the Shark Clean app unlocks smart cleaning features like scheduling, room targeting, and real-time notifications. The process involves downloading the app, creating an account, ensuring your robot is powered on and in pairing mode, and following the in-app prompts to select your 2.4GHz network. Most connection issues stem from using the wrong Wi-Fi band, having a weak signal, or not putting the robot correctly into pairing mode.
So, you’ve unboxed your shiny new Shark robot vacuum. It’s sitting there, a marvel of modern engineering ready to tackle dust bunnies and pet hair. But to truly unleash its smart capabilities—scheduling cleanings from your phone, selecting specific rooms, getting notifications when the bin is full—you need to connect it to your home WiFi network. If the phrase “how to connect Shark robot to WiFi on app” is on your mind, you’re in the right place. This guide will walk you through the entire process, from initial prep to troubleshooting those frustrating “connection failed” moments, for all major Shark series. Think of this as your friendly, detailed cheat sheet.
Connecting your Shark robot is a one-time setup that pays off every single day. It transforms your robot from a simple push-button cleaner into an intelligent household assistant. The process is designed to be straightforward, but it relies on a few key things happening in the right order: the right app, the right network, the robot in the right mode, and a strong signal. We’ll cover each of these pillars in depth. By the end, you’ll have your Shark robot happily chatting with your router and your smartphone, ready to follow your commands.
Key Takeaways
- Use the Shark Clean App: The official Shark Clean app is the only way to connect your robot vacuum to your home WiFi network for full functionality.
- 2.4GHz Network Required: Shark robots are only compatible with 2.4GHz Wi-Fi networks. Your 5GHz network will not work for setup.
- Robot Must Be in Pairing Mode: You must manually activate pairing mode on the robot itself using the Wi-Fi/Setup button before the app can connect it.
- Strong, Uninterrupted Signal is Key: Place your router and robot close during setup. Avoid crowded networks and ensure your password is correct.
- Model-Specific Nuances: While similar, the exact button sequence and app flow can vary slightly between Shark iQ, AV, and AI series models.
- Firmware Updates Often Fix Glitches: If connected but acting erratically, check for and install firmware updates within the Shark Clean app settings.
📑 Table of Contents
- Before You Begin: Essential Prep Work for a Smooth Connection
- Step-by-Step: Connecting Your Shark Robot (General Process)
- Model-Specific Considerations: iQ, AV, and AI Series
- Troubleshooting: Why Won’t My Shark Robot Connect?
- Maximizing Your Connected Shark Robot: Features & Tips
- Conclusion: You’re Now a Shark WiFi Master
Before You Begin: Essential Prep Work for a Smooth Connection
Rushing into the app setup without checking a few boxes is the most common cause of connection headaches. Taking five minutes for this prep work will save you fifteen minutes of frustration later.
1. Download the Correct App: Shark Clean
This might seem obvious, but it’s the critical first step. The official app is called Shark Clean. It’s available for free on both the Apple App Store and Google Play Store. Do not download any third-party or similarly named apps. Once downloaded, open it and create your Shark account. This account is your command center for all your Shark smart devices. Have your email and a strong password ready.
2. Verify Your Wi-Fi Network Compatibility
This is the #1 technical stumbling block. Shark robot vacuums are only compatible with 2.4GHz Wi-Fi networks. They do not support 5GHz networks for the initial connection or ongoing operation. Most modern routers are “dual-band,” meaning they broadcast both 2.4GHz and 5GHz signals. They often share the same network name (SSID), or they have slightly different names (e.g., “MyWiFi” and “MyWiFi-5G”).
- How to Check: Go to your phone’s Wi-Fi settings. Look at the list of available networks. If you see two very similar names, one likely has a “5G” or “5GHz” suffix. You must connect your phone to the 2.4GHz network during the Shark robot setup process.
- If You’re Unsure: Temporarily rename your 2.4GHz network to something obvious (like “MyWiFi-2.4G”) in your router settings, complete the Shark setup, and then you can rename it back. The robot will remember the network.
3. Gather Your Network Credentials
You will need your Wi-Fi network password (security key) exactly as it is. Case-sensitive, no typos. Have it written down or saved in a password manager. Also, note your network name (SSID).
4. Power On and Position Your Robot
Place your Shark robot on a flat, hard floor in the same room as your Wi-Fi router. This ensures the strongest possible signal for the initial handshake. Make sure the robot is powered on—the power button on the side or back should be illuminated or the robot should have some lights active. Ensure its dustbin is empty and it’s not stuck on a cliff sensor or obstacle.
Step-by-Step: Connecting Your Shark Robot (General Process)
Now for the main event. While there are model-specific differences we’ll cover next, the core workflow in the Shark Clean app is universal.
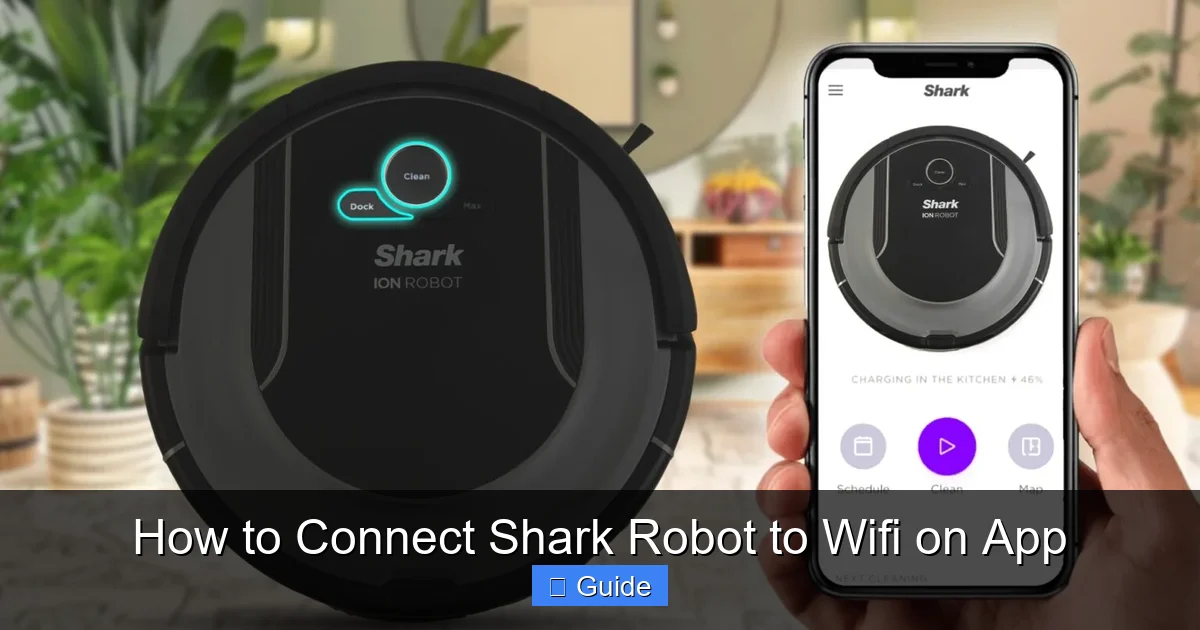
Visual guide about How to Connect Shark Robot to Wifi on App
Image source: i5.walmartimages.com
Step 1: Initiate “Add a Device” in the App
Open the Shark Clean app and log in. On the main dashboard screen, look for a prominent “+” button or an option that says “Add a Device” or “Set Up a New Robot”. Tap it. The app will guide you through selecting your product type. Choose “Robot Vacuum” and then select your specific model from the list (e.g., Shark AI Ultra, Shark iQ Robot, Shark AV2501S, etc.). Selecting the correct model is vital as it determines the pairing instructions.
Step 2: Put Your Robot Into Pairing Mode
This is the most critical physical step. The app will instruct you on how to do this for your specific model, but the general principle is the same: you need to press and hold a dedicated Wi-Fi/Setup button on the robot.
- For most Shark iQ and AV series: Open the top lid. You’ll find a small button labeled with a Wi-Fi icon or “Setup.” Press and hold it for about 3-5 seconds until you hear a tone and see the Wi-Fi indicator light start to blink rapidly (usually orange or blue). This blinking means the robot is broadcasting its own temporary Wi-Fi signal, waiting for your phone to connect it to your home network.
- For Shark AI series (with base): The process is often the same—press and hold the Wi-Fi button on the robot’s top surface. Sometimes, you may need to press a button on the Clean Base first. The app instructions are model-specific for a reason!
- Tip: If the light doesn’t blink, you may not have held the button long enough. Try again. If it blinks slowly, it might already be connected to a network or in an error state. Power cycle the robot (turn it off and on) and try again.
Step 3: Connect Your Phone to the Robot’s Signal
Once the robot’s Wi-Fi light is blinking rapidly, your phone’s Wi-Fi settings will often automatically detect a new network named something like “Shark-XXXX” or “SETUP-XXXX.” The Shark Clean app should prompt you to allow your phone to connect to this temporary network. If it doesn’t pop up automatically, go to your phone’s Wi-Fi settings and manually select this Shark network. Your phone will disconnect from your home Wi-Fi temporarily and connect directly to the robot. This is a normal and necessary step for the “handshake.”
Step 4: Select Your Home Network and Enter Password
Once your phone is connected to the robot’s signal, the Shark Clean app will take over. It will present a list of available Wi-Fi networks in your area. Select your 2.4GHz home network from this list. Then, carefully enter your Wi-Fi password. Double-check for caps lock or extra spaces. Tap “Connect” or “Next.”
Step 5: Wait for Confirmation
The app will now send your network credentials to the robot. The robot’s Wi-Fi light will typically change from rapid blinking to a slow, steady blink or a solid color as it attempts to join your network. This process can take 30-90 seconds. Do not close the app or put your phone to sleep. You should see a success message on your phone screen like “Your Shark robot is now connected!” The robot’s light should become solid or turn off, indicating it’s connected.
Model-Specific Considerations: iQ, AV, and AI Series
While the above is the standard flow, Shark has evolved its designs. Here’s what’s unique about each major series.
Visual guide about How to Connect Shark Robot to Wifi on App
Image source: techtouchy.com
Shark iQ Series (e.g., iQ RV1001AE)
These are the robots with the self-empty base. The pairing button is on the top of the robot under the lid. The process is exactly as described above. A common issue with iQ series is forgetting to open the lid to access the button. Ensure the dustbin is seated correctly; an improperly seated bin can sometimes interfere with the Wi-Fi module.
Shark AV Series (e.g., Shark AV2501S AI)
This is a broad category. For many models like the AV2501S, the process is identical to the iQ series. However, some older AV models might have the Wi-Fi button on the side or rear. Always consult your quick start guide. The key is finding the button with the Wi-Fi symbol. The app will always show you an image of the button location for your selected model.
Shark AI Series with Ultra Base (e.g., AI Ultra)
The newest flagship models. The robot itself has the Wi-Fi button. However, for some firmware updates or advanced base features, the base also needs to be connected. The initial robot setup is the same. Once the robot is connected, the app will often prompt you to connect the base separately. Ensure both the robot and the base are powered on and within range of each other.
Troubleshooting: Why Won’t My Shark Robot Connect?
If you’ve followed the steps and see that “connection failed” message, don’t panic. This is the most common hurdle. Let’s diagnose.
Visual guide about How to Connect Shark Robot to Wifi on App
Image source: surveillanceguides.com
Problem: “Cannot Find Network” or “Incorrect Password”
- Solution: You are almost certainly on the 5GHz network. Go to your phone’s Wi-Fi settings and forget all networks. Then, reconnect only to the 2.4GHz SSID. Re-run the setup from the beginning with the robot in pairing mode.
- Also, ensure your network is not hidden (non-broadcast SSID). The Shark app cannot find hidden networks easily. Temporarily enable SSID broadcast in your router settings.
Problem: Robot Light Blinks but App Times Out
- Solution: This is a signal strength issue. The robot’s temporary signal is weak, or your phone is struggling to hold the connection to both the robot and your router during the handoff.
- Fix: Place the robot right next to your router (within 3 feet). Turn off any other devices that are heavy bandwidth users (streaming 4K, gaming). Restart your router and modem. Then, put the robot in pairing mode and try again.
Problem: Connection Succeeds, But Robot Goes Offline Later
- Solution: This points to a weak signal in the robot’s regular cleaning area or a router issue.
- Fix: Check your router’s DHCP lease time. If it’s very short (e.g., 1 hour), the robot might lose its IP address. Set it to 24 hours or longer. Consider adding a WiFi extender or mesh system if your cleaning area is large or has dead spots. Also, ensure your robot’s firmware is up-to-date in the app settings.
Problem: App Can’t Find Robot in Pairing Mode
- Solution: The robot’s pairing mode might have timed out (usually 2-3 minutes). You must start the app process quickly after putting the robot in pairing mode.
- Fix: Power cycle the robot (turn it off, wait 10 seconds, on). Immediately press and hold the Wi-Fi button until it blinks rapidly. Then, immediately switch to the Shark Clean app and proceed. Do not wait.
Maximizing Your Connected Shark Robot: Features & Tips
Once that glorious “Connected” message appears, a world of convenience opens up. Here’s what you can do and how to keep it running smoothly.
Scheduling and Zone Cleaning
In the app, go to the “Schedule” tab. You can set your robot to clean automatically every day, specific days, or at specific times. For Shark AI and iQ models with mapping, you can use the map to draw “No-Go Zones” (areas to avoid) or select specific rooms to clean (“Zone Cleaning”). This is perfect for targeting high-traffic areas like the kitchen after cooking.
Real-Time Notifications and Maintenance Reminders
Enable push notifications in your phone’s settings for the Shark Clean app. You’ll get alerts when a cleaning starts/finishes, when the bin is full, when the filter needs washing, or if the robot gets stuck. This proactive maintenance keeps your robot performing at its peak. The app also tracks filter and brush life.
Firmware Updates: The Secret to Stability
Shark regularly releases firmware updates that improve connectivity, navigation, and cleaning algorithms. Always install these when prompted. Go to “Settings” > “Robot Settings” > “Firmware Update” in the app. Ensure your robot is on its charging base and connected to WiFi for a smooth update. Do not interrupt the update by turning off the robot or base.
Conclusion: You’re Now a Shark WiFi Master
Connecting your Shark robot to WiFi through the Shark Clean app is the gateway to a truly hands-free, customized cleaning experience. It boils down to three pillars: the correct 2.4GHz network, initiating pairing mode on the robot itself, and having a strong signal during setup. If you hit a snag, the troubleshooting steps—especially confirming the 2.4GHz band and repositioning the robot near the router—solve 90% of issues.
Your Shark robot is now an intelligent member of your smart home ecosystem. You can schedule cleanings from the office, target muddy paw prints from the couch, and rest easy knowing your floors are being maintained without you lifting a finger. So, embrace the connectivity, explore the app’s features, and enjoy those beautifully clean floors. You’ve earned it.
Frequently Asked Questions
Why is my Shark robot not connecting to my 5GHz Wi-Fi network?
Shark robot vacuums are only designed to connect to 2.4GHz Wi-Fi networks. The 5GHz band, while faster, has a shorter range and is not supported by the robot’s hardware for initial setup or communication. You must select your router’s 2.4GHz network (which may have a different name or the same name as the 5GHz) during the app setup process.
How do I reset the Wi-Fi on my Shark robot?
To reset the robot’s Wi-Fi connection, press and hold the Wi-Fi/Setup button on the robot for 10 seconds until you hear two beeps. The Wi-Fi light will blink rapidly, indicating it’s in pairing mode and has forgotten the previous network. You must then go through the entire setup process in the Shark Clean app again to connect it to your network.
What does a rapidly blinking Wi-Fi light on my Shark robot mean?
A rapidly blinking (usually orange or blue) Wi-Fi light means your robot is in pairing mode. It is broadcasting its own temporary Wi-Fi signal, waiting for your smartphone to connect to it via the Shark Clean app so you can provide your home network credentials. This is the desired state during the setup process.
My Shark robot was connected but now says “offline” in the app. What happened?
This typically indicates a lost connection between the robot and your router. First, check that your home Wi-Fi network is working on other devices. Restart your router and modem. Ensure the robot is on its charging base and within range of your Wi-Fi signal. If the problem persists, try removing the robot from the app and going through the full connection process again.
Can I connect multiple Shark robots to the same Shark Clean app account?
Yes, absolutely. The Shark Clean app allows you to add and manage multiple Shark smart devices, including multiple robot vacuums, from a single account. Simply use the “Add a Device” process in the app for each additional robot, following the on-screen instructions for each specific model.
Do I need to keep the Shark Clean app open for the robot to work on its schedule?
No. Once your Shark robot is successfully connected to your Wi-Fi network and a schedule is set in the app, the robot will follow that schedule autonomously. The app does not need to be running in the background on your phone. The schedule is stored in the cloud and on the robot itself. You only need to open the app to make changes, start a manual clean, or check status.