Regularly cleaning your Shark Rocket vacuum is non-negotiable for maintaining powerful suction and extending its lifespan. This comprehensive guide walks you through disassembling, deep-cleaning, and reassembling every critical component—filters, brush roll, hose, and canister—with simple tools you have at home. By following these routine maintenance steps, you’ll prevent clogs, eliminate odors, and ensure your vacuum tackles dirt efficiently every single time.
Key Takeaways
- Always unplug the vacuum: Safety first. Never attempt to clean any part while the Shark Rocket is connected to a power source.
- Filters are the lungs of your vacuum: Clean the pre-motor foam and felt filters monthly with cold water; replace the post-motor HEPA filter every 3 months for optimal air quality.
- The brush roll is a hair and fiber trap: Remove it regularly to cut away wrapped hair and clean the bearings with a damp cloth to prevent motor strain.
- Don’t neglect the hose and attachments: A clogged hose kills suction. Use a long brush or coat hanger to dislodge debris from the hose and wand.
- Wipe down the canister and seals: Empty the dust cup after every use and wipe the interior and lid seals with a damp cloth to prevent dust buildup and odors.
- Reassemble carefully: Ensure all components—especially filter seals and brush roll caps—are fully seated before use to prevent leaks and damage.
- Establish a cleaning schedule: Light maintenance after a few uses, a deep clean monthly, and filter replacements as needed to keep performance consistent.
📑 Table of Contents
- Why Cleaning Your Shark Rocket Vacuum is Essential
- Safety First: Preparing Your Shark Rocket for Cleaning
- Step 1: Deep Cleaning the Dust Cup and Canister
- Step 2: Washing and Maintaining the Filters
- Step 3: Cleaning the Brush Roll and Brush Head
- Step 4: Unclogging the Hose, Wand, and Attachments
- Step 5: Final Wipe-Down and Reassembly
- Establishing a Maintenance Schedule for Longevity
- Conclusion: Your Clean Vacuum, Your Clean Home
Why Cleaning Your Shark Rocket Vacuum is Essential
Let’s be honest: your Shark Rocket vacuum is your home’s frontline defense against dust, pet dander, and crumbs. It works tirelessly, but when it’s clogged and grimy, its performance plummets. You might notice it’s not picking up dirt like it used to, or perhaps it’s developed a strange smell. These are clear signs that your vacuum needs some love. A clean vacuum isn’t just about hygiene; it’s about efficiency, longevity, and protecting your investment. Clogged filters force the motor to work harder, leading to overheating and a shorter lifespan. A jammed brush roll can strain the belt and motor. By incorporating regular cleaning into your routine, you ensure powerful suction on every pull, cleaner air expelled back into your home, and a machine that will last for years. Think of it like changing the oil in your car—it’s a simple task that prevents major headaches down the road.
Safety First: Preparing Your Shark Rocket for Cleaning
Before you touch a single screw, safety is the absolute priority. Your Shark Rocket is an electrical appliance with moving parts and sharp edges. Rushing into disassembly can lead to injury or damage. Start by unplugging the vacuum from the wall outlet. This is non-negotiable. Next, find a clear, flat workspace—a kitchen table or garage bench covered with a towel works perfectly. Have your cleaning supplies ready: a soft microfiber cloth, a sink or large basin, an old toothbrush, a small flathead screwdriver (if needed for your model), and possibly a vacuum crevice tool to remove loose debris. Lay out your parts in the order you remove them. Taking a quick phone photo of the assembled brush roll area can be a lifesaver when it’s time to put everything back together. Remember, patience here prevents frustration later.
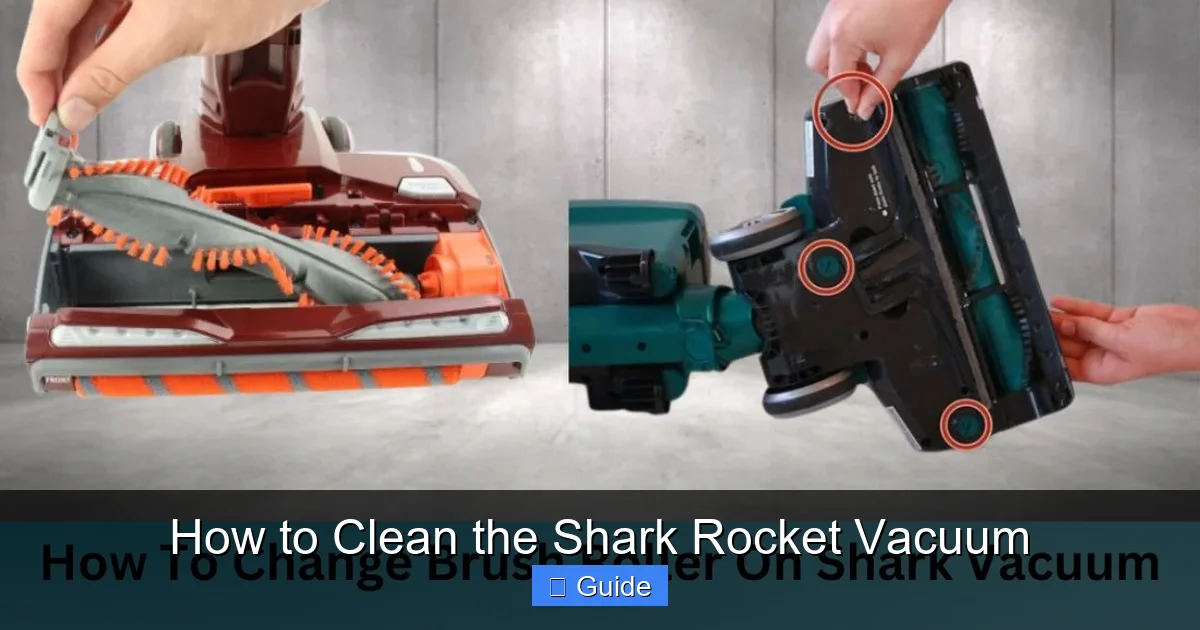
Visual guide about How to Clean the Shark Rocket Vacuum
Image source: sharkvacuum.blog
Understanding Your Specific Shark Rocket Model
Shark has several Rocket models (like the HV322, HV352, AZ6002, etc.), but the core cleaning principles are nearly identical. The main differences might be in how the brush roll is secured (a clip vs. a screw) or the exact filter configuration. Before you start, locate your model number—it’s usually on a sticker on the back or bottom of the vacuum body. A quick online search for “[Your Model Number] manual” will pull up the official PDF guide from Shark’s website. Skimming the “Maintenance” section will confirm the exact steps for your specific machine, especially regarding filter removal and brush roll detachment. Don’t worry if you can’t find the manual; this guide covers the universal process that applies to 95% of Shark Rocket uprights.
Step 1: Deep Cleaning the Dust Cup and Canister
The dust cup is the first line of defense and gets dirty the fastest. After every single use, you should tap it out over a trash can to remove loose debris. But for a true deep clean, follow these steps monthly or when you see dust caked on the sides.
Visual guide about How to Clean the Shark Rocket Vacuum
Image source: homecleanexpert.com
- Removal: Press the release button on the top of the dust cup and lift it straight off the vacuum body.
- Disassembly: Locate the latch or button that opens the bottom of the cup. Open it and carefully pull out the fine mesh filter sleeve (if your model has one) and the foam pre-filter. Set them aside for separate cleaning.
- Washing: Take the dust cup to your sink. Use a strong stream of warm (not hot) water to rinse the interior and exterior. For stuck-on gunk, use a soft brush or cloth with a mild dish soap. Never use harsh chemicals or abrasive scrubbers, as they can damage the plastic and create static that attracts more dust.
- Drying: This is critical. Shake out excess water and use a clean, dry microfiber cloth to wipe every surface, including the lid and the rubber seals. Pay special attention to the area where the cup locks onto the vacuum body—dust loves to accumulate there. Leave all parts disassembled and let them air-dry completely for at least 24 hours. Reassembling a damp cup can lead to mold and musty smells.
Step 2: Washing and Maintaining the Filters
Your Shark Rocket typically has a multi-stage filtration system. Clogged filters are the #1 cause of lost suction. Here’s how to handle each type.
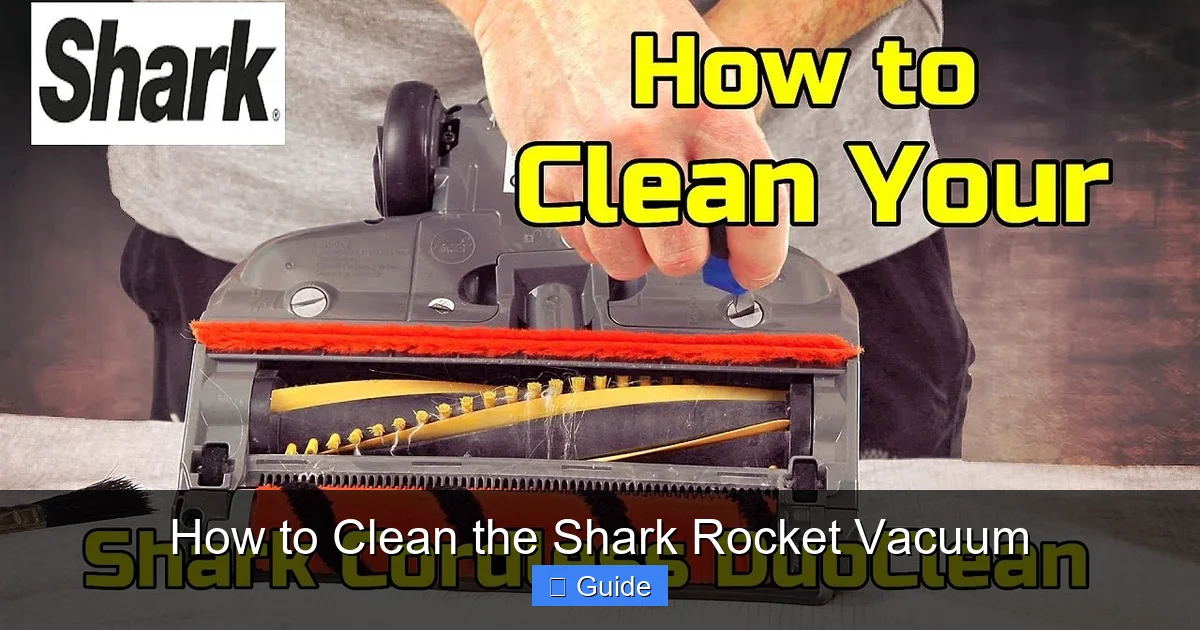
Visual guide about How to Clean the Shark Rocket Vacuum
Image source: i.ytimg.com
The Pre-Motor Foam and Felt Filters
These are usually located right behind the dust cup. They catch fine dust before it reaches the motor. They are washable and reusable.
- Remove them from their housings. Gently tap off loose debris.
- Rinse them under cold running water. Do not use soap unless they are extremely soiled, and if you do, rinse extremely thoroughly.
- Gently squeeze out excess water—do not wring or twist, as this can tear the foam.
- Set them in a well-ventilated area, away from direct heat or sunlight, to dry for 24-48 hours. They must be 100% dry before reinserting.
The Post-Motor HEPA Filter
This is your final defense, capturing allergens and ensuring clean air exhaust. It’s usually located on the back or top of the motor housing.
- Remove the filter cover and slide out the pleated HEPA filter.
- Check your manual: Some HEPA filters are washable (rare), but most are not. The majority are replace-only. If yours is marked “Do Not Wash” or “Replace,” do not attempt to clean it with water.
- If it is a washable type, rinse it gently under cold water until the water runs clear. Allow it to air-dry completely for 24+ hours.
- Replacement Schedule: Even with washing, HEPA filters lose efficiency over time. Shark recommends replacing the post-motor filter every 3 months with regular use, or sooner if you have pets/allergies.
Step 3: Cleaning the Brush Roll and Brush Head
The brush roll (the cylindrical roller with bristles) is where hair, string, and carpet fibers wrap tightly, causing the vacuum to bog down and potentially burn out the belt. Cleaning it is a satisfying and crucial task.
Removing the Brush Roll
Lay the vacuum on its side. On the bottom of the brush head housing, you’ll see either a clip or a small screw securing a plastic cap on one end of the brush roll. If it’s a clip, pry it up gently with a flathead screwdriver. If it’s a screw, unscrew it. Once the cap is off, pull the brush roll straight out. You may need to wiggle it a bit. Notice how the belt loops around one end—this is important for reassembly.
De-hairing and Scrubbing
Take the brush roll to a well-lit area. You’ll likely see a solid cylinder of hair and lint. Use a sharp pair of scissors or a utility knife to carefully cut through the wrapped material all the way around. Don’t cut the bristles! Once cut, you should be able to pull the mass off in one piece. For stubborn bits, use needle-nose pliers to pick them out. Next, dip an old toothbrush in warm, soapy water and scrub the bristles and the plastic end caps. Pay attention to the bearings (the small plastic or metal pieces at each end). Rinse thoroughly under running water. Shake off excess water and allow the brush roll to air-dry completely before reinstallation.
Step 4: Unclogging the Hose, Wand, and Attachments
Loss of suction often comes from a blockage in the airway pathway, not the motor. This is a quick fix that makes a world of difference.
The Hose and Wand
Detach the hose from both the vacuum body and the wand. Look through it. If you see a clog, use the crevice tool attachment from another vacuum (or a long, flexible coat hanger with a small hook bent on the end) to gently push the debris out from one end. Never use a rigid object that could puncture the hose. For deep clogs, try the “mop handle method”: insert a clean, thin wooden mop handle or broom handle carefully to push the clog through. Once clear, rinse the hose with a damp cloth and let it air-dry.
Attachments and Crevice Tools
Detach all accessories—the dusting brush, upholstery tool, etc. Tap them out over the trash. Use the crevice tool to clean out the interior channels of each attachment. The small brush head can be washed with soapy water if it’s very dirty; just ensure it’s fully dry before use. Check the connection points on the wand and main body for any dust or hair that might be blocking the airflow.
Step 5: Final Wipe-Down and Reassembly
With all the major parts cleaned and drying, turn your attention to the vacuum’s body.
- Use a dry microfiber cloth to wipe down the entire exterior of the vacuum, the motor housing, and the handle. For fingerprints or smudges, a cloth lightly dampened with a 50/50 water and vinegar solution works wonders. Avoid spraying liquid directly onto any vents or electrical points.
- Check the wheels. Remove any hair wrapped around the axles with a screwdriver or your fingers. Wipe the wheels clean.
- Once every single part—dust cup, filters, brush roll, hose—is completely dry, begin reassembly.
Start by reinserting the clean, dry filters into their housings, ensuring they seat properly. Snap the dust cup back onto the body, listening for the click. Reattach the clean brush roll, making sure the belt is properly looped around it and the brush roll spins freely before securing the cap. Reconnect the hose and wand. Give everything a final once-over to ensure no tools are left inside and all latches are secure.
Establishing a Maintenance Schedule for Longevity
To keep your Shark Rocket in peak condition without it becoming a chore, follow this simple timeline:
- After Every 2-3 Uses: Empty the dust cup. Tap out the pre-motor filters. Check the brush roll for visible hair and cut it off if needed.
- Monthly: Perform a full deep clean as described above. Wash the pre-motor foam and felt filters. Wipe down the entire vacuum, hose, and attachments. Inspect the brush roll bearings.
- Every 3 Months: Replace the post-motor HEPA filter, regardless of its appearance. This is the most important filter for allergen control and motor protection.
- Every 6-12 Months: Inspect the drive belt (if your model has one accessible) for wear and stretching. Check the wheels for damage. Give the motor vents a thorough vacuuming with a soft brush attachment to remove dust.
Sticking to this schedule transforms maintenance from a daunting, occasional project into a series of quick, easy habits. Your vacuum will reward you with consistent, powerful cleaning and a significantly longer life.
Conclusion: Your Clean Vacuum, Your Clean Home
Cleaning your Shark Rocket vacuum isn’t a glamorous task, but it’s one of the most impactful things you can do for your home’s cleanliness and your appliance’s health. You’ve now learned the systematic approach: unplug, dismantle, wash and dry the dust cup and filters, meticulously de-hair the brush roll, clear any airway clogs, and wipe everything down before careful reassembly. By understanding why each step matters—protecting the motor from dust, ensuring maximum suction by clearing blockages, and preventing odors by eliminating damp debris—you’re empowered to keep your machine running like the day you bought it. Remember, a well-maintained Shark Rocket is a powerful, reliable partner in keeping your floors spotless. Set a calendar reminder, gather your supplies, and give your vacuum the care it deserves. Your future self, and your clean floors, will thank you.
Frequently Asked Questions
How often should I deep clean my Shark Rocket vacuum?
You should perform a full deep clean, including washing filters and cleaning the brush roll, at least once a month with regular use. If you have pets or a high-traffic home, aim for every 2-3 weeks. Always empty the dust cup after every use.
Can I use soap to clean the filters?
For the washable pre-motor foam and felt filters, a tiny drop of mild dish soap can be used if they are extremely soiled, but it must be rinsed thoroughly until the water runs completely clear. Soap residue can damage the filter material and reduce airflow. Cold water alone is usually sufficient.
My brush roll isn’t spinning after I cleaned it. What’s wrong?
The most common cause is hair or debris wrapped around the brush roll bearings, preventing it from turning freely. Ensure you’ve cleaned out the plastic end caps thoroughly. Also, double-check that the drive belt (if your model has one) is properly looped around the brush roll and the motor pulley before securing the cap.
Is it okay to use a wet cloth on the vacuum’s exterior?
Yes, but with caution. Dampen a microfiber cloth with a water-vinegar solution or mild cleaner, wring it out so it’s only slightly moist, and wipe the plastic surfaces. Never spray liquid directly onto the vacuum, especially into vents, electrical ports, or the motor housing area.
Why does my vacuum smell musty even after I clean it?
A musty odor almost always means moisture is trapped somewhere. Ensure every single part—especially the dust cup, filters, and brush roll—is 100% bone dry before reassembling. Dampness in the dust cup or filters will lead to mildew and unpleasant smells the next time you use it.
Can I vacuum up water or liquid spills with my Shark Rocket?
No. Your Shark Rocket is designed for dry debris only. Sucking up liquids can cause catastrophic damage to the motor and electrical components, void your warranty, and create a serious safety hazard. Use a dedicated wet/dry vacuum for liquid spills.