Regular cleaning is the secret to a powerful, long-lasting Shark canister vacuum. This comprehensive guide walks you through disassembling, deep-cleaning, and reassembling every critical component—from the dustbin and filters to the brush roll and hose. By following these simple, model-agnostic steps, you’ll restore suction power, eliminate odors, and extend your vacuum’s life significantly. Forget diminished performance; a clean vacuum is an efficient vacuum.
Key Takeaways
- Unplug Before You Start: Always disconnect your Shark vacuum from the power source before any cleaning or disassembly for complete safety.
- Filters Are Priority #1: The foam and felt filters are the lungs of your vacuum. Wash them regularly with cold water and let them air-dry completely for 24+ hours to prevent mold and maintain airflow.
- The Brush Roll is a Hair Magnet: Hair and fibers wrap tightly around the brush roll bearings. Use scissors or a seam ripper to cut it away, and clean the bearings with a toothbrush to prevent motor strain.
- Don’t Neglect the Hose and Wands: Clogs are the #1 cause of lost suction. Use a long stick or the vacuum’s own suction in reverse to dislodge debris from the hose and extension wands.
- A Clean Dustbin Means No Mess: Tap out debris, then wash the bin and its gasket with mild soap. Ensure the gasket seat is perfectly clean and dry to prevent leaks and ensure a tight seal.
- Reassembly Matters: Ensure all components—especially the filter housing and dustbin—are click firmly into place. An improper seal is a common cause of poor performance after cleaning.
- Establish a Routine: A quick rinse of the dustbin and a filter check after every 2-3 uses, with a full deep clean monthly, keeps your Shark operating at peak efficiency.
📑 Table of Contents
- Why Cleaning Your Shark Canister Vacuum is Non-Negotiable
- Gathering Your Cleaning Arsenal: Tools & Supplies
- Deep Dive: Cleaning the Dustbin and Exterior
- Filter Maintenance: The Heart of Suction
- The Brush Roll: Untangling the Hair Monster
- Clearing the Airways: Hose, Wands, and Attachments
- Reassembly, Testing, and Establishing a Routine
- Conclusion: A Little Effort for a Lot of Payoff
Why Cleaning Your Shark Canister Vacuum is Non-Negotiable
Let’s be honest: your Shark canister vacuum is a workhorse. It tackles pet hair, ground-in dirt, and everything in between. But like any hard-working tool, it gets tired, clogged, and smelly if you don’t show it some love. Think of it like your car—you wouldn’t drive it for years without an oil change, right? Your vacuum needs the same kind of regular maintenance. A clean Shark canister vacuum isn’t just about hygiene; it’s about performance, longevity, and even your home’s air quality. When filters are packed and airways are blocked, the motor has to strain, suction plummets, and you’re left pushing a heavy, ineffective machine around. Worse, a dirty vacuum can start recirculating dust and allergens back into your rooms. The great news? Cleaning it is a straightforward, satisfying process that takes less than an hour and saves you from costly repairs or an early replacement. This guide will demystify every step, so you can confidently take your vacuum apart, clean it thoroughly, and put it back together better than new.
Gathering Your Cleaning Arsenal: Tools & Supplies
Before you dive in, a quick pit stop at your kitchen or utility closet will set you up for success. You don’t need any fancy, brand-specific products. In fact, harsh chemicals can damage the very parts you’re trying to preserve. Here’s your simple checklist:
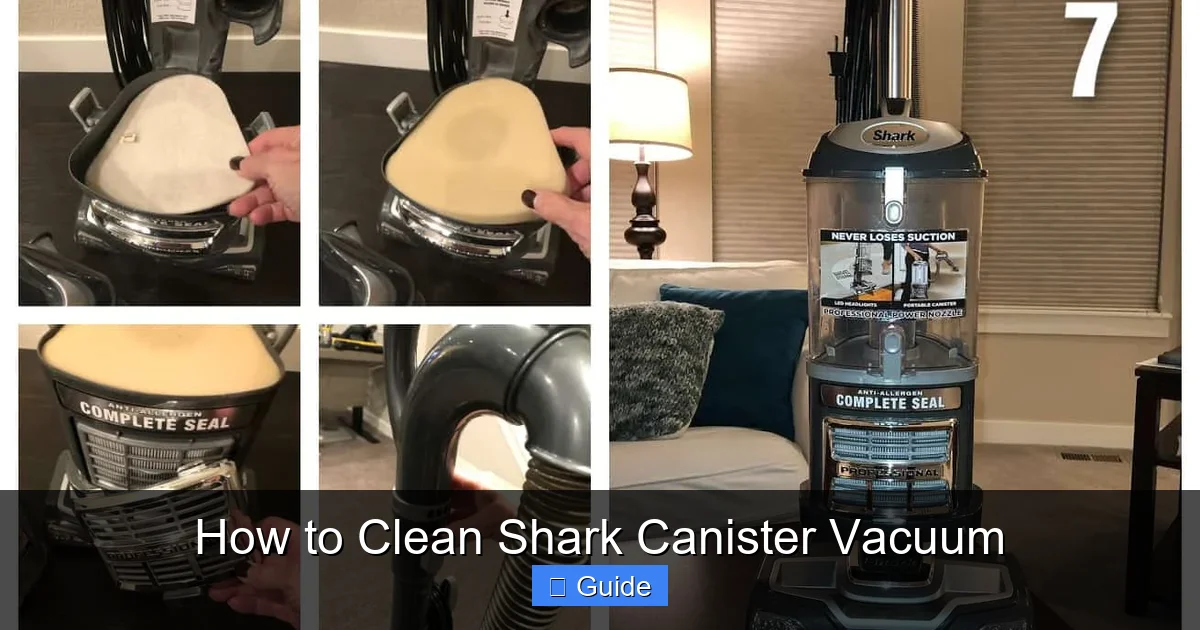
Visual guide about How to Clean Shark Canister Vacuum
Image source: everydaycheapskate.com
- Soft, Lint-Free Cloths: Microfiber is perfect for wiping down plastic parts without scratching.
- Mild Dish Soap: A few drops in warm water is all you need for the dustbin and exterior.
- Old Toothbrush or Small Soft-Bristle Brush: This is your best friend for scrubbing filter housings, crevices, and the brush roll bearings without causing damage.
- Scissors or a Seam Ripper: Essential for cutting away the hair and fiber “cocoon” that inevitably forms around the brush roll.
- Sink or Large Basin: For washing the dustbin and filters.
- Optional but Helpful: A can of compressed air (for blowing out dust from tight spots) and a vacuum crevice tool (to help suction out debris from the hose from the opposite end).
The most important tool, however, is your Shark vacuum’s own user manual. While this guide is designed to be universal, your specific model (like the Vertex, Navigator, or IZ682) might have a unique filter type or dustbin release mechanism. A quick glance at the diagram can save you from frustration.
Safety First: The Golden Rule
This cannot be stressed enough. Before you touch a single screw or twist a single lock, unplug your Shark vacuum from the wall outlet. This eliminates any risk of the vacuum accidentally turning on while your fingers are near moving parts. It’s a simple step that prevents a potentially serious injury. Once unplugged, you can work with complete peace of mind.
Deep Dive: Cleaning the Dustbin and Exterior
This is your starting point and often the messiest. The dustbin is where it all ends up, and a quick tap-out isn’t enough for a true clean.
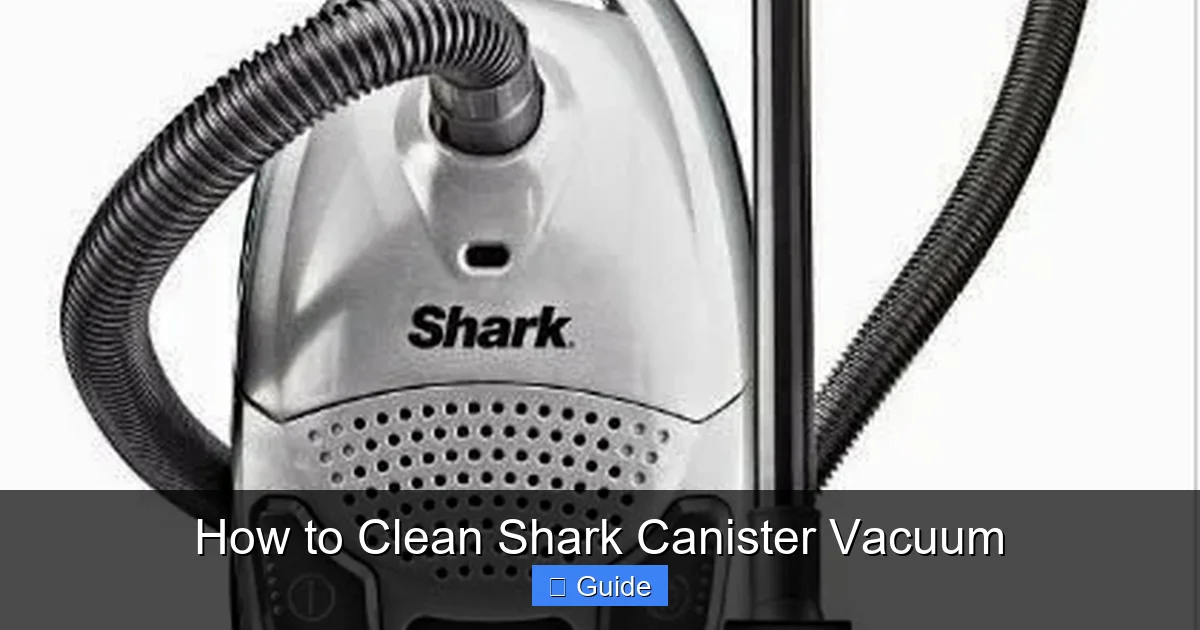
Visual guide about How to Clean Shark Canister Vacuum
Image source: 4.bp.blogspot.com
Step 1: Empty and Disassemble
Press the release button (usually near the handle or on top of the canister) to detach the dustbin from the wand assembly. Take it to a trash can or outside. Don’t just tap it; open the bottom lid (if your model has one) and the top lid to fully empty it. You’ll be amazed at what gets wedged in the corners. Next, locate the foam filter inside the dustbin housing. It’s usually held by a plastic frame or clips. Gently remove it and set it aside for its own cleaning (we’ll get to filters next). Also, remove the exhaust filter cover, typically located on the back or side of the canister body.
Step 2: Wash the Bin and Gasket
Fill your sink with warm, soapy water. Submerge the dustbin and its lid. Use your cloth or soft brush to scrub every nook, paying special attention to the rubber gasket—the sealing ring that prevents dust from escaping. This gasket loves to trap fine dust and hair. Make sure it’s completely clean, as any debris here will break the seal and cause leaks. Rinse everything thoroughly with clean water. Pro Tip: For stubborn odors, a solution of equal parts white vinegar and water can be used for the final rinse. Vinegar naturally neutralizes smells without leaving a residue.
Step 3: Dry Thoroughly
Shake off excess water and place all plastic parts on a drying rack or clean towel. Do not reassemble or use the vacuum until every single component is bone dry. This includes the gasket seat on the vacuum body. Any trapped moisture will be sucked into the motor, causing damage. Air-drying is best; avoid using a hair dryer as the heat can warp plastic parts. This might take several hours, so plan your cleaning session accordingly.
Filter Maintenance: The Heart of Suction
Shark canister vacuums typically have a multi-stage filtration system. The exact order varies by model, but it generally includes a pre-motor foam filter, a post-motor felt filter, and sometimes an optional HEPA filter. Cleaning these is the single most important thing you can do for suction power.
Visual guide about How to Clean Shark Canister Vacuum
Image source: 3.bp.blogspot.com
Identifying Your Filters
After removing the dustbin, you should see the foam filter. Behind it, often deeper in the housing, is the felt filter. Some models have a third, pleated HEPA filter in a separate housing on the back of the unit. Consult your manual’s parts diagram to be sure. The rule of thumb is: foam is washable, felt is replaceable (but often washable once), HEPA is replaceable.
Washing the Foam Filter
Take the foam filter to the sink. Rinse it under cold water only. Hot water can damage the foam’s structure. Gently squeeze and massage the water through the foam. You’ll see dirty water run out—keep going until it runs clear. Do not use any soap, detergent, or cleaning agents on the foam filter unless your manual explicitly states it’s safe. These can degrade the foam and leave residues that harm the motor. After rinsing, place the filter on its side in a well-ventilated area. It must dry completely for at least 24 hours. Do not be tempted to speed this up with heat. A damp filter will kill your vacuum’s performance and promote mildew growth.
Caring for the Felt and HEPA Filters
The felt filter is more delicate. Check your manual. Many Shark felt filters are labeled as “non-washable” and are designed to be replaced every 3-6 months. However, some newer models use a washable felt filter. If yours is washable, the process is similar to the foam: a gentle cold water rinse, no soap, and a full 48-hour air dry. For non-washable felt or HEPA filters, simply tap them firmly over a trash can to dislodge loose debris. You can also use a vacuum cleaner’s crevice tool on low suction to gently vacuum the surface. Never wash or get these filters wet. They should be replaced according to the maintenance schedule in your manual, or when you notice a significant drop in suction that isn’t fixed by cleaning the other parts.
The Brush Roll: Untangling the Hair Monster
This is where the magic (and the mess) happens. The brush roll, that cylindrical bar with bristles, is responsible for agitating carpet fibers. It’s also the #1 victim of hair and fiber wrap, especially in homes with pets or long hair. A clogged brush roll spins poorly, strains the motor, and does a terrible job cleaning.
Accessing and Removing the Brush Roll
Lay your Shark canister on its side. On the bottom of the floor head (the “nozzle” that touches the floor), you’ll find two screws—often one on each side—holding the brush roll cover in place. Use a Phillips screwdriver to remove them. Some models have clips instead; simply pry them open with a flat-head screwdriver or your fingernail. Lift off the cover. You’ll see the brush roll resting in bearings on either end. Gently pull the brush roll straight out. It may have clips or a belt attached. Note how it comes out—this makes reinstallation foolproof.
Cutting, Cleaning, and Inspecting
Now for the satisfying part. Take your scissors or seam ripper. Starting at one end, carefully slide the scissors under the wrapped hair and cut it. You can then peel the hair “cocoon” off in one piece. Be meticulous and get every last strand, especially around the bearings (the plastic ends). Once the hair is off, use your old toothbrush dipped in soapy water to scrub the bristles and the metal axles of the bearings. Rinse with a damp cloth. While you’re here, spin the brush roll by hand. It should rotate smoothly and freely. If it feels gritty or stiff, the bearings are worn out, and the brush roll should be replaced. Also, check the bristles. If they are melted, scorched, or missing patches from running over something hot, it’s time for a new one. A damaged brush roll won’t clean effectively.
Clearing the Airways: Hose, Wands, and Attachments
Even with a sparkling dustbin and filters, a single clog in the hose can cripple your Shark’s suction. This section is detective work.
Checking for Clogs
Detach the hose from both ends—the canister body and the wand/handle assembly. Look through the hose from both ends. You might see a lodged toy, a sock, or a dense ball of hair. For minor clogs, straighten the hose and give it a firm shake or whack it against your palm (over a trash can).
The Reverse Suction Trick
For stubborn clogs, reattach one end of the hose to the exhaust port on the back of your Shark canister (where the clean air blows out). Secure it with a clip or your hand. Plug the vacuum in and turn it on for 10-15 seconds. The vacuum will now blow air out of the hose, often dislodging the blockage from the other end. Have a trash can ready! Never use a long, rigid object like a wire coat hanger to clear a clog. You can easily puncture the hose or, worse, push debris further in or damage internal components.
Cleaning the Wands and Attachments
This is easy. Detach all wands and tools (crevice tool, dusting brush, upholstery tool). Tap them firmly over a trash can to remove loose debris. For sticky dirt, wipe them with a damp, soapy cloth and rinse. Pay attention to the locking mechanisms and the interiors where the wands connect. A clogged wand connection is a common hidden cause of low suction. Ensure all openings are clear.
Reassembly, Testing, and Establishing a Routine
You’ve cleaned every part. Now, the careful put-back-together.
Dryness is Paramount
Before you even think about reassembling, do a final check. Run your hand inside the dustbin housing, feel the gasket seat on the canister, and touch the filters. Everything must be completely, utterly dry. Any moisture is a one-way ticket to motor failure.
Step-by-Step Reassembly
- Filters First: Place the completely dry felt filter (if you have one) into its housing, followed by the dry foam filter. Ensure they sit flush and are properly seated.
- Dustbin: Snap the clean, dry dustbin onto the canister body. You should hear/feel a distinct click. Ensure the lid closes securely.
- Brush Roll: Slide the clean brush roll back into its bearings, reattach any belt if your model uses one (most Sharks are beltless), and screw the cover back on tightly.
- Hose and Wands: Reconnect the hose to the canister’s intake port and to the wand/handle assembly. Ensure all connections are firm.
Once assembled, do a quick “suction test” before you put everything away. Plug it in, turn it on, and place your hand over the hose end. You should feel a strong, steady pull. If it’s weak, go back and check your filter seating and dustbin lock. A misaligned gasket is the usual culprit.
Building Your Maintenance Routine
Don’t wait for a dramatic drop in suction. Integrate these quick habits into your cleaning schedule:
- After Every 2-3 Uses: Tap out the dustbin, check the foam filter for visible dirt, and glance at the brush roll for hair wrap.
- Monthly: Perform the full deep clean outlined in this guide.
- Every 3-6 Months: Replace the non-washable felt filter (or as indicated by your filter’s indicator light, if equipped). Inspect the brush roll for wear.
- As Needed: Clear any clogs immediately when you notice a change in sound or suction.
This proactive approach means your Shark canister vacuum will remain a reliable, powerful partner in keeping your home spotless for years to come.
Conclusion: A Little Effort for a Lot of Payoff
Cleaning your Shark canister vacuum might seem like a chore, but it’s one with a tremendous return on investment. You’re not just wiping down a appliance; you’re performing critical surgery that restores its core functions. You’ve learned how to meticulously clean the dustbin and its sealing gasket, properly wash the vital foam filter, surgically remove hair from the brush roll, and detective-work your way through the hose to clear blockages. You now understand that reassembly requires a focus on complete dryness and secure clicks. By incorporating these steps into a regular maintenance routine, you transform your vacuum from a tool that degrades into one that endures. You’ll enjoy consistent, powerful suction on every surface, breathe easier knowing allergens aren’t being recirculated, and avoid the frustration of a machine that just doesn’t clean like it used to. So, roll up your sleeves, put on some music, and give your Shark the deep clean it deserves. Your floors—and your vacuum—will thank you for it.
Frequently Asked Questions
How often should I wash the foam filter in my Shark canister vacuum?
You should rinse the foam filter with cold water after every 2-3 uses, especially if you have pets or allergies. Always let it air-dry completely for at least 24 hours before reinstalling. Never use soap or hot water on the foam filter.
What’s the best way to remove hair from the brush roll without damaging it?
Use a sharp pair of scissors or a seam ripper. Slide the blade under the wrapped hair and cut it lengthwise along the brush roll. You can then peel the entire hair sleeve off in one piece. Be gentle around the plastic end caps (bearings) to avoid nicking them.
My Shark vacuum smells musty even after I clean the bin. What could be the cause?
>A musty smell almost always means a filter is damp or moldy. Double-check that both the foam and felt filters are 100% bone dry before reinstalling. Also, ensure the rubber dustbin gasket and its seating area are completely clean and dry, as moisture trapped there will cause odors.
Can I use water or cleaning products inside the hose or motor housing?
Never. Water inside the hose can travel to the motor and cause catastrophic failure. The motor housing should never be opened or cleaned with liquids. For the hose, use the reverse suction trick or a dry cloth. For the exterior, a slightly damp cloth is sufficient.
How do I know if my brush roll needs to be replaced?
Inspect it closely after cleaning. If the bristles are melted, scorched, or significantly missing, replace it. Also, if the brush roll does not spin freely and smoothly when you rotate it by hand—feeling gritty or stiff—the internal bearings are worn out, and the brush roll should be replaced to protect your vacuum’s motor.
After cleaning, my vacuum has very weak suction. What did I do wrong?
The most common cause is an improperly seated filter or dustbin. Turn the vacuum off and unplug it. Open the dustbin and check that the foam filter is flush against its housing and the felt filter (if present) is installed correctly. Then, ensure the dustbin itself clicks securely into place on the canister, creating an airtight seal with the rubber gasket. A small gap here leaks all your suction power.