Cleaning your Shark Rotator vacuum regularly is essential for maintaining powerful suction, preventing odors, and extending its life. This comprehensive guide walks you through disassembling, cleaning every component—from the dust cup and filters to the brush roll and hose—and reassembling it correctly. By following these simple, detailed steps with the right tools, you can keep your vacuum performing like new.
That trusty Shark Rotator vacuum has been your partner in keeping floors spotless, but have you ever stopped to think about giving it a little TLC in return? Over time, even the most powerful vacuum like your Shark Rotator can lose its edge. Dust, hair, and fine debris don’t just disappear—they accumulate in every nook, from the dust cup to the deepest part of the hose, silently choking your vacuum’s performance. The great news? Restoring its power is not a mysterious art. It’s a straightforward process of regular, methodical cleaning. This ultimate, step-by-step guide will transform you from a user into a true master of your Shark Rotator. We’ll break down every single component, demystify the process, and arm you with pro-tips to make the job quick and effective. Get ready to bring your vacuum back to its factory-fresh glory.
Key Takeaways
- Unplug Before You Start: Always disconnect the vacuum from the power source before any cleaning or disassembly to ensure safety.
- Clean the Dust Cup After Every Use: Tap or rinse the dust cup and its filters to prevent clogs and maintain optimal airflow and suction power.
- Filters Require Regular, Specific Care: Know your filter types (foam, felt, HEPA). Wash reusable ones monthly with cold water and let them dry completely for 24 hours before reuse.
- Brush Roll Maintenance is Critical: Remove hair, string, and debris from the brush roll and its bearings weekly to prevent belt damage and maintain cleaning efficiency on carpets.
- Don’t Forget Attachments and Hose: Clean crevice tools and upholstery brushes with a damp cloth, and clear the hose of blockages with a long coat hanger or flexible brush.
- Reassemble Correctly: Ensure all components, especially the dust cup seals and filter orientation, are properly seated to prevent air leaks that reduce suction.
- Establish a Cleaning Schedule: A quick rinse after each use and a deep clean monthly will keep your Shark Rotator performing reliably and prevent costly repairs.
📑 Table of Contents
- Why Cleaning Your Shark Rotator Isn’t Optional—It’s Essential
- Gathering Your Cleaning Arsenal: Tools & Supplies
- Part 1: The Dust Cup & Primary Airflow Path
- Part 2: The Post-Motor Filter & Exhaust Filter
- Part 3: The Heart of Cleaning—The Brush Roll
- Part 4: Clearing the Highway—Hose, Wand, and Attachments
- Part 5: Final Assembly and the Suction Test
- Establishing a Maintenance Routine for Long-Term Success
Why Cleaning Your Shark Rotator Isn’t Optional—It’s Essential
Before we grab our tools, let’s understand why this matters so much. Your Shark Rotator’s brilliant suction is created by a precise balance of airflow and motor power. Anything that obstructs that airflow—like a clogged filter, a packed dust cup, or a hair-wrapped brush roll—directly reduces suction. You might notice it struggling on carpets, leaving debris behind on hard floors, or that tell-tale change in motor sound. Regular cleaning isn’t just about hygiene; it’s about performance preservation and longevity. A clean vacuum is an efficient vacuum. It uses less energy, strains the motor less, and will last you for years, saving you the cost and hassle of an early replacement. Think of it like changing the oil in your car—it’s a simple, proactive step that prevents major problems down the road.
The Core Culprits of Lost Suction
Three main areas are theusual suspects when your Shark Rotator’s power dwindles. First, the dust cup. If it’s more than half full, air can’t flow freely. Second, the filters. They trap fine dust and allergens, but when saturated, they become a barrier. Third, the brush roll (the spinning bristle bar on the floor head). When matted with hair and carpet fibers, it can’t spin properly, which not only kills agitation but can also burn out the drive belt. Clogs in the hose and wand are the fourth, often overlooked, villain. We will conquer each of these in order.
Gathering Your Cleaning Arsenal: Tools & Supplies
You don’t need a professional workshop for this. A simple kit will make the job ten times easier and more thorough. Round these up before you start:
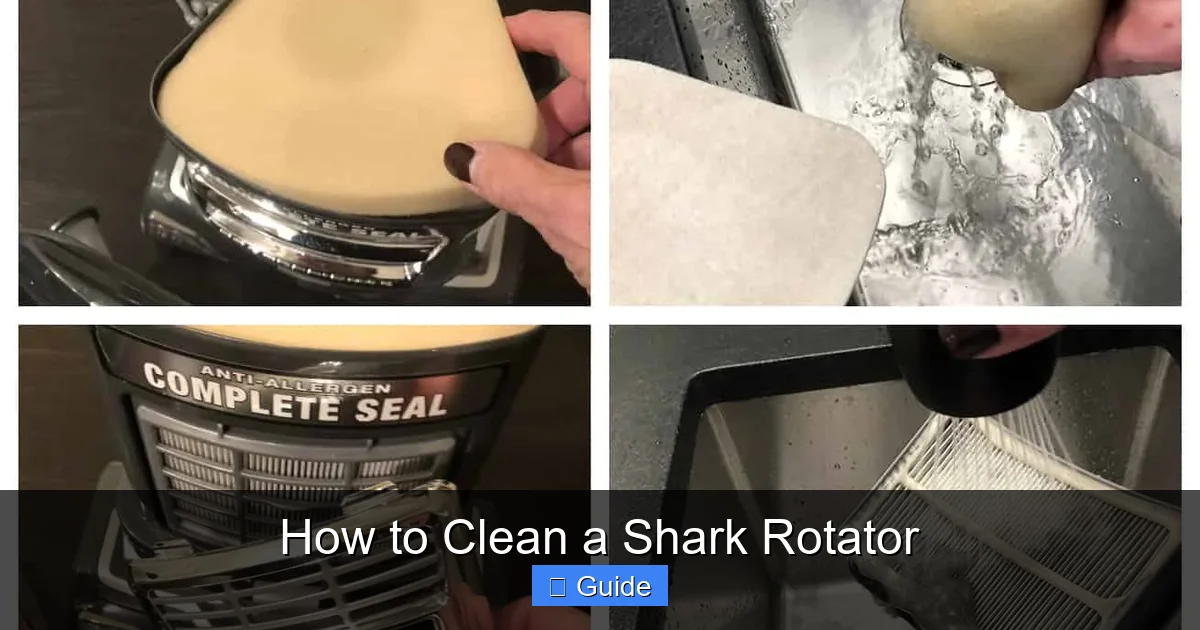
Visual guide about How to Clean a Shark Rotator
Image source: everydaycheapskate.com
- Screwdriver: Usually a Phillips head, for removing the brush roll cover.
- Old Toothbrushes (2-3): Perfect for scrubbing filters, brush roll bearings, and crevices. Dedicate one to this job.
- Microfiber Cloths: For wiping down exteriors and components. Lint-free is best.
- Soft-bristle Brush: A small, clean paintbrush works wonders for dusting inside hose ports and around motor vents.
- Bucket or Large Sink: For rinsing filters and the dust cup.
- Mild Dish Soap: A few drops for cutting through greasy dust on the dust cup.
- Scissors or Seam Ripper: The ultimate tool for cutting through wound-up hair and string on the brush roll. Be careful!
- Coat Hanger or Flexible Hose Cleaning Brush: For tackling clogs deep in the wand or hose.
- Rubber Gloves (Optional): Keeps your hands clean from dust and any potential allergens.
With your toolkit ready, let’s begin the systematic disassembly and cleaning.
Part 1: The Dust Cup & Primary Airflow Path
This is your first and most frequent line of defense. A clean dust cup is the foundation of good suction.
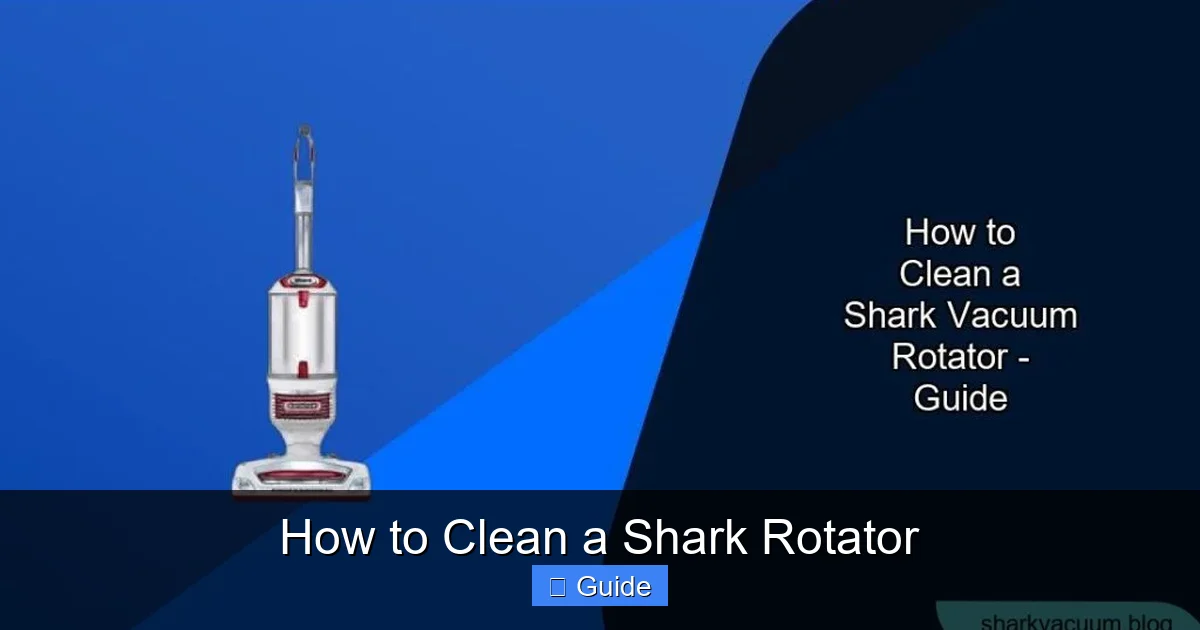
Visual guide about How to Clean a Shark Rotator
Image source: sharkvacuum.blog
Step 1: Removing and Emptying the Dust Cup
Position your Shark Rotator over a trash can. Locate the dust cup release button (typically on the top or side of the cup). Press it firmly and slide the entire dust cup assembly straight off the vacuum body. Take it to your cleaning area. Hold it over the bin and press the bottom release button to open the bottom door, dumping the debris. For a deeper clean, tap the sides firmly to dislodge any fine dust caked on the sides or around the filter housing.
Step 2: Deep Cleaning the Dust Cup
Don’t just tap it. For a truly clean system, rinse it. Take the dust cup to your sink. Use a damp microfiber cloth with a drop of dish soap to scrub the interior and exterior thoroughly. Pay special attention to the seal/gasket—the rubber lip that creates an airtight seal when attached. This seal often traps fine dust. Clean it gently with your toothbrush. Rinse everything with cold water until the water runs clear. NEVER use hot water, as it can warp the plastic. Shake off excess water and set the dust cup aside to air-dry completely. This can take several hours, so plan accordingly.
Step 3: Cleaning the Pre-Motor Filter
Inside the dust cup assembly, you’ll find the first filter—the pre-motor filter (often a white or light-colored foam or felt pad). This is your first defense against dust reaching the motor. Gently remove it. If it’s a reusable foam filter, rinse it under cold running water. Squeeze it gently to release trapped dirt, but do not wring it, as that can tear the foam. For felt filters, tap them firmly over a trash can to dislodge debris; they are typically not washable. If your model has a washable felt filter, check your manual. After rinsing a foam filter, press it between two clean towels to remove as much water as possible, then let it air-dry for a full 24 hours. This is non-negotiable. A damp filter will damage the motor.
Part 2: The Post-Motor Filter & Exhaust Filter
This filter cleans the air that blows back out into your room. It’s crucial for allergy sufferers and overall air quality.
Visual guide about How to Clean a Shark Rotator
Image source: 4.bp.blogspot.com
Locating and Removing the Exhaust Filter
Turn your Shark Rotator over. On the back or top, you’ll find a filter cover (often a rectangular or circular plastic grille). Snap or unscrew it open. Inside, you’ll see the post-motor filter or exhaust filter. This is usually a pleated HEPA-style filter. Gently slide it out.
Cleaning Method: The No-Wash Rule (Usually)
This is a critical point. Most Shark Rotator post-motor HEPA filters are NOT washable. They are designed to be tapped clean and replaced periodically (typically every 3-6 months with regular use). Take the filter outside or over a trash can and firmly tap it on all sides to dislodge trapped dust and allergens. You can also use the soft-bristle brush to gently brush the pleats. If the filter is visibly dirty, discolored, or damaged, it’s time for a replacement. Using a clogged or washed non-washable HEPA filter will ruin suction and potentially damage your vacuum. Always consult your specific model’s manual to confirm filter washability.
Part 3: The Heart of Cleaning—The Brush Roll
A tangled, dirty brush roll is the single biggest cause of poor performance on carpets. Let’s liberate it.
Accessing the Brush Roll
Lay your Shark Rotator on its side for better access. On the bottom of the floor head (the main cleaning head), you’ll see a series of screws holding the brush roll cover in place. Using your screwdriver, remove all of them. Some models have a release clip instead—look for a small lever or tab you can pry up. Once the screws/clips are free, gently lift off the plastic cover. You now have full view of the brush roll—the long cylinder with bristles.
Removing and De-hairing the Brush Roll
The brush roll is usually held by two plastic end caps. Pull it straight out. Now for the satisfying (if gross) part. Take your scissors or seam ripper. Starting at one end, carefully cut and pull away all the hair, string, carpet fibers, and lint that are wound tightly around the bristles and, more importantly, around the axle and bearings (the small plastic pieces on each end where it spins). This debris creates friction, slows the roll, and can burn the drive belt. Be meticulous here. Once clear, spin the brush roll by hand. It should rotate smoothly and freely. If it’s gritty or stiff, use your toothbrush to clean out the bearing housings on the floor head itself.
Inspecting the Drive Belt (If Accessible)
With the brush roll out, you might see a rubber belt looped around the motor shaft and the brush roll. Check it for cracks, fraying, or excessive slack. A broken or stretched belt means the brush roll won’t spin. If your model has a belt, this is the time to inspect it. Some newer Shark Rotators have a belt-less design (direct air path), so don’t panic if you don’t see one.
Part 4: Clearing the Highway—Hose, Wand, and Attachments
Blockages here are like clogged arteries. Air can’t move, and suction dies.
Inspecting and Cleaning the Hose
Detach the hose from the vacuum body and from the wand. Look through it. If you see a dark spot or obstruction, it’s time to clear it. Straighten a wire coat hanger, leaving a small hook on one end. Gently feed it through the hose, hooking and pulling out any large debris like socks, paper, or compacted dust bunnies. For a deeper clean, you can purchase a flexible hose cleaning brush from a hardware store. Run it through the hose with a twisting motion. Wipe the exterior of the hose with a damp cloth. Ensure both ends are completely clear before reattaching.
Wand and Tool Care
Check the metal or plastic wand sections for dents or blockages. Tap them open-end down over a trash can. Clean your crevice tool, dusting brush, and upholstery tool. Use the toothbrush to clean the bristles of the dusting brush and the rubber lips of the upholstery tool. Wipe everything down with a damp cloth and let dry.
Part 5: Final Assembly and the Suction Test
Reassembly is just as important as disassembly. A poorly sealed vacuum is a weak vacuum.
Reinstalling Filters and Dust Cup
This is the #1 spot for reassembly errors. Ensure your pre-motor filter is completely dry. Place it back into its slot in the dust cup housing. It should fit snugly and correctly oriented (there’s usually a tab or shape that only fits one way). Slide the dust cup assembly back onto the vacuum body until you hear a definitive click. This means the locking mechanism and seal are engaged. Give it a gentle tug to confirm it’s secure.
Reattaching the Brush Roll and Cover
Slide the clean, dry brush roll back into the floor head, ensuring the end caps sit in their guides perfectly. Rotate it by hand to confirm it spins freely. Place the plastic cover back over the brush roll and reinsert all screws. Tighten them securely but do not overtighten and crack the plastic. If your model has a belt, loop it correctly over the motor shaft and brush roll pulley before reinstalling the brush roll.
The Moment of Truth: The Suction Test
Plug your Shark Rotator back in. Without attaching the floor head, turn it on and place your hand over the main suction intake (where the wand connects). You should feel a strong, steady pull. Now, attach the floor head and run it over a small test area. Listen—the motor sound should be strong and consistent. Watch the brush roll—it should be spinning vigorously. If suction feels weak, recheck your dust cup seal. This is the most common cause of post-cleaning suction loss. Ensure it’s clicked in properly. Also, double-check that all filters are dry and correctly installed.
Establishing a Maintenance Routine for Long-Term Success
Now that your Shark Rotator is pristine, keep it that way with a simple schedule.
- After Every 2-3 Uses: Empty the dust cup. Tap out the pre-motor filter.
- Weekly: Check the brush roll for hair wrapping. Cut it away immediately. Wipe down the exterior with a damp cloth.
- Monthly (or every 3-4 uses for heavy pet hair): Perform the full cleaning ritual described above: wash the dust cup and pre-motor filter, tap the post-motor filter, clean the brush roll thoroughly, and check the hose.
- Every 3-6 Months: Replace the post-motor HEPA filter according to your usage and the manufacturer’s recommendation. Inspect the drive belt (if applicable) for wear.
- Yearly: Do a deep inspection of all hoses, wands, and attachments for cracks or damage. Check the motor vents (usually on the body) for dust and clean gently with your soft brush.
By integrating these habits, your Shark Rotator will remain a powerful, reliable cleaning machine for years, efficiently tackling everything from everyday crumbs to deep-set carpet dirt. You’ve now unlocked the full potential of your vacuum—enjoy that superior, like-new suction!
Frequently Asked Questions
Can I wash the post-motor HEPA filter in my Shark Rotator?
Almost always, no. The post-motor HEPA filter in Shark Rotators is typically a non-washable, pleated paper filter. Washing it will destroy its structure and filtration ability, leading to severe suction loss. You should only tap it clean over a trash can to remove loose debris and replace it according to the maintenance schedule (usually every 3-6 months). Always confirm with your specific model’s manual.
Why is my brush roll still not spinning after I cleaned it?
First, ensure it was reinstalled correctly and spins freely by hand. The most common reason is a broken or slipped drive belt (on belt-driven models). Check the belt for cracks or if it has jumped off the motor pulley. On belt-less models, a seized brush roll bearing (from packed-in debris) or a faulty brush roll motor is the likely culprit. Re-clean the bearing housings on the floor head meticulously.
My vacuum smells musty even after cleaning. What gives?
A persistent odor usually means moisture is trapped somewhere. The most frequent source is a damp filter that wasn’t dried for a full 24 hours. Re-remove all filters and let them air-dry in a warm, dry place for another day. Also, check the dust cup—ensure it is bone dry before reattaching. A small amount of stale debris in the hose or a smelly attachment can also cause odors; clean those thoroughly as well.
How often should I do a deep clean of my entire Shark Rotator?
For average household use (no pets, mostly hard floors), a full deep clean every 1-2 months is sufficient. For homes with pets, carpets, or high dust, aim for a deep clean every 3-4 weeks. The dust cup and pre-motor filter should be rinsed after every 2-3 uses to maintain peak performance.
Can I use any soap or cleaner inside the dust cup and hose?
Use only a mild dish soap diluted with water for the plastic dust cup. Avoid harsh chemicals, bleach, or abrasive cleaners, as they can damage the plastic and leave residues that clog filters. For the hose and wand, a damp cloth with a tiny bit of soap is sufficient. Never pour liquid cleaner into the hose or vacuum body.
My suction is great with the hose, but weak with the floor head attached. Is it still a clog?
Yes, this points to a clog specifically in the floor head or the wand connection. The air path is fine up to the point where the floor head attaches. Detach the floor head and check the suction at the end of the wand. If it’s strong, the blockage is inside the floor head itself. Remove the brush roll cover and check for debris packed around the brush roll housing or in the intake port directly behind the brush roll. Clear it out with your tools.