Regular cleaning is non-negotiable for maintaining your Shark Pet Cordless vacuum’s suction power and longevity, especially with pets. This involves a systematic process: emptying the dust cup after every use, washing the filters monthly with cold water, and meticulously removing hair and debris from the brush roll and intake ports weekly. Using only mild soap and avoiding harsh chemicals protects sensitive components. Following a consistent maintenance schedule prevents clogs, motor strain, and ensures your vacuum is always ready to tackle pet messes efficiently.
Key Takeaways
- Empty the dust cup after every single use. Allowing pet hair and dander to sit inside reduces suction and can cause odors.
- Wash the filters with cold water monthly. Never use soap or a dishwasher; let them air-dry completely for 24 hours before reinserting.
- Check and clean the brush roll weekly. Use scissors to cut away wrapped hair and a toothbrush to remove debris from the bristles and bearings.
- Inspect and clear all intake ports and airways. Blockages here are a primary cause of lost suction; use a long, thin tool to dislodge hidden clogs.
- Never submerge the main body or battery. Only the dust cup, filters, and brush roll are designed for water contact; wipe the rest with a dry or slightly damp cloth.
- Use only manufacturer-approved parts and mild cleaning agents. Harsh chemicals can damage seals, plastics, and electronic components, voiding your warranty.
- Establish a routine maintenance schedule. Consistency is key—combining quick after-use tasks with monthly deep cleans keeps performance optimal.
📑 Table of Contents
- Why Cleaning Your Shark Pet Cordless Vacuum is Critical for Pet Owners
- Understanding Your Shark Pet Cordless: Key Components That Need Cleaning
- Essential Tools for the Job: What You’ll Need
- Step-by-Step Deep Cleaning Guide
- Establishing a Sustainable Maintenance Schedule
- Troubleshooting: When Cleaning Isn’t Enough
- Conclusion: Your Vacuum is a Tool—Treat It Like One
Why Cleaning Your Shark Pet Cordless Vacuum is Critical for Pet Owners
Let’s be honest: you bought a Shark Pet Cordless vacuum to solve a problem—the relentless, daily invasion of pet hair, dander, and litter. But here’s the secret your vacuum doesn’t want you to know: its ability to win that battle depends entirely on you. A dirty vacuum is a weak vacuum. Clogged filters, a hair-wrapped brush roll, and a full dust cup don’t just reduce suction; they force the motor to work harder, shortening its lifespan and potentially spreading allergens back into your home instead of capturing them. For pet owners, this cycle is especially vicious. Dog and cat hair is fine, prolific, and tends to pack into every nook. Regular, thorough cleaning isn’t just maintenance; it’s the core of your vacuum’s performance. Think of it like changing the oil in your car—skip it, and you’re heading for a breakdown. This guide will walk you through every step, turning a chore into a quick, empowering ritual that keeps your home truly clean.
Understanding Your Shark Pet Cordless: Key Components That Need Cleaning
Before you start, it helps to know what you’re dealing with. While models vary (like the Vertex, Stratos, or IZ682), the core components that trap dirt and require cleaning are largely the same. Knowing their names and functions will make following this guide much clearer.
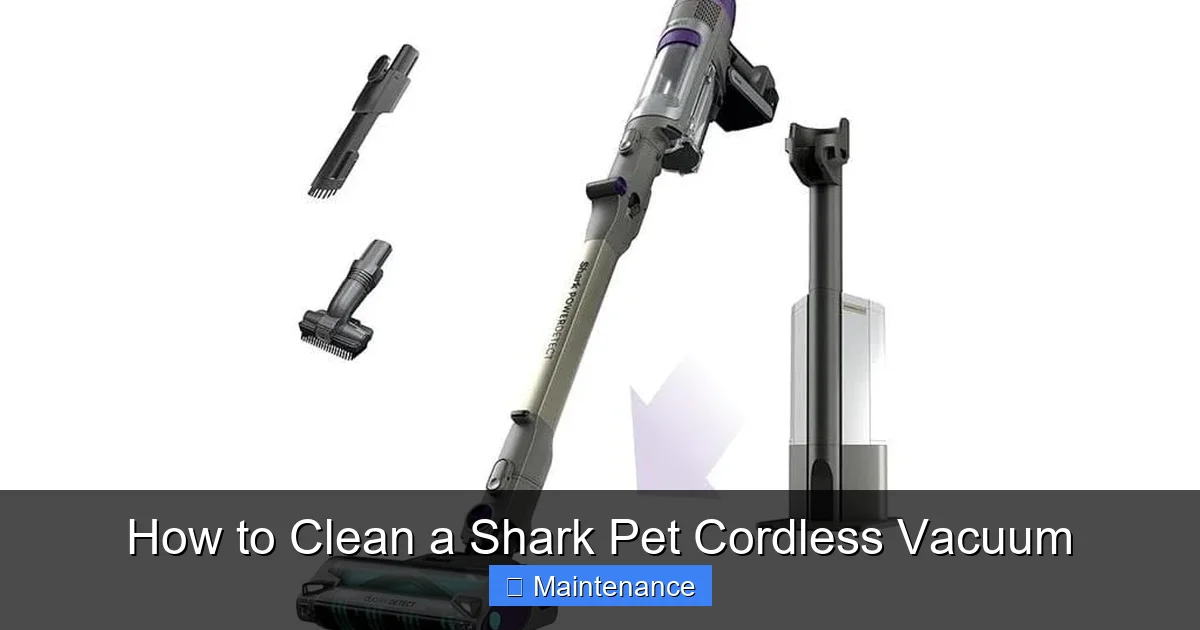
Visual guide about How to Clean a Shark Pet Cordless Vacuum
Image source: appliancemastery.com
The Dust Cup (or Dust Container)
This is the transparent (usually) chamber where all the pet hair, dander, and debris collects. It’s your first line of defense and the most visible sign of your vacuum’s workload. Its seal and one-way valve must be clean and functional to prevent dust from escaping back into the air when you empty it.
The Filters: Pre-Motor and Post-Motor
Shark Pet Cordless vacuums typically have at least two filters. The pre-motor filter (often foam) catches fine dust before it reaches the motor, protecting it from damage. The post-motor filter (often a pleated paper or fabric filter) cleans the air exhaust, ensuring allergens aren’t blown back into your room. Both become clogged with fine particulate matter and must be washed regularly.
The Brush Roll (or Powerhead)
This is the rotating cylinder with bristles (or a tangle-free roller) at the business end. It’s the agitating tool that digs pet hair out of carpets and rugs. This component suffers the most physical abuse—hair, string, carpet fibers, and even small bits of litter wrap around its axles and bearings, slowing it down or stopping it entirely.
The Intake Ports and Airways
These are the tubes and channels that connect the brush roll to the dust cup and the dust cup to the motor. Hidden blockages here are the silent killers of suction. A single clump of pet hair can create a significant bottleneck.
Essential Tools for the Job: What You’ll Need
You don’t need a fancy kit. A clean, organized workspace and a few simple tools make the job fast and effective.
Visual guide about How to Clean a Shark Pet Cordless Vacuum
Image source: m.media-amazon.com
- Soft, lint-free microfiber cloths: For wiping down the main body, electronic ports, and seals. Avoid paper towels, which can leave lint.
- Soft-bristled toothbrush (dedicated): Perfect for scrubbing the brush roll bearings, inside the dust cup, and around filter housings without scratching.
- Small, pointed scissors or seam ripper: For carefully cutting wrapped hair and fibers from the brush roll. Be extremely cautious to avoid cutting the bristles or roller itself.
- Sink or large bowl: For washing filters and the dust cup.
- Mild dish soap: A drop is sufficient for cutting through grease on the dust cup. Never use bleach, ammonia, or abrasive cleaners.
- Wooden skewer or long, thin cleaning brush: To dislodge clogs from narrow intake tubes and airways.
- Compressed air (optional but helpful): For blowing out dust from hard-to-reach motor vents and filter housings. Use short bursts from a safe distance.
Step-by-Step Deep Cleaning Guide
Follow this sequence for a complete, safe clean. Always ensure the vacuum is completely powered off and the battery is removed before beginning any disassembly or cleaning.
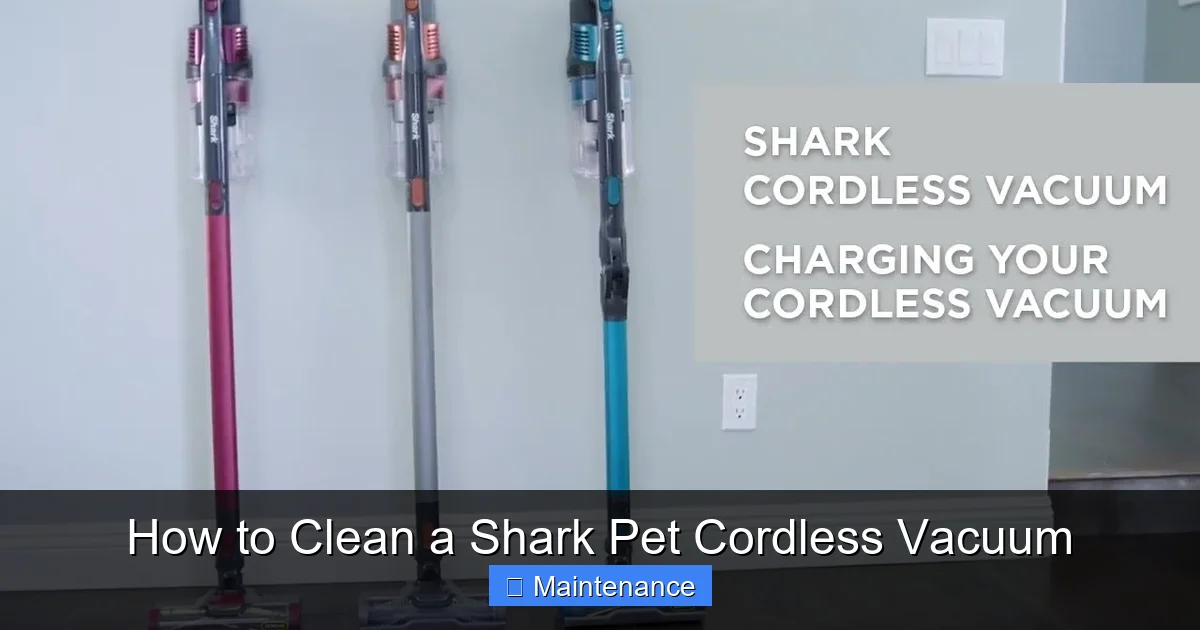
Visual guide about How to Clean a Shark Pet Cordless Vacuum
Image source: i.ytimg.com
Step 1: The Post-Use Ritual – Emptying and Quick Wipe-Down
This 60-second habit after every vacuuming session is the single most important thing you can do.
- Hold the dust cup over a trash can and press the release button. Tap it firmly on the side of the can to dislodge compacted debris. For Shark models with a one-touch empty feature, use it, but still tap the cup.
- Visually inspect the one-way valve inside the dust cup opening. Use your finger or a dry toothbrush to ensure no hair is blocking its flap mechanism.
- Wipe the exterior of the dust cup and the seal/gasket with a dry microfiber cloth. If visibly dirty, dampen the cloth with a drop of mild soap, wipe, then dry immediately.
- Check the brush roll visually. If you see hair wrapped around it, use your scissors to cut it lengthwise along the roller and pull it away. Do this now before it gets tighter.
- Wipe the main body of the vacuum with a dry cloth, paying attention to the power button and charging ports.
Step 2: Monthly Deep Clean – Filters and Dust Cup
Set a monthly reminder for this more involved process. Frequency may increase to every 3-4 weeks if you have multiple heavy-shedding pets.
- Removing Filters: Locate the filter compartments. The pre-motor filter is usually accessed from the back or bottom. The post-motor filter is often behind a panel on the front or top. Consult your manual for exact locations. Gently pull them out.
- Washing: Take the filters (foam and pleated) to the sink. Rinse them under cold, running water. Gently squeeze and massage the foam filter to release embedded dust. For the pleated filter, let water run through the pleats. Do not use any soap, detergent, or cleaning agents. Water alone is sufficient and safest.
- Drying: This is the most critical step. Shake out excess water. Place the filters on a clean towel in a well-ventilated area, away from direct sunlight or heat sources (like radiators). They must be 100% bone-dry before reinserting. This takes 24-48 hours. Reinserting a damp filter will damage the motor.
- Cleaning the Dust Cup: While filters dry, take the dust cup to the sink. Use a drop of mild dish soap and your dedicated toothbrush to scrub the interior, especially around the valve and the filter seating areas. Rinse thoroughly with cold water until all soap is gone. Dry completely with a microfiber cloth or air-dry upside down for an hour.
Step 3: The Weekly Hair-Surgery – Brush Roll Maintenance
The brush roll is where pet hair goes to die—and then wrap itself around everything. Weekly attention prevents major jams.
- Removal: Most Shark Pet Cordless models have a release lever or button on the powerhead. Press it and the brush roll assembly will pop out. Gently pull the brush roll out of its housing. Note its orientation so you can reinstall it correctly.
- De-hairing: Lay the brush roll on a flat surface. Using small, sharp scissors, carefully cut any hair or fibers wrapped around the roller. Cut lengthwise, parallel to the roller. Never cut across the bristles. Pull the cut sections away. For hair stuck in the bearings (the plastic caps on each end), use the toothpick or a wooden skewer to pick it out.
- Cleaning: Use your damp (with a drop of soap) toothbrush to scrub the entire roller, especially the rubber seals on the ends and the area where the bristles meet the roller. Rinse with a damp cloth. Do not soak the brush roll. Wipe it dry.
- Inspect the Housing: Look into the brush roll housing on the vacuum. Use your flashlight and a dry cloth or cotton swab to remove any hair or debris that’s collected there. This ensures the brush roll spins freely when reinstalled.
- Reinstallation: Snap the brush roll back into its housing, ensuring it seats properly and spins freely by hand. Listen for any grinding—that means debris is still trapped.
Step 4: Unclogging the Hidden Airways
Suction loss is often a simple blockage. After emptying the cup and cleaning the brush roll, check these paths.
- Detach the hose/wand from the main body and the dust cup. Look through both ends. Use a long, thin brush or a wooden skewer wrapped in a microfiber cloth to gently dislodge any visible clogs.
- On the main body, locate the intake port where the wand connects. Shine a flashlight inside. You’ll often find a felt-like plug of pet hair. Use needle-nose pliers or your hooked tool to extract it.
- If your model has a separate handheld mode, check the small suction port on the main unit itself.
Step 5: Final Reassembly and Check
Ensure every component is completely dry. Reassemble in reverse order: clean filters into their housings (ensure they click into place), dry dust cup attached securely, brush roll spinning freely. Reinsert the battery. Power on the vacuum (without attachments) and listen. The sound should be the normal high-pitched whine. Attach a tool and feel for strong suction against your hand. If suction is weak, re-check all filters (damp?) and airways for blockages.
Establishing a Sustainable Maintenance Schedule
Consistency beats marathon cleaning sessions. Here’s a simple, pet-owner-friendly calendar:
- After Every Use: Empty dust cup. Quick brush roll hair check and cut. Wipe exterior.
- Weekly: Thorough brush roll removal, de-hairing, and housing clean. Check intake ports.
- Monthly (or every 20-30 hours of use): Full filter wash. Deep clean dust cup. Full airway inspection.
- Every 6 Months: Inspect brush roll bristles for wear. Check battery health. Give the entire vacuum a thorough exterior wipe-down, including wheels and charging contacts.
Stick to this, and your Shark Pet Cordless will deliver peak performance for years, making every pet hair cleanup a breeze.
Troubleshooting: When Cleaning Isn’t Enough
Sometimes, the issue goes beyond simple clogs. Here’s how to diagnose.
Persistent Loss of Suction After a Full Clean
If you’ve done everything above and suction is still weak, the culprit may be a damaged seal. Check the rubber gasket on the dust cup lid and the filter seating areas for cracks, warping, or tears. A compromised seal lets air bypass the filtration system. Also, a failing motor or a battery that can’t sustain power can mimic suction loss. Contact Shark customer support.
Brush Roll Not Spinning
First, ensure it’s not jammed with hair—re-do the weekly surgery. If it spins freely by hand but not when powered, the drive belt (if your model has one) may be broken or slipped, or the motorized brush roll connection may be faulty. This often requires professional service or a replacement powerhead.
Bad Odors After Emptying
This usually means organic matter (damp pet hair, dander) sat in the cup too long. Wash the dust cup with soapy water and a splash of white vinegar. Ensure it’s bone dry. Also, wash the filters. If the smell persists from the exhaust, the post-motor filter is saturated and likely needs replacement.
Conclusion: Your Vacuum is a Tool—Treat It Like One
Cleaning your Shark Pet Cordless vacuum isn’t a glamorous task, but it’s a direct investment in a healthier home and a longer-lasting appliance. By integrating the quick after-use rituals and the monthly deep clean into your routine, you transform your vacuum from a passive tool into an active, high-performance ally in your battle against pet mess. Remember, a clean vacuum doesn’t just pick up more dirt—it picks up only dirt, recirculating cleaner air and protecting your family and pets from allergens. The few minutes you spend now save you hours of frustration with a weak machine and ensure that when you grab your Shark, it’s ready to deliver the powerful, pet-specific cleaning you paid for. Now, go enjoy that fur-free floor—you’ve earned it.
Frequently Asked Questions
How often should I wash the filters in my Shark Pet Cordless?
Shark recommends washing the pre-motor foam filter monthly with cold water, and checking the post-motor filter regularly, washing it when visibly dirty. With multiple pets, you may need to wash every 3 weeks. Always air-dry filters completely for 24 hours before reuse.
What’s the best way to remove pet hair tangled in the brush roll bearings?
After removing the brush roll, use a dedicated, soft-bristled toothbrush or a wooden skewer to gently pick and scrape hair from the bearing caps on each end. For tight wraps, use small, sharp scissors to cut the hair lengthwise along the roller before pulling it away. Never use a razor blade.
Can I use any cleaning solution on the dust cup or filters?
No. Use only cold water for filters. For the dust cup, a drop of mild dish soap is acceptable for stubborn grime, but rinse extremely well. Never use bleach, ammonia, vinegar (undiluted), or abrasive cleaners, as they can degrade seals, plastics, and filter materials.
My vacuum still has low suction after cleaning everything. What could be wrong?
First, double-check that all filters are 100% dry and seated correctly. Then, thoroughly inspect all intake ports and the tube/wand for hidden clogs using a flashlight and a thin tool. If suction remains poor, inspect the dust cup’s rubber seal and filter gaskets for damage. A failing motor or battery is a less common, but possible, cause.
Is it safe to use compressed air to clean inside the vacuum?
Yes, but with caution. Use short, gentle bursts from a can of compressed air to blow dust out of motor vents and filter housings. Never use an air compressor. Hold the can upright to avoid liquid spray, and do not blow moisture into any components. Always do this outside or in a well-ventilated area.
How do I know when the brush roll needs to be replaced?
Inspect the bristles regularly. If they are significantly worn down, cracked, melted (from heat), or missing, replacement is needed. Also, if the brush roll spins with noticeable wobble or grinding after cleaning and checking for jams, its bearings may be worn out, requiring a new brush roll assembly.