Changing the belt on your Shark Professional vacuum is a straightforward DIY task that can restore your machine’s powerful cleaning performance. The belt is a critical component that drives the brush roll, and when it breaks or wears out, your vacuum loses its ability to agitate carpet fibers. By following a clear, safe process, you can replace this part quickly, save money on service fees, and get your vacuum back to working like new. Always ensure the vacuum is unplugged and use the correct replacement belt for your specific model.
Key Takeaways
- Safety First: Always unplug your Shark Professional vacuum from the wall outlet before beginning any repair to prevent accidental startup.
- Correct Belt is Crucial: Using the exact OEM or recommended replacement belt for your specific Shark Professional model ensures proper fit, tension, and performance.
- Access is Key: The belt is located underneath the vacuum’s floor head, typically accessed by removing the bottom plate or brush roll housing with a screwdriver.
- Inspect While Open: With the housing off, take the opportunity to check the brush roll for tangled hair, debris, or wear, and clear any blockages from the suction path.
- Proper Tension Matters: When installing the new belt, ensure it is seated correctly on both the motor shaft and the brush roll pulley without twists, and that the brush roll spins freely.
- Reassembly and Test: Carefully reattach all housing screws, plug in the vacuum, and test on a low-pile surface to listen for normal operation and check for restored suction and brush roll rotation.
[FEATURED_IMAGE_PLACEHOLDER]
📑 Table of Contents
- Introduction: Why Your Shark Professional’s Belt Matters
- Understanding the Role of the Belt and Signs of Failure
- Gathering Your Tools and the Correct Replacement Belt
- Step-by-Step: Removing the Old Belt
- Step-by-Step: Installing the New Belt
- Troubleshooting and Final Testing
- Maintenance Tips to Extend Your Belt’s Life
Introduction: Why Your Shark Professional’s Belt Matters
That satisfying hum and powerful agitation you rely on from your Shark Professional vacuum? A lot of that magic comes from a simple, often overlooked rubber band—the drive belt. This unassuming loop is the mechanical link between the vacuum’s motor and the brush roll, transferring power to spin those bristles at high speed. When that belt breaks, stretches, or slips off, your vacuum instantly transforms from a deep-cleaning powerhouse into little more than a weak suction device that just pushes dirt around. Knowing how to change the belt on a Shark Professional isn’t just a handy skill—it’s essential maintenance that saves you money, time, and frustration. This guide will walk you through the entire process, from diagnosis to successful replacement, ensuring your vacuum returns to its peak performance.
Understanding the Role of the Belt and Signs of Failure
The Belt’s Job in Your Cleaning System
The drive belt in your Shark Professional is a critical wear part. Its sole job is to connect the drive shaft of the vacuum’s motor to the brush roll’s pulley. As the motor spins, the belt grips both pulleys, forcing the brush roll to rotate rapidly. This rotation is what whips carpet fibers, loosening embedded dirt, hair, and debris so the suction can lift it away. Without a functioning belt, the brush roll is dead weight.
Visual guide about How to Change Belt on Shark Professional
Image source: centraloutlet.com.au
Clear Signs Your Belt Needs Replacing
You don’t have to guess if your belt is bad. The symptoms are usually obvious. The most common sign is a complete lack of brush roll rotation when the vacuum is on and the brush roll is lowered onto carpet. You might hear the motor running, but the brush roll stays still. Other indicators include a burning rubber smell (from a slipping or fraying belt), visible cracks, glazing, or stretching in the belt itself, or a noticeable drop in cleaning performance on carpets compared to hard floors. If you remove the bottom plate and see the belt is missing, broken, or sitting loosely off the pulleys, replacement is definitely needed.
Gathering Your Tools and the Correct Replacement Belt
Essential Tools for the Job
This is a simple repair requiring minimal tools. You will need:
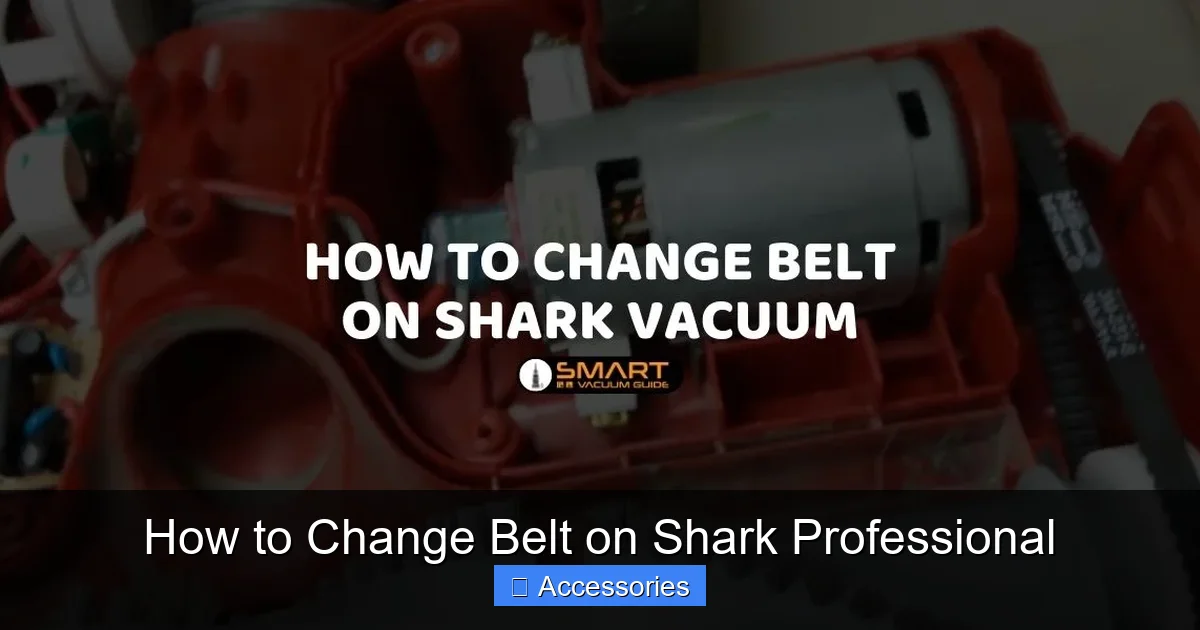
Visual guide about How to Change Belt on Shark Professional
Image source: smartvacuumguide.com
- A Phillips-head screwdriver: This is the most common type needed to remove the bottom housing screws on Shark Professional models. Some newer models might use Torx bits, so check your screws first.
- Your Shark Professional vacuum: Obviously, and it should be clean and unplugged.
- A flat, well-lit workspace: A kitchen table or clean floor works great to keep screws and parts organized.
- Needle-nose pliers (optional but helpful): These can assist in stretching the new belt over the motor shaft pulley, especially in tight spaces.
- A small container or magnetic tray: To catch and hold the screws you remove.
Identifying and Sourcing the Perfect Replacement Belt
This is the most important step. Using the wrong belt can cause poor performance, premature failure, or even damage. You must identify your exact Shark Professional model number. This is typically found on a sticker on the back or underside of the vacuum body, or on the original power head. It will look like “NV350”, “NV352”, “NV356”, “AZ1002”, etc.
Once you have the model number:
- Use the Shark Official Website: Navigate to their support or parts page, enter your model, and they will list the exact replacement belt part number (e.g., “Shark Belt, Part # 112FFP”).
- Authorized Retailers: Sites like Amazon, Walmart, or appliance part stores will allow you to search by model number or the OEM part number.
- Buy Genuine or High-Quality OEM: While third-party belts are cheaper, genuine Shark belts or high-quality OEM equivalents are engineered for the correct tension, grip, and durability. For a Shark Professional, investing in the right belt is worth it.
Pro Tip: Before you start, compare your old belt to the new one. They should be identical in length, width, and thickness.
Step-by-Step: Removing the Old Belt
1. Preparation and Safety
Lay your Shark Professional vacuum on its side or upside down on your workspace, ensuring the brush roll side is facing up. Verify the vacuum is completely unplugged from the electrical outlet. This is non-negotiable for safety. If your model has a suction hose, detach it to avoid strain on connections.
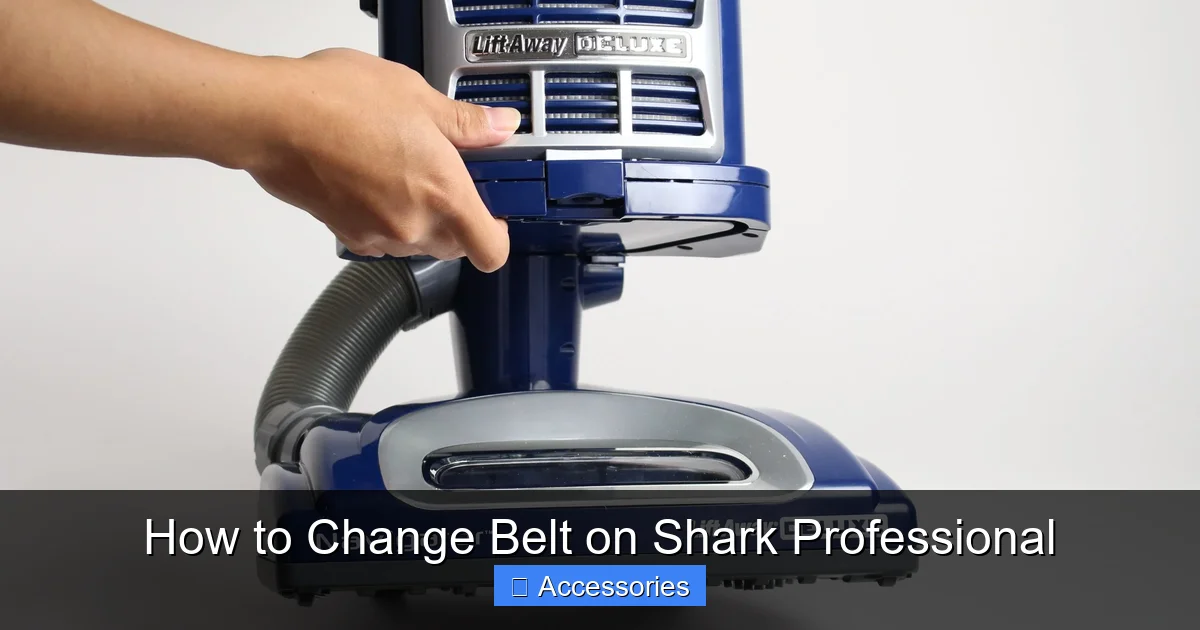
Visual guide about How to Change Belt on Shark Professional
Image source: vacuumpost.com
2. Accessing the Brush Roll and Belt
Locate the plastic bottom plate or brush roll housing on the underside of the power head. This plate is held in place by several screws (usually 4-6). Using your Phillips screwdriver, carefully remove all screws and set them aside in your container. Note the position of any screws that are different lengths. Gently pry the plastic housing off. You should now see the brush roll, the motor pulley (a small rubber or plastic wheel near the back), and the belt (a black rubber loop).
3. Removing the Old Belt
The belt will be looped around the motor pulley and the brush roll pulley. First, slide the brush roll slightly out of its housing if possible to create slack. Then, simply stretch and pull the belt off one of the pulleys, usually the motor pulley is easier. Once it’s off one pulley, you can slide it completely off the brush roll. If the belt is broken, you may find pieces inside—remove all fragments. Take this moment to inspect the brush roll. Use scissors or a seam ripper to carefully cut away any hair, string, or carpet fibers wrapped around the bristles and axles. A clogged brush roll strains the new belt.
Step-by-Step: Installing the New Belt
1. Positioning the New Belt
Take your new, correct replacement belt. Before stretching it, visually confirm it’s not twisted. You need to loop it around both pulleys. The easiest method is to stretch the belt over the smaller motor shaft pulley first. This often requires some force. You can use needle-nose pliers to grip the belt and help stretch it, or use the strength in your fingers. Hook one side of the belt onto the motor pulley and then rotate the pulley by hand (if accessible) to help wind the belt on, or stretch the other side over the brush roll pulley.
2. Seating the Belt Correctly
Ensure the belt sits squarely and deeply in the groove of both the motor pulley and the brush roll pulley. It should not be pinched, twisted, or sitting on the edge of the pulley. A misaligned belt will slip, squeal, or break quickly. Once on, give the belt a quarter-turn by rotating the brush roll by hand. It should move smoothly with moderate resistance. The belt should not be so tight that it binds the brush roll, nor so loose that it slips when you spin the brush roll.
3. Reassembling the Housing
With the new belt properly installed and the brush roll spinning freely, carefully position the bottom housing or brush roll cover back over the assembly. Ensure any tabs or guides on the housing align with slots on the vacuum body. Reinsert all screws you removed earlier. Screw them in by hand first to avoid cross-threading, then tighten securely with the screwdriver. Do not overtighten and crack the plastic. Double-check that the brush roll can still spin slightly by hand after the housing is on—there should be just a tiny bit of drag.
Troubleshooting and Final Testing
Common Installation Pitfalls
If your vacuum still doesn’t work correctly after the belt change, don’t panic. Common issues include:
- Belt Still Slipping: The belt may be the wrong size, worn out prematurely (if stored incorrectly), or not seated properly in the pulley grooves. Double-check the part number and installation.
- Brush Roll Won’t Spin: The belt may be twisted, or the brush roll itself is jammed with debris. Remove the housing again and spin the brush roll by hand. It must rotate freely. Clear any obstructions.
- Strange Noises (Squealing/Grinding): A misaligned belt will squeal. A grinding noise could indicate a damaged brush roll bearing or a foreign object caught in the roller. Inspect the brush roll bearings by spinning it; they should be smooth.
- No Suction Improvement: Remember, the belt only affects the brush roll. If suction is weak on hard floors, the issue is likely a clogged filter, full dust cup, or a blockage in the hose/wand—unrelated to the belt.
The Critical Test Run
Plug your Shark Professional back into the wall outlet. For the test, use a low-pile rug or carpet. Turn the vacuum on and lower the brush roll to the floor. You should immediately hear and feel the change—the motor sound may deepen slightly, and you should see the brush roll spinning vigorously. Run it for 30 seconds. Then, turn it off, unplug it, and carefully flip it over. The brush roll should be warm to the touch from spinning, confirming it was engaged. Check that the belt is still seated and hasn’t jumped off. If all is well, your repair is successful!
Maintenance Tips to Extend Your Belt’s Life
Belts are wear items and will eventually need replacement, but you can maximize their lifespan with good habits:
- Regular Brush Roll Cleaning: This is the #1 thing you can do. Every few uses, check and remove any hair, string, or fibers wrapped around the brush roll. This prevents extra strain on the belt.
- Avoid “Boundary” Areas: Be cautious when vacuuming along edges where carpet meets hard flooring, or near tassels and rug fringes. These can grab the brush roll, causing sudden stress that can snap the belt or jam the roller.
- Don’t Vacuum Heavy Objects: Never use your vacuum to pick up large, hard debris like coins, screws, or small toys. This can jam the brush roll instantly and break the belt.
- Store Properly: If storing your vacuum for a long period, consider removing the belt. Rubber can degrade over time from constant tension. Storing it separately in a cool, dry place can extend its shelf life.
- Inspect Periodically: Every 6-12 months, do a quick visual check of the belt through the bottom housing (if your model allows) or during a filter cleaning. Look for cracks, glazing, or thinning.
Frequently Asked Questions
How often should I change the belt on my Shark Professional vacuum?
There’s no fixed schedule, as it depends on usage. On average, a belt lasts 6-12 months with regular use. More frequent vacuuming of pet hair and carpets will wear it out faster. Always base replacement on the symptoms of failure, not just time.
Can I use any universal belt as a replacement?
No. Shark Professional models have specific belt lengths, widths, and thicknesses designed for their motor and brush roll pulleys. A universal or incorrect belt will likely be too long, too short, or the wrong shape, causing slippage, poor performance, or damage. Always use the exact OEM or recommended part.
What if my brush roll spins but my vacuum still has poor suction on carpet?
If the brush roll is spinning, the belt is likely fine. Poor suction on carpet is usually due to a clogged filter, a full dust cup, a blockage in the hose or wand, or a severely worn brush roll that isn’t agitating effectively. Check and clean all filters and pathways first.
My new belt keeps breaking or slipping after a few uses. What’s wrong?
This usually indicates an underlying issue. First, ensure you have the correct belt. Then, check that the brush roll spins freely without obstruction and that its bearings aren’t seized. Also, inspect the motor pulley for a buildup of old rubber debris that might be causing slippage. Clean both pulleys thoroughly before installing a new belt.
Is it difficult to change the belt on all Shark Professional models?
The fundamental process is identical across nearly all Shark Professional models: remove bottom screws, access the brush roll, replace the belt, and reassemble. The exact screw locations and housing design might vary slightly, but the principle remains the same. Always consult your specific model’s manual if available for any unique steps.
Can I damage my vacuum by attempting a belt replacement?
It’s highly unlikely if you follow safety precautions (unplugging) and are gentle with plastic housings and connectors. The main risk is cross-threading screws or cracking the plastic bottom plate if forced. Take your time, keep screws organized, and ensure everything aligns before tightening. The process is designed to be user-serviceable.