Assembling your Shark vacuum is a simple, straightforward process that takes just a few minutes. The key is to carefully unbox all components, identify the main parts, and securely attach the wand, hose, and cleaning head. Always refer to your specific model’s manual, as designs vary slightly. Ensure all clicks and locks are engaged before testing suction. Proper assembly guarantees optimal performance, prevents damage, and makes your cleaning routine efficient from the very first use.
Key Takeaways
- Unbox Completely & Organize: Always remove every part from the box and lay them out to confirm you have all components before starting assembly.
- Identify Core Components: Know the main body, wand sections, hose, and cleaning head (with or without a powered brush roll) for your specific Shark model.
- Secure Connections with a “Click”: Push attachments together firmly until you hear or feel a distinct click, indicating a locked and sealed connection.
- Check the Power Brush (if applicable): If your model has a motorized brush roll, ensure the belt is properly engaged and the brush roll spins freely before first use.
- Final Inspection is Crucial: Before plugging in, visually inspect all connections, ensure the dust cup is empty and properly seated, and check for any packaging material left inside.
- Test Before Full Cleaning: Do a short test run on an open floor area to verify suction, brush roll function (if applicable), and that the vacuum moves smoothly without excessive noise.
📑 Table of Contents
- Welcome to the World of Shark: Your First Step to a Cleaner Home
- Phase 1: The Great Unboxing & Inventory Check
- Phase 2: Assembling the Core Structure (Body, Hose, Wand)
- Phase 3: Attaching Specialized Tools & On-Board Storage
- Phase 4: The Powered Brush Roll – Your Secret Weapon (If Applicable)
- Phase 5: Final Pre-Flight Checklist & First Power-On
- Troubleshooting Common Assembly Hiccups
- Conclusion: Enjoy Your Effortless Clean
Welcome to the World of Shark: Your First Step to a Cleaner Home
Congratulations on your new Shark vacuum! You’ve joined the ranks of millions of homeowners who trust Shark’s powerful suction and innovative designs to tackle dirt, dust, and debris. But before you can experience that legendary cleaning power, there’s one essential first step: assembly. Don’t worry—while the array of parts might look intimidating at first, assembling a Shark vacuum is designed to be a user-friendly, intuitive process. Think of it less like building complex machinery and more like snapping together a few well-designed puzzle pieces. This comprehensive guide will walk you through every single step, from the moment you slice open the box to the satisfying first push across your floor. We’ll cover universal principles that apply to most Shark stick, upright, and canister models, highlight key variations, and share pro-tips to ensure you do it right the first time. By the end, you’ll be confident, ready, and eager to put your new cleaning powerhouse to work.
Phase 1: The Great Unboxing & Inventory Check
Rushing to assemble without a full inventory is the number one cause of frustration and missing-part calls to customer service. Take a deep breath, find a clean, well-lit space—like your living room floor—and carefully open all boxes. Shark packaging is efficient, so parts may be nested within foam or cardboard inserts.
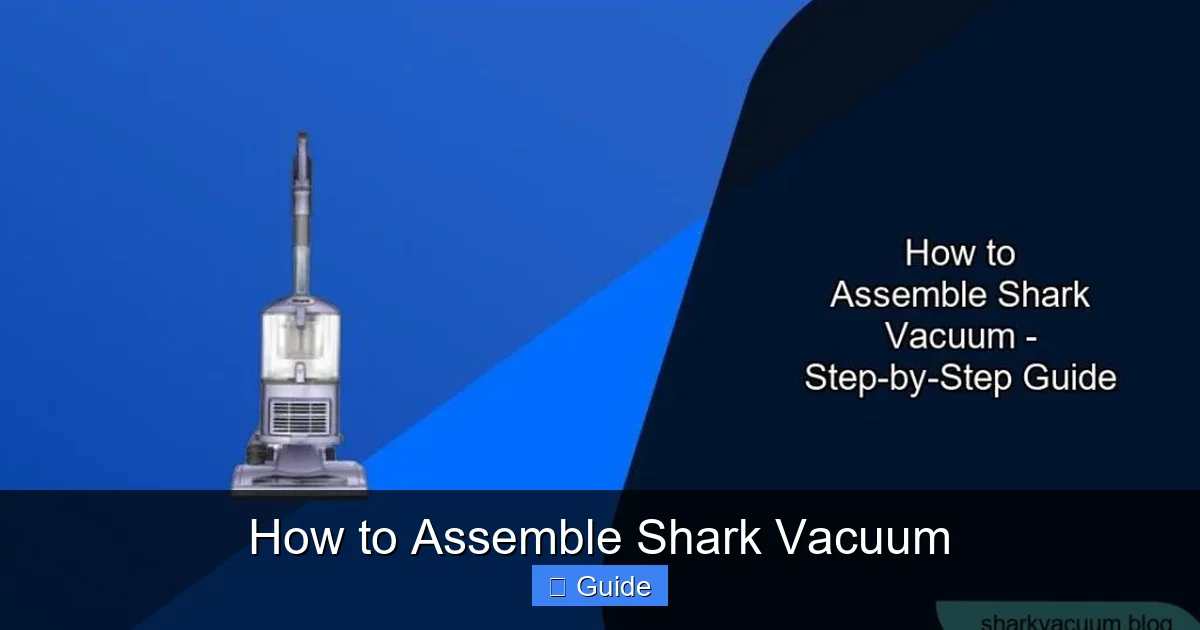
Visual guide about How to Assemble Shark Vacuum
Image source: sharkvacuum.blog
What You Should Find (The Universal Checklist)
While your specific model—be it a Shark Vertex, Stratos, Navigator, or IZ—will have unique parts, virtually every Shark vacuum will include these core components:
- The Main Body/Motor Housing: This is the heart of the vacuum, containing the motor, fan, and dust cup. It’s the largest piece you’ll handle.
- The Wand(s): Most models have one or two telescoping wand sections that connect to form the handle. They are often labeled “A” and “B” or have color-coded connectors.
- The Hose: A flexible, usually gray or black, corrugated hose that connects the main body to the wand. It may be pre-attached to the main body on some models.
- The Cleaning Head/Nozzle: This is the business end. It could be a simple suction-only head, a self-cleaning brush roll head (like on many Shark DuoClean models), or a powered brush roll head with a motorized roller and LED lights.
- Attachments & Accessories: Typically includes a crevice tool, dusting brush, upholstery tool, and sometimes a pet multi-tool or mini motorized brush. These often store on-board.
- Power Cord: For corded models, this will be wrapped and tucked. Cordless models will have a charging cable and battery (which may be pre-installed).
- Dust Cup/Filter Assembly: The container for debris and the filters (pre-motor and post-motor). These are often pre-installed but may need to be removed and re-seated.
- Hardware & Manual: Screws, wall-mount brackets, and the all-important user manual with model-specific diagrams.
Pro Tip: As you unpack, line the parts up in the approximate order they will be assembled: main body, hose, wand, cleaning head, attachments. This visual map prevents confusion later.
Phase 2: Assembling the Core Structure (Body, Hose, Wand)
This is the main assembly sequence for the vast majority of Shark stick vacuums (like the Shark Vertex, Shark Stratos, Shark IZ) and many uprights with detachable wands. The goal is to create a single, rigid cleaning tool.
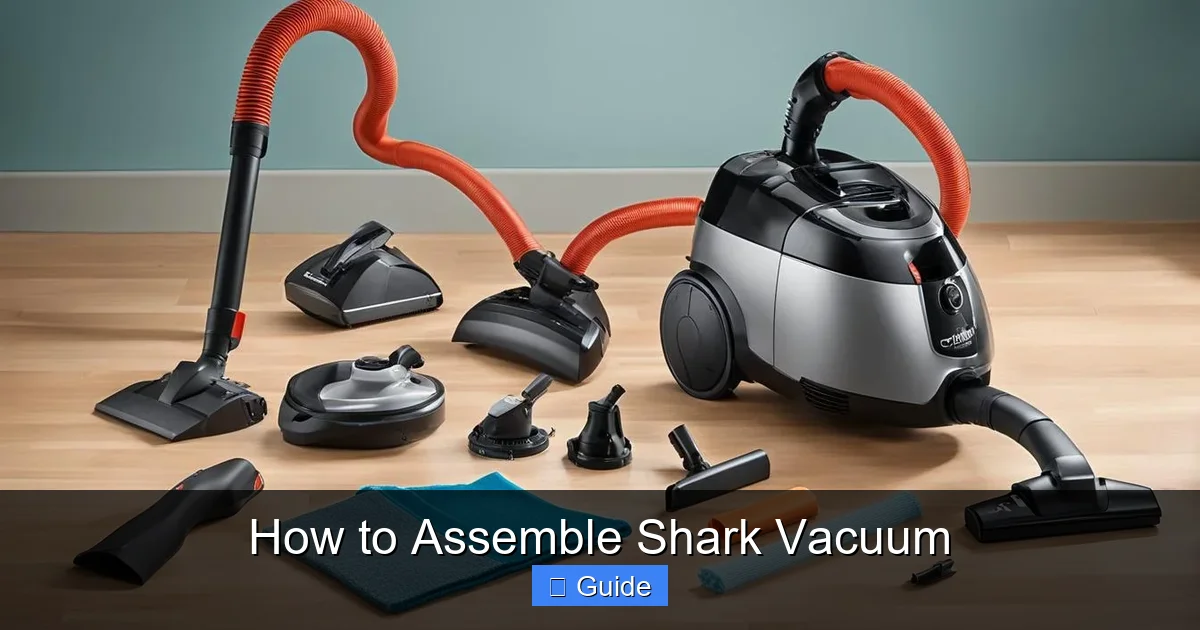
Visual guide about How to Assemble Shark Vacuum
Image source: vacmasterguide.com
Step 1: Prepare the Main Body
First, ensure your main body is ready. If it’s an upright model with a separate hose, locate the hose inlet on the back or bottom of the motor housing. It’s usually a round, rubber-gasketed port. Make sure the dust cup is empty and is clicked securely into place. On some models, you may need to twist or press a release button to open the dust cup compartment. Check the manual’s diagram for your model’s specific dust cup installation. A improperly seated dust cup will cause a loss of suction immediately.
Step 2: Connect the Hose to the Main Body
Take the flexible hose. You’ll notice two different ends: one is a rigid, often plastic or metal connector, and the other is the flexible, accordion-style section with a handle or wand connector at its end. The rigid connector end is what attaches to the main body. Align the tabs or ridges on the hose connector with the slots on the vacuum’s inlet port. Push firmly and twist slightly (if your model requires it) until you hear a definitive click. Give it a gentle tug to confirm it’s locked. A secure hose connection is critical; a loose one means air escapes, and your vacuum’s powerful suction is wasted.
Step 3: Connect the Wand(s) to the Hose
Now, take the first wand section (often the one with the trigger or power button if it’s a cordless model). The end of the hose that has the handle or simple connector will attach to the bottom of this wand. Again, align the connection points—they are usually keyed so they only fit one way. Push until it clicks. If your model has a second, shorter wand section that forms the upper handle, attach it now to the top of the first wand. The connection should also click into place. You now have a long, rigid pole with a handle at the top and the hose dangling from the bottom.
Step 4: Attach the Cleaning Head to the Wand
Finally, take your cleaning head. Locate the wand connector at the back of the head. It will have a release button (usually red or gray). Hold down the release button while aligning the connector on the bottom of your assembled wand with the slot on the cleaning head. Push the wand straight down into the head until you feel and hear the click. Release the button. The button should pop back out, indicating the lock is engaged. Give the entire assembly a firm, downward shake. The head should not wobble or detach. This is the final step in creating your primary cleaning tool.
Phase 3: Attaching Specialized Tools & On-Board Storage
Your Shark vacuum’s versatility comes from its array of attachments. Knowing where and how to store and use them is part of the assembly process.
Visual guide about How to Assemble Shark Vacuum
Image source: vacdirect.com.au
Understanding the On-Board Storage System
Most Shark models have dedicated clips, slots, or brackets on the main body or wand for accessory storage. Look for:
- Vertical Slots on the Main Body: Perfect for the crevice tool and dusting brush. Slide them in until they snap.
- Hose Clip/Bracket: A clip on the hose or main body that holds the hose in place when the vacuum is stored upright.
- Wand Clips: Small plastic loops or clips on the wand itself for the upholstery tool.
- Accessory Caddy (on some models): A removable bin that clicks onto the main body, holding all tools.
Critical Tip: Never force an attachment into a clip. The fit should be snug but require minimal force. Forcing it can break the plastic clip. If it doesn’t slide in easily, rotate the tool slightly or check you’re using the correct slot.
Connecting Tools to the Wand for Manual Cleaning
To use a tool like the crevice tool, you must detach the cleaning head first. Press the release button on the wand-to-head connection and lift the head off. Then, take your desired tool (e.g., crevice tool) and push its connector onto the open end of the wand until it clicks. This is the same connection principle as the cleaning head. For extended reach, you can even connect the wand to the hose, then attach the tool to the *other* end of the wand, creating a long, flexible arm for ceiling corners or behind furniture.
Phase 4: The Powered Brush Roll – Your Secret Weapon (If Applicable)
If your Shark model features a self-cleaning brush roll (like DuoClean) or a motorized brush roll head (common on pet hair models), this component needs special attention during assembly and pre-use checks.
Initial Brush Roll Inspection & Engagement
With the cleaning head detached, flip it over. You should see a cylindrical brush roll with bristles, usually housed under a clear or tinted plastic cover. On most models, this brush roll is already installed. However, during shipping, a small plastic tab or clip may hold it in place to prevent movement. Locate and remove any shipping clips or protective cardboard from around the brush roll. This is a common oversight! Next, check the belt. You should see a small, rubber drive belt looped around the brush roll gear and the motor pulley (inside the head). It should be taut and intact. Gently rotate the brush roll by hand. It should spin smoothly. If it’s stiff, there may be debris or hair wrapped around the axles—clear it carefully.
Ensuring the “Self-Cleaning” Feature is Ready
For Shark’s famous self-cleaning brush rolls (found on models like the Vertex or Stratos), the mechanism uses a silicone fin to scrape hair off the roller. Ensure the fin is not bent or obstructed. The brush roll itself should have a mix of bristles and rubber fins. When you first turn the vacuum on, listen for a slightly different sound from the head—a whirring combined with a slight scraping noise. That’s the self-cleaning system working! If you hear a loud grinding or the brush roll doesn’t spin, turn the vacuum off immediately and re-check for obstructions.
Phase 5: Final Pre-Flight Checklist & First Power-On
Before you plug in or turn on your Shark for the first time, a quick final inspection is the difference between a perfect start and a return trip to the store.
The 60-Second Pre-Use Audit
- Dust Cup: Is it empty? Is the lid/handle clicked securely shut? Is the pre-motor filter (usually a rectangular foam filter) seated correctly inside the dust cup compartment?
- All Connections: Give the hose-to-body, wand joints, and head-to-wand connections one firm tug each. Listen for any movement or clicking that shouldn’t be there.
- Clear the Path: Look at the intake on the main body and the opening on the cleaning head. Ensure no packing peanuts, foam bits, or plastic bags are blocking airflow.
- Filters: Are all filters (pre-motor foam, post-motor pleated) removed from their protective plastic sleeves? They almost always are! Leaving plastic on a filter will choke your vacuum.
- Cord/Battery: For corded models, fully extend the cord. For cordless, ensure the battery is fully charged as per the manual’s initial charge instructions.
The First Test: A Controlled Environment
Don’t launch into cleaning your entire house. Take your fully assembled Shark to a clear, hard-floor area (like a kitchen or bathroom). Turn it on at the lowest suction setting. Listen. The motor should have a steady, powerful hum. If you have a powered head, watch the brush roll spin. It should start immediately. Push the vacuum forward and backward. It should glide smoothly. Check for excessive vibration or a high-pitched squeal—these can indicate a misaligned brush roll or a foreign object in the head. Place your hand over the suction inlet (on the main body or hose). You should feel a strong, steady pull. If suction feels weak, re-check all your connections, especially the dust cup seal. Once this test is successful, you’re ready for the real cleaning!
Troubleshooting Common Assembly Hiccups
Even with careful following, a few common issues can arise. Here’s how to diagnose and fix them without panic.
“My vacuum has no suction!”
This is the most frequent complaint post-assembly. The cause is almost always an airflow blockage or a poor seal. The solution is a systematic check: 1) Is the dust cup completely empty and properly latched? 2) Are all filters removed from their plastic packaging? 3) Is the hose firmly clicked into the main body? 4) Is the cleaning head free of debris? 5) Is the suction setting on the main body turned on (some models have a separate on/switch for the main suction)? Work from the vacuum body outward to the head.
“The brush roll isn’t spinning!”
For powered models: First, ensure the vacuum is on a carpet setting (some have a floor-type selector). Second, check the brush roll for hair wrapped tightly around the bearings—this is the #1 cause of a jammed brush roll. Use scissors or the provided cleaning tool to cut and remove it. Third, verify the belt is intact and properly looped over both the brush roll gear and motor pulley. If the belt is broken or missing, you’ll need a replacement.
“It’s making a loud, grinding noise!”
Stop using it immediately. This usually means something is striking the brush roll or its housing. Turn the vacuum over and manually rotate the brush roll. Does it catch? Is there a coin, Lego brick, or stone stuck in the bristles? Remove any obstructions. Also, check that the brush roll is seated correctly in its housing—it should sit level with no wobble.
“Parts won’t click together!”
Do not force it. The connectors are designed to be keyed. First, ensure you are trying to connect compatible parts (e.g., a hose connector to a wand, not a tool to a main body). Second, look for debris in the connector slots—a piece of plastic or carpet fiber can block the lock mechanism. Third, check that any release buttons are fully depressed. Sometimes the button can stick; wiggle it while pushing the parts together.
Conclusion: Enjoy Your Effortless Clean
You did it! You’ve successfully unboxed, identified, and assembled your Shark vacuum. That initial investment of 10-15 minutes of careful, methodical work pays off every single time you use it. A properly assembled Shark vacuum operates at peak efficiency—delivering the maximum suction power, ensuring the brush roll functions exactly as engineered (whether that’s deep carpet cleaning or gentle hard-floor care), and protecting the internal components from undue stress. Remember, the assembly isn’t a one-time chore. Whenever you need to switch from a floor head to an upholstery tool, or when you store it away, you’ll use these same connection principles. Make it a habit to do your quick pre-flight checklist before major cleaning sessions. By treating your Shark with this level of care during setup and use, you’re not just cleaning your home; you’re ensuring your vacuum will be a reliable, powerful partner in maintaining it for years to come. Now, plug it in, power it up, and feel that incredible Shark suction in action. Happy cleaning!
Frequently Asked Questions
What should I do if a part is missing from my Shark vacuum box?
First, double-check all packaging materials and foam inserts, as small parts can be tucked away. Then, consult the parts list in your user manual. If it’s truly missing, contact Shark’s customer service directly with your model number and proof of purchase. They are typically very responsive and will ship the missing component at no cost.
My Shark vacuum feels very loud and vibrates excessively after assembly. Is this normal?
Excessive noise and vibration are not normal and usually indicate an issue. The most common cause is a debris-clogged or improperly seated brush roll. Turn the vacuum off, unplug it (or remove the battery), flip it over, and manually check the brush roll for hair or string wrapped around the axles. Also, ensure the cleaning head is fully clicked onto the wand. If the problem persists, there may be an internal issue requiring customer service contact.
Can I use my Shark vacuum without assembling the wand and hose?
For most stick and upright models, no. The hose and wand create the sealed air pathway from the floor to the dust cup. Using the main body alone (with just a tool attached directly) will result in zero suction, as the airflow path is incomplete and air will escape. Always use the complete assembly for any cleaning task.
How do I know if the brush roll belt is properly installed?
With the cleaning head detached, look inside. You should see a small rubber belt stretched between a gear on the brush roll and a smaller pulley connected to the motor. The belt should be tight and sit in the grooves of both pulleys. You should be able to gently twist it 90 degrees. If it’s loose, slips off, or is missing, the brush roll will not spin when the vacuum is on.
My vacuum has good suction at the main body but none at the floor head. What’s wrong?
This points to a severe blockage or leak in the hose or wand assembly. Detach the cleaning head from the wand. Now, place your hand over the open wand end (with the vacuum on). If you feel strong suction there, the blockage is inside the cleaning head—remove the brush roll cover and clear any debris. If you feel weak suction at the wand, the blockage is in the hose or the hose-to-body connection. Detach the hose from the main body and check both ends for clogs.
Is it okay to assemble my Shark in a carpeted room?
It’s fine, but not ideal. Small parts like screws, filters, and attachment caps can easily get lost in carpet pile. It’s always best to assemble on a hard, smooth surface like a kitchen floor, table, or even a large bedsheet you can lift and shake out afterward to recover any dropped items.