Inserting your Duo Shark Power Fins battery correctly is crucial for your robotic pool cleaner’s performance and lifespan. This guide provides a clear, safe, step-by-step process from preparation to final testing. You’ll learn to identify the correct battery orientation, avoid common installation errors, and perform post-installation checks. Following these instructions ensures your cleaner operates at peak efficiency and safely powers through every cleaning cycle.
Key Takeaways
- Always disconnect from power and remove the unit from the pool before attempting any battery work for complete electrical safety.
- Identify your specific Duo Shark model (e.g., PowerFins 360, PowerFins 580) as battery compartment designs can vary slightly between versions.
- Battery orientation is critical – align the battery’s connector pins and latch mechanisms precisely with the compartment’s slots; never force it.
- Ensure all contact points and the battery itself are clean, dry, and free of debris before insertion to prevent poor connections and corrosion.
- Listen and feel for a secure, audible click or latch engagement confirming the battery is fully seated and locked in place.
- Always perform a post-installation test cycle out of water to verify the cleaner powers on and moves correctly before returning it to the pool.
- Regularly inspect the battery and compartment for signs of wear, swelling, or corrosion, especially after heavy seasonal use.
📑 Table of Contents
- Introduction: Powering Your Pool Cleaning Partner
- Understanding Your Duo Shark Power Fins Battery System
- Preparation: The Unsung Hero of a Successful Installation
- Step-by-Step: The Correct Insertion Process
- Post-Insertion: Testing and Verification
- Step 2: The Power-On Test
- Troubleshooting: When Insertion Doesn’t Go Smoothly
- Long-Term Care and Battery Health Best Practices
- Conclusion: Confidence Through Correct Care
Introduction: Powering Your Pool Cleaning Partner
Your robotic pool cleaner is a marvel of modern convenience, silently scrubbing your pool floor and walls while you relax. At the heart of its cord-free operation lies the battery—the energy source that fuels its journey. For owners of the popular Duo Shark Power Fins series, knowing how to correctly insert and maintain this vital component is non-negotiable. An improperly seated battery can lead to erratic cleaning patterns, sudden shutdowns, shortened run times, and in worst-case scenarios, potential damage to the cleaner’s internal electronics.
This guide is designed to be your definitive, foolproof manual. We will walk you through every single detail, from the moment you unbox a new battery to the satisfying click of a perfectly installed one. Think of it as a direct conversation with a pool service technician. We’ll break down the anatomy, highlight the “gotchas” that trip up most users, and emphasize safety protocols that protect both you and your investment. By the end, you’ll handle your Duo Shark Power Fins battery with the confidence of an expert, ensuring your pool stays sparkling clean cycle after cycle.
Understanding Your Duo Shark Power Fins Battery System
Before touching a screwdriver or battery, it’s essential to understand what you’re working with. The Duo Shark Power Fins series—including models like the PowerFins 360, 580, and their variants—uses a specific, high-capacity lithium-ion battery pack. This isn’t a simple AA cell; it’s a engineered power module designed to provide hours of runtime and withstand the wet environment of a pool cleaner.
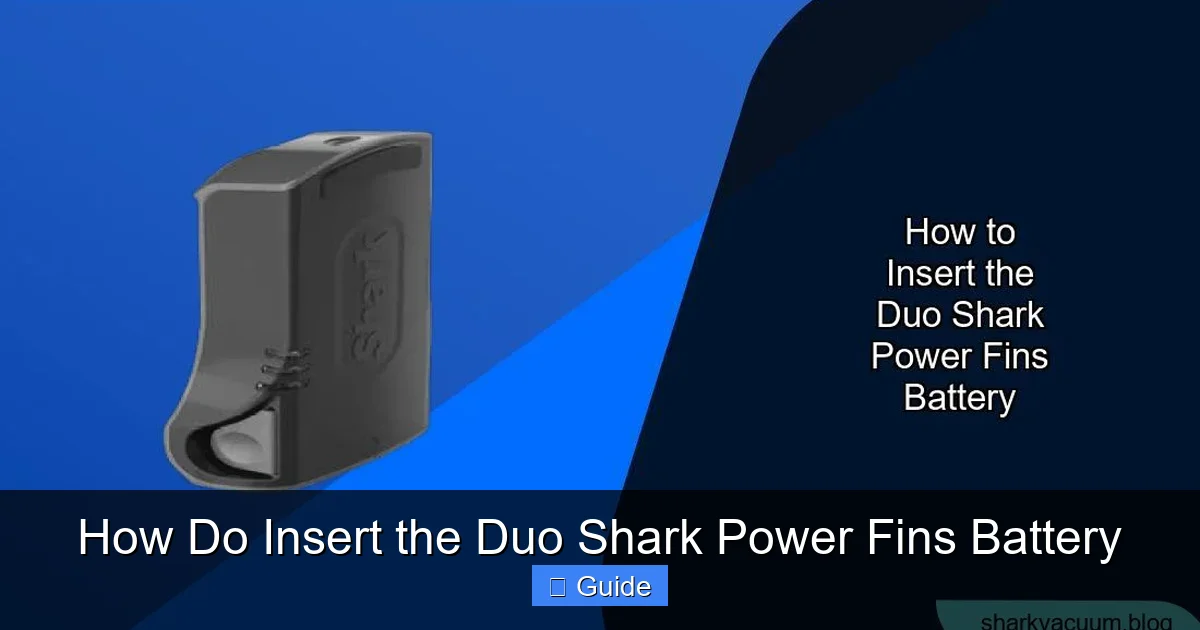
Visual guide about How Do Insert the Duo Shark Power Fins Battery
Image source: sharkvacuum.blog
The Battery’s Physical Design & Key Features
Examine your battery. You’ll notice a few critical features:
- The Main Body: Typically a sealed, rectangular plastic casing. It houses the lithium-ion cells and the battery management system (BMS).
- The Connector Assembly: This is the most important part for insertion. It’s a multi-pin plug, often with a plastic shroud or guide rails, that mates with a corresponding socket inside your cleaner’s belly. The pins are keyed—meaning they are shaped or positioned so they only fit one way.
- The Latching Mechanism: Most Duo Shark batteries have a built-in latch or clip system. This could be a sliding tab, a rotating cam, or a pair of flexible clips that snap over a ridge in the compartment. Its sole purpose is to lock the battery securely, preventing it from vibrating loose during the cleaner’s vigorous scrubbing action.
- Ventilation/Seams: Look for small seams or vent slots. These are designed for thermal management but also indicate areas to keep clean and dry.
Compatibility: It Has to Be the Right Fit
Using an incorrect battery is a recipe for disaster. Always verify the part number. The official Duo Shark Power Fins battery will have a part number like “DS-PF-BAT” or similar, printed on a label. Compare this to the number in your owner’s manual. Third-party or “universal” batteries often lack the precise connector shape, correct voltage, or proper BMS communication, leading to failure to charge, reduced performance, or even overheating. Your cleaner’s model number is usually on a sticker on its underside or rear. Use this to source the exact replacement.
Preparation: The Unsung Hero of a Successful Installation
Rushing into battery installation is the #1 cause of problems. A clean, organized workspace and a properly prepared cleaner and battery set the stage for a 2-minute, error-free job.
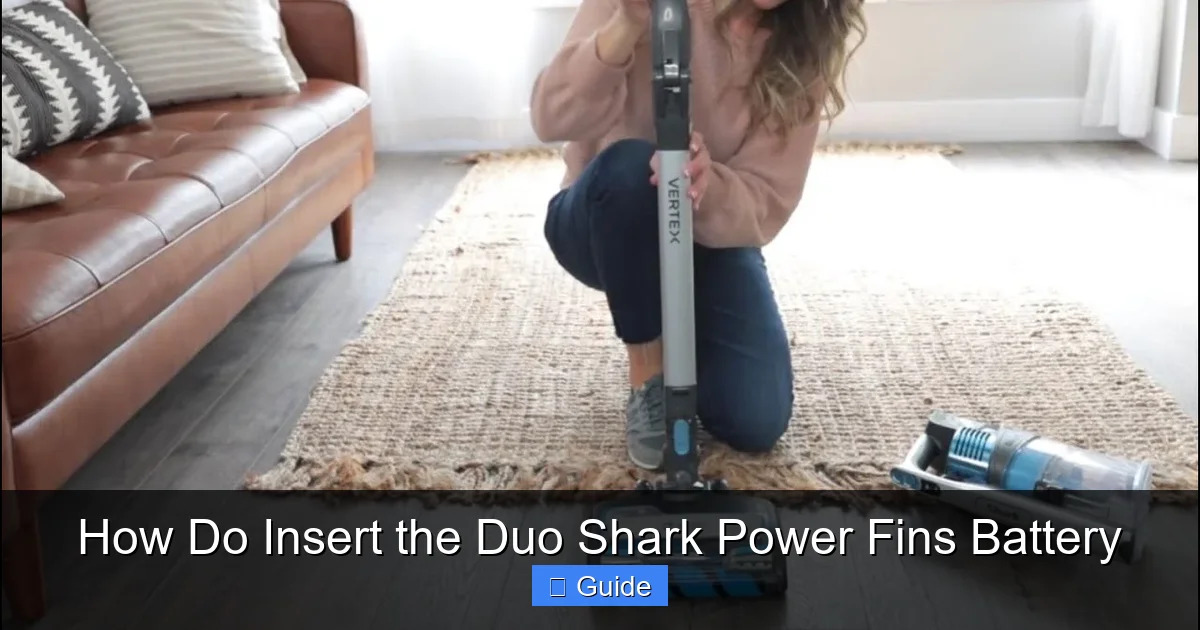
Visual guide about How Do Insert the Duo Shark Power Fins Battery
Image source: i.ytimg.com
Step 1: Safety First – Power Down and Remove
This is the golden rule. Never work on a robotic cleaner that is in the pool or connected to its charging station.
- Remove the Cleaner: Lift your Duo Shark completely out of the pool. Place it on a clean, flat, dry surface—a garage workbench or a large towel on the patio is ideal.
- Disconnect from Power: Unplug the charging station or power supply from the wall outlet. This eliminates any risk of shock or accidental activation.
- Power Off the Cleaner: If your model has a power button on the unit itself, ensure it is in the “OFF” position.
Step 2: Accessing the Battery Compartment
Locate the battery compartment. On Duo Shark Power Fins models, this is almost always on the underside of the unit, protected by a waterproof access panel.
- Identify the Panel: Look for a rectangular or oval cover, often secured by 2-4 screws (usually Phillips-head). It will have a rubber gasket around its edge to maintain watertight integrity.
- Gather Your Tools: You’ll typically need a small Phillips screwdriver. Using a powered drill/driver is risky as it can easily strip the small screws or over-torque and crack the plastic. A manual screwdriver gives you better control.
- Remove the Panel: Carefully unscrew all fasteners. Place them in a small cup or magnetic tray so they don’t get lost. Gently pry the panel off. The rubber gasket might stick; work your fingers around the edge to break the seal. Once open, set the panel and screws aside in a safe, dry spot.
Step 3: The Pre-Insertion Checklist
Before you even pick up the new battery, perform this inspection:
- Inspect the Compartment: Look inside. Is there any standing water, sand, or leaf debris? Use a dry, soft cloth or a can of compressed air to gently clean out any foreign material. Pay special attention to the battery connector socket—make sure the plastic housing isn’t cracked and the metal pins are straight, clean, and free of green corrosion. A cotton swab lightly dabbed in isopropyl alcohol (ensure it’s dry) can clean contacts.
- Inspect the Battery: Check the new battery’s casing for any cracks or damage. Examine the connector pins—they should be straight and shiny, not bent or tarnished. Ensure the latch mechanism moves freely.
- Dryness is Paramount: Both the compartment interior and the battery connector must be bone dry. Any moisture here can cause a short circuit when connected.
Step-by-Step: The Correct Insertion Process
Now, the main event. This process is about alignment and patience, not force.
Visual guide about How Do Insert the Duo Shark Power Fins Battery
Image source: manua.ls
Step 1: Orient the Battery
Hold the battery in your hands. Find the connector plug. Now, peer into the open compartment. Locate the socket. You will see that they are not symmetrically shaped. One side might have a protruding tab or a beveled corner, while the other is square. The battery’s connector shroud will have a matching recess or slot. This is your primary guide. Hold the battery at a slight angle and gently guide the plug toward the socket. Do not try to insert it flat. The keyed design should allow it to slide in smoothly when aligned correctly. If it resists at a 10-degree angle, rotate it 180 degrees.
Step 2: The Initial Seating
Once aligned, apply gentle, even pressure straight down (or in the direction the compartment opens—often forward or backward). You should feel the plug slide into the socket with minimal resistance. You’ll hear a faint “thump” or “click” as the connector fully mates. Stop immediately if you feel significant resistance. Forcing it will bend pins. Eject it, check the alignment, and try again.
Step 3: Engaging the Latch
With the connector seated, the battery body should now lie flat against the compartment’s base. Now, locate the latch. This could be:
- A Sliding Tab: Slide it from the “unlocked” (often marked with an open padlock or a red line) to the “locked” position (a closed padlock or green line). You should feel a definite detent.
- Rotating Cam Locks: Turn them 90 degrees until they are snug against the battery housing.
- Flexible Plastic Clips: Push the battery in until you hear/feel two distinct “snaps” as the clips pop over the molded ridges in the compartment.
This latch is your insurance policy. Visually confirm it is fully engaged. A partially latched battery can work its way loose during operation.
Step 4: Final Visual and Physical Check
Look at the installed battery. There should be no gaps between the battery casing and the compartment walls. The connector should be fully inserted with no visible pins. The latch should be in its locked position. Give the battery a gentle wiggle. It should not move at all. If it shifts even slightly, the latch is not fully engaged—re-adjust.
Post-Insertion: Testing and Verification
Do not, under any circumstances, immediately place the cleaner in the pool. A dry-land test is mandatory.
Step 1: Re-seal the Compartment
Carefully place the access panel back over the compartment, ensuring the rubber gasket is seated evenly in its groove. Hand-tighten all screws in a star pattern (tighten one a little, then the opposite one) to ensure even pressure and a proper seal. Do not overtighten; snug is sufficient.
Step 2: The Power-On Test
Place the cleaner on a towel or soft surface on the floor. Plug the charging station into the wall outlet (you can do this now as the unit is off and dry). Press the power button on your Duo Shark. What should happen?
- LED Indicators: Most models have a status LED. It should illuminate (often blue or green) and may pulse to indicate charging or a full battery. If it’s red or flashing abnormally, consult the manual—this indicates an error.
- Movement: If you press the “Start” or “Clean” button, the brushes and drive wheels should engage and rotate. Listen for the smooth sound of the motor. Watch for consistent, strong movement. There should be no stuttering, grinding noises, or sudden stops.
Step 3: The “Out-of-Water” Cycle
If your model allows for a short test cycle without water (check manual), run it for 30-60 seconds on the floor. Observe its path. Does it move in a straight line? Do the Power Fins (the paddle wheels) spin freely and powerfully? Does it reverse when it hits an obstacle (like your foot)? This test confirms the battery is delivering power and the drive system is functional.
Troubleshooting: When Insertion Doesn’t Go Smoothly
Even with careful work, issues can arise. Here’s how to diagnose the most common problems.
Symptom: The Cleaner Won’t Power On At All
Possible Causes & Solutions:
- Battery Not Seated: Re-open the compartment. Remove the battery. Re-seat it, focusing intensely on the connector alignment and latch engagement. The most common cause is a partially engaged latch.
- Dead Battery: If it’s a brand-new battery, it may have a tiny charge but not enough to start. Let it charge on the docking station for at least 3-4 hours before testing again. If it’s an old battery, it may have reached its end-of-life (typically 2-3 years with heavy use) and needs replacement.
- Dirty/Corroded Contacts: Remove the battery. Clean the metal pins on both the battery plug and the cleaner’s socket with a pencil eraser or isopropyl alcohol on a cotton swab. Let dry completely.
- Faulty Charger/Station: The charging station’s contacts might be dirty or damaged. Clean them. Try plugging the station directly into a different wall outlet, bypassing any power strips.
Symptom: Powers On But Shuts Down Quickly or Has Very Short Run Time
Possible Causes & Solutions:
- Battery Not Fully Charged: Ensure the LED indicates a full charge (often solid green). A partial charge can cause premature shutdown.
- Battery is Old/Worn: Lithium-ion batteries degrade. If run time has progressively decreased over months, the battery cells are failing and need replacement.
- Heavy Load/High Resistance: Is the cleaner operating in very dirty water with a lot of debris clogging the filters or Power Fins? A strained motor can drain the battery faster. Clean the filters, brushes, and paddle wheels thoroughly.
- Extreme Temperature: Batteries perform poorly in very cold water (<50°F/10°C). Run time will be significantly reduced.
Symptom: Intermittent Power or Erratic Movement
Possible Causes & Solutions:
- Loose Connection: The #1 culprit. The battery connector is not fully inserted, or the latch has come undone slightly during prior use. Re-seat the battery meticulously.
- Damaged Connector Pins: A bent pin will make intermittent contact. Inspect closely with a light. If a pin is bent, do not try to straighten it yourself—you risk breaking it. The battery or the cleaner’s socket may need professional repair or replacement.
- Internal Short/Defect: If the battery is new and these symptoms persist, it may be defective from the factory. Contact Duo Shark customer support with your proof of purchase.
Long-Term Care and Battery Health Best Practices
Installing the battery correctly is just the first step. How you care for it determines its lifespan and reliability.
Charging Habits That Matter
Lithium-ion batteries thrive on regular, full charging cycles.
- Always Use the Official Charger: The Duo Shark station is programmed to provide the correct voltage and amperage. Universal chargers can damage the BMS.
- Charge After Every Use: Don’t let the battery sit depleted for weeks. Get in the habit of placing it on the dock after each cleaning cycle, even if it’s not completely dead.
- Avoid Extreme Discharge: While occasional deep discharge isn’t catastrophic, consistently running the battery to 0% stresses it. Most Duo Sharks have a low-battery auto-return feature—let it use it.
- Storage for Season: If storing the cleaner for winter, charge the battery to about 50-70%. Store the entire unit (with battery installed) in a cool, dry place away from direct sunlight and freezing temperatures. Check and top up the charge every 2-3 months during long storage.
Environmental and Physical Protection
Your battery compartment is waterproof when sealed, but treat it with respect.
- Rinse After Use: After removing the cleaner from the pool, give it a quick fresh-water rinse to wash off chlorine and salt, which are corrosive. Focus on the compartment area and the charging contacts on the dock.
- Never Force the Panel: If the access panel screws are stripped or the gasket is brittle and cracked, replace them. A compromised seal lets water in, which is the #1 enemy of the battery compartment.
- Inspect Regularly: Every month or two, open the compartment (with power off!). Look for any signs of moisture, white/green crust (corrosion), or swollen battery casing. A swollen battery is a safety hazard—stop using it immediately and dispose of it properly at a battery recycling center.
Conclusion: Confidence Through Correct Care
Mastering the insertion of your Duo Shark Power Fins battery transforms a routine maintenance task into a simple, confident part of your pool care routine. It’s a process built on three pillars: Safety (always power down), Precision (clean, align, latch), and Verification (test before you wet). Remember, that satisfying click you hear when the latch engages is the sound of a secure connection, efficient power transfer, and a job well done.
By respecting the engineering of your cleaner—using the correct battery, maintaining a clean environment, and following these structured steps—you protect your investment and guarantee years of reliable, hands-free pool cleaning. Your Duo Shark is a workhorse; treat its power source with this level of care, and it will reward you with crystal-clear water and countless hours of reclaimed leisure. Now, go enjoy your pristine pool!
Frequently Asked Questions
How often should I replace my Duo Shark Power Fins battery?
With proper care and regular charging, the battery typically lasts 2-3 years or 300-500 full charge cycles. Signs of replacement include significantly reduced run time (less than 60 minutes), the cleaner struggling on inclines, or the battery casing appearing swollen.
Can I use a third-party battery to save money?
We strongly advise against it. Third-party batteries often lack the precise connector fit, correct voltage regulation, and proper Battery Management System (BMS) communication. This can lead to poor performance, damage to your cleaner’s motor, and is a potential safety hazard like overheating or fire.
My battery is inserted correctly but the cleaner won’t turn on. What now?
First, ensure the charging station is plugged into a working outlet and the cleaner is seated properly on it. Let it charge for at least 3-4 hours. If it still won’t power on, remove the battery and clean the contact pins on both the battery and the cleaner’s socket with a pencil eraser. If the problem persists, the battery may be completely dead or the cleaner may have an internal fault.
Is it normal for the battery to get warm while charging?
A slight warmth is normal during the charging process. However, if the battery becomes hot to the touch (like, too hot to hold comfortably), that is not normal. Disconnect it immediately, let it cool in a safe place, and inspect for damage. A consistently hot battery is defective and should not be used.
What does it mean if the LED on my cleaner flashes red?
A flashing red light is almost always an error code. It commonly indicates a battery communication fault (often from a loose connection), a critically low battery that can’t even power the LED, or an overheating battery. Re-seat the battery firmly, ensure the compartment is clean and dry, and let it cool down. If the light persists, consult your manual’s error code section or contact customer support.
Can I open the battery casing myself to replace individual cells?
Absolutely not. The Duo Shark Power Fins battery is a sealed, certified unit. Opening it voids all warranties, breaks the waterproof seal, destroys the Battery Management System, and creates a serious risk of fire or explosion from improper lithium cell handling. Always replace the entire battery pack.