A clean Shark vacuum brush is non-negotiable for powerful suction and a long-lasting appliance. Hair, fibers, and debris wrap around the brush roll, choking performance and straining the motor. This guide provides a simple, model-agnostic process to彻底清洁 your brush, restore suction, and prevent costly repairs. Regular maintenance takes just minutes but saves you hours of frustration and money.
You vacuum faithfully, but suddenly your Shark seems… weaker. The roar is quieter, the pickup on carpet is pathetic, and you find yourself going over the same spot repeatedly. Before you panic and blame the motor or the filters, there’s one culprit you must check first: the brush roll. That spinning cylinder of bristles is the hardworking heart of your vacuum on carpets, and when it gets clogged with hair, string, and carpet fibers, it essentially chokes your machine. Learning how to properly clean your Shark vacuum brush is the single most important maintenance skill you can master. It’s not complicated, but it is critical. This guide will walk you through every step, for every major Shark model, ensuring your vacuum delivers the powerful, deep-cleaning performance you bought it for, year after year.
Key Takeaways
- Performance is Directly Tied to Brush Cleanliness: A clogged brush roll reduces suction by up to 70% and forces the motor to work harder, leading to overheating and premature failure.
- All Shark Models Share a Core Design: Whether you have a Navigator, Rotator, or Vertex, the brush roll removal and cleaning process is fundamentally the same, making this guide universally applicable.
- You Need the Right, Safe Tools: Always use scissors or a seam ripper—never a sharp knife—to cut away debris. A microfiber cloth, screwdriver, and bowl of warm soapy water are your primary allies.
- Bristle Health is Key: Inspect bristles for melting, bending, or missing chunks. Damaged bristles can scratch hard floors and are less effective at agitating carpet fibers.
- Prevention is Easier Than Cure: A quick 30-second brush check after vacuuming high-debris areas (like pet zones or rugs) prevents the deep, tangled jams that require full removal.
- Reassembly Must Be Secure: Never operate your Shark with the brush roll housing open or improperly seated. This is a major safety hazard and will damage the vacuum instantly.
- Know When to Replace: A brush roll typically lasts 1-3 years with proper care. If bristles are significantly worn or the roller feels rough when spun by hand, it’s time for a new one.
📑 Table of Contents
- Why Your Shark Vacuum Brush Deserves Your Attention
- Understanding Your Shark: Brush Roll Variations
- The Essential Toolkit for a Clean Shark Vacuum Brush
- Step-by-Step: The Complete Brush Roll Removal & Cleaning Process
- Troubleshooting: What to Do When Things Go Wrong
- Pro Tips to Minimize Future Cleaning and Extend Brush Life
- When to Replace: The Final Decision
Why Your Shark Vacuum Brush Deserves Your Attention
Let’s be clear: the brush roll (often called the “beater bar”) is not just a spinning brush. It’s a precision-engineered agitation tool. Its job is to sweep carpet fibers aside, allowing the suction to pull embedded dirt and dust out from the base of the pile. When this brush is wrapped in a thick, felt-like mat of hair and lint, two bad things happen. First, it can’t spin freely. The motor has to strain against that drag, often tripping a thermal fuse and shutting down. Second, even if it does spin, the bristles can’t penetrate the carpet because they’re smothered. You’re just pushing a clogged roller around. The result is a vacuum that feels and performs like a shell of its former self. Regular, thorough cleaning of this component restores your vacuum’s original power and protects its most vital systems.
The Domino Effect of a Neglected Brush
Ignoring your brush roll doesn’t just mean less clean carpet. It starts a cascade of problems. The extra strain on the motor generates more heat, which degrades internal components and the motor brushes over time. That added friction also burns more electrical current, which can stress the battery in cordless Shark models, reducing runtime. Furthermore, a jammed brush can sometimes snap a drive belt (on belt-driven models) or even shear the plastic gears inside the roller head. A $20 brush roll replacement is far cheaper than a $150 motor repair or a complete vacuum replacement. Think of cleaning the brush as an essential oil change for your car—it’s simple preventative care that keeps the whole system healthy.
When to Clean: Recognizing the Signs
You don’t have to wait for a complete loss of suction. Be proactive. Clean your Shark vacuum brush if you notice: a distinct burning smell during use (a sign of motor strain), visible hair wrapped around the roller when you tilt the vacuum, a noticeable drop in pickup on medium-to-high pile carpets, or if the vacuum intermittently shuts off. For households with pets, long-haired individuals, or lots of area rugs, a full brush cleaning should be on your monthly calendar. For typical use, every 2-3 months is a good rule of thumb. Always do a quick visual check and manually spin the brush (with the vacuum unplugged!) after cleaning a particularly hairy room.
Understanding Your Shark: Brush Roll Variations
Shark has evolved its brush roll technology over the years, but the core principle remains. Identifying your specific type makes the removal process less intimidating. The majority of Shark uprights and stick vacs fall into two main categories: the standard active brush roll and the newer “Anti-Hair Wrap” or “Zero-M” technology brushes.
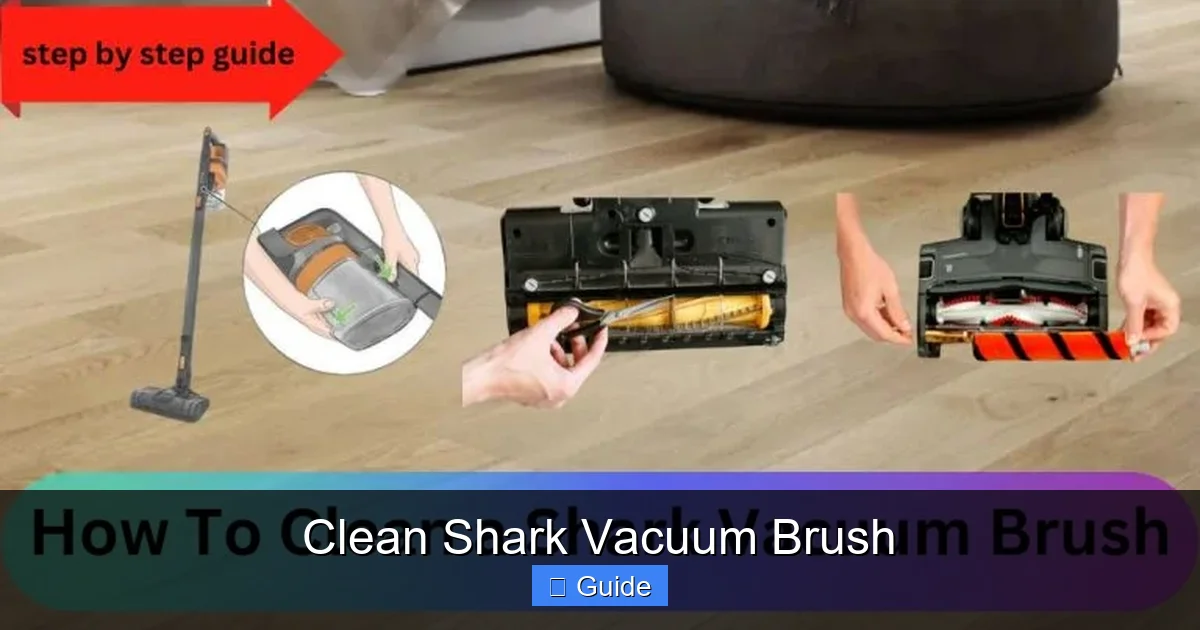
Visual guide about Clean Shark Vacuum Brush
Image source: sharkvacuum.blog
The Standard Active Brush Roll
This is the classic design found on older Navigator, Rotator, and many current Professional series models. It’s a cylindrical roller with stiff nylon bristles protruding radially. It is driven by a belt (in some uprights) or a direct motor connection (in most stick vacs). Hair wraps tightly around the metal core between the bristles. This is the most common type requiring manual cutting and cleaning. Removal typically involves releasing a few clips or removing a few screws to open the brush head housing.
Shark’s Anti-Hair Wrap / Zero-M Technology
Starting with the Rotator Professional and now standard on most newer models like the Vertex, IZ, and Stratos series, Shark introduced a self-cleaning brush roll. This roller features a unique fin design and a rubber strip that actively combs hair off the roller as it spins. It dramatically reduces maintenance but does not eliminate it entirely. Small fibers and short pet hairs can still accumulate in the housing or around the roller ends. The cleaning process is similar, but you’ll notice less dense wrapping on the roller itself and more debris in the housing cavity. The removal mechanism is often a single, large release lever, making it even easier to access.
Identifying Your Model
Turn your Shark over. The model number is on a silver sticker, usually on the back of the main body or the handle. You can also look at the brush head itself. If you see a single, large red or black lever on top of the brush head, you likely have an Anti-Hair Wrap model. If you see small plastic clips or screws around the perimeter of the brush head, it’s the standard type. Knowing this helps you feel confident before you start, but the fundamental cleaning steps are identical once the brush is out.
The Essential Toolkit for a Clean Shark Vacuum Brush
You don’t need a garage full of tools. In fact, using the wrong tools is the #1 cause of damage during cleaning. Gather these items before you begin to make the process smooth and safe.
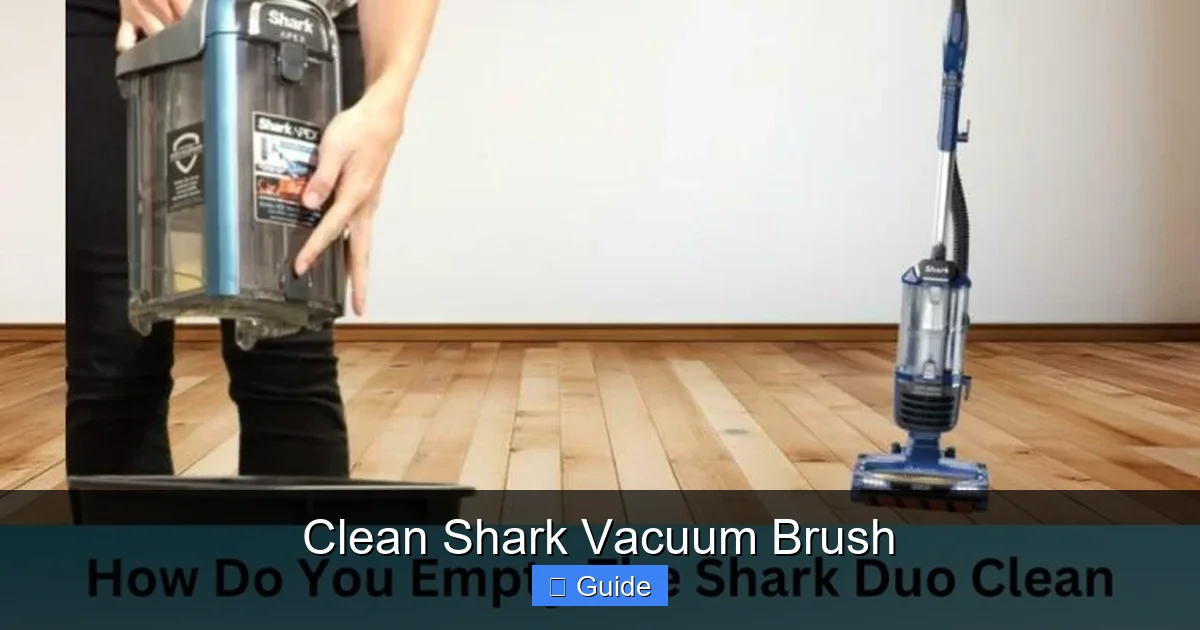
Visual guide about Clean Shark Vacuum Brush
Image source: sharkvacuum.blog
Primary Cutting & Removal Tools
- Seam Ripper or Small, Sharp Scissors: This is your most important tool. A seam ripper (like those used for sewing) is perfect because its curved, forked tip slides under wrapped hair without risking a slip that could cut the bristles or the rubber belt. Small, pointed embroidery scissors work well too. Never use a large knife or box cutter. The blade is too long and dangerous; a slip can easily slice through the bristles or, worse, the drive belt or vacuum housing.
- Needle-Nose Pliers: Incredible for pulling out stubborn, individual fibers or small bits of debris that are jammed deep in the brush bearings or at the ends.
Cleaning & Inspection Supplies
- Warm, Soapy Water: A small bowl with a few drops of dish soap in warm water is perfect for soaking the brush roll and wiping down the housing. Avoid harsh chemicals or bleach, which can degrade plastic and rubber parts.
- Microfiber Cloths: You’ll need at least two. One for wiping debris off the roller and one for drying everything before reassembly. Microfiber is lint-free and highly absorbent.
- Old Toothbrush or Small Soft Brush: Ideal for scrubbing the inside of the brush head housing, where fine dust and hair accumulate in crevices.
- Flashlight or Headlamp: The brush housing can be dark. A light source helps you see all the hidden debris and ensures you’ve gotten everything.
Safety & Preparation Gear
- Gloves: Disposable nitrile gloves are great. They keep your hands clean from dust and debris and provide a better grip on slippery tools.
- Screwdriver: Usually a Phillips #1 or #2, depending on your model. Check the screws on your brush head before you start.
With this kit assembled, you’re ready for a safe, efficient, and thorough Clean Shark Vacuum Brush operation.
Step-by-Step: The Complete Brush Roll Removal & Cleaning Process
Now, let’s get our hands dirty. This universal process works for 95% of Shark vacuums. Always, always unplug your vacuum or remove the battery first. This is the golden rule of vacuum safety.
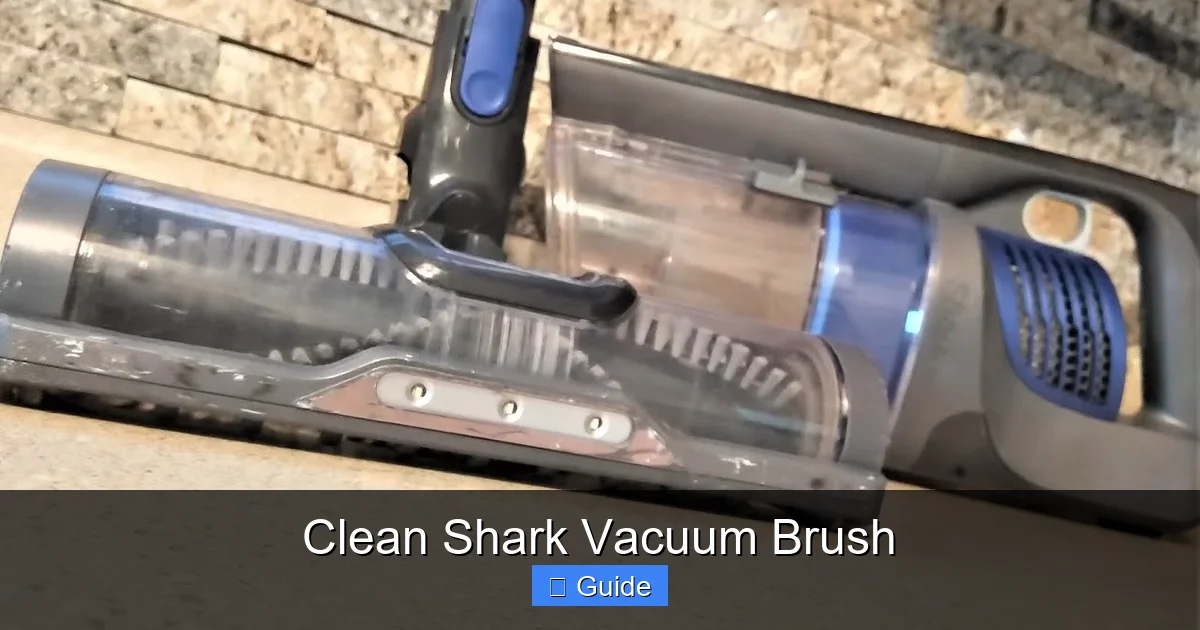
Visual guide about Clean Shark Vacuum Brush
Image source: i.ytimg.com
Step 1: Accessing the Brush Roll
Lay your Shark vacuum flat on its back or on a stable surface with the brush head accessible. For stick vacs, detach the main body if it makes it easier. Locate the release mechanism. On standard models, you’ll find 2-4 small plastic clips around the perimeter of the brush head housing. Pry them up gently with a flathead screwdriver or your fingernail. On Anti-Hair Wrap models, look for a large, often red, lever. Flip it. The entire bottom plate of the brush head should pop down or off. If there are screws, remove them with your screwdriver and set them aside in a small cup. Carefully lift the entire brush head housing off the vacuum. You’ll now see the brush roll sitting inside its cradle.
Step 2: Removing the Brush Roll
The brush roll is usually held in place by two plastic end caps that snap into the housing. Gently lift one end of the brush roll up and out of its socket. It may require a slight wiggle. Once one end is free, the other will follow. Be mindful of any drive belt (a black rubber loop) that might be looped around the roller. On direct-drive models (most stick vacs), there is no belt; the motor shaft connects directly to the end of the roller. If there is a belt, carefully slide it off the roller’s pulley end. Note its orientation so you can reinstall it correctly. Place the brush roll on a towel or newspaper.
Step 3: The Cutting Phase – How to De-hair Safely
This is where patience pays off. Take your seam ripper or small scissors. Starting at one end, slide the tip of the tool under the mass of wrapped hair. Do not cut towards the bristles. Instead, cut the hair parallel to the roller, slicing it into manageable sections. The goal is to cut the hair *around* the circumference, not lengthwise down the roller. This prevents you from accidentally nicking the bristles. Work your way around the entire roller, cutting the tangled mass into 2-3 inch rings. These rings should then slide off the roller core easily. Use your needle-nose pliers to pull out any fibers that are still stuck in between individual bristles. For Anti-Hair Wrap rollers, you may find less wrapping on the roller and more debris in the small rubber fins—clean these out with the toothbrush.
Step 4: Deep Cleaning the Roller and Housing
With the hair removed, your brush roll will still look dirty. Submerge the roller in your bowl of warm, soapy water. Use your hands to rotate it, agitating the bristles. Let it soak for 5-10 minutes. Use the toothbrush to scrub along the length of the roller, focusing on the space between bristles where fine dust cakes on. Rinse thoroughly under running water, spinning the roller to flush out all soap. Set it aside on a clean microfiber cloth to air dry completely—this is crucial. While it dries, take your soapy water and toothbrush to the empty brush head housing. Scrub every nook, cranny, and bearing socket. This is where fine dust and hair accumulate and cause imbalance. Rinse the housing with a damp cloth and dry it completely with your second microfiber towel. Check the rubber seals and gaskets; clean any debris off them.
Step 5: Inspection and Reassembly
Before putting anything back, inspect your clean brush roll critically. Run your fingers along the bristles. Are they all intact, stiff, and pointing outward? Or are some melted, bent flat, or missing? Damaged bristles reduce cleaning efficacy and can scratch delicate hard floors. If more than 20-30% of the bristles are damaged, it’s time for a replacement. Also, spin the roller by hand. It should rotate smoothly and silently. Any grinding or resistance means the bearings are clogged or worn—the roller needs replacing. Assuming it’s good, ensure it is 100% dry. Then, reinsert it into the housing. If you had a belt, loop it back over the motor pulley and the roller’s pulley, ensuring it’s seated straight. Snap the end caps back into their housings with a firm press. Finally, reattach the brush head housing to the vacuum, clicking the clips or tightening the screws securely. Give the roller a final manual spin to ensure it’s free and clear.
Troubleshooting: What to Do When Things Go Wrong
Even with careful cleaning, you might encounter a snag. Here’s how to solve common Clean Shark Vacuum Brush challenges.
The Roller Won’t Spin Freely After Cleaning
If the brush roll feels gritty or binds after you’ve cleaned it, hair fibers are likely packed into the bearings at each end. This is a silent killer of brush rolls. Use your needle-nose pliers to pick out any visible debris from the bearing housings in the vacuum’s head. You can also try dripping one drop of light machine oil (like 3-in-1 oil) into the bearing socket, then working the roller back and forth to work it in. If it still grinds, the bearings are permanently damaged, and the brush roll must be replaced.
There’s a Burning Smell, But the Brush is Clean
A clean brush roll that still causes a burning odor points to a different issue. First, double-check that the brush roll is 100% dry. Water on the bearings or motor shaft can cause friction and smell. Second, inspect the drive belt (if applicable). Is it worn, stretched, or misaligned? A slipping belt creates friction and heat. Third, the motor itself may be failing due to age or previous strain from a clogged brush. If the belt is fine and the roller is dry and spins freely, you may need a professional diagnosis.
Hair is Still Wrapping Instantly After Reassembly
If you’ve just cleaned the brush and it’s wrapping with hair on the first use, you likely missed something. Re-open the housing and look for a small, stray hair caught in the bearing socket or wrapped around the axle where you can’t see it. Even one hair can cause the whole roller to become a hair magnet. Also, check the condition of the bristles. Worn, bent, or missing bristles don’t “comb” hair off effectively, allowing it to wrap tighter. Finally, ensure the brush roll is installed the correct way—some have a specific orientation relative to the belt or motor drive.
Pro Tips to Minimize Future Cleaning and Extend Brush Life
An ounce of prevention is worth a pound of cure. Incorporate these habits into your routine to make your next Clean Shark Vacuum Brush session easier and less frequent.
The Pre-Vacuum Quick Sweep
Before you start vacuuming a room with a lot of loose hair, threads, or rug fringe, do a 30-second manual sweep with a rubber broom or even your hands. Gather the bulk of the loose debris into a pile and pick it up. This prevents the majority of it from ever reaching your brush roll in the first place. It’s especially effective in pet areas and entryways.
Mind Your Rugs and Mats
Be very cautious with shag rugs, fringe, and loose-knit mats. The long fibers are a death sentence for any brush roll. If you must vacuum them, use the “hard floor” setting if your Shark has one, which turns off the brush roll. For small shag mats, take them outside and beat them vigorously instead. A single session on a shag rug can wrap a brush roll solid in minutes.
Regular Housing Wipes
Once a month, with the brush roll removed, take a damp microfiber cloth and wipe down the inside of the brush head housing and the area where the brush connects to the vacuum body. This removes the fine dust that doesn’t get caught on the brush but settles in the housing, which can eventually cause imbalance and noise. It’s a 60-second habit that makes a big difference.
Store Your Vacuum Properly
Don’t leave your Shark leaning against a wall with the brush head resting on the bristles. This can bend them. Store it upright or hanging on a wall mount. If you have a stick vac, store it with the brush head slightly elevated so the bristles aren’t compressed under the weight of the vacuum.
When to Replace: The Final Decision
Despite your best efforts, every brush roll has a finite lifespan. The constant friction, heat, and exposure to debris degrade the bristles and bearings. So, how do you know it’s time for a new one? First, check for visible damage: melted bristles (from contact with hot surfaces like fireplace hearths), bristles that are bent flat and won’t spring back, or large sections where bristles are missing entirely. Second, listen and feel. If the roller has a rough, grinding sound when you spin it by hand, the internal bearings are shot. Third, if you’ve cleaned it thoroughly and it’s still wrapping hair excessively within one or two uses, the bristle design is compromised. A new OEM (Original Equipment Manufacturer) Shark brush roll for your model is an investment of $20-$40. It will restore your vacuum’s deep-cleaning power to like-new condition and is far more cost-effective than a new vacuum.
How to Find the Correct Replacement
Your model number is your key. Find the sticker on your vacuum and write down the full model number (e.g., NV356, NV752, HV322). Go to Shark’s official website or a reputable parts dealer like PartSelect or eReplacementParts.com. Search by your model number and look for “Brush Roll,” “Brush Roller Assembly,” or “Roller Brush.” Ensure the part number matches. While universal “fit-all” brushes exist, they often perform poorly or don’t fit securely. Always opt for the specific part designed for your machine.
Conclusion: Mastering the art of the Clean Shark Vacuum Brush is the ultimate act of care for your cleaning tool. It transforms a underperforming, straining vacuum back into the powerful, efficient machine it was designed to be. By committing to this simple 15-minute task every few months, you protect your investment, ensure a healthier home by removing more embedded dirt, and experience the satisfaction of a truly deep clean. Your Shark vacuum is built to last—but only if you help it by keeping its most critical component, the brush roll, clean and in good repair. Now, go grab your seam ripper and reclaim your vacuum’s power.
Frequently Asked Questions
Can I use a knife to cut the hair off my Shark brush roll?
No, you should never use a knife. A knife’s long blade is extremely dangerous and can easily slip, slicing the bristles, the drive belt, or even your hand. Always use a small, controlled tool like a seam ripper or small embroidery scissors, which allow for precise cuts parallel to the roller without risking damage.
How often should I perform a full brush roll cleaning on my Shark?
For homes with pets or long hair, a full cleaning every 1-2 months is recommended. For typical use without pets, every 3-4 months is sufficient. Always do a quick visual check and manual spin test monthly to catch major tangles early before they become compacted jams.
Is it safe to wash the brush roll in the dishwasher?
We do not recommend it. The high heat of a dishwasher can warp the plastic end caps and melt the bristles. The intense water pressure can also damage the internal bearings. Hand washing with warm, soapy water is the safe, manufacturer-approved method that preserves the integrity of all components.
My Shark has the “Anti-Hair Wrap” feature. Do I still need to clean the brush?
Yes, absolutely. While the Anti-Hair Wrap/Zero-M technology significantly reduces wrapping on the roller itself, debris, fine dust, and short hairs still accumulate in the brush head housing and around the roller’s end caps. You should still remove the brush roll quarterly to clean the housing thoroughly and inspect the roller for any buildup or damage.
What’s the most common mistake people make when reassembling their Shark brush?
The most common mistake is not ensuring the brush roll is 100% dry before reinstalling it. Even a small amount of water in the bearings can cause friction, a grinding noise, and premature bearing failure. Always let the brush roll air dry completely on a towel for at least 30 minutes after washing. The second most common mistake is forgetting to reinstall the drive belt on belt-driven models.
How can I tell if my brush roll needs to be replaced versus just cleaned?
After a thorough cleaning and drying, inspect the bristles closely. If many are melted, bent flat, or missing, the roller is ineffective and should be replaced. Also, spin it by hand—if it feels gritty, rough, or has any resistance, the internal bearings are worn out. A new, healthy brush roll spins silently and smoothly, with all bristles standing proud and straight.