Properly drying your Shark vacuum’s HEPA filter is critical for performance and longevity. Never use heat sources like hairdryers or radiators, as they can melt the filter media. The only safe method is complete, natural air drying in a well-ventilated, room-temperature area away from direct sunlight. Always ensure the filter is 100% bone-dry before reinstalling to prevent motor damage and mold growth. Following these steps protects your investment and keeps your Shark vacuum operating at peak efficiency.
Key Takeaways
- Understanding How To Dry A Shark Hepa Filter: Provides essential knowledge
📑 Table of Contents
- Introduction: The Critical Step You Might Be Getting Wrong
- Why Proper Drying Matters: More Than Just Convenience
- Step-by-Step: The Only Safe Drying Methods
- Common Mistakes & Dangerous Shortcuts: What NEVER To Do
- How to Be 100% Certain Your Filter is Dry
- Long-Term Care: Minimizing the Need for Deep Drying
- Conclusion: Patience Protects Your Investment
Introduction: The Critical Step You Might Be Getting Wrong
You’ve just removed your Shark vacuum’s HEPA filter after a deep cleaning. It’s soaking wet. Your instinct might be to speed up the process—grab the hairdryer, set it on low, and get that filter dry in five minutes so you can put your vacuum back to work. Stop right there. That impulse is the fastest way to destroy a perfectly good, and often expensive, HEPA filter. Understanding how to properly dry a Shark HEPA filter isn’t just a minor maintenance tip; it’s a fundamental practice that protects your vacuum’s core performance and its powerful motor.
The HEPA (High-Efficiency Particulate Air) filter in your Shark vacuum is a marvel of engineering, designed to trap 99.97% of particles as small as 0.3 microns. Its intricate pleated media is typically made from a blend of fine glass fibers and other materials, all bonded together. This structure is delicate. Applying direct heat causes the materials to warp, shrink, or melt, permanently collapsing those crucial pleats and creating pathways for dirt and allergens to bypass the filter entirely. Your vacuum’s suction may not change, but the air it exhausts will be dirtier, defeating the whole purpose of a sealed HEPA system. Furthermore, a damp filter reinstalled into the vacuum’s motor housing is a direct ticket to motor corrosion and catastrophic failure. This guide will walk you through the only safe, effective methods for drying your Shark HEPA filter, ensuring your vacuum stays powerful, clean, and healthy for years to come.
Why Proper Drying Matters: More Than Just Convenience
The Science of the HEPA Media
To appreciate why drying is so specific, you need to understand what you’re drying. A Shark HEPA filter’s efficiency comes from its dense, random network of fibers. When you wash it (if your model is washable—always check your specific model’s manual first), you’re trying to remove the particulate matter trapped deep within this matrix. Water penetrates every crevice. The goal of drying is to evaporate every single molecule of that water without altering the physical structure of the fibers or the adhesive that holds the pleats in their precise, engineered shape.
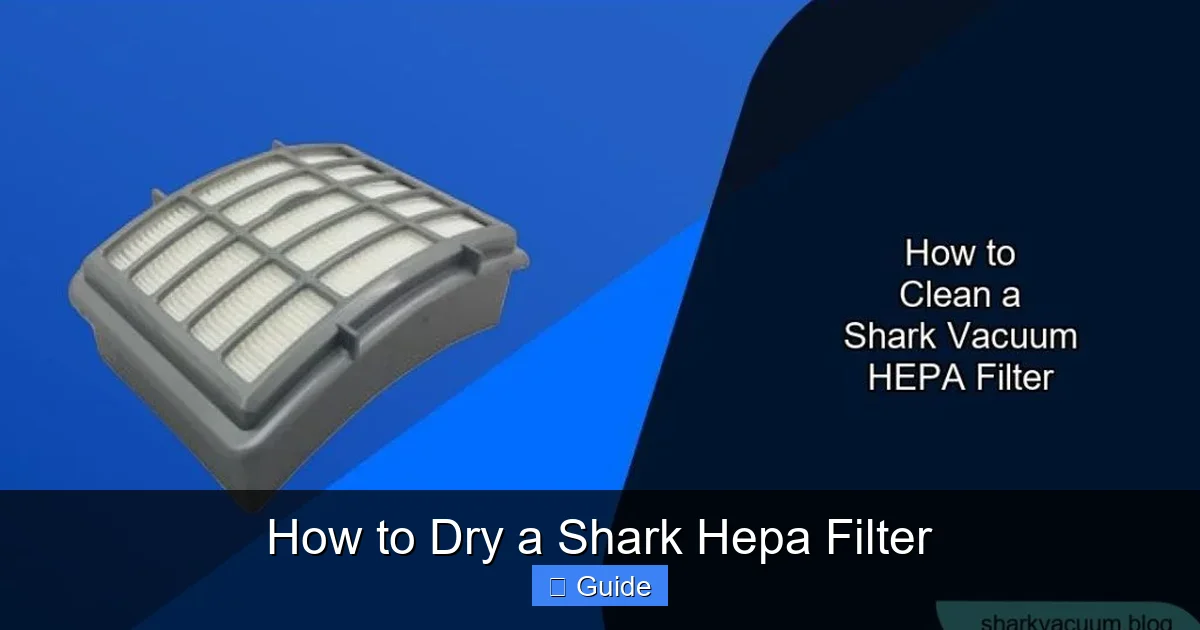
Visual guide about How to Dry a Shark Hepa Filter
Image source: sharkvacuum.blog
The Perils of Moisture and Heat
Two things destroy a HEPA filter: moisture and heat. They are a deadly combo. Moisture left in the filter creates a breeding ground for mold and mildew spores. When you turn the vacuum on, you’ll be blowing these spores and their mycotoxins back into your home’s air, which is a serious health hazard, especially for those with allergies or asthma. Heat, as mentioned, physically deforms the filter. Even “low” heat on a hairdryer can exceed safe temperatures for the synthetic and glass fibers. An oven or radiator is outright catastrophic. The plastic frame that holds the filter media can also warp or crack under heat stress, compromising the seal within the vacuum.
Protecting the Vacuum Motor
Your Shark vacuum’s motor is its heart, and it’s cooled by the air passing through the system. A damp HEPA filter acts like a sponge, restricting that airflow. The motor, working harder and receiving less cooling air, can overheat. More insidiously, any moisture that passes through can reach the motor’s bearings and windings, causing rust and electrical shorts. A single drop of water in the wrong place can mean a $100+ motor replacement. Proper drying is a direct investment in the lifespan of your entire machine.
Step-by-Step: The Only Safe Drying Methods
Now, the core of the matter. There is one principle: ambient, moving air at room temperature. Everything else is a variation on that theme. Forget shortcuts; embrace patience.

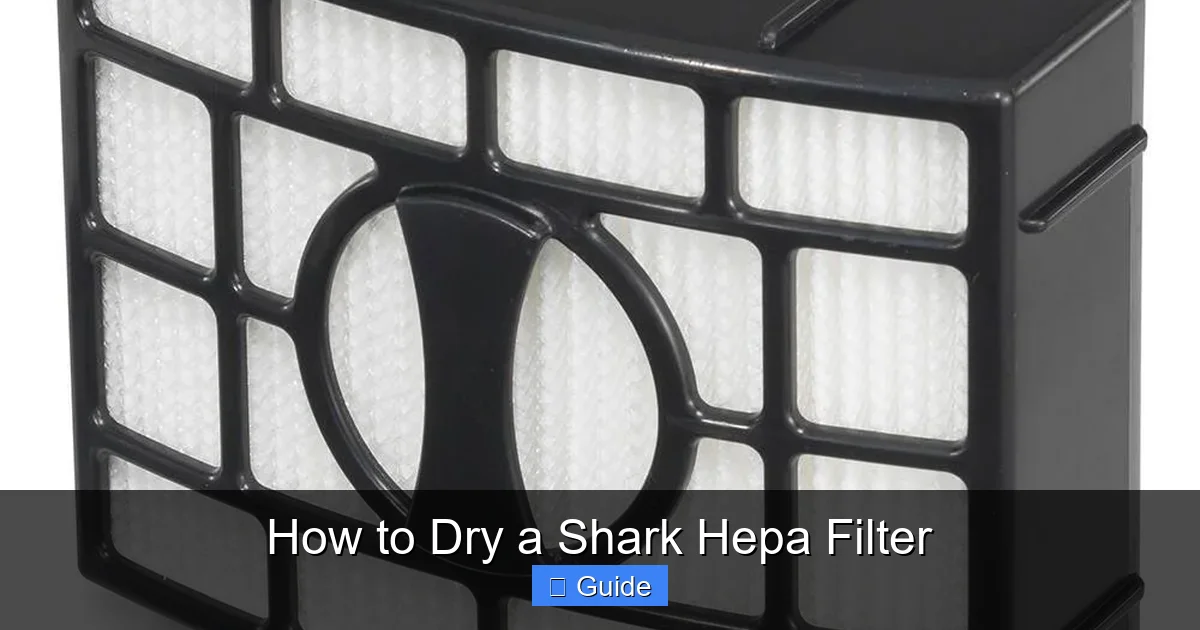
Visual guide about How to Dry a Shark Hepa Filter
Image source: i5.walmartimages.com
Method 1: The Gold Standard – Passive Air Drying
This is Shark’s recommended method and the absolute safest. It requires no tools, no electricity, and zero risk of damage.
- Step 1: Preparation: After gently washing (if applicable) and thoroughly rinsing the filter, give it a firm but gentle shake to remove excess surface water. Do not wring or twist it.
- Step 2: Positioning: Place the filter on a clean, dry towel in a well-ventilated area. Ideal locations are near an open window (but not in direct sunlight), in front of a ceiling fan, or in a room with good cross-ventilation. Lay it flat if possible, or prop it on its edge so air can circulate around the entire filter, including the pleats.
- Step 3: The Wait: Let nature take its course. This is not a 30-minute task. Depending on the filter’s saturation, your home’s humidity, and airflow, this can take anywhere from 12 to 24 hours, or even longer in very humid climates. Do not guess. Do not assume.
Method 2: Assisted Airflow – Using a Household Fan
If you need the filter dry a bit faster or live in a humid area, you can assist the process with a standard oscillating fan.
- Step 1: After shaking off excess water, place the filter on a towel as before. Set a box fan or pedestal fan a few feet away on a low or medium setting.
- Step 2: Aim the fan to create gentle airflow across the surface of the filter, not directly and forcefully into the pleats, which could potentially damage them over long periods. Oscillating settings are perfect for this.
- Step 3: Monitor the progress. This method can cut drying time by 25-50%, but you must still allow for a full 12+ hours to be certain. Check frequently.
Critical Note: Never use compressed air (from a can or compressor) to dry the filter. The forceful blast can tear the delicate filter media and embed particles deeper into the fibers.
Common Mistakes & Dangerous Shortcuts: What NEVER To Do
It’s just as important to know what to avoid as it is to know what to do. These are the most common—and costly—errors.
Visual guide about How to Dry a Shark Hepa Filter
Image source: media.rainpos.com
The Hairdryer Trap
This is the #1 mistake. People think “low, warm” is safe. It is not. HEPA media begins to soften and deform at temperatures as low as 120°F (49°C). A typical hairdryer on low can easily exceed 150°F at the nozzle. Even if you hold it far away, the concentrated heat can still create hot spots. The result is a permanently misshapen filter with reduced efficiency and a shortened lifespan. It’s not worth it.
The Oven & Radiator Disaster
This should be obvious, but it needs saying. An oven, toaster oven, or radiator provides dry, convective heat that is absolutely guaranteed to melt the filter’s synthetic components and warp the plastic frame. The filter will be ruined instantly. Do not do this under any circumstances.
The Sunlight Gamble
Direct, hot sunlight might seem like a natural dryer, but UV radiation can degrade the filter materials over time, making them brittle. Furthermore, the heat from concentrated sunlight can be just as damaging as a hairdryer. Always dry in a shaded, well-ventilated area.
The “It Looks Dry” Fallacy
The most deceptive mistake. The filter’s outer surface and frame may feel dry to the touch, while the inner core of the pleats remains damp. Reinstalling a filter that is only surface-dry is a recipe for motor failure. The moisture trapped inside will have nowhere to go. The only way to be sure is to wait a full 24 hours after you think it’s done, and then do a final check.
How to Be 100% Certain Your Filter is Dry
Before you even think about reinstalling, you must perform a verification. This step is non-negotiable for the safety of your vacuum.
The Physical Check
After your minimum 12-24 hour drying period, use your fingers to gently separate a few of the inner pleats. Feel deep into the folds. The filter material should feel completely cool, dry, and papery—not cool and damp (which indicates residual moisture). There should be no sensation of humidity at all.
The Weight Test
A wet filter is noticeably heavier. If you have a scale, you can weigh the filter when it’s clean and dry (note the weight). After washing and drying, it should return to that same weight. A significant weight difference means water is still trapped inside.
The Reassembly Test (The Final Safeguard)
If you have any doubt at all, do this: Reinstall the dry filter into the vacuum, but do not attach the dust cup or clean the vacuum. Instead, take the vacuum outside or to a well-ventilated area. Turn it on for 30 seconds to a minute on a hard floor surface. Listen carefully. The motor should sound normal—no straining, no unusual whining. Then, immediately turn it off, remove the filter again, and do the physical check on the pleats. If you smell a “wet” odor or feel any dampness, it’s not ready. You must dry it longer.
Long-Term Care: Minimizing the Need for Deep Drying
The best way to handle the drying process is to avoid needing it too often. Proper, frequent maintenance keeps your filter cleaner and drier between washes.
Follow Shark’s Cleaning Schedule
Shark typically recommends tapping out debris from the filter after every 3-4 uses and washing it (for washable models) every 3 months or when suction noticeably drops. Adhering to this schedule prevents deep, caked-on grime that requires more aggressive washing and thus more saturation.
Use the Pre-Motor Filter (If Applicable)
Many Shark models have a secondary, pre-motor foam or felt filter that catches larger debris before it reaches the HEPA. This filter is often washable and easier to dry. Cleaning this filter regularly takes the load off the HEPA filter, meaning it stays cleaner longer and requires less frequent deep cleaning.
Gentle Cleaning Techniques
When you do wash the HEPA filter, use cool water and your hands. Gently agitate the filter media. Do not use soap, detergent, or scrubbing brushes unless explicitly stated in your manual. These can break down the filter’s electrostatic charge and damage fibers. A simple rinse is often sufficient. The less intrusive the clean, the less saturated the filter will be, and the faster it will dry.
Storage is Key
If you are not going to use your vacuum for an extended period (e.g., seasonal storage), ensure the filter is completely dry and store it separately in a cool, dry place inside a breathable cotton bag or its original box. Never store a damp filter inside the vacuum.
Conclusion: Patience Protects Your Investment
Drying a Shark HEPA filter is a test of patience, but it’s a simple process rooted in a single, unwavering rule: air dry, no heat, until completely dry. There are no magic tricks or safe shortcuts. By committing to the passive air drying method, you are actively preserving the advanced filtration technology that makes your Shark vacuum a high-performance machine. You are safeguarding its motor from moisture-related death. You are ensuring that the air in your home is truly being cleaned, not recirculated with allergens and mold. Remember, the cost of a new HEPA filter is an avoidable expense. The cost of a new motor is a significant repair. The time spent waiting for a filter to dry naturally is a tiny price to pay for the long-term health of your vacuum, your home’s air quality, and your wallet. Treat your Shark HEPA filter with this respect, and it will serve you faithfully for years of powerful, allergen-free cleaning.
Frequently Asked Questions
Can I use a hairdryer on a cool setting to dry my Shark HEPA filter?
No. Even a “cool” setting on many hairdryers uses a fan that can still generate some warmth, and the concentrated airflow can damage the delicate filter pleats over time. Only passive, room-temperature air drying is safe.
How long does it really take for a Shark HEPA filter to air dry completely?
Plan for a minimum of 12 hours, but 24 hours is a much safer benchmark, especially in humid environments. The filter must be completely dry to the touch deep within its pleats. When in doubt, wait longer.
What happens if I reinstall a slightly damp Shark HEPA filter?
You risk severe damage. Moisture can be sucked into the vacuum’s motor, causing corrosion and eventual failure. It also creates a perfect environment for mold and mildew to grow inside the filter, which will then be blown back into your home’s air.
My filter feels dry on the outside but I’m worried the inside is still wet. What should I do?
Do not reinstall it. Gently separate some of the inner pleats and feel deep inside with your fingers. If there is any coolness or damp sensation, it is not dry. Leave it in a well-ventilated area for several more hours and check again.
Can I speed up drying by placing the filter in front of an air conditioner or dehumidifier?
Yes, using a standard fan to create gentle airflow across the filter is acceptable and can help. The cool, dry air from an AC or dehumidifier is also fine. The key is ambient-temperature, moving air—not forced, hot air. Just ensure the airflow is not so strong it damages the filter media.
Is it okay to wash the Shark HEPA filter with soap or detergent?
Generally, no. Most Shark washable HEPA filters are designed to be cleaned with cool water only. Soaps and detergents can leave a residue that clogs the filter media and may degrade the fibers or the electrostatic charge that helps capture particles. Always consult your specific model’s manual first.