Regularly cleaning your Shark Lift Away vacuum is non-negotiable for maintaining powerful suction and extending its lifespan. This guide walks you through a full, safe disassembly and cleaning process for the dust cup, filters, brush roll, and hoses. By following these simple steps every few uses and doing a deep clean monthly, you’ll prevent clogs, odors, and wear, ensuring your vacuum tackles dirt efficiently for years to come.
Key Takeaways
- Unplug Before You Start: Always disconnect the vacuum from power before any cleaning or disassembly to ensure safety and prevent damage.
- Clean the Dust Cup After Every Use: Get in the habit of emptying and tapping out the dust cup to maintain optimal suction and avoid mess.
- Filters Require Regular, Gentle Washing: The pre-motor foam and felt filters need monthly rinsing with cold water and must be completely dry (24-48 hours) before reuse.
- The Brush Roll is a Hair Magnet: Remove it frequently to cut away wrapped hair, string, and fibers to prevent motor burnout and maintain brush effectiveness.
- Avoid Water in Motorized Sections: Never get water or cleaning solutions inside the motor housing, hose connectors, or electrical components.
- Reassemble Correctly: Ensure all seals, latches, and filters are properly seated before use to prevent debris leakage and loss of suction.
- Preventative Maintenance Saves Money: A consistent cleaning routine is far cheaper and easier than replacing parts or the entire vacuum due to neglect.
📑 Table of Contents
- Why Cleaning Your Shark Lift Away Vacuum is Absolutely Crucial
- Essential Tools & Prep for a Safe, Effective Clean
- Step-by-Step: Deep Cleaning the Dust Cup and Canister
- Filter Maintenance: The Lifeline of Your Vacuum
- Brush Roll Detangling: Preventing a Motor Burnout
- Cleaning Hoses, Attachments, and the Final Reassembly
- Establishing a Maintenance Schedule for Long-Term Success
Why Cleaning Your Shark Lift Away Vacuum is Absolutely Crucial
You bought your Shark Lift Away vacuum for its powerful suction and versatile, detachable design. But that powerful suction doesn’t come from nowhere—it’s a precise system of airflow, filters, and rotating brushes. When any part of that system gets clogged with dust, hair, and debris, your vacuum’s performance nosedives. It has to work harder, the motor strains, and you’re left pushing a heavy machine that barely picks up anything. Regular, thorough cleaning isn’t just about hygiene; it’s about preserving your investment and ensuring every cleaning session is effective. Think of it like changing the oil in your car. Skip it, and you’re heading for a breakdown. This guide will transform vacuum maintenance from a dreaded chore into a simple, 15-minute habit that keeps your Shark operating at peak power.
The Domino Effect of a Dirty Vacuum
It’s helpful to understand what happens when you neglect your vacuum. A full dust cup restricts airflow. Clogged filters trap that restricted air, creating a bottleneck. A brush roll jammed with pet hair can’t spin properly, agitating carpet fibers less effectively. This combination forces the motor to pull harder, overheating it over time and dramatically reducing suction. You might notice it takes twice as many passes to clean a room, or that fine dust is blowing back out. These are all red flags. By cleaning each component, you restore the free flow of air and the mechanical action your vacuum was designed for. It’s a direct link: a clean vacuum equals a clean home, faster and with less effort.
Essential Tools & Prep for a Safe, Effective Clean
Before you touch a single screw, gathering the right tools makes the job ten times easier. You likely have most of these items around your house already. Preparation also means choosing the right location—a well-lit area outdoors or in a garage or laundry room is ideal, as some cleaning will be messy. Avoid carpeted areas where dust and debris can settle back into the floor.
Visual guide about How to Clean a Shark Lift Away Vacuum
Image source: realsimple.com
Your Cleaning Toolkit
- Soft-bristled brush: An old toothbrush or small paintbrush is perfect for scrubbing filters and dislodging debris from nooks without causing damage.
- Screwdriver: Most Shark Lift Away models use a Phillips-head screwdriver to remove the brush roll cover. Check your specific model’s manual if unsure.
- Cold water: Never use hot water on the filters, as it can damage the filter material’s structure and reduce its effectiveness.
- Mild dish soap: A drop or two can help cut through greasy dust on the dust cup and brush roll housing. Ensure it’s thoroughly rinsed.
- Scissors or a seam ripper: The ultimate weapon for cutting and removing hair, string, and fibers wrapped around the brush roll. A seam ripper is excellent for slicing through tight knots without pulling.
- Lint-free cloth or microfiber towel: For wiping down components and drying filters. Paper towels can leave behind lint.
- Gloves: A pair of disposable or rubber gloves keeps your hands clean from dust and any potential allergens.
Step-by-Step: Deep Cleaning the Dust Cup and Canister
The dust cup is your vacuum’s primary collection chamber and the first line of defense. It gets the brunt of the mess and needs the most frequent attention. The Shark Lift Away’s detachable pod is a great feature, but all those crevices can trap fine dust. Here’s how to get it pristine.
Visual guide about How to Clean a Shark Lift Away Vacuum
Image source: m.media-amazon.com
Disassembly and Emptying
First, detach the pod from the main vacuum body by pressing the release button, as you normally would for emptying. Over a trash can, press the empty button to release the bottom flap and dump the contents. Do not just tap it out—tap it firmly while pressing the button to dislodge caked-on debris from the mesh screen inside. For a deeper clean, twist and remove the entire dust cup from the pod base. You’ll now have two main pieces: the cup itself and the base with the motorized intake.
Washing and Deodorizing
Take the dust cup to a sink. Use your soft brush and a drop of dish soap to scrub the interior, paying special attention to the mesh screen and the rubber gasket/seal around the opening. Rinse thoroughly with cold water until no soap suds remain. To eliminate odors, you can soak the cup for 10-15 minutes in a solution of cold water and a tablespoon of white vinegar, then rinse extremely well. Never submerge the pod’s base or any part with electrical contacts or the motor fan. Wipe the base with a damp cloth only. Allow all plastic parts to air-dry completely on a towel—this can take 1-2 hours. Reassembly with wet parts will cause dust to clump and clog.
Filter Maintenance: The Lifeline of Your Vacuum
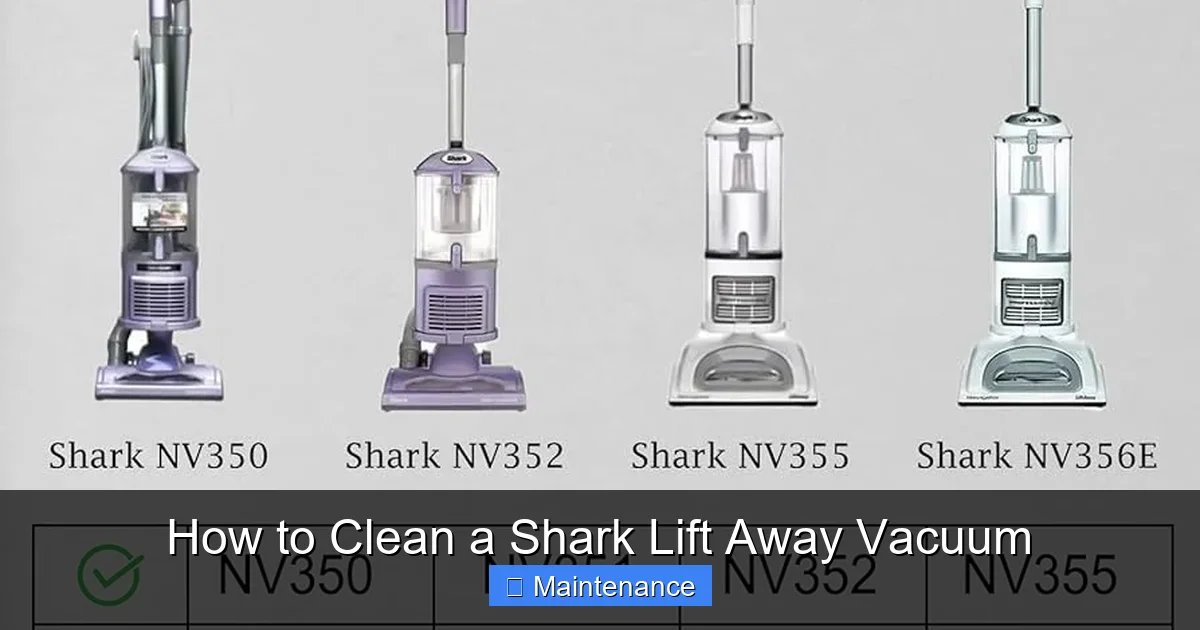
Your Shark Lift Away typically has a multi-stage filtration system: a foam pre-motor filter, a felt filter, and sometimes an optional HEPA filter. These capture fine dust and allergens that the dust cup misses. When clogged, they strangle your vacuum’s airflow. Cleaning them correctly is vital.
Visual guide about How to Clean a Shark Lift Away Vacuum
Image source: i.ytimg.com
Locating and Removing Filters
Consult your user manual for exact locations, but generally: the foam filter is inside the dust cup lid. The felt filter is often behind a cover on the back or top of the vacuum body. Gently release the clips or latches. Handle filters by their edges to avoid tearing the filter material.
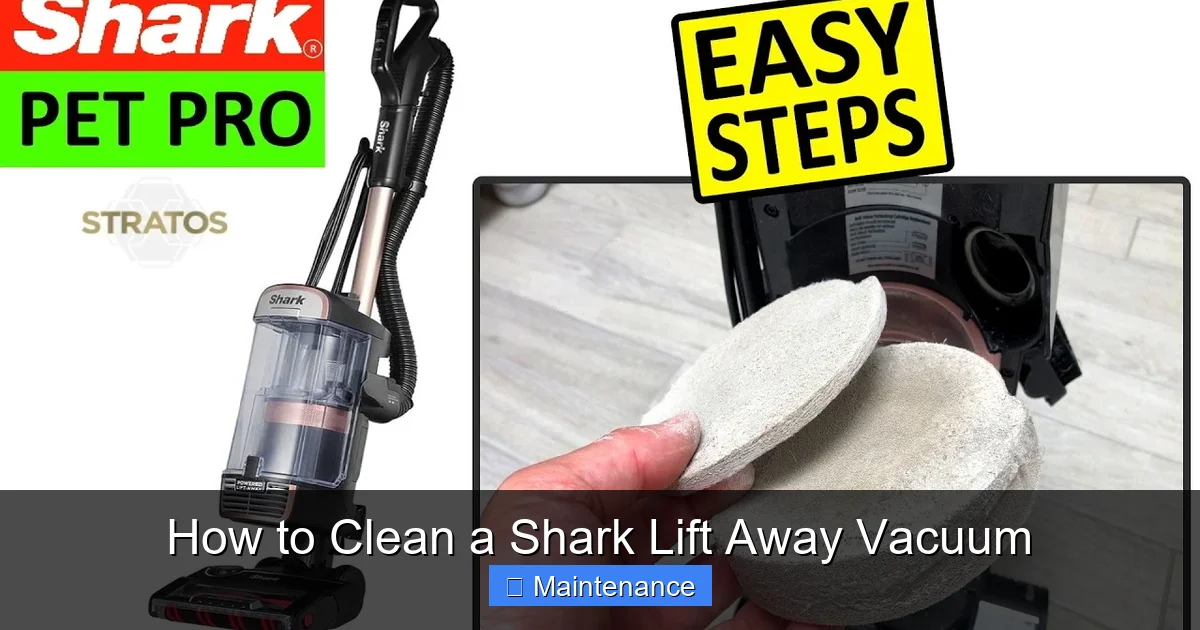
The Washing and Drying Ritual
This is the most critical rule: Only wash filters with cold water. Gently squeeze and agitate the filter under a stream of cold running water. You’ll see dirty water run off. Continue until the water runs clear. Do not use any cleaners, brushes, or wring the filter out forcefully, as this can tear the delicate fibers. Gently press out excess water between clean towels. Air-drying is the only safe method. Place filters in a warm, dry, well-ventilated spot, not in direct sunlight or near a heater, which can warp them. They must be 100% bone-dry for at least 24 hours, preferably 48. Reinstalling a damp filter will ruin it and can damage the motor. Set a calendar reminder for when your filters will be ready.
Brush Roll Detangling: Preventing a Motor Burnout
The spinning brush roll (or agitator) is what agitates carpet pile to lift embedded dirt. It’s also the part most susceptible to wrapping with hair, string, carpet fibers, and even small pieces of clothing. If left unchecked, this wrap restricts the brush’s spin, places immense strain on the motor and belts, and can cause a burning smell or complete failure. Monthly inspection and cleaning are essential.
Accessing the Brush Roll
Lay the vacuum on its side. On the underside of the cleaning head, you’ll find a cover secured by 4 screws or a couple of clips. Use your screwdriver to remove the screws or pry open the clips. Lift the cover off to reveal the brush roll.
The Hair Removal Surgery
First, check for any large debris and remove it by hand. Now, for the hair. Use the tip of your scissors to cut through the wrapped hair lengthwise along the brush roll. Be extremely careful not to nick the bristles. Once cut, you should be able to peel the hair away in large sections. A seam ripper is fantastic for getting into the tight spaces between the bristles and around the end caps. Do not try to pull hair off with your fingers; you’ll just tighten the knot. After all debris is removed, use your soft brush to clean out the brush roll housing and the area where the belt connects. While you’re here, check the condition of the bristles—if many are missing or melted, it’s time for a replacement brush roll.
Cleaning Hoses, Attachments, and the Final Reassembly
Your Shark Lift Away’s versatility comes from its hose and wand system. These pathways can also harbor dust, clogs, and odors, especially if you’ve vacuumed up something wet or smelly. A quick clean here ensures full, unobstructed airflow from the floor to the dust cup.
Clearing the Path
Detach the hose from both the vacuum body and the wand. Visually inspect it for obstructions. To clear a clog, disconnect both ends and feed a long, flexible object like a straightened wire coat hanger (wrapped in a cloth to avoid scratching) or a specialized hose-cleaning brush through it. For general cleaning, wash the hose interior with a mixture of warm water and a bit of vinegar, then rinse thoroughly with a strong stream of water. Hang it vertically to dry completely. Wipe down all wands and attachments with a damp cloth. Check the suction port on the back of the vacuum body for any trapped debris and clear it with your brush.
Reassembly with Care
This step is crucial. Ensure every component is completely dry. Start by reinserting the clean, dry filters into their housings, ensuring they sit flat and seal properly. Reattach the dust cup to its base, listening for a firm click. Reinstall the brush roll, making sure it spins freely and sits evenly in its housing before securing the cover. Reattach the hose. Finally, click the clean pod back onto the main vacuum body. Give everything a gentle tug to confirm all connections are secure. A loose seal anywhere will kill your suction power.
Establishing a Maintenance Schedule for Long-Term Success
Now that you’ve done a deep clean, the goal is to make upkeep effortless. A little bit of regular maintenance prevents the need for these marathon cleaning sessions. Here’s a simple schedule to follow.
After Every Use (2 Minutes)
- Empty the dust cup completely.
- Check the brush roll for obvious hair wraps and cut them away if you see them.
- Wipe the exterior with a dry or slightly damp cloth.
Weekly (5 Minutes)
- Tap out and visually inspect the pre-motor foam filter. If it’s visibly gray, give it a quick rinse.
- Check the hose and wand for any clogs or buildup.
Monthly (15-20 Minutes)
- Perform the full filter washing routine (foam and felt).
- Remove the brush roll cover and do a thorough hair removal and housing clean.
- Wash the dust cup and canister as described.
- Inspect the belt (if your model has one) for wear and proper tension.
Every 6-12 Months
- Consider replacing the filters, even if they look okay, as their microscopic efficiency degrades over time.
- Inspect the brush roll bristles and end caps for wear; replace the entire brush roll if bristles are missing or melted.
- Do a full system check, listening for unusual noises and monitoring suction power.
By integrating these habits, your Shark Lift Away will remain a powerful, reliable cleaning partner. Remember, a well-maintained vacuum is a happy vacuum, and a happy vacuum makes for a spotless home with minimal effort. You’ve got this!
Frequently Asked Questions
Can I wash the HEPA filter in my Shark vacuum?
No, standard Shark HEPA filters are not washable and are designed to be replaced when dirty. Washing them will destroy the filter media and reduce their effectiveness. Always check your specific model’s manual to confirm filter types.
My vacuum smells musty after cleaning. What gives?
A musty smell usually indicates the filters or dust cup were not dried completely before reassembly. Moisture trapped inside leads to mildew growth. Disassemble, ensure every single part—especially the filters—is 100% bone dry, and reassemble. Run the vacuum outside for a few minutes to air it out.
How do I unclog a stubborn blockage in the hose?
Detach the hose from both ends. Use a long, flexible tool like a garden hose attachment wand, a specialized vacuum hose brush, or a straightened wire coat hanger (wrap the end in a cloth to avoid scratches). Gently push and twist it through the hose to dislodge the clog. Follow with a thorough rinse.
Is it okay to use soap or all-purpose cleaner on the plastic parts?
A tiny drop of mild dish soap on the dust cup and brush roll housing is fine and helps cut grease. However, avoid harsh chemicals, bleach, or abrasive cleaners, as they can degrade plastic and rubber seals over time. Always rinse all soap residue away completely.
My brush roll spins but isn’t picking up hair from the carpet. Is it clean?
Even if it spins, the bristles could be matted down with fine dust and hair at the base, or the bristles themselves may be worn and stiff. Remove the brush roll and inspect it closely. Wash the bristles with soapy water, rinse, and let dry. If bristles are melted, missing, or permanently bent, replace the brush roll.
Can I use my Shark Lift Away without the filters installed?
Never operate your vacuum without the filters properly installed. The filters protect the motor from fine dust that would otherwise be sucked into and damage it. Running filter-less will void your warranty and almost certainly lead to premature motor failure. Always ensure filters are in place and seated correctly.