Cleaning the filters on your Shark Rocket HV382 is a non-negotiable part of maintenance that directly impacts suction power and motor health. This vacuum has two critical filters: the washable foam pre-motor filter and the non-washable pleated motor protector filter. The process is simple but specific—the foam filter requires gentle washing and *complete* drying, while the motor filter needs only thorough tapping and brushing. Doing this every 1-3 months depending on usage prevents clogs, extends your vacuum’s life, and ensures cleaner air in your home.
Let’s be honest: your Shark Rocket HV382 is a workhorse. That lightweight, powerful stick vacuum tackles everything from dusty hardwoods to pet hair embedded in carpets. But even the mightiest warrior needs its armor maintained. For your Shark, that armor is its filtration system. Clogged, dirty filters are the silent killers of vacuum performance. They strangulate suction, force the motor to work harder (and burn out sooner), and can even send dust and allergens back into the air you breathe. Learning how to properly clean the filters on your Shark Rocket HV382 isn’t just a chore—it’s the single most important thing you can do to protect your investment and keep your home genuinely clean. This guide will walk you through every step, with clear warnings on what not to do, so you can master this essential maintenance task with confidence.
Key Takeaways
- Two Filters, Two Methods: The HV382 has a washable foam pre-motor filter and a non-washable pleated motor protector filter. They require entirely different cleaning approaches.
- Frequency is Key: Clean the foam filter every 1-2 months with regular use. Inspect and tap out the motor filter monthly, replacing it every 6-12 months.
- Never Soak the Motor Filter: The pleated motor filter is never to be washed, rinsed, or exposed to liquids. Use only a soft brush and gentle tapping.
- Air-Dry is Mandatory: The foam filter must be 100% bone-dry for at least 24 hours before reinsertion. Any moisture will damage the motor.
- Access is Simple: Both filters are accessed by removing the filter cover on the back of the vacuum’s main body—no tools required.
- Check for Damage: Always inspect filters for tears, holes, or permanent discoloration during cleaning. A damaged filter must be replaced immediately.
- Use Only Water: For the foam filter, use lukewarm water only. No detergents, soaps, or cleaning chemicals can degrade the foam material.
[FEATURED_IMAGE_PLACEHOLDER]
📑 Table of Contents
- Why Filter Maintenance is Non-Negotiable for Your Shark Rocket HV382
- Identifying and Locating Your HV382’s Filters
- Step-by-Step: Cleaning the Washable Foam Filter
- Step-by-Step: Maintaining the Non-Washable Motor Filter
- Reassembly, Testing, and Establishing a Routine
- Troubleshooting: What If Cleaning Doesn’t Fix the Suction?
- Conclusion: Your Vacuum’s Longevity is in Your Hands
Why Filter Maintenance is Non-Negotiable for Your Shark Rocket HV382
Before we dive into the “how,” let’s establish the “why.” Your HV382 uses a two-stage filtration system designed to capture particles of all sizes. Understanding this system makes the cleaning process make perfect sense.
The Role of the Pre-Motor Foam Filter
The first line of defense is the washable foam filter. This porous, blue(or sometimes grey) sponge sits right after the air and debris are sucked into the vacuum. Its job is to catch the big stuff: larger dust particles, hair, lint, and dander. By trapping this bulk material, it prevents the finer, more critical filter downstream from clogging too quickly. When this foam filter is clogged, it creates massive resistance to airflow. The motor has to strain to pull air through a plugged sponge, resulting in a dramatic loss of suction power you can feel in your hand. You might notice your vacuum struggling on bare floors or not picking up as much as it used to. A clean foam filter is essential for maintaining that iconic Shark suction.
The Critical Job of the Motor Protector Filter
After the air passes through the foam, it encounters the second filter: the pleated, white, non-woven fabric filter often called the “motor filter” or “post-motor filter.” This is the high-efficiency filter. Its mission is to capture the smallest, most harmful particles—microscopic dust, pollen, and allergens—that the foam let through. This filter protects the vacuum’s electric motor from any dust that sneaks past the first stage. If dust reaches the motor, it acts as an insulator, causing the motor to overheat and fail prematurely. This filter is not designed to get wet. Washing it destroys its delicate electrostatic charge and fabric structure, rendering it useless and potentially allowing unfiltered air to circulate. Its maintenance is purely mechanical: you must tap out and brush away the trapped dust.
The Consequences of Neglect
Skipping filter cleaning has a direct, negative chain reaction:
- Severe Suction Loss: Clogged filters are the #1 cause of reduced suction, not a worn brush roll or a full dust cup.
- Motor Strain and Failure: A working harder against resistance generates excess heat, shortening the motor’s lifespan and leading to costly repairs or replacement.
- Poor Air Quality: A saturated filter can leak dust back into your home, defeating the purpose of a vacuum. This is especially critical for allergy sufferers.
- Bad Odors: Trapped, damp debris in a dirty foam filter can develop mildew and musty smells that blow out with the exhaust air.
- Voided Warranty: Damage caused by improper filter maintenance (like washing the motor filter) is typically not covered under warranty.
In short, a 10-minute filter cleaning session every month or two saves you from poor performance, bad smells, and a potentially dead vacuum.
Identifying and Locating Your HV382’s Filters
Your Shark Rocket HV382’s design makes filter access incredibly user-friendly. You don’t need any tools. But first, you need to know exactly what you’re looking for.
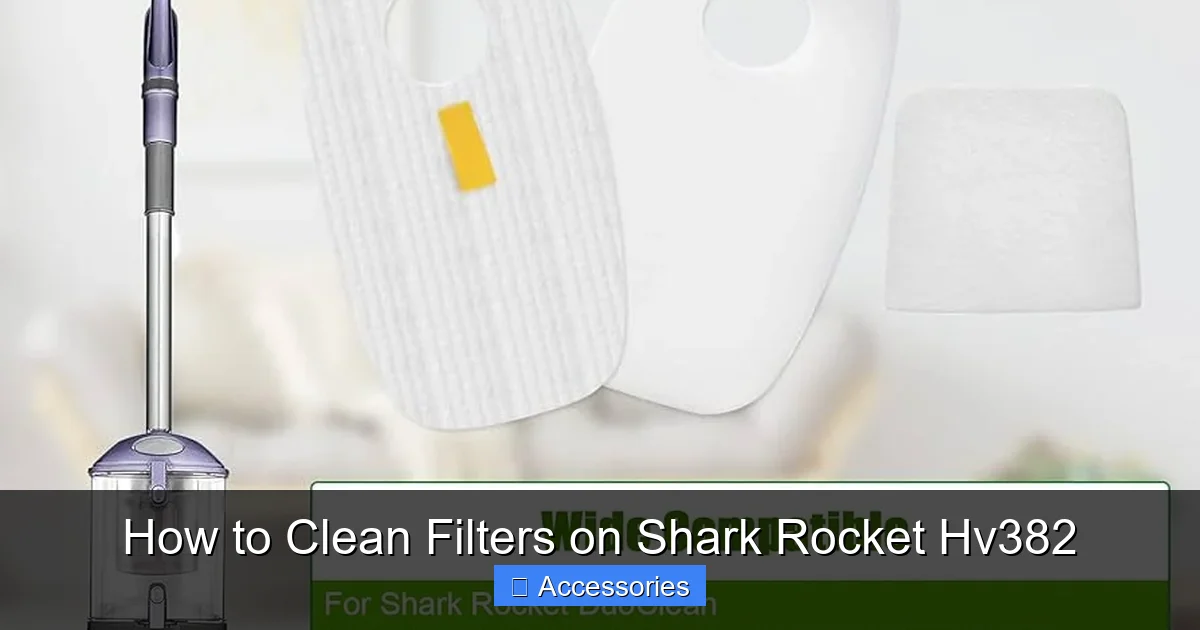
Visual guide about How to Clean Filters on Shark Rocket Hv382
Image source: m.media-amazon.com
Finding the Filter Compartment
Turn your vacuum over so the bottom (the cleaning head) is facing up. Look at the rear of the main body—the part that houses the motor and the dust cup. You’ll see a rectangular, gray or black plastic cover, usually about the size of a small paperback book. This is the filter access door. It’s secured by one or two simple plastic clips or a twist-lock mechanism. Release the clips or turn the lock, and the door will swing or pop off. Behind this door, you will see both filters stacked vertically.
Filter #1: The Foam Pre-Motor Filter
This is the filter you’ll see first when you open the compartment. It’s typically a rectangular piece of blue, spongy, open-cell polyurethane foam. It’s flexible and you can see light passing through the pores when it’s clean. It sits in a plastic frame that holds its shape. Its purpose is mechanical filtration of larger particles, and it is 100% washable and reusable.
Filter #2: The Pleated Motor Protector Filter
Directly behind (or sometimes below, depending on the exact HV382 model variant) the foam filter is the second filter. This one is a rigid, rectangular cartridge made of white, pleated, fabric-like material (often a non-woven polyester). It is not spongy. It is firm and you cannot see light through it when it’s clean. Its pleated design maximizes surface area in a small space. This is your non-washable, tap-only filter. It is the guardian of your vacuum’s motor.
Pro Tip: If you are ever unsure, consult your official Shark Rocket HV382 user manual. It has exploded diagrams that clearly label both filters. But the above description matches virtually all HV382 models.
Step-by-Step: Cleaning the Washable Foam Filter
This is the more involved of the two processes, but it’s still very straightforward. The golden rule: water only, and air dry completely.
Visual guide about How to Clean Filters on Shark Rocket Hv382
Image source: sharkvacuum.blog
Step 1: Removal
With the filter compartment open, gently pull the foam filter straight out by its plastic frame. It may be held in by friction. Avoid pulling on the foam itself, as it can tear. Set it aside on a clean surface.
Step 2: The Initial Rinse
Take your foam filter to a sink. Use lukewarm water—not hot, not cold. Hot water can damage the foam’s structure. Hold the filter under a gentle stream of running water. You’ll see dirty, brownish water immediately flow out. Gently squeeze and massage the foam to help dislodge the trapped dust and hair. Do not wring it out aggressively, as this can create tears. The goal is to flush the debris from the pores.
Step 3: Deep Cleaning (For Heavily Soiled Filters)
If the water runs clear but the foam still looks dingy, it needs a deeper clean. Fill a basin or sink with lukewarm water. You may add a tiny drop of mild, clear dish soap (like original Dawn or Ivory). Swirl it to create suds. Submerge the filter and gently agitate it. Again, squeeze and massage it. The soap will help break down any greasy residues from pet hair or kitchen debris. Never use bleach, vinegar, carpet cleaner, or any harsh chemicals. These can degrade the foam and leave residues that are then blown back into your air.
Step 4: The Final Flush
After soaping (if you did), rinse the filter thoroughly under clean, lukewarm running water. Keep squeezing it until the water runs absolutely clear and all soap suds are gone. Any leftover soap will create more dust-attracting residue when dry.
Step 5: The Most Important Step: Drying
This is where most mistakes happen. You must let the foam filter dry completely. Not mostly dry. Completely, 100%, bone-dry. Any residual moisture inside the foam will be sucked into the motor when you reinstall it, causing catastrophic damage. Here’s how to do it right:
- Gently shake out excess water.
- Do not wring.
- Place the filter on a clean towel in a warm, well-ventilated area, away from direct sunlight or heat sources (like radiators).
- Stand it on its end or lay it flat, ensuring air can circulate all around it.
- Flip it over every few hours to promote even drying.
- Allow a minimum of 24 hours for drying. In humid climates, allow 36-48 hours. You should be able to feel the filter and detect no cool, damp spots anywhere. When in doubt, wait longer.
Never use a hair dryer, oven, or clothes dryer to speed up the process. Heat will melt and ruin the foam.
Step-by-Step: Maintaining the Non-Washable Motor Filter
This filter requires a completely different, gentler approach. Its maintenance is about removing dry debris before it becomes a solid plug.
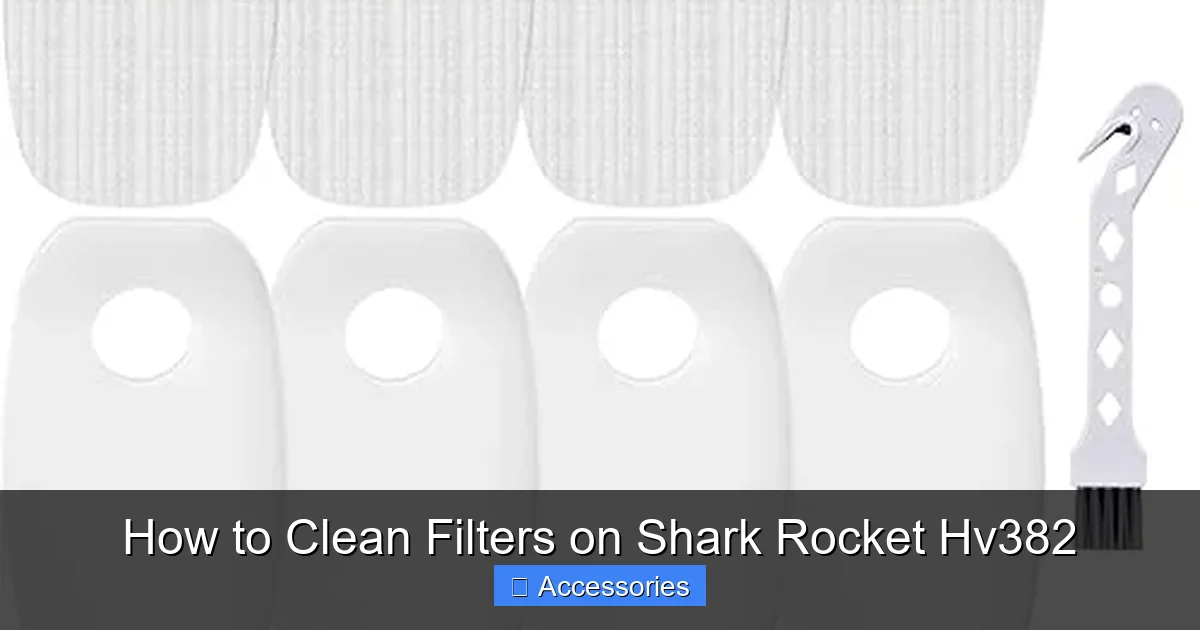
Visual guide about How to Clean Filters on Shark Rocket Hv382
Image source: m.media-amazon.com
Step 1: Removal
Open the filter compartment. The motor filter is the rigid, white cartridge behind the foam filter. Gently pull it straight out by its plastic frame or housing. It should come out easily. Handle it by the edges to avoid pressing on the pleated media.
Step 2: Inspection
Hold the filter up to a light source. You’ll likely see a layer of gray or tan dust caked onto the pleats. This is normal. Now, inspect the filter closely. Look for:
- Any tears, holes, or rips in the white fabric.
- Permanent, heavy discoloration that you can’t brush off.
- Damage to the plastic frame or seals.
If you see any of these, the filter is compromised and must be replaced. Do not attempt to clean a damaged filter.
Step 3: The Tapping and Brushing Method
This filter is NEVER to get wet. Your tools are gravity and a soft brush.
- Take the filter to a trash can or outside.
- Hold it firmly by the frame and give it a series of firm, sharp taps on the edge of the trash can or a solid surface. The goal is to dislodge the dry dust from the pleats and let it fall away. Tap on all sides.
- After tapping, use a clean, soft-bristled brush. An old, clean paintbrush or a dedicated soft dusting brush works perfectly. Gently brush the surface of the pleats, working from the center outwards, to sweep away any remaining loose particles.
- You can also use the brush to clean the plastic housing that the filter sits in inside the vacuum. Dust loves to accumulate there too.
Do not use compressed air to blow through the filter. This forces dust deeper into the pleats and can damage the media.
Step 4: When to Replace
Even with perfect tapping, the motor filter will reach the end of its life. Here are the signs:
- You can no longer dislodge the dust by tapping; it’s permanently compacted.
- The filter looks uniformly dark gray/black, even after cleaning.
- Your vacuum’s suction is weak even with a clean foam filter and empty dust cup. A clogged motor filter is often the culprit.
- It’s been in use for 6-12 months (depending on your home’s dust levels and pet situation). It’s a consumable part, not a lifetime filter.
Shark sells the exact replacement filter (usually part number HVF38 or similar, always verify for your specific model). It’s an inexpensive and easy swap.
Reassembly, Testing, and Establishing a Routine
You’ve cleaned both filters and the motor filter area is dust-free. Now, put it all back together correctly.
Reassembly Order
The order matters. When you look into the empty filter compartment from the back of the vacuum:
- First, install the Motor Filter. Place the white pleated cartridge back into its slot at the rear of the compartment. It should sit flush and snug. Ensure the rubber seals (if present) are in place and not folded.
- Second, install the Foam Filter. Place the completely dry blue foam filter in its frame directly in front of the motor filter. It should also sit flush and secure.
- Finally, close the filter door. Align the plastic cover and press it until the clips snap securely into place or twist the lock until it tightens. A loose door will cause air leaks and noise.
The Post-Cleaning Test
Before you reattach the cleaning head and return to vacuuming, do a quick test:
- Ensure the dust cup is empty and properly locked.
- Reattach the cleaning head (if you removed it).
- Plug in the vacuum and turn it on, holding it upright.
- Listen. The sound should be the familiar, powerful whir. It should not sound strained, whistley, or quieter than usual.
- Place your hand over the exhaust port (on the back of the main body, near the motor). You should feel a strong, steady stream of air. If it feels weak, double-check that both filters are installed correctly and that the foam filter is completely dry.
Creating a Sustainable Maintenance Schedule
The key is consistency. Here is a simple, effective schedule based on typical household use:
- Weekly: Empty the dust cup after every use. Tap out any loose debris from the brush roll (if accessible).
- Monthly: Visually inspect both filters. Tap out the motor filter. Check the foam filter for saturation.
- Every 1-2 Months (or when suction drops): Perform the full wash and dry cycle on the foam filter. This is the most important variable. If you have pets, allergies, or a predominantly carpeted home, lean toward every month.
- Every 6-12 Months: Replace the motor protector filter. Mark your calendar. It’s cheaper than a new motor.
- Annually: Check the hose and wand for blockages. Clean the exterior with a damp cloth.
Sticking to this routine will keep your Shark Rocket HV382 running like new for years.
Troubleshooting: What If Cleaning Doesn’t Fix the Suction?
You’ve washed the foam filter until it’s pristine, tapped the motor filter until your arm is tired, and the dust cup is empty. But the suction is still weak. Don’t panic. There are other common culprits.
The Usual Suspects Beyond the Filters
Follow this diagnostic checklist:
- Check the Dust Cup Seal: Is the dust cup properly locked and sealed? A misaligned cup creates a massive air leak. Empty it and re-lock it firmly.
- Inspect the Hose and Wand: Detach the hose from the vacuum body and look through it. Is there a sock, a toy, or a large clump of hair blocking it? Use a long, flexible brush or a bent wire coat hanger (carefully!) to dislodge blockages. Check the wand for blockages too.
- Examine the Brush Roll: Is the brush roll (on the cleaning head) jammed with hair, string, and carpet fibers? This can stall the brush roll and create drag. Most Shark Rocket heads allow you to remove the brush roll for cleaning. Cut away any wrapped debris with scissors.
- Check the Air Path: Is the cleaning head’s intake (the bottom) clogged with debris? Is the exhaust port on the back of the main body clear of dust and lint?
- Battery Issues (Cordless Models): If your HV382 is a cordless variant, a weak or old battery can mimic suction loss. Ensure it’s fully charged. Battery life degrades over time.
If you’ve cleared all these paths and suction is still poor, the motor itself may be weakening, or there could be an internal leak. This is the point to contact Shark Customer Support or a qualified appliance repair technician.
Conclusion: Your Vacuum’s Longevity is in Your Hands
Caring for your Shark Rocket HV382’s filters is not a glamorous task, but it is the cornerstone of its performance and longevity. By understanding the distinct roles of the washable foam filter and the non-washable motor filter, and by committing to a simple, regular cleaning routine, you protect your investment and ensure every single use delivers the powerful, consistent suction you paid for. Remember the cardinal rules: water and air for the foam, tap and brush for the motor, and absolute dryness before reassembly. A clean filter means a clean home, a happy motor, and a vacuum that will serve you faithfully for years to come. Set a monthly reminder on your phone, and make this 15-minute task a habit. Your Shark—and your floors—will thank you.
Frequently Asked Questions
Can I use soap or a cleaning solution on the foam filter?
Only a tiny drop of mild dish soap is acceptable for heavily soiled foam filters, and it must be rinsed out completely. Never use harsh chemicals, bleach, vinegar, or carpet cleaners, as they degrade the foam and leave residues that can be blown back into your home.
What happens if I accidentally wash the motor protector filter?
Washing the pleated motor filter destroys its electrostatic charge and fabric integrity. It will become permanently clogged with fine dust when it dries, severely restricting airflow and likely causing a total loss of suction. It must be replaced immediately.
How can I tell if my foam filter is completely dry before reinstalling it?
Do not rely on surface dryness. Squeeze and bend the foam filter. Feel for any cool, damp spots throughout its entire thickness. It should feel uniformly room-temperature and dry. When in doubt, give it an extra 6-12 hours of air-drying time.
My vacuum smells musty after I cleaned the filter. Why?
A musty smell indicates the foam filter was not dried thoroughly enough before reinsertion, allowing mildew to grow inside the damp foam. You must remove the filter immediately and restart the drying process in a warm, dry location for at least another full day.
How often should I replace the motor protector filter?
Even with regular tapping, the motor filter is a consumable part. Replace it every 6-12 months, or sooner if it remains dark and clogged after cleaning, or if you notice a persistent drop in suction with a clean foam filter and empty dust cup.
Where can I buy a replacement motor filter for my HV382?
Always purchase genuine Shark replacement filters to ensure proper fit and filtration efficiency. You can buy the correct filter (typically part number HVF38 or a variant) directly from Shark’s website, from major retailers like Amazon, Target, or Walmart, or from authorized Shark dealers. Verify your exact model number on the vacuum’s rating plate before ordering.