Attaching your Shark vacuum’s crevice tool is a simple, one-step process that unlocks powerful cleaning in tight spaces. First, locate the hose’s main suction port and the crevice tool’s connector. Press the tool firmly onto the port until you hear a distinct click, ensuring a secure seal. Always verify the attachment by gently tugging before use to prevent accidental detachment and maintain optimal suction power for areas like car interiors, between furniture, and along baseboards.
Key Takeaways
- Universal Fit: Shark’s crevice tools use a standard, quick-connect design compatible with most Shark stick, upright, and canister models.
- One-Click Attachment: The process involves locating the main suction hose port and pressing the tool’s connector firmly until a click is heard.
- Secure Seal is Key: A proper click ensures an airtight seal, which is critical for maintaining strong suction power in narrow crevices.
- Always Verify: Give the attached tool a gentle tug before starting your cleaning task to confirm it is locked in place.
- Model Variations: While the mechanism is standard, the exact location of the suction port (on the wand or directly on the vacuum body) can vary by model series.
- Maintenance Matters: Regularly check the tool’s connector and the vacuum’s port for blockages or debris to ensure consistent performance.
- Safety First: Never attempt to force the attachment. If it doesn’t click easily, realign and try again to avoid damaging the plastic connectors.
📑 Table of Contents
- Unlocking the Power of Your Shark Vacuum: Mastering the Crevice Tool
- Understanding Your Tools: The Crevice Tool & Your Shark Vacuum
- The Step-by-Step Attachment Process: Achieving the Perfect Click
- Troubleshooting: When the Click Doesn’t Come
- Caring for Your Crevice Tool: Ensuring Longevity and Performance
- Beyond the Basics: Creative and Effective Uses for Your Crevice Tool
- Model-Specific Considerations and Final Checks
- Conclusion: From Frustration to Flawless Cleaning
Unlocking the Power of Your Shark Vacuum: Mastering the Crevice Tool
You’ve just unboxed your new Shark vacuum, and it’s a powerhouse. The main brush head glides beautifully across your floors, but then you spot it: that impossible gap between the refrigerator and the wall, the canyon of crumbs behind the sofa, the dusty tracks along the baseboards. This is where your Shark vacuum truly transforms from a floor cleaner into a whole-home cleaning system. The secret weapon? The humble, yet mighty, crevice tool. But its power is entirely dependent on one simple, critical action—attaching it correctly. A poorly attached tool means lost suction, frustration, and missed dirt. This guide will walk you through everything you need to know, from identifying the right parts to achieving that satisfying, secure click, ensuring you get peak performance from your Shark vacuum every single time.
Understanding Your Tools: The Crevice Tool & Your Shark Vacuum
Before we dive into the “how,” let’s quickly demystify the “what.” Knowing your equipment builds confidence and prevents confusion.
Visual guide about How to Attach Crevice Tool to Shark Vacuum
Image source: sharkvacuum.blog
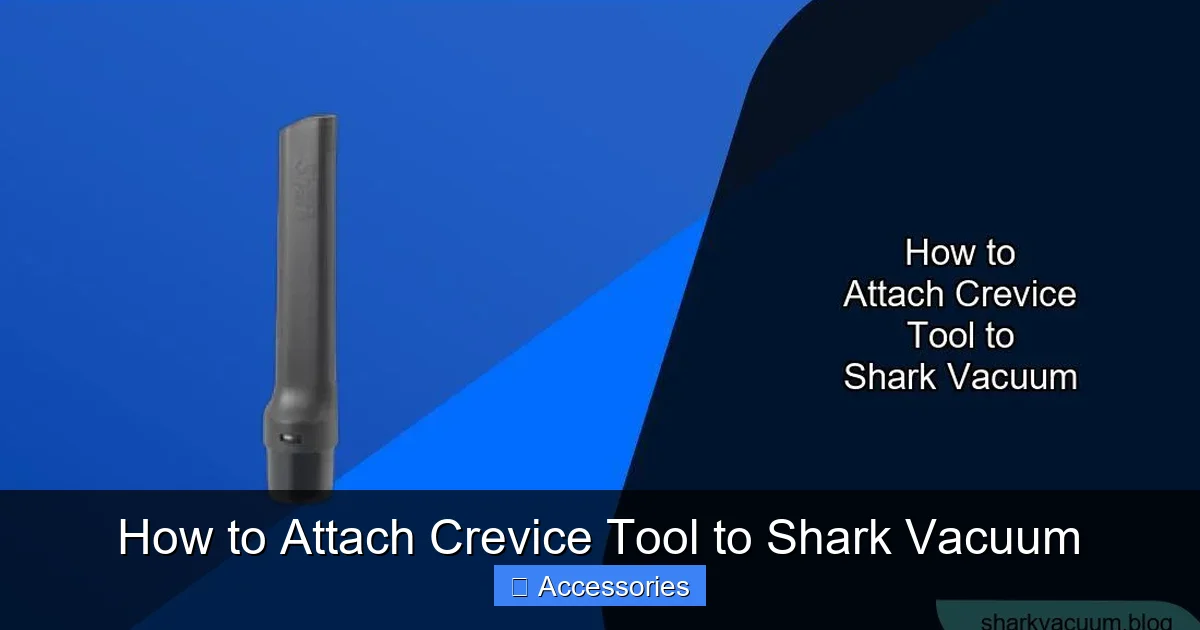
The Anatomy of a Shark Crevice Tool
The crevice tool is typically a long, narrow, plastic attachment, often about 12-18 inches in length. Its defining feature is the connector end. This is not a simple open tube. Look closely, and you’ll see a spring-loaded collar or locking ring surrounding the opening. This is the heart of Shark’s quick-connect system. When you press the tool onto the vacuum’s port, this collar depresses and then locks into place, creating a tight, airtight seal. The other end tapers into a thin, flat slit or a slightly flared nozzle, designed to slide into spaces as narrow as a few centimeters.
Finding the Suction Port on Your Shark
This is the other half of the equation. The suction port is the opening on your vacuum where all the suction power is generated. Its location depends entirely on your Shark model:
- Stick Vacuums (like the Vertex, IZ, or older Navigators): The port is almost always on the front of the main handheld unit, just above or below the power button. It’s a round hole, often with a rubber or plastic flap that opens when you attach a tool.
- Upright Vacuums (like the Rotator or Navigator Lift-Away): You will find the port at the end of the wand/handle assembly you use for above-floor cleaning. Detach the main floor head, and look at the end of the telescoping wand you hold. That’s your port.
- Canister Vacuums (like the Shark Vertex Pro): The port is on the hose itself, typically near the handle grip or at the end of the wand section.
Pro Tip: If you’re ever unsure, consult your model’s user manual. The section on “Attachments” or “Accessories” will have a clear diagram. You can also find digital copies on Shark’s official support website by entering your model number.
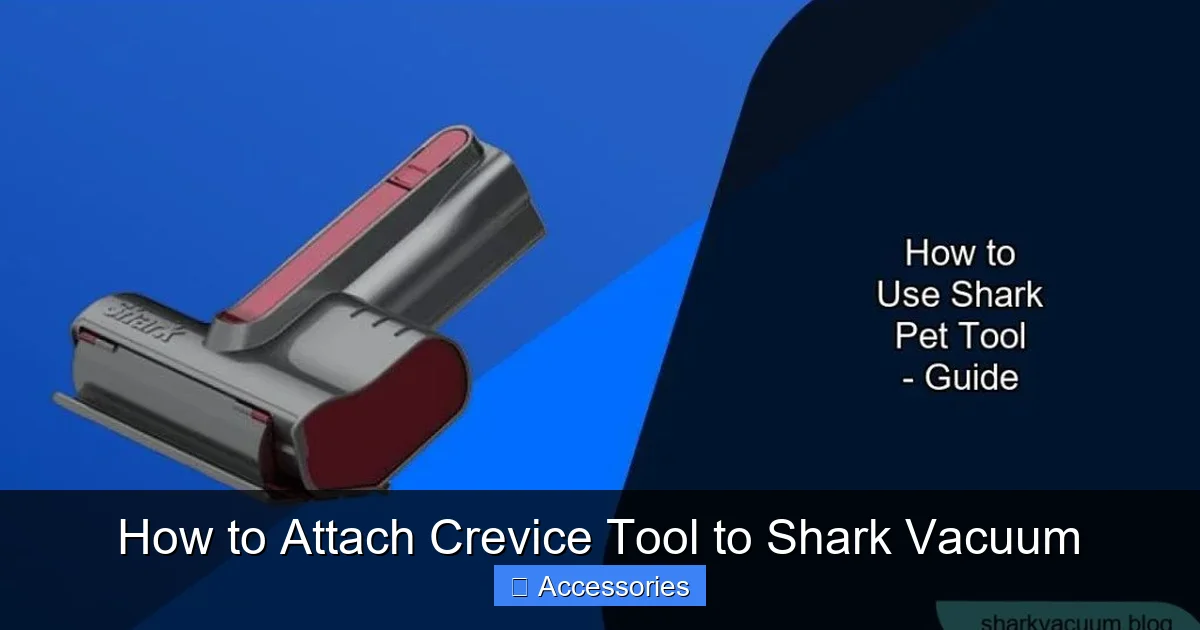
The Step-by-Step Attachment Process: Achieving the Perfect Click
Now for the main event. This process is designed to be intuitive, but a few details make all the difference between a shaky connection and a rock-solid seal.
Visual guide about How to Attach Crevice Tool to Shark Vacuum
Image source: sharkvacuum.blog
Step 1: Preparation and Positioning
First, ensure your Shark vacuum is turned OFF and unplugged (if corded) or that the battery is removed (for cordless models). This is a crucial safety step to prevent the vacuum from accidentally turning on while you’re handling the attachment. Next, locate your crevice tool and the suction port on your vacuum. Hold the crevice tool by the main body, with the connector end facing toward the vacuum’s port. Tilt the connector slightly to align it with the port’s opening. You should see the spring-loaded collar on the tool and the corresponding ring or lip inside the vacuum port.
Step 2: The Press and Lock
This is the core action. With a firm, straight motion, push the crevice tool’s connector fully into the suction port. You need to apply steady pressure until you feel and hear a definitive CLICK. This click is the locking mechanism engaging. The spring-loaded collar on the tool snaps outward and locks behind a ridge inside the port. Do not twist or screw the tool on; it is a straight push-in, push-out system. If you feel excessive resistance or it won’t go in, stop immediately. Pull it out, check for any debris in either connector, realign, and try again. Forcing it can crack the plastic.
Step 3: The Verification Tug
Never skip this final, vital step. Once you hear the click, give the crevice tool a firm, gentle tug outward. A properly attached tool will not budge. It should feel like one solid piece with your vacuum. If it slides out even slightly, it is not securely locked. Re-attach it, pressing firmly until you are confident in the click. This quick check prevents the tool from flying off mid-clean, which can damage furniture or, worse, send debris flying.
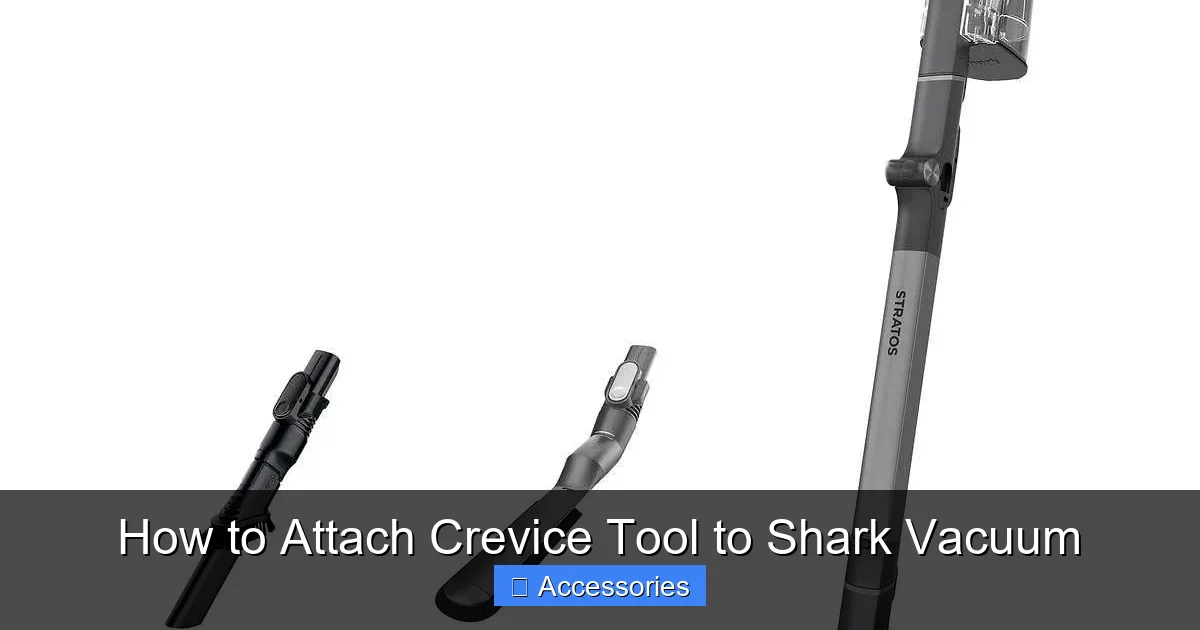
Troubleshooting: When the Click Doesn’t Come
Even with a straightforward design, issues can arise. Here’s how to diagnose and fix the most common problems.
Visual guide about How to Attach Crevice Tool to Shark Vacuum
Image source: m.media-amazon.com
Problem: The Tool Won’t Click Into Place
Cause & Solution: The #1 culprit is obstruction. Hair, carpet fibers, dust bunnies, or even a small toy piece can lodge in the vacuum’s suction port or the tool’s connector, preventing the locking collar from engaging. Solution: Use a flashlight to inspect both openings. Use a pair of tweezers or a compressed air blast (short bursts) to clear any debris. Also, check that you are using a genuine Shark crevice tool. Some third-party tools may have incompatible dimensions.
Problem: The Tool Attaches but Feels Loose or Falls Off
Cause & Solution: This usually indicates a worn or damaged locking mechanism. The plastic collar on the tool or the locking ridge inside the vacuum port may be cracked or worn down from repeated use or a previous impact. Solution: Inspect both parts closely under light. If you see any cracks, fractures, or excessive smoothness where the click should occur, the part needs replacement. Contact Shark Customer Support or an authorized service center for a genuine replacement part. Do not attempt to repair it with glue, as this compromises the airtight seal and suction.
Problem: Suction is Weak After Attachment
Cause & Solution: If the tool is securely clicked in but suction feels poor, the issue is likely not the attachment itself but a clog. The narrow crevice tool is a magnet for collected debris. Solution: Detach the tool (press the release collar if your model has one, or pull firmly while wiggling). Look through the tool from both ends. If you can’t see light through it, it’s clogged. Use a long, flexible brush (like a pipe cleaner or a dedicated vacuum brush) to dislodge the blockage. Also, check your vacuum’s main hose and filters, as a clog elsewhere will reduce suction to all attachments.
Caring for Your Crevice Tool: Ensuring Longevity and Performance
Your crevice tool works hard in the dirtiest, tightest places. A little regular maintenance keeps it performing like new for years.
Regular Cleaning After Use
After each cleaning session, especially if you’ve tackled dusty baseboards or a car interior, take 30 seconds to wipe down the exterior of the tool with a dry or slightly damp microfiber cloth. For internal clogs, as mentioned in troubleshooting, use a cleaning brush. You can also use the tool’s own suction to clean itself: With the tool detached, turn your Shark on, and briefly press the open connector end against a hard surface (like a table edge) to blow out loose debris. Be careful not to inhale the dust!
Periodic Deep Inspection
Once a month, do a closer inspection. Look for:
- Cracks or fractures in the plastic body or connector.
- Wear on the locking collar—it should be springy and crisp, not floppy or smooth.
- Debris build-up deep inside the nozzle that a brush can’t reach.
Addressing small issues early prevents major failures. If a tool is cracked, replace it. Using a damaged tool compromises suction and can allow dirt to bypass the vacuum entirely.
Proper Storage
Don’t just toss it in a closet with cords draped over it. Store your crevice tool in a dedicated spot on your vacuum’s accessory caddy if it has one, or in a separate drawer or bin where it won’t be crushed or bent. Avoid storing it with heavy items on top of it, as this can warp the connector or crack the body, leading to attachment problems.
Beyond the Basics: Creative and Effective Uses for Your Crevice Tool
Once you’ve mastered attachment, it’s time to maximize this tool’s potential. Its narrow profile is its superpower.
Automotive Deep Cleaning
The crevice tool is arguably the best vacuum attachment for your car. Use it to extract decades-old crumbs from seat crevices, suck out dust from dashboard vents, clean between center console buttons, and retrieve lost French fries from the deepest depths of the back seat. The flexible suction hose on most Shark models makes it easy to reach every nook.
Upholstery and Furniture Detail Work
Move the sofa and use the crevice tool along the backrest and seat cushions where the main brush head can’t reach. It’s perfect for cleaning the narrow channels between couch cushions and the tight space where the seat back meets the cushion. For fabric furniture, use it gently to lift surface dust and pet hair from tufted buttons and seams.
Appliance and Electronics
Unplug your refrigerator and use the crevice tool (on a low suction setting if available) to clean the condenser coils at the back or bottom—a key maintenance task for efficiency. Carefully clean out the lint trap area of your dryer. Gently remove dust from keyboard crevices, vent grilles on computers and TVs, and the tracks of sliding glass doors. Always ensure electronics are off and unplugged.
Baseboards, Trim, and Window Tracks
This is a classic. The crevice tool glides effortlessly along the top edge of baseboards, removing the dust bunnies that brooms miss. Use it in the grooves of decorative crown molding. It’s also the perfect size for cleaning out the tracks of sliding windows and patio doors, where leaves, dirt, and debris accumulate.
Model-Specific Considerations and Final Checks
While the universal push-and-click design covers 95% of cases, a few Shark series have slight variations.
Shark Vertex & IZ Series
These modern stick vacuums feature a very prominent, easy-to-find port on the front of the handheld unit. The click is typically very audible and firm. Some IZ models have a small release button on the port itself that you must press while pulling the tool off.
Shark Navigator Lift-Away
The port is at the end of the wand you use for above-floor cleaning. When you detach the main floor nozzle, you’ll be holding the wand. The port is right at your fingertips. Be aware that on some older Navigator models, the wand port might have a twist-lock mechanism for certain tools, but the standard crevice tool is still push-click. If your tool has a threaded collar instead of a spring-loaded one, you would twist it on—but this is rare for the standard crevice tool on recent models.
When in Doubt, Consult the Source
Your Shark vacuum’s model number is your best friend. It’s on a label on the back or underside of the machine. Go to Shark’s website, search for your model, and download the manual. The “Assembly” or “Accessories” section will have a clear, model-specific diagram. You can also watch a quick video tutorial on YouTube by searching “[Your Shark Model] how to attach crevice tool.” Seeing it in motion can resolve any lingering uncertainty instantly.
Conclusion: From Frustration to Flawless Cleaning
Attaching the crevice tool to your Shark vacuum is more than a simple step; it’s the gateway to a deeper, more thorough clean. By understanding the quick-connect mechanism, following the precise push-and-click method, and always verifying the connection with a gentle tug, you eliminate the guesswork and frustration. You empower your vacuum to tackle the neglected, tricky spaces that define a truly clean home. Remember to keep both the tool and the port clean, inspect for wear, and store everything properly. With this knowledge, that long, narrow attachment transforms from an overlooked piece of plastic into an indispensable weapon in your cleaning arsenal, ensuring your Shark vacuum delivers on its promise of powerful, versatile cleaning, every single time. Now, go attack those baseboards!
Frequently Asked Questions
Can I use my Shark crevice tool on any Shark vacuum model?
Yes, the standard crevice tool that comes with Shark vacuums uses a universal quick-connect design compatible with the vast majority of Shark stick, upright, and canister models produced in recent years. It will attach to any main suction port on your vacuum.
What if my crevice tool doesn’t have a spring-loaded collar?
If your tool has threads on the connector instead of a push-click collar, you likely have an older model or a specialty tool. You would twist it clockwise onto the port until snug, much like a light bulb. However, all modern Shark crevice tools use the push-and-click system.
How do I know if the attachment is secure?
You must perform the “verification tug.” After pressing the tool in until you hear a click, firmly but gently pull outward on the tool. A securely attached tool will not move at all. If it slides out even slightly, re-attach it, pressing more firmly until the click is definitive and the tug test passes.
My tool clicks but suction is weak. Is it attached wrong?
Probably not. A weak suction with a securely clicked-in tool almost always indicates a clog. The narrow crevice tool easily collects debris. Detach it and look through it—if you can’t see light, it’s clogged. Clean it with a flexible brush. Also, check your vacuum’s main hose, filters, and dust cup, as a blockage there will reduce suction to all attachments.
Can I use the crevice tool on my carpet?
You can, but it’s not effective. The crevice tool is designed for hard surfaces and above-floor cleaning. It has no rotating brush roll to agitate carpet fibers, so it will only pick up loose surface debris. For carpets, always use the main motorized floor head.
What should I do if I lost my crevice tool?
Replacement crevice tools are readily available. You can purchase genuine Shark replacement parts directly from Shark’s website, from major retailers like Amazon or Best Buy, or from authorized Shark parts dealers. Ensure you get the correct model for your vacuum series, though the standard one fits most. Search for “Shark crevice tool replacement” along with your vacuum’s series name (e.g., “Shark Vertex crevice tool”).