Shark Hydrovac leaking is a common but fixable issue that usually stems from worn seals, cracked hoses, or a full water tank. This guide walks you through diagnosing the exact source of the leak, from simple gasket checks to more complex internal inspections. We provide clear, actionable repair steps and preventative maintenance routines to keep your Hydrovac performing like new and protect your investment.
Key Takeaways
- Leaks are rarely catastrophic: Most Shark Hydrovac leaks are caused by simple, replaceable parts like gaskets, O-rings, or hose connectors, not a failed motor.
- Diagnosis is a process of elimination: Always start with the simplest checks—empty the tank, inspect seals—before dismantling components to pinpoint the exact leak source.
- The water tank is the prime suspect: A cracked tank or a compromised lid seal is the most frequent cause of water leaking from the bottom or top of the unit.
- Preventative maintenance is key: Regularly cleaning filters, checking hoses for cracks, and lubricating seals can prevent 90% of leak issues from ever occurring.
- Genuine Shark parts matter: Using official Shark replacement gaskets and filters ensures proper fit and material integrity, preventing repeat failures.
- Not all leaks need a pro: Many common leaks are DIY-friendly with basic tools, but internal pump seal failures often require professional assessment or replacement.
- A leaking Hydrovac loses efficiency: Even a small leak breaks the vacuum’s seal, drastically reducing suction power and wet/dry pickup capability.
📑 Table of Contents
- Understanding Your Shark Hydrovac: Why Leaks Happen
- The Usual Suspects: Most Common Causes of Leaks
- Step-by-Step Diagnostic Guide: Finding Your Leak
- Fixing the Leak: Repair Guide for Common Issues
- Essential Preventative Maintenance: Stop Leaks Before They Start
- When to Call in the Pros: Recognizing Complex Issues
- Conclusion: Keeping Your Hydrovac Hydro-Functional
Understanding Your Shark Hydrovac: Why Leaks Happen
So, you’ve got a puddle. You set your trusty Shark Hydrovac down after a messy cleanup, and instead of a dry floor, you find water creeping out from underneath it. Your heart sinks a little. This powerful machine, designed to handle the toughest wet and dry messes, is now part of the problem. First, take a breath. A Shark Hydrovac leaking is one of the most common service inquiries, and it’s almost always a solvable problem. Understanding *why* it happens is the first step to fixing it.
The Shark Hydrovac works on a simple but brilliant principle: it creates a powerful, sealed air pathway to pull liquid and debris into its durable plastic tank. This seal isn’t just at the motor; it’s a system of seals, gaskets, O-rings, and clamps from the nozzle, through the hose, into the tank lid, and finally to the motor/pump assembly. A leak anywhere in this chain breaks the vacuum’s suction and causes fluid to escape. Think of it like a drinking straw with a hole in the side—you can suck all you want, but liquid won’t reach your mouth, and it will drip out the hole. Your Hydrovac is that straw.
The culprits are usually wear and tear, age, or damage. The constant flexing of hose connectors, the repeated opening and closing of the tank lid, and the exposure to water, dirt, and cleaning chemicals degrade rubber and plastic components over time. Sometimes, a hard impact can crack the tank itself. Other times, it’s just a matter of a seal drying out and losing its elasticity. By systematically checking each potential failure point, you can almost always find the source of your Shark Hydrovac leaking issue.
The Usual Suspects: Most Common Causes of Leaks
Before you grab a screwdriver, let’s narrow down the field. Where is the water coming from? The location of the leak tells you exactly what to inspect first. Here’s a breakdown of the most frequent offenders behind a Shark Hydrovac leaking.
Visual guide about Shark Hydrovac Leaking
Image source: mangas.com.cy
1. The Water Tank and Its Lid
This is the #1 source of leaks, and for good reason. It’s the largest container of fluid and has the most moving parts. Inspect the plastic tank itself first. Look for any visible cracks, especially around the bottom rim, the handle mounts, or where the hose connector attaches. Hairline cracks can be tricky to spot; run a dry paper towel along the seams—if it comes wet, you’ve found a crack.
Next, examine the tank lid. The lid has a large, soft rubber gasket that creates an airtight seal when closed. This gasket is a consumable part. It can get pinched, torn, or simply harden and crack. Check it thoroughly for any nicks, deformation, or debris caught in the channel. Also, ensure the lid is clicking fully into its locked position. A partially engaged lid will not seal.
2. Hose Connectors and Gaskets
The hose is your Hydrovac’s lifeline. At both ends—where it connects to the tank and to the motor housing—are plastic connectors with rubber gaskets or O-rings. These are tiny but critical. A misplaced, dried-out, or torn O-ring will let air (and water) escape. Remove the hose and inspect the male connectors on the tank and motor, and the female ends inside the hose. Look for the small rubber ring. It should be pliable, whole, and seated correctly in its groove.
3. The Motor/Pump Housing Seal
This is a more serious internal seal. The motor/pump assembly, which creates the suction, has its own shaft seal where the motor shaft passes through the housing. If this seal fails, you’ll typically see fluid leaking from the bottom of the motor housing, often mixed with a bit of oil. This type of leak is less common from simple wear and more likely from using the vacuum for very abrasive, sandy slurries that can score the seal. It often requires professional repair or a motor/pump replacement.
4. Drain Plug and Float Assembly
If your model has a drain plug on the tank (for emptying liquids without tilting), check that it’s screwed in tightly and that its rubber washer is intact. Also, inside the tank, there’s a float assembly (a ball on a stem) that rises to shut off suction when the tank is full. The seal around the stem where it penetrates the tank lid can sometimes leak if the float is stuck or the seal degrades.
Step-by-Step Diagnostic Guide: Finding Your Leak
Time to play detective. Follow this ordered checklist to isolate the leak. The goal is to add the least amount of complexity at each step.
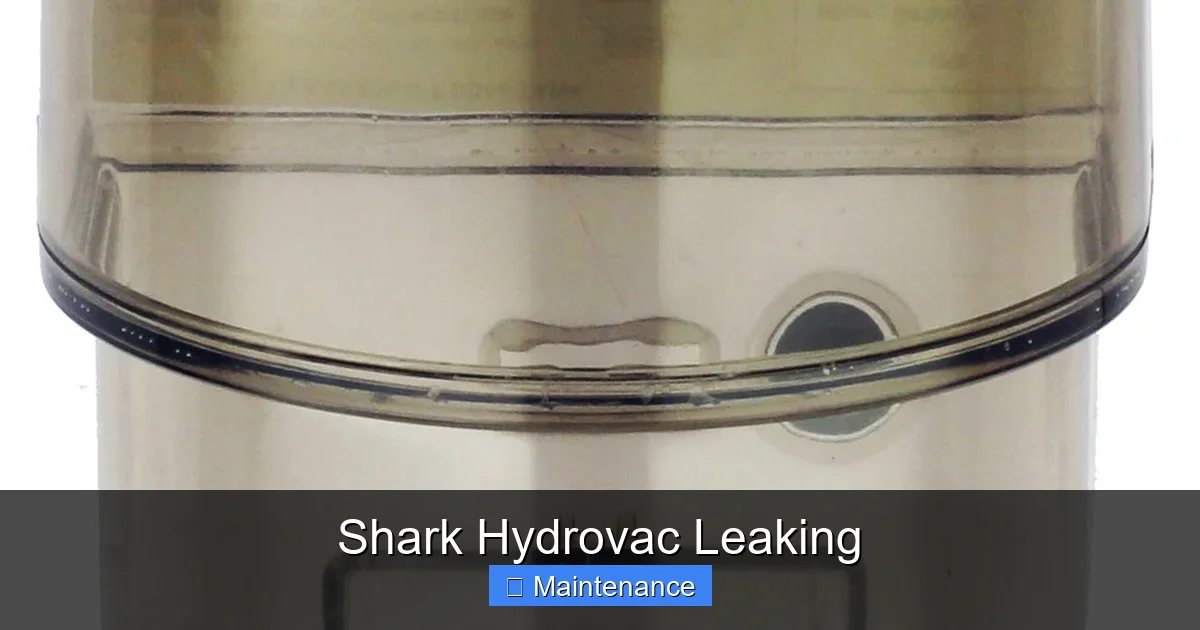
Visual guide about Shark Hydrovac Leaking
Image source: cdn11.bigcommerce.com
Step 1: The Dry Tank Test
This is your most powerful diagnostic tool. Completely empty the Hydrovac’s tank and wipe it bone dry with a cloth. Also, dry the entire exterior, the hose, and the motor housing. Now, with the tank empty and dry, plug the vacuum into a power source and turn it ON (in dry mode if you have a switch). Let it run for 30 seconds. Carefully feel around all the potential leak points: the tank rim, the lid seal, the hose connections at both ends, and the bottom of the motor housing. Do you feel any moisture or air suction? If yes, you’ve found a leak that is an air/seal issue, not just a water overflow. If everything feels dry and suction is strong, the leak likely only occurs when the tank is full of liquid, pointing to a tank or drain plug issue.
Step 2: The Water Fill Test
Now, with the tank still dry, fill it about 1/4 full of plain water. You can add a drop of food coloring to make the water easier to see. Turn the vacuum on and gently tilt and maneuver it as you would during use, simulating the motion that might cause the leak. Watch the exterior meticulously. Where does the first drop appear? Trace it back to its source on the unit. This will tell you if the leak is from the tank itself, the lid, or a connector under stress from movement.
Step 3: Isolate the Hose
If the leak seems to come from near the hose connections, disconnect the hose entirely from the tank. Dry everything. Reconnect the hose firmly to the tank only. Now, with the tank empty, run the vacuum. Check the connection. If it still leaks, the problem is the tank’s outlet port gasket or the hose’s female connector gasket. If it’s dry, connect the other end to the motor housing and test that connection separately.
Fixing the Leak: Repair Guide for Common Issues
Once you’ve identified the source, most repairs are straightforward. Always unplug the vacuum before beginning any work.
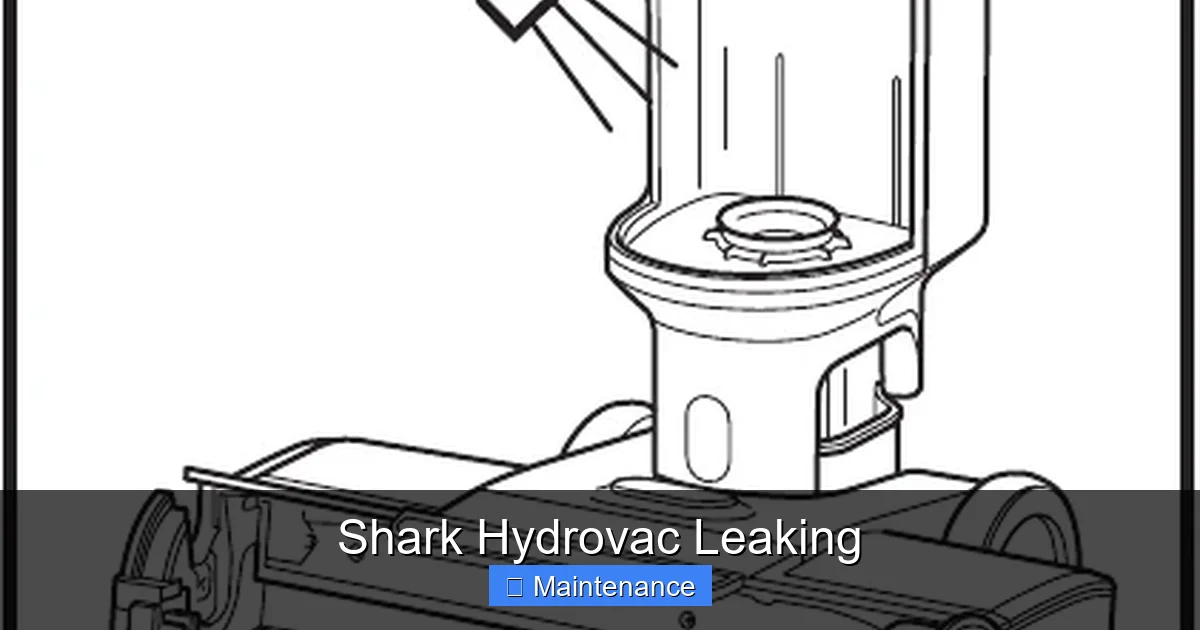
Visual guide about Shark Hydrovac Leaking
Image source: static-data2.manualslib.com
Replacing a Tank Lid Gasket
This is the most common fix. Open the tank lid fully. You’ll see the large, circular rubber gasket seated in a groove on the underside of the lid or on the tank rim (depending on model). Use a plastic spudger or your fingers to carefully pry the old gasket out of its channel. Clean the channel thoroughly with a damp cloth to remove any old adhesive residue or debris. Take your new genuine Shark gasket (part number is crucial—check your manual or Shark’s website) and press it evenly into the groove, starting at one point and working your way around to ensure it sits flat and isn’t twisted. A properly seated gasket should be flush with the channel.
Replacing Hose O-Rings/Gaskets
At each connector, you’ll find a small, circular rubber O-ring. These can easily pop out or get damaged during disconnection. Pull the old O-ring out with a pick or tweezers. Before installing the new one, lightly lubricate it with a silicone-based lubricant (never petroleum jelly, as it can degrade rubber). This helps it seat and prevents it from getting pinched. Stretch the new O-ring over the connector’s groove, ensuring it sits fully in the channel without twists. Reconnect the hose firmly but do not overtighten, as this can pinch and damage the new seal.
Patching a Small Tank Crack
If you find a small hairline crack in the plastic tank (not a large, structural crack), you can attempt a repair. Clean the area meticulously with rubbing alcohol to remove all oil and dirt. For a temporary fix, use a waterproof plastic weld/epoxy like JB Weld PlasticWeld or a two-part epoxy putty. Apply a small amount over the crack on the outside and smooth it. Allow it to cure fully (24 hours is best) before testing. Important: This is a temporary fix for minor stress cracks. For any crack in a load-bearing area or near a connector, tank replacement is the only safe, permanent solution. A failed tank under pressure can be dangerous.
Essential Preventative Maintenance: Stop Leaks Before They Start
An ounce of prevention is worth a pound of cure (and a dry floor). Integrating these simple habits into your cleaning routine will dramatically extend the life of your Hydrovac and keep it leak-free.
After Every Use: The 5-Minute Drill
Don’t just toss it in the closet. After each use, especially with wet messes:
- Empty and Rinse: Dump the tank completely. Rinse it with clean water to remove residual sludge that can dry and cause odors or degrade seals.
- Clean the Filters: Remove the foam filter and the pleated paper/mesh filter. Tap out debris, rinse with water (let foam filter air-dry completely before reinserting), and ensure they are 100% dry. A clogged filter creates backpressure that can stress seals.
- Wipe Seals and Connectors: Use a dry cloth to wipe the tank lid gasket, hose connectors, and drain plug. Ensure no debris or moisture is trapped in the seal channels.
- Check the Hose: Visually inspect the entire hose length for cracks, abrasions, or stiffening. Feel for soft spots.
- Store Properly: Store the Hydrovac with the tank lid slightly ajar or off to allow air circulation and prevent the gasket from being permanently compressed in a closed position, which accelerates hardening.
Monthly/Seasonal Deep Care
Every month or with seasonal changes, do a more thorough inspection:
- Lubricate Seals: Apply a tiny dab of silicone grease to the tank lid gasket and hose O-rings. This keeps them supple and prevents drying. Wipe off any excess.
- Inspect for Micro-Cracks: Hold the tank up to a light source and slowly rotate it. Look for any light seeping through, indicating a stress crack.
- Test Suction: Perform the “Dry Tank Test” described earlier to catch a minor air leak before it becomes a major water leak.
When to Call in the Pros: Recognizing Complex Issues
Not all problems are DIY-friendly. There is a line where diagnosis ends and professional repair begins. If you’ve meticulously followed the diagnostic steps and found no external source of the leak, but the vacuum still loses suction or leaks from the bottom motor housing, the issue is likely internal.
The most common internal failure is the motor/pump shaft seal. This seal prevents the liquid in the tank from migrating into the motor bearings. When it fails, you’ll see a slow drip of often slightly milky fluid from a vent or seam on the motor housing. Replacing this seal requires disassembling the motor/pump assembly, which involves specialized tools, precise alignment, and often a new motor fan or bearings. It’s an easy mistake to reassemble incorrectly, leading to immediate re-failure or motor damage.
Similarly, if your Hydrovac has been used for heavy-duty construction slurry (concrete dust, drywall dust) without frequent filter changes, that abrasive dust can wear internal components. In these cases, a complete motor/pump replacement might be more cost-effective than a repair. If your unit is still under warranty, contact Shark Customer Support first. Opening the motor housing yourself will likely void the warranty. Have your model number and proof of purchase ready.
Conclusion: Keeping Your Hydrovac Hydro-Functional
A Shark Hydrovac leaking can feel like a major setback, but it’s almost always a symptom of a single, identifiable component wearing out. By becoming a systematic detective—starting with the dry tank test, checking the obvious tank and lid seals, and then moving to hose connectors—you can diagnose and fix most leaks yourself in under an hour with a few basic parts. The key is proactive care. Those few extra minutes of rinsing, drying, and wiping after each use are an investment that pays dividends in suction power, longevity, and a dry garage floor. Remember to always use genuine Shark replacement parts for seals and filters; the material formulation is specific to the demands of wet/dry vacuuming. If the leak persists after checking all external points, or if you suspect an internal motor seal, weigh the cost of professional repair against the value of your machine. With the right attention, your Shark Hydrovac can remain the powerful, reliable workhorse you bought it to be, ready for any mess, without becoming part of one.
Frequently Asked Questions
Can I use my Shark Hydrovac if it’s leaking?
No, using a leaking Hydrovac will worsen the problem, create a mess, and can damage the motor if water ingress occurs. It also has zero suction power when the seal is broken. Always fix leaks before use.
Is a leaking Shark Hydrovac covered under warranty?
It depends on the cause and warranty terms. Leaks from normal wear of seals and gaskets are typically considered consumables and not covered after the initial period. Leaks from a manufacturing defect in the tank or housing may be covered. Contact Shark Support with your model and serial number for a definitive answer.
Where can I buy replacement gaskets and seals for my Shark Hydrovac?
The best source is the official Shark website’s replacement parts page, using your exact model number (found on the rating label). Authorized retailers like Amazon, Best Buy, or appliance parts stores also carry genuine Shark parts. Avoid generic seals, as they often have incorrect hardness and dimensions.
My Hydrovac leaks from the bottom of the motor. What is it?
A leak from the bottom of the motor housing is almost certainly a failed motor/pump shaft seal. This is an internal seal that prevents tank liquid from entering the motor. This repair is complex and usually requires a professional technician or a full motor/pump assembly replacement.
How often should I replace the tank lid gasket?
There’s no set time, but inspect it every 3-6 months. With regular use and proper storage (lid slightly ajar), a good gasket can last 2-3 years. Replace it at the first sign of cracking, hardening, tearing, or if your vacuum starts losing suction with a dry tank test.
Can I fix a cracked plastic tank myself?
For very small, non-structural hairline cracks, a waterproof plastic epoxy can provide a temporary fix. However, for any crack that is large, in a high-stress area, or near connectors, the tank should be replaced. A compromised tank can fail catastrophically under vacuum pressure, which is a safety hazard.