Is your Shark robot vacuum bumping into walls or missing spots because its mapping has failed? This is a common but frustrating problem usually caused by dirty sensors, software hiccups, or challenging home layouts. The solution often involves simple cleaning, app resets, and firmware updates. Follow our structured troubleshooting steps to diagnose and fix the issue, getting your smart vacuum back to efficiently cleaning your entire home.
Key Takeaways
- Clean Sensors Regularly: Dirty cliff, bumper, and wall sensors are the #1 cause of mapping failures. A simple wipe with a microfiber cloth resolves most issues.
- Update Firmware & App: Outdated software is a major culprit. Always ensure your Shark app and robot’s firmware are current via the app settings.
- Perform a Factory Reset: A full reset through the Shark app can clear corrupted mapping data and software glitches, forcing a fresh start.
- Optimize Your Home Environment: Dark, shiny, or patterned floors, thick rugs, and cluttered spaces can confuse the robot’s navigation system.
- Check Wi-Fi Stability: A weak or intermittent Wi-Fi signal can disrupt map saving and updates. Ensure the robot has a strong connection during setup and mapping runs.
- Understand Mapping Limitations: Shark’s vSLAM technology works best with consistent lighting and distinct floor textures. It may struggle in very dark rooms or with repetitive patterns.
- Contact Support When Stuck: If all troubleshooting fails, Shark customer support can provide model-specific advice and diagnose potential hardware faults.
📑 Table of Contents
- Why Your Shark Robot’s Mapping Might Be Failing: An Introduction
- How Shark Robot Mapping (vSLAM) Actually Works
- The Usual Suspects: Top Causes of Mapping Failure
- Step-by-Step Troubleshooting: From Quick Fixes to Advanced Resets
- Advanced Troubleshooting and When to Worry
- Prevention: Keeping Your Shark Robot Mapping Perfectly
- Conclusion: Regaining Control of Your Smart Home
Why Your Shark Robot’s Mapping Might Be Failing: An Introduction
You bought a Shark robot vacuum with a fancy mapping feature, expecting it to learn your home’s layout and clean efficiently in neat, logical rows. Instead, you’re watching it bump relentlessly into furniture, miss entire rooms, or clean the same spot repeatedly. The frustration is real. When Shark robot mapping isn’t working, it essentially turns your “smart” vacuum back into a dumb, random-bumping machine, defeating the entire purpose of the investment. This isn’t just an annoyance; it leads to poor cleaning performance and wasted time.
The good news is that “Shark robot mapping not working” is rarely a sign of a permanently broken machine. It’s almost always a solvable issue stemming from a few key areas: sensor hygiene, software state, environmental challenges, or simple user error during the initial mapping process. This guide will walk you through every possible cause and solution, from the 30-second fix you can try right now to more advanced diagnostic steps. We’ll explain the technology in simple terms so you understand *why* a fix works, empowering you to keep your Shark robot operating at its peak intelligent performance.
How Shark Robot Mapping (vSLAM) Actually Works
The Basics of Visual Simultaneous Localization and Mapping
Before we dive into fixes, understanding the technology helps you troubleshoot logically. Shark’s premium robot vacuums (like the Shark IQ, Shark AI Ultra, and Shark Matrix models) use a navigation system called vSLAM, or Visual Simultaneous Localization and Mapping. Unlike cheaper robots that just bounce randomly, vSLAM robots use a combination of sensors and a camera to “see” and build a digital map of your home in real-time.
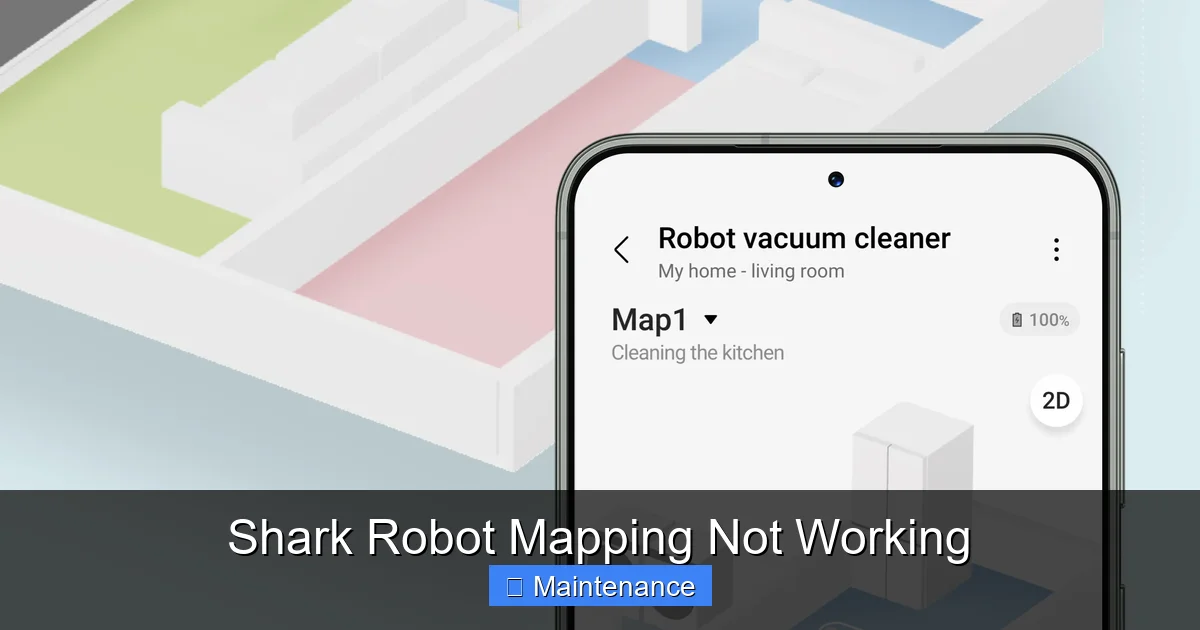
Visual guide about Shark Robot Mapping Not Working
Image source: sharkvacuum.blog
The robot’s upward-facing camera takes continuous pictures of your ceiling—specifically, unique features like ceiling fans, light fixtures, and doorways. It uses these visual landmarks to triangulate its position, much like you might use a familiar building to know where you are in a city. Simultaneously, it uses downward-facing cliff sensors (to avoid drops), bumper sensors (to detect direct contact), and wheel encoders (to measure distance traveled). All this data is fused together to create and constantly update a coherent map.
Why This System Can Fail
This elegant system has inherent vulnerabilities. If the camera’s view is obstructed or the data it sees is uniform (like a plain white ceiling), it loses its reference points. If the cliff sensors are dirty, the robot might think a dark rug is a “cliff” and avoid it, creating a hole in the map. If the software that processes all this sensory information has a bug, the map becomes corrupted. Our troubleshooting will address each of these potential failure points.
The Usual Suspects: Top Causes of Mapping Failure
When your Shark robot’s mapping goes haywire, the problem falls into one of several categories. Pinpointing the category is the first step to the correct fix.
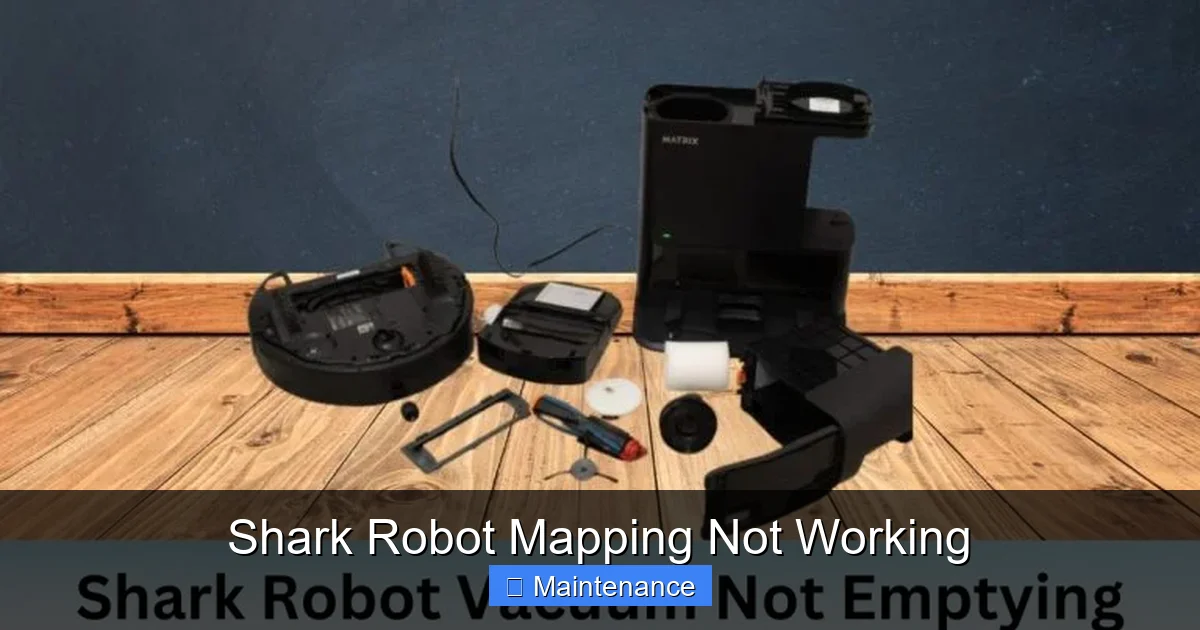
Visual guide about Shark Robot Mapping Not Working
Image source: ifdalivestorage.blob.core.windows.net
Dirty or Obstructed Sensors
This is the most common and easily fixed problem. The robot has multiple critical sensors:
- Upward-Facing Camera: Covered in dust, hair, or cobwebs. It can’t see ceiling landmarks.
- Cliff Sensors (on the underside): These four infrared sensors detect drops like stairs. If dirty, they give false positives. A dark, thick rug or a patch of shadow might be misread as a cliff, causing the robot to avoid that entire area, leaving it off the map.
- Bumper Sensors: The rubber bumper has sensors behind it. If jammed with gunk or the bumper is stuck, the robot may interpret constant “bumps” and not trust its position.
- Wheel Wells: Hair and debris wrapped around the axles can affect wheel encoder readings, throwing off distance calculations.
Real Example: A user reported their Shark IQ was “confused” by a new dark shag rug, refusing to map over it. Cleaning the cliff sensors with a dry cotton swab resolved it instantly. The rug’s deep, dark pile was reflecting very little light back to the sensors, mimicking the void of a staircase.
Software Glitches and Outdated Code
Robots run complex software. Like your smartphone, they can experience bugs, memory leaks, or corrupted data files after an interrupted update or simply over time. An outdated Shark app or robot firmware can also have known mapping bugs that have since been patched. The mapping data saved in the cloud or on the robot itself can become corrupted, leading to a “bad map” that the robot can’t interpret correctly.
Environmental and Layout Challenges
Sometimes, the home itself is the problem. vSLAM technology has physical limitations:
- Poor Lighting: The camera needs adequate light to see ceiling features. Cleaning a dimly lit room with blinds closed will result in poor mapping.
- Featureless Ceilings: A plain white ceiling with no fans, lights, or textured patterns gives the camera nothing unique to lock onto.
- Repetitive Patterns: Hallways with identical doors or rooms with the exact same furniture layout can disorient the robot.
- Dynamic Environments: Constantly moving furniture, toys on the floor, or open doors that change room access can confuse the map-building process.
Incorrect Setup and Initial Mapping Process
You might have rushed the initial “Home Mapping” run. This run is crucial. The robot must be allowed to explore undisturbed, with all doors open as you want them mapped. If you interrupt it, pick it up, or have doors closed during this run, the resulting map will be incomplete or inaccurate, and subsequent cleanings will fail.
Step-by-Step Troubleshooting: From Quick Fixes to Advanced Resets
Follow this sequence. Start with Step 1 and only proceed if the problem persists.
Visual guide about Shark Robot Mapping Not Working
Image source: sharkvacuum.blog
Step 1: The 5-Minute Deep Clean
Grab your microfiber cloth and a can of compressed air. This is non-negotiable.
- Camera Lens: Locate the small circular lens on top of the robot. Gently wipe it clean. Use compressed air to blow out any dust from around it.
- Cliff Sensors: Flip the robot over. You’ll see four small, dark windows along the front edge. Wipe each one meticulously with a dry, lint-free cloth. Use a cotton swab lightly dampened with isopropyl alcohol if they’re grimy, then dry thoroughly.
- Bumper & Wheels: Push in and wipe the rubber bumper. Use a brush or your fingers to remove any hair or carpet fiber wrapped around the front wheel and the two drive wheels. Clear the wheel wells.
- Main Brush & Filter: While you’re down there, remove the main brush and clean it. Tap out the filter and rinse if washable (let dry completely for 24 hours). A clogged filter reduces suction but doesn’t affect mapping directly, but it’s good maintenance.
After this thorough clean, place the robot in an open area of a well-lit room and start a new mapping run from the Shark app.
Step 2: Reboot and Re-map
Power cycle everything.
- Turn off the robot’s power switch (if it has one), wait 30 seconds, and turn it back on.
- Restart your smartphone and ensure it’s connected to the same Wi-Fi network as the robot.
- Open the Shark app. Go to your robot’s settings and look for “Factory Reset” or “Reset Map”. This will delete all saved maps and zones. Confirm the reset.
- Place the robot on its dock, ensuring the dock is powered and has a solid green light.
- Initiate a new “Home Mapping” run from the app. Do not interrupt it. Let it explore for 30-60 minutes, with all interior doors open as you want them mapped. Close exterior doors to prevent it from trying to map outside.
After it docks, check the map in the app. Is it a coherent shape of your home? If yes, try a “Clean All” job. If it still bumps or misses spots, proceed.
Step 3: Software and Connectivity Check
- Update Firmware: In the Shark app, go to Robot Settings > Firmware Update. Install any available update immediately.
- Update the App: Go to your phone’s App Store (iOS) or Google Play Store (Android) and ensure the Shark app is updated to the latest version.
- Check Wi-Fi Signal: The robot needs a stable 2.4GHz Wi-Fi connection (it does not support 5GHz). Ensure the dock is placed in an area with good signal strength. Consider moving your router closer or using a Wi-Fi extender if the dock is in a basement or far corner. A weak signal can cause map data to fail to sync.
Step 4: Environmental Adjustment
If the map looks structurally correct but the robot still avoids certain areas (like a dark rug or a shiny floor):
- For Dark Rugs/Flooring: The cliff sensors may be triggered. Try placing a piece of white tape or a light-colored rug runner over the problematic area just for the mapping run to “trick” the sensors. Once mapped, you can remove it and create a “No-Go Zone” over the area if it still avoids it.
- For Very Dark Rooms: Turn on a lamp before starting the mapping run. The camera needs light.
- For Repetitive Layouts: Place a small, distinctive object (like a bright shoe or a box) in one corner of the hallway or room to give the camera a unique landmark.
- Remove Clutter: Pick up stray socks, cords, and small objects from the floor during the initial mapping run. The robot may navigate around them and incorporate them into the map as permanent obstacles.
Advanced Troubleshooting and When to Worry
Interpreting the Map Anomalies
Look at the map in your app. What’s wrong?
- “Swiss Cheese” Map: Many small holes. This is almost always dirty cliff sensors misreading dark floor patches or small area rugs.
- Missing Entire Rooms: Doors were likely closed during mapping, or the robot’s camera couldn’t identify a transition (e.g., from tile to carpet in a low-light room). Re-map with doors open and lights on.
- Walls in the Middle of Rooms: The robot got lost and thought it was circling a wall. This points to a software glitch or extreme sensor dirt. Reset and re-map.
- Robot Icon “Teleporting”: You see the robot’s icon jump from one spot to another far away on the app’s live view. This indicates a complete loss of localization—the robot has no idea where it is. This is often a severe sensor issue or a major software crash requiring a full reset.
Hardware Fault Diagnosis
If you’ve completed every step—deep cleaned sensors, reset, updated firmware, optimized the environment—and the mapping is still unusable, a hardware component may be faulty.
- Faulty Camera: If the robot maps but constantly gets lost afterward, the camera may be defective.
- Failed Cliff Sensor Array: If the robot constantly beeps and backs away from perfectly flat floors, one or more cliff sensors may be broken.
- Faulty Bumper Switch: If the map shows the robot constantly “bumping,” the bumper sensor might be stuck or broken.
- Weekly Sensor Wipe-Down: Once a week, spend 60 seconds wiping the top camera lens and the underside cliff sensors with a dry microfiber cloth. This is the single most effective maintenance task.
- Monthly Deep Clean: Once a month, perform the full cleaning from Step 1, including removing hair from wheels and brushes.
- Always Dock Fully: Ensure the robot is properly seated on the dock before walking away. A poor dock connection can interrupt map saves.
- Stable Environment for Mapping: When you do a new map (e.g., after moving furniture), pick a time of day with consistent lighting and minimal activity. Close doors to rooms you don’t want included.
- Use “Keep-Out Zones” Wisely: Instead of moving the dock or robot, use the app’s No-Go Zones to permanently exclude problem areas like pet bowls or delicate rugs after you have a good base map.
- Update Promptly: When the app notifies you of a firmware update, install it within a few days. These updates often contain critical navigation improvements and bug fixes.
At this stage, it’s time to contact Shark Support. Have your robot’s serial number (on the underside) and a detailed log of all troubleshooting steps you’ve taken ready. They may offer a repair or replacement if the unit is under warranty.
Prevention: Keeping Your Shark Robot Mapping Perfectly
An ounce of prevention is worth a pound of cure. Integrate these habits into your routine:
Conclusion: Regaining Control of Your Smart Home
Dealing with “Shark robot mapping not working” can feel like a betrayal of your smart home dreams. But as we’ve seen, the root causes are overwhelmingly mundane: dust, software, and environment. By methodically working through the troubleshooting ladder—from the essential sensor cleaning to the nuclear factory reset—you can diagnose and resolve the vast majority of mapping failures yourself. Remember, your Shark robot is a tool that requires a baseline of care. Treat its sensors like you would the lens on your camera, and respect the mapping process by giving it a clean, stable, and well-lit environment to learn. With these practices, you’ll restore that beautiful, efficient pattern-cleaning performance and get back to enjoying a truly hands-off, intelligent floor cleaning experience. If you’ve exhausted all options, don’t hesitate to lean on Shark’s customer support—they’ve seen it all and can help determine if your robot needs professional service.
Frequently Asked Questions
Why did my Shark robot’s mapping suddenly stop working after it was fine for months?
This is almost always due to sensor dirt buildup over time or a recent software glitch. Start with a thorough cleaning of the camera and cliff sensors, then reboot the robot and your phone. If that fails, perform a factory reset and re-map the home.
My Shark robot avoids my dark area rug. Is this a mapping problem or a sensor problem?
This is a classic cliff sensor issue, not a mapping problem per se. The dark, thick pile reflects very little light, confusing the infrared cliff sensors into thinking it’s a drop-off. Clean the sensors first. If it persists, you may need to use the app to create a No-Go Zone over the rug or temporarily cover it with a light-colored sheet during the initial mapping run.
How often should I clean the sensors on my Shark robot?
For optimal performance, wipe the upward-facing camera lens and the four underside cliff sensors with a dry microfibril cloth once a week. Perform a more thorough cleaning, including wheels and brushes, once a month or after cleaning a particularly dirty or hairy space.
Will resetting my Shark robot delete my saved maps and No-Go Zones?
Yes, a Factory Reset or Reset Map command in the Shark app will permanently delete all saved floor plans, including any custom No-Go Zones, Keep-Out Zones, and room partitions. You will need to run a new complete Home Mapping session to recreate the map.
Can poor Wi-Fi cause mapping problems?
Indirectly, yes. A weak or unstable Wi-Fi connection can prevent the robot from successfully saving its map to the cloud or downloading firmware updates that fix known bugs. It can also cause the app to lose connection during a mapping run. Ensure the robot’s dock is in an area with a strong, stable 2.4GHz Wi-Fi signal.
What’s the difference between a “Mapping” run and a “Clean” run?
A Home Mapping run is a dedicated, exploratory session where the robot is tasked solely with learning your home’s layout. It should run uninterrupted for 30-60 minutes with all interior doors open. A Clean run (Clean All, Room Clean) uses the already-saved map to navigate efficiently. If the saved map is bad or missing, the Clean run will fail, which is why you must do a successful Mapping run first.