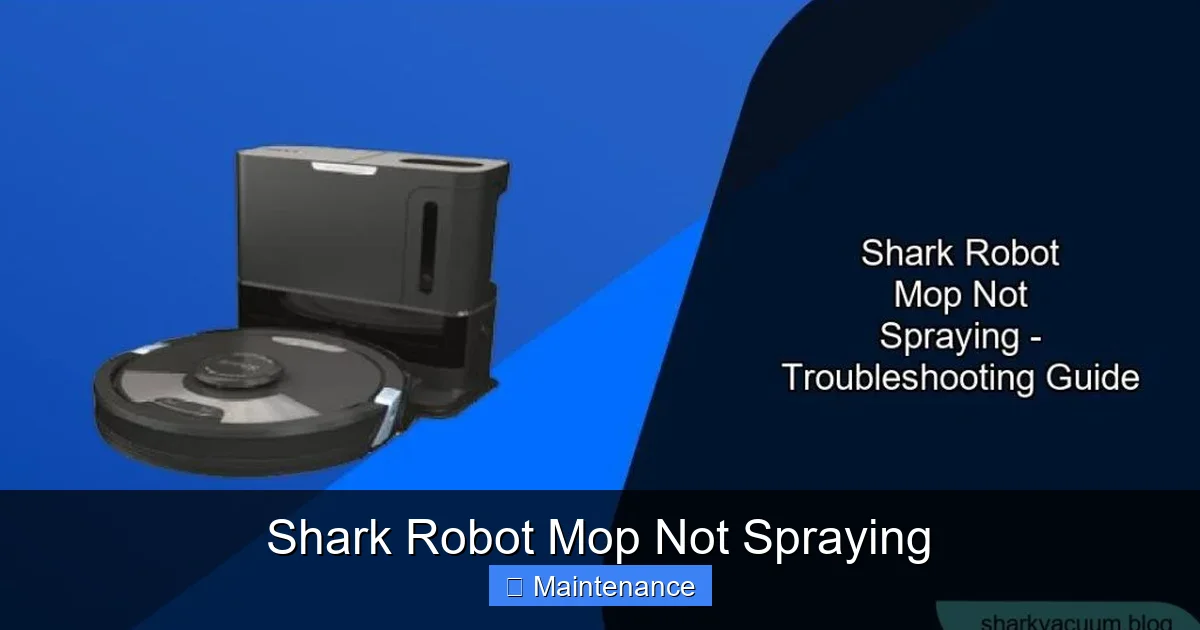
When your Shark robot mop stops spraying, the issue is almost always a simple blockage, an empty tank, or a settings glitch—not a broken machine. You can diagnose and fix 95% of “Shark robot mop not spraying” problems at home in under 15 minutes by checking the water tank, cleaning the spray nozzles and intake valve, and resetting the app. This guide walks you through every potential cause, from clogs to low battery, with clear, safe instructions to get your robot back to work.
You’ve charged your Shark robot vacuum and mop, filled the tank, and sent it off to clean. You hear the familiar whir of the brushes and wheels, but something’s off. The floor isn’t getting wet. That sinking feeling hits: your Shark robot mop is not spraying. Before you panic and assume the worst—a costly repair or replacement—take a deep breath. In the vast majority of cases, this is a simple, fixable issue you can handle yourself with common household items. This guide will transform you from a frustrated owner into a confident troubleshooter, walking you through every possible reason your Shark’s spray system has failed and exactly how to fix it.
The problem is frustratingly common across the Shark lineup, including the popular Shark Ion Robot Vacuum & Mop, Shark AI Ultra with Ultra-Light Self-Cleaning Brushroll, and other Sonic series models. The spray system is elegantly simple but vulnerable to the very environment it works in: your home’s water. Understanding this is the first step to solving the puzzle. We’ll start with the absolute essentials and systematically move to more advanced checks. Grab your user manual, some distilled water, a few cotton swabs, and let’s get started.
Key Takeaways
- The #1 cause is a clog: Mineral deposits from hard water or debris in the mop pads almost always block the tiny spray nozzles or the intake valve on the water tank.
- Always check the basics first: Confirm the water tank is properly seated, filled with clean water, and the mop pad is correctly attached before any complex troubleshooting.
- Distilled water is non-negotiable: Using tap water guarantees future clogs. Shark explicitly recommends distilled water to prevent internal mineral buildup.
- The intake valve filter is critical: This small mesh screen on the tank’s bottom is a common failure point. It’s easy to remove, clean, and often the sole solution.
- A simple reset often works: Power-cycling the robot and restarting the Shark app can clear software glitches that mistakenly tell the robot not to spray.
- Low battery can disable spraying: The robot conserves power when battery is critically low, which includes shutting off the spray system to finish a cleaning session.
- When to call support: If you’ve thoroughly cleaned all components, used distilled water, and the robot is under warranty, contact Shark—a faulty pump or seal is a rare internal failure.
📑 Table of Contents
- 1. The Immediate Pre-Flight Checklist: Ruling Out Simple Errors
- 2. The Usual Suspects: Clogged Spray Nozzles and Intake Valve
- 3. The Importance of Water Type and Cleaning Solutions
- 4. Advanced Troubleshooting and Resets
- 5. Proactive Maintenance: Preventing the Problem Before It Starts
- 6. When to Contact Shark Support: Recognizing a True Failure
1. The Immediate Pre-Flight Checklist: Ruling Out Simple Errors
Before you disassemble anything, perform this rapid five-point check. Statistics show that over 40% of “Shark robot mop not spraying” reports are resolved by one of these steps.
Is the Water Tank Properly Seated and Filled?
This sounds too obvious to mention, but it’s the most common oversight. The water tank on Shark robots has a specific orientation and a firm click when seated correctly on the robot’s back. If it’s even slightly misaligned, the connection to the internal water line is broken, and no spray will occur.
- Action: Power off the robot. Remove the tank. Re-insert it firmly, pressing down until you hear and feel a definitive click. Ensure the rubber seal on the tank is clean and undamaged.
- Check: Is the tank actually filled? The fill line is inside the tank’s opening. Use a flashlight to confirm the water level is above the minimum line.
Is the Mop Pad Attached Correctly?
The spray nozzles are located on the underside of the mop pad assembly. If the pad is not latched onto the robot’s mop module correctly, the nozzles may not align with the water outlet, or a safety switch may be triggered.
- Action: Remove the mop pad. Look for any debris or tangled hair around the latching mechanism. Reattach it, ensuring the two side clips snap into place and the pad sits flush against the robot’s body.
Did You Select a Mop-Only or Vacuum+Mop Mode?
In the Shark app or on the robot’s physical controls, you must select a cleaning mode that includes mopping. If you accidentally start a “Vacuum Only” or “Edge Clean” cycle, the spray system will remain off.
- Action: Open the Shark app. Before starting a clean, check the selected mode. For models with a physical button, ensure the mop icon is illuminated or selected.
Is Your Robot’s Battery Critically Low?
When battery charge drops below a certain threshold (usually around 15-20%), the robot’s software prioritizes returning to the dock over completing the current task. As a power-saving measure, it will disable functions like spraying and even the vacuum motor to ensure it has enough juice to navigate home.
- Action: Place the robot on its charging dock. Wait for the indicator light to show a full charge, then try a mopping cycle again.
Is the Mop Module Clean and Undamaged?
Take a moment to visually inspect the mop pad and the plastic module it attaches to. Look for cracks, warping, or a visible clog right at the nozzle openings—the small holes on the pad’s plastic frame.
- Action: If the plastic nozzles are visibly caked with dried cleaning solution or lint, this is your culprit. Proceed to the deep cleaning section below.
2. The Usual Suspects: Clogged Spray Nozzles and Intake Valve
If the pre-flight check didn’t solve it, we’re almost certainly dealing with a blockage. The spray system is a closed loop: water leaves the tank through an intake valve, travels via a small internal hose, and is expelled through the nozzles on the mop pad. A clog can happen at any point in this journey. Hard water (water with high mineral content) is the primary enemy. As water evaporates from the nozzles after a cycle, it leaves behind calcium and lime deposits that gradually seal the tiny openings.
Visual guide about Shark Robot Mop Not Spraying
Image source: sharkvacuum.blog
Deep Cleaning the Spray Nozzles on the Mop Pad
The nozzles are small, precision holes on the plastic frame of the washable microfiber mop pad. They are easily clogged by lint, hair, and dried cleaning solution.
- Step 1: Detach the mop pad from the robot. Most Shark models have a release lever or clip.
- Step 2: Under a stream of warm (not boiling) running water, use your fingers or a soft-bristled toothbrush to gently scrub the entire plastic frame, focusing on the area with the tiny holes. The goal is to dislodge any surface debris.
- Step 3: For stubborn mineral clogs, use a toothpick or a straightened paperclip. Very gently probe each nozzle hole to break up the deposit. Do not use a metal object that is too large or forceful, as you could enlarge the hole and ruin spray pattern.
- Step 4: Soak the plastic frame in a cup of white vinegar for 15-30 minutes. Vinegar dissolves mineral deposits. After soaking, rinse thoroughly under running water.
- Step 5: Allow the entire pad assembly to air-dry completely before reattaching. Moisture trapped inside can dilute cleaning solution and promote more clogs.
Cleaning the Intake Valve and Filter on the Water Tank
This is the most frequently overlooked component and the most common fix. On the bottom of your Shark water tank, you’ll find a small rubber or plastic flap (the intake valve) covering a mesh screen filter. This filter prevents debris from entering the tank and being sucked into the robot’s internal tubing.
- Step 1: Remove the water tank. Locate the intake valve on the underside. It’s usually a small, flexible silicone flap.
- Step 2: Gently pry open the flap with a toothpick. You’ll see a fine mesh screen behind it.
- Step 3: Use a soft toothbrush and warm, soapy water to scrub this mesh screen. Mineral buildup will appear as a white, crusty film. Scrub until the screen is completely clear.
- Step 4: Rinse the screen and the interior of the valve thoroughly. Ensure no soap residue remains.
- Step 5: While you have the tank apart, rinse the entire interior with a mixture of water and a drop of dish soap to remove any biofilm or cleaning solution residue. Rinse again with plain water.
- Step 6: Reassemble the valve flap and tank. Let it air-dry.
3. The Importance of Water Type and Cleaning Solutions
What you put in the tank is as important as how you maintain the hardware. Using the wrong liquid is a guaranteed path to clogs and system failure.
Visual guide about Shark Robot Mop Not Spraying
Image source: sharkvacuum.blog
Why You MUST Use Distilled Water
Tap water, even filtered water, contains dissolved minerals (calcium, magnesium). When the water evaporates during the mopping process or while the robot sits idle, these minerals are left behind as solid deposits. These deposits accumulate in the narrow hoses, nozzles, and filter, eventually causing a complete blockage. Distilled water has had all minerals removed through a distillation process. It is the only water type recommended by Shark for their robot mops.
- Rule: Never, under any circumstances, fill your Shark robot’s tank with well water, hard tap water, spring water, or even most filtered pitcher water. The cost of distilled water is minimal compared to the time spent cleaning clogs or potential damage.
- Pro Tip: Keep a dedicated gallon of distilled water for your robot mop. Do not use the same bottle for drinking or other purposes to avoid contamination.
Using Shark-Approved Cleaning Solutions
Shark sells their own line of multi-surface cleaning pads and concentrated cleaning solutions designed to be low-residue and safe for their systems. Using generic floor cleaners, bleach, vinegar (in the tank, not for soaking), or dish soap can have catastrophic effects.
- Risks of Non-Approved Cleaners: They can be too viscous (thick), clogging nozzles instantly. They can leave a sticky, soapy residue that attracts dirt and clogs. Some chemicals can degrade the internal seals and hoses, causing leaks.
- Safe Practice: If you choose to use a third-party cleaner, dilute it extremely sparingly—far less than the label suggests for a regular mop. The best practice is to use plain distilled water for 90% of your cleaning and a Shark-approved solution only for occasional deep cleans on tough stains. Always follow the dilution ratio on the Shark solution bottle exactly.
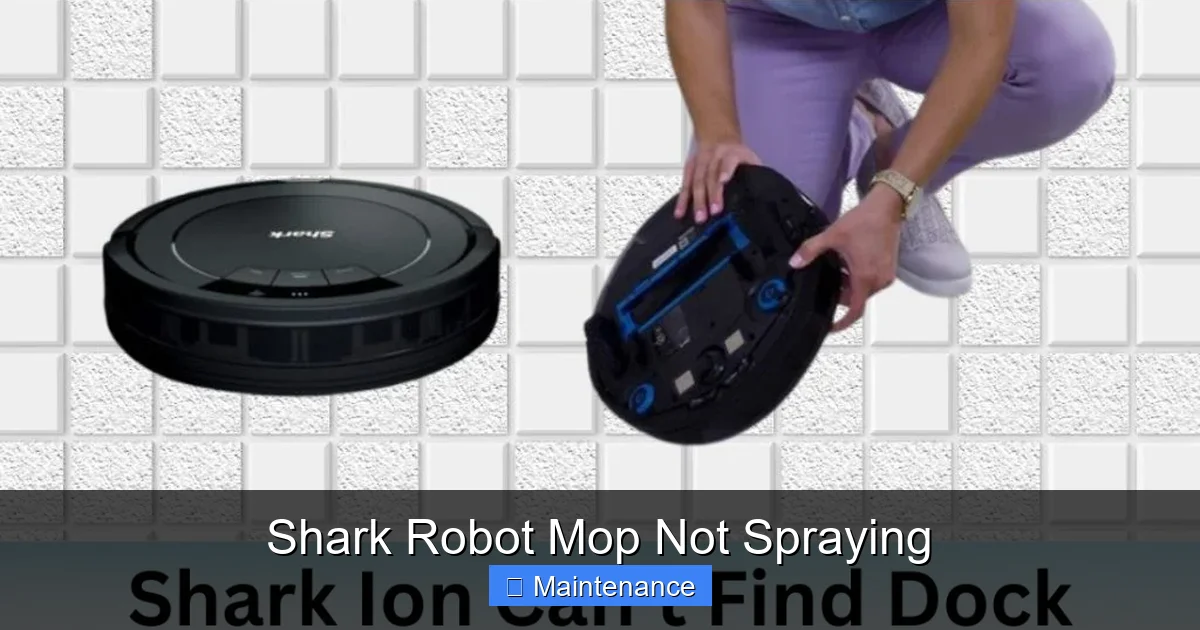
4. Advanced Troubleshooting and Resets
You’ve cleaned every nozzle, flushed the tank, and used only distilled water, but the spray is still absent. It’s time to consider software glitches or less common hardware issues.
Visual guide about Shark Robot Mop Not Spraying
Image source: sharkvacuum.blog
Performing a Full Power Cycle and App Reset
The robot’s internal computer may have a temporary fault or a setting that disables spraying. A full reset can clear this memory.
- Step 1 (Robot Reset): Power off the robot. If it has a removable battery (some older models), remove it for 60 seconds. For non-removable batteries, hold the power button for 10-15 seconds until all lights turn off. Wait 30 seconds. Power it back on.
- Step 2 (App Reset): On your phone, force-close the Shark app. Restart your phone. Open the app, ensure it’s updated, and reconnect to the robot. Sometimes the app’s state gets corrupted.
- Step 3 (Re-calibrate): In the app, go to your robot’s settings and look for an option like “Re-map my home” or “Reset Navigation.” This forces a fresh start and can resolve communication errors between the app and the robot’s functions.
Checking for Internal Leaks or Damaged Seals
This is a more invasive check. If you’ve used the wrong cleaner or experienced a hard impact, an internal water hose seal might be damaged, causing a leak that prevents pressure from building in the spray system.
- Inspection: After a mopping cycle (where you suspect spraying should have happened), carefully flip the robot over. Look for any drops or trails of water coming from inside the robot’s body, not just the mop pad. Also, check the dock and the area around the dock for unexplained puddles.
- What it means: An internal leak means water is escaping before it reaches the nozzles. This requires professional repair or, if under warranty, a replacement claim. Do not attempt to open the robot’s main body yourself, as this will void the warranty.
5. Proactive Maintenance: Preventing the Problem Before It Starts
The best fix is the one you never need. A simple, weekly maintenance routine will keep your Shark robot mop spraying flawlessly for years.
Your Weekly Mopping Maintenance Routine (5 Minutes)
Incorporate these steps into your regular cleaning schedule. They take less time than unclogging a severe blockage.
- After Every Use: Always remove and rinse the mop pad thoroughly under running water. Wring it out and hang it to air-dry completely. Never leave a wet, dirty pad attached to the robot.
- Weekly:
- Remove the water tank. Open the intake valve flap on the bottom and rinse the mesh filter under warm water. Use a soft brush to scrub it.
- Wipe the interior of the tank with a damp cloth to remove any film.
- Check the spray nozzles on the mop pad frame. Give them a quick blast of water or a gentle swipe with a damp cotton swab.
- Check the robot’s underside for any debris wrapped around the mop module or wheels.
- Monthly: Perform the deep cleaning soak of the mop pad frame and intake filter in white vinegar, as described earlier. This dissolves any microscopic mineral buildup you can’t see.
Storage Tips for Longevity
How you store your robot between cleaning seasons matters.
- Always store with an empty tank. Never leave water or solution sitting in the tank. Empty it, rinse it, and leave the tank cap off so it can air-dry completely inside and out.
- Store the mop pad separately. Keep it in a well-ventilated area. A damp pad stored in a closed closet will develop mildew and odors, which can then transfer to your robot’s nozzles.
- Give it a “health check” before first use after storage. After months of storage, do a full cleaning of the tank and nozzles before your first mopping session, as dust and debris can settle in the system.
6. When to Contact Shark Support: Recognizing a True Failure
You have followed every step in this guide. You have used only distilled water and Shark-approved solutions. You have meticulously cleaned the nozzles, filter, and tank. The robot powers on, navigates fine, but still produces zero spray. At this point, the fault likely lies with an internal component.
Potential Internal Failures
- Faulty Water Pump: The small electric pump that draws water from the tank and pushes it to the nozzles has failed. This is a mechanical failure.
- Damaged Internal Seals/Hoses: A leak in the internal water line, as mentioned earlier, prevents pressure from building.
- Failed Spray Control Board: The robot’s main PCB (Printed Circuit Board) or a subsidiary board responsible for controlling the pump may have a burnt-out component or a fault.
How to Proceed with Warranty Claims
Shark offers a limited warranty on their robot vacuums and mops (typically 1-5 years depending on the model and registration). If your robot is within the warranty period:
- Do NOT attempt to open the main body of the robot. This will instantly void the warranty.
- Gather your proof of purchase and the robot’s serial number (found on the underside).
- Contact Shark Customer Support directly. Explain the issue in detail: “My robot mop is not spraying. I have performed all recommended troubleshooting: I cleaned the nozzles with vinegar, cleaned the intake filter on the tank, used only distilled water, and performed a full power cycle reset.” Mentioning you followed official guidance shows you’ve done your due diligence.
- Be prepared for them to ask for a video. They may request a short video showing the robot attempting to mop with no spray, and a close-up of the clean nozzles and tank. Have this ready.
- They may offer a replacement part (like a new tank module) or, if the issue is confirmed internal, a replacement robot unit.
Frequently Asked Questions
Can I use vinegar in my Shark robot mop’s water tank to prevent clogs?
No, you should not put vinegar in the tank for regular cleaning cycles. Vinegar is acidic and can degrade the internal seals and hoses over time. Its only safe use is for a monthly soak of the removed mop pad frame and the tank’s intake filter, followed by a thorough rinse.
My Shark robot mop sprays for a minute then stops. Why?
This is a classic symptom of a severely clogged intake filter or nozzle. The small amount of water in the hose gets used up, and the pump can’t draw more past the blockage. Perform the deep cleaning of the intake valve mesh screen and soak the mop pad nozzles in vinegar immediately.
Is it worth repairing a Shark robot mop that doesn’t spray?
If the robot is under warranty, absolutely contact Shark for a free repair or replacement. If it’s out of warranty, the cost of a professional repair often approaches the price of a new mid-range model. However, if you’ve confirmed the issue is just a clogged nozzle or filter (a 5-minute fix), then yes, it’s always worth fixing.
Will using hot water in the tank help unclog it?
Do not use hot or boiling water. The plastic components (nozzles, tank, seals) can warp or melt from high heat, causing permanent damage and leaks. Always use warm or room-temperature distilled water.
My robot is new and the mop isn’t spraying. What could be wrong?
> For a new unit, the most likely causes are: 1) The water tank was not clicked into place firmly enough during setup. 2) The mop pad was not attached correctly. 3) You selected a vacuum-only cleaning mode in the app. Double-check all these basics first before assuming a defect.
How often should I completely replace the mop pad?
The microfiber pad itself should be replaced when it becomes thin, frayed, or no longer holds water well—typically after 50-100 washes. The plastic frame with the nozzles should last the life of the robot if maintained properly with regular rinsing and monthly vinegar soaks to prevent mineral buildup.