A Shark Vac Mop that won’t charge is a common but frustrating issue. The problem is usually simple: a dirty charging contact, a faulty outlet, or a tripped thermal fuse. Start by checking the basics—power source, cleanliness of the charging pins, and a full device reset. If those fail, the culprit is often a degraded battery or an internal fault. Most charging problems can be diagnosed and fixed at home with basic tools and patience. Always consult your specific model’s manual, as designs vary. Knowing the common failure points saves you time and money on unnecessary service calls or premature replacement.
Key Takeaways
- Cleanliness is Critical: The #1 cause is dirty or obstructed charging contacts on both the mop and the base. Regular cleaning prevents most issues.
- Check the Power Chain: Always verify the outlet, charger, and cable. Test with another device or use a multimeter to confirm power delivery.
- Reset is Your First Tool: A full power cycle (remove battery, unplug charger, wait 60 seconds) clears temporary errors and resets the charging circuit.
- Batteries Degrade: Lithium-ion batteries lose capacity over 2-3 years. A “not charging” symptom often means the battery is at end-of-life and needs replacement.
- Thermal Fuse Trips: Overheating from clogged filters or a jammed brushroll can trigger a safety fuse that stops charging. Clean the machine thoroughly first.
- Inspect for Physical Damage: Frayed cables, bent charging pins, or water intrusion inside the mop body are serious faults requiring part replacement.
- Know Your Warranty: If under warranty, contact Shark directly before attempting repairs that could void coverage. Have your model and serial number ready.
📑 Table of Contents
- Introduction: The Dreaded “Not Charging” Dilemma
- Understanding Your Shark Vac Mop’s Charging System
- Immediate Troubleshooting: The 15-Minute Diagnostic Routine
- Advanced Diagnostics: When the Basics Fail
- Battery Replacement: A Viable DIY Path
- Preventive Maintenance: Keeping the Charge Alive
- When to Seek Professional Help or Consider Replacement
- Conclusion: Empowering Your Cleaning Routine
Introduction: The Dreaded “Not Charging” Dilemma
You’ve just finished a satisfying clean with your Shark Vac Mop, placing it back on its charging dock with a sense of accomplishment. You return later, ready for the next spill, only to find the power light dark and the battery indicator stubbornly empty. That sinking feeling is all too familiar. A Shark Vac Mop not charging brings your whole cleaning routine to a halt. But before you panic or start shopping for a replacement, take a deep breath. This is one of the most frequently reported issues with cordless stick vacs, and the solution is often simpler and less expensive than you think.
The modern cordless vacuum mop is a marvel of engineering, packing a motor, battery, water tank, and electronic controls into a lightweight frame. That complexity means several things can go wrong, but it also means there’s a logical path to diagnosis. This guide will walk you through every possible reason your Shark Vac Mop won’t charge, from the embarrassingly simple to the technically complex. We’ll use plain language, practical steps you can do with household items, and clear explanations of what’s happening inside your machine. By the end, you’ll be equipped to troubleshoot confidently and determine if it’s a quick fix or time to call for help.
Understanding Your Shark Vac Mop’s Charging System
To diagnose a problem, you first need to understand the system. Your Shark Vac Mop’s charging process isn’t magic; it’s a coordinated dance between several components. A breakdown anywhere in this chain results in a “not charging” status. Knowing these parts helps you pinpoint the failure.
Visual guide about Shark Vac Mop Not Charging
Image source: sharkvacuum.blog
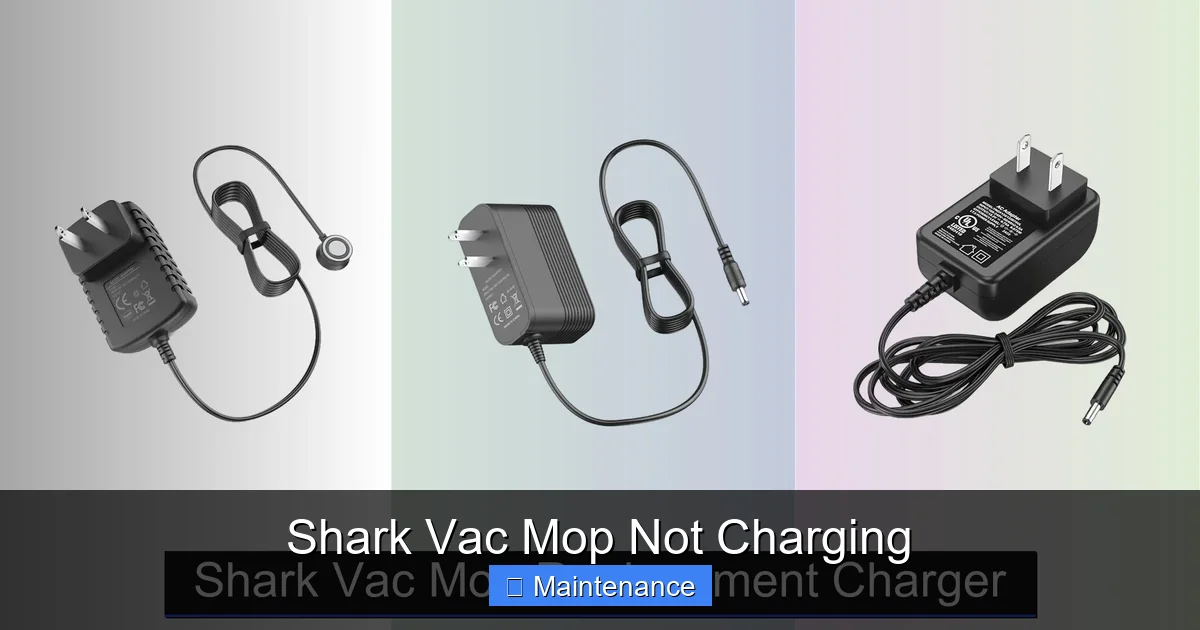
The Core Components: Power In, Power Out
The charging system has three main segments: the power source, the charging dock/adapter, and the vacuum mop itself. The power source is your wall outlet. The charger (either a wall wart or a dock with pins) converts AC household current to the specific DC voltage your battery requires (typically around 18-20V). The mop’s internal charging circuit manages the flow of electricity into the lithium-ion battery, monitoring voltage, current, and temperature to charge safely and efficiently. The physical connection is made via metal contact pads on the bottom of the mop that touch corresponding pins on the dock. Any disruption—electrical or physical—in this chain stops the process.
How the Shark Vac Mop Knows It’s Charging
Your mop isn’t just passively accepting power. Its internal “brain” (a simple microcontroller) constantly checks for a valid charging signal from the dock. It verifies the voltage is correct, the connection is solid, and the battery isn’t too hot or too cold. If any of these checks fail, it will deliberately refuse to charge as a safety measure. This is why a simple “is the light on?” check is rarely enough. The light might not come on because the mop’s circuit rejected the charger, not necessarily because the charger is dead.
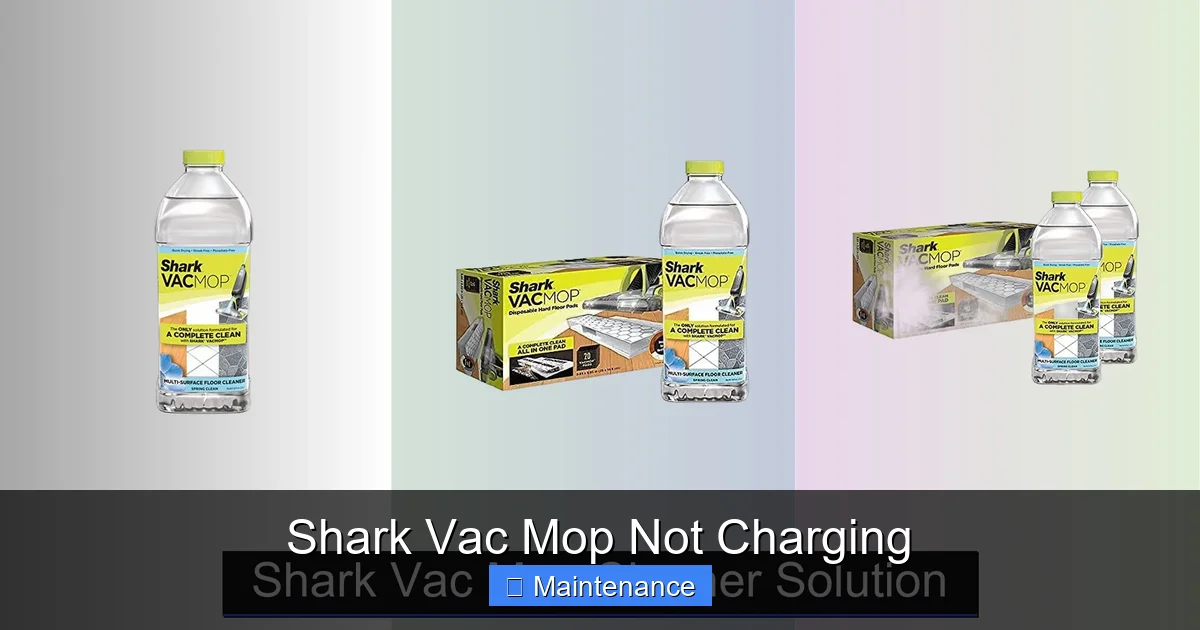
Immediate Troubleshooting: The 15-Minute Diagnostic Routine
Before you disassemble anything or order parts, you must perform a systematic, basic check. This routine eliminates 80% of “not charging” problems. Grab your user manual and set a timer for 15 minutes.
Visual guide about Shark Vac Mop Not Charging
Image source: sharkvacuum.blog
Step 1: The Power Source Audit
Don’t assume the outlet works. Plug a lamp, phone charger, or other known-good device into the same outlet. If that doesn’t work, check your home’s circuit breaker or GFCI outlet (common in kitchens/bathrooms). If the outlet is on a switch, ensure it’s on. If you’re using a power strip or extension cord, bypass it and plug the Shark charger directly into the wall. Faulty or low-quality power strips are a frequent hidden culprit.
Step 2: Inspect and Clean the Charging Contacts
This is the most common fix. Turn the mop over and look at the two metal charging pads on the bottom. Use a flashlight. Are they clean silver metal? Or are they discolored, caked with dried dirt, dust bunnies, or dried cleaning solution? Even a thin film of grime can insulate the contact. Do the same for the charging pins on the dock. Clean both sets thoroughly. Use a cotton swab dipped in isopropyl alcohol (90% or less). Rub until the swab comes away clean. For stubborn grime, use a plastic dental pick or a pencil eraser gently. Let everything dry completely (alcohol evaporates fast) before trying again. This simple step solves a huge percentage of problems.
Step 3: The Full System Reset
Like rebooting a frozen computer, a full reset clears any temporary error state in the mop’s charging circuit.
- Place the mop on the dock, unplug the charger from the wall.
- Remove the battery from the mop (if your model has a removable battery—most do).
- Press and hold the power button on the mop for 10-15 seconds to discharge any residual power.
- Leave everything disconnected for 60 seconds.
- Reinsert the battery firmly, plug the charger into the wall, and place the mop on the dock.
Watch for any indicator lights. The sequence and color of lights vary by model (e.g., solid blue, pulsing amber), so consult your manual for what “charging” looks like.
Step 4: Check for Obvious Physical Damage
Give your charger cable a close inspection. Are there any kinks, frays, or exposed wires? Test the cable’s flexibility at both ends. A broken internal wire is common near the connectors. Examine the charging pins on the dock—are any bent, broken, or recessed? Look inside the mop’s charging port (the hole where the dock pins go) for obstructions or corrosion. If you see water inside the mop body (from a leak or overfilling the tank), that’s a major red flag for internal damage.
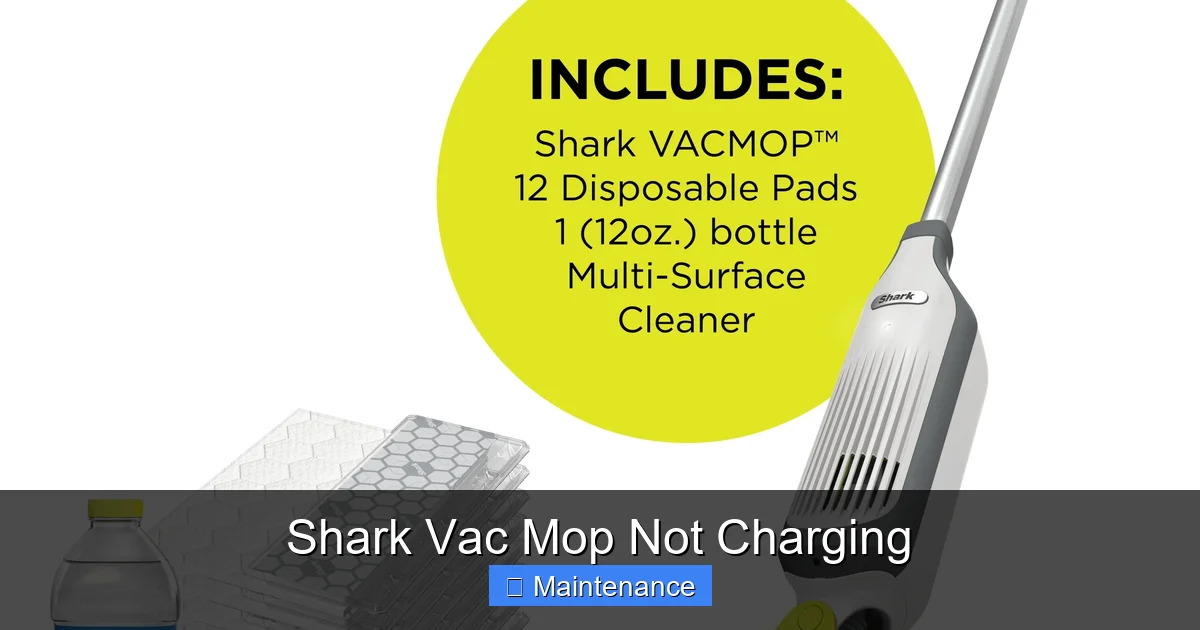
Advanced Diagnostics: When the Basics Fail
If you’ve completed the immediate steps and your Shark Vac Mop is still not charging, it’s time for deeper investigation. This involves a bit more tools and logical deduction.
Visual guide about Shark Vac Mop Not Charging
Image source: i5.walmartimages.com
Is the Charger Dead? Testing with a Multimeter
Your charger might be outputting zero volts. You can test this with a simple multimeter (available for $15-20). Set the multimeter to DC voltage (V with a straight line). Plug the charger into the wall. Touch the red probe to the center pin of the charger tip (or the positive contact on the dock) and the black probe to the outer metal shaft or negative contact. You should read a voltage very close to what’s printed on the charger’s label (e.g., “OUTPUT: 18V DC”). If it reads 0V or significantly lower (e.g., 5V), the charger is faulty and needs replacement. You can often order a genuine Shark replacement charger online using your model number.
The Thermal Fuse: A Silent Guardian
Your Shark Vac Mop has thermal safety fuses. If the motor or battery gets too hot—often from a severely clogged filter, a jammed brushroll, or using the mop on thick carpet for too long—a fuse will trip, cutting power to the charging circuit as a fire prevention measure. This fuse may or may not be user-resettable. The key is to thoroughly clean the machine first. Remove and wash the foam filter (let it dry 24 hours!). Clean the brushroll housing of all hair and debris. Check that the brushroll spins freely by hand. After a complete cleaning and a full cool-down period (several hours), try charging again. If it works, the fuse likely reset. If not, the fuse may be permanently blown and require soldering replacement—a job for a technician.
Battery Health: The Finite Lifespan
Lithium-ion batteries are not immortal. They have a typical lifespan of 2-3 years or 300-500 charge cycles, after which their capacity drops significantly. A severely degraded battery can sometimes appear dead because its voltage has dropped too low for the charging circuit to recognize it as a valid battery. The mop’s circuit might see a very low, unstable voltage and refuse to charge for safety. If your mop is older and the battery has been charging fine until now, the battery is the prime suspect. The only definitive test is to try a known-good, fully compatible replacement battery. Shark sells these for most models. If the new battery charges, your old one is at end-of-life.
Battery Replacement: A Viable DIY Path
If you’ve diagnosed a bad battery, replacing it is often the most cost-effective solution, extending your mop’s life by years. It’s a straightforward parts swap on most Shark models.
Identifying Your Exact Model and Battery
This is crucial. The model number is on a sticker on the back or bottom of the mop body (e.g., “Shark IZ682” or “Shark Vertex Pro”). It’s also on the original battery itself. Use this exact model number to search for a replacement battery on the Shark website or authorized retailers. Do not buy a “universal” battery; compatibility is specific to the model’s voltage, connector type, and communication protocol.
The Replacement Process: General Steps
While steps vary, the process is usually: 1) Lay the mop flat. 2) Locate the battery release latch or screw (often on the back or underside). 3) Disengage the latch or remove the screw. 4) Slide the old battery out firmly. 5) Align the new battery’s connector with the slot and slide it in until it clicks or is fully seated. 6) Secure the latch/screw. 7) Place the mop on the charger. The charging light should activate within a minute. Always dispose of old lithium batteries properly at a designated e-waste facility.
Preventive Maintenance: Keeping the Charge Alive
An ounce of prevention is worth a pound of cure. Incorporate these habits into your routine to maximize your Shark Vac Mop’s uptime and battery health.
Charge Smart, Not Often
Avoid the “nursery” habit of leaving the mop on the charger 24/7. Lithium batteries prefer partial discharges. For daily use, charge only when the battery is below 20-30%. If you won’t use it for a month or more, store it with a ~50% charge in a cool, dry place. Modern Shark chargers are designed to stop charging at 100%, so leaving it on the dock for a day or two after a full charge won’t harm it, but constant trickle charging over months can stress the battery.
Clean the Contacts Weekly
Make it a habit. Once a week, when you empty the dustbin and rinse the mop pad, take 30 seconds to wipe the charging contacts on the mop and dock with a dry microfiber cloth. For a deeper clean monthly, use the alcohol swab method described earlier. This is the single most effective maintenance task for charging reliability.
Mind the Environment
Do not charge the mop in extreme temperatures (below 40°F / 4°C or above 95°F / 35°C). The charging circuit will refuse to operate outside its safe temperature range to protect the battery. Also, never use the mop if the battery is swollen, leaking, or physically damaged. Dispose of it immediately and safely.
When to Seek Professional Help or Consider Replacement
Not all problems are DIY-friendly. Knowing when to stop is key to safety and cost-effectiveness.
Signs of Internal Water Damage or Major Failure
If you see mineral deposits (white crust), corrosion, or water inside the mop’s charging port or battery compartment, internal circuits may be compromised. A failed motor or a short circuit can also blow internal fuses that require soldering skills to replace. If you smell burnt electronics or see smoke residue, stop immediately. These are not safe for DIY repair.
Weighing Repair vs. Replacement Costs
Get a quote from Shark’s authorized service center. A new battery costs $50-$100. A new charger costs $30-$60. If the quote for diagnosing and repairing an internal circuit board is over $100-$150, and your mop is more than 2-3 years old, buying a new, current-model Vac Mop might be a better long-term investment. Newer models have improved battery tech, suction, and mopping features. Factor in the convenience and warranty of a new purchase.
Utilizing Your Warranty
If your mop is under Shark’s limited warranty (typically 1-5 years depending on component), do not open it or attempt repairs. Opening the device almost always voids the warranty. Contact Shark Support with your proof of purchase and model/serial number. They may offer to mail you a replacement part (like a battery or charger) or a refurbished unit. This is often the fastest, cheapest path for a covered defect.
Conclusion: Empowering Your Cleaning Routine
Your Shark Vac Mop not charging is a pause, not a permanent stop. By understanding the charging ecosystem and following a logical, step-by-step diagnostic process, you move from frustration to empowerment. Start with the 15-minute routine: check power, clean contacts, and reset. These three actions resolve the vast majority of issues. If that fails, methodically move to advanced checks—testing the charger, considering battery age, and investigating thermal trips. Remember, the battery is a consumable part with a finite life; planning for its replacement is part of owning any cordless device. Embrace preventive maintenance, especially contact cleaning, as a non-negotiable habit. Finally, know your limits. When internal damage or high repair costs loom, leverage your warranty or consider the upgrade to a newer model. With this knowledge, you’re not just a user; you’re the informed caretaker of a valuable cleaning tool, ready to tackle this and many other common hiccups for years to come.
Frequently Asked Questions
My Shark Vac Mop’s charging light doesn’t come on at all. What should I check first?
First, ensure the wall outlet is working by testing it with another device. Second, unplug everything, thoroughly clean the metal charging contacts on both the mop and the dock with an alcohol swab, and let them dry. Third, perform a full system reset: remove the battery, unplug the charger, hold the power button for 15 seconds, wait 60 seconds, then reassemble and try again.
Could a clogged filter really stop my Shark Vac Mop from charging?
Yes. A severely clogged filter forces the motor to work harder, generating excess heat. This can trigger a thermal safety fuse that disables the charging circuit to prevent fire risk. Always wash and fully dry the foam filter every month and after heavy use to prevent this.
How do I know if my Shark Vac Mop battery is dead and needs replacing?
Signs include: the mop runs for significantly less time than when new (e.g., under 10 minutes), it won’t hold a charge overnight, and it’s over 2-3 years old. A definitive test is to try charging a known-good, compatible replacement battery. If that works, your original battery is at end-of-life.
My charger feels warm, but the mop still won’t charge. Is the charger bad?
A warm charger can be normal, but if it’s excessively hot or the mop doesn’t charge, the charger may be failing. Use a multimeter to test its output voltage. If it’s not delivering the voltage listed on its label (e.g., 18V DC), the charger is faulty and needs replacement. Always use a genuine Shark charger for compatibility.
Can I reset the thermal fuse if it trips?
Sometimes. First, completely clean the mop (filter, brushroll, air pathways) and let it cool for several hours. Then perform the full system reset. If the fuse was tripped by a temporary overheating event, it may reset itself. If the charging light still doesn’t come on, the fuse is likely permanently blown and requires soldering replacement by a technician.
My Shark Vac Mop was exposed to water. Now it won’t charge. What do I do?
Do not attempt to charge it. Water inside the mop body can cause short circuits and corrode internal components. Remove the battery immediately. Dry the mop thoroughly in a warm, dry, well-ventilated area for at least 48-72 hours, ideally with a fan blowing across it. After it is completely dry, try charging. If it fails, internal damage is likely, and professional repair or replacement is needed.