Is your Shark Apex vacuum refusing to power up? This is a common but frustrating issue, often caused by simple power problems, battery faults, or clogged filters. You can usually diagnose and fix it yourself by systematically checking the outlet, charger, battery reset, and internal components like filters and sensors. However, if basic troubleshooting fails, it may indicate a deeper internal failure requiring professional repair or part replacement.
You’re standing in the middle of your living room, Shark Apex in hand, ready to tackle the mess. You press the power button. Nothing. You press it again, holding it down. Still nothing. That pit-in-the-stomach feeling is all too familiar for owners of premium vacuums. A Shark Apex not turning on feels like a betrayal. This powerful, intelligent machine has suddenly gone dead, and you’re left with a pile of dust and confusion. Before you panic and start pricing out new vacuums, take a deep breath. The vast majority of “Shark Apex won’t turn on” scenarios are diagnosable and fixable by you, the user, with some systematic, calm troubleshooting. This guide will walk you through every possible cause, from the blindingly obvious to the more obscure, giving you the knowledge to either revive your trusted cleaning partner or make an informed decision about professional repair.
Key Takeaways
- Always start with the simplest power source checks: Verify the wall outlet is working and the charger is firmly connected to both the vacuum and the wall.
- A battery reset is the most effective fix for a “phantom” power issue: Removing the battery for 60 seconds often clears error states and restores function.
- Clogged filters and blocked airways are a primary cause of shutdowns: A severely dirty pre-motor or post-motor filter can trigger safety cut-offs, preventing startup.
- Sensor contamination (like the “Full Bin” sensor) can trick the vacuum: Cleaning the sensor ports with a dry cotton swab can resolve false-positive alerts.
- Physical damage to the battery or charging pins often requires part replacement: Look for corrosion, bent pins, or a swollen battery case as definitive signs.
- Internal component failures (motor, PCB) are the least common but most serious cause: These require diagnostic tools and expertise beyond typical user repair.
- Warranty status dictates your best path forward: If under warranty, contact Shark support first to avoid voiding it with unauthorized repairs.
📑 Table of Contents
- Section 1: The Immediate Power & Charging Investigation
- Section 2: Battery Health and the Master Reset
- Section 3: Airflow, Filters, and Safety Cut-Offs
- Section 4: Sensors, Electronics, and False Alarms
- Section 5: Deeper Internal and Mechanical Faults
- Section 6: The Decision Tree: Repair vs. Replace
- Conclusion: Empowering the Shark Owner
Section 1: The Immediate Power & Charging Investigation
When faced with a Shark Apex not turning on, your first 15 minutes should be a methodical investigation of the power supply chain. This is the most common culprit, accounting for over 50% of all “no power” complaints. We are not just checking if the plug is in; we are performing forensic accounting on your electrical pathway.
Testing the Wall Outlet Itself
The wall outlet is the root of your power tree. It must be confirmed functional. Unplug your Shark charger and plug in a known-good device—a lamp, your phone charger, a hair dryer. If that device doesn’t work, the outlet is dead. Check your home’s circuit breaker or fuse box for a tripped breaker or blown fuse. A tripped GFCI outlet (common in kitchens and bathrooms) will also cut power. Press the “reset” button on any GFCI outlet you find on the same circuit. If the outlet is indeed dead, an electrician is your next call, not a vacuum repair technician.
Inspecting the Charger and Cables
Assuming the outlet is good, your focus shifts to the charger. The Shark Apex uses a proprietary charger with a magnetic docking connector. Examine the entire length of the AC power cable for any nicks, cuts, or frays, especially near the ends. Feel along the cable for any internal breaks that might not be visible. Next, inspect the connector that plugs into the vacuum’s charging port. Look for bent, broken, or corroded metal pins. A single bent pin can prevent a complete connection. Use a flashlight. Gently straighten any bent pins with needle-nose pliers, but do this with extreme caution. Corrosion can be cleaned gently with a cotton swab dabbed in a tiny amount of isopropyl alcohol, but ensure it is completely dry before use.
The “Wiggle Test” and Connection Security
This is a crucial diagnostic step. Plug the charger firmly into the wall outlet. Now, take the vacuum and plug its charging connector into the dock or directly into the vacuum (depending on your model). Gently wiggle the connector at the point where it meets the vacuum’s charging port. Does the charging light (if your model has one) flicker on and off? Does the vacuum make a faint click or hum? If yes, you have a loose or failing connection *within the vacuum’s charging port*. This could be due to a loose solder joint inside or a worn port. If the connection is solid and no lights activate with the wiggle, the fault likely lies elsewhere. Important: Ensure the vacuum is OFF during this test.
Section 2: Battery Health and the Master Reset
Shark Apex vacuums are powered by high-capacity lithium-ion batteries. These are sophisticated components with their own internal circuitry and safety systems. A battery that is deeply discharged, has entered a protective “sleep mode,” or has developed a fault is a prime suspect for a Shark Apex not turning on.
Visual guide about Shark Apex Not Turning On
Image source: sharkvacuum.blog
Understanding Battery “Sleep Mode”
Lithium-ion batteries have a protection circuit that prevents them from being charged if the voltage drops too low. This is a safety feature to prevent a fire hazard. If your Shark Apex was left on the floor, completely dead, for weeks or months, the battery may have self-discharged below this critical threshold. The charger will recognize it as a dangerous, unusable cell and refuse to send power. To the user, it looks like a dead vacuum with a dead charger. The vacuum shows no signs of life because the battery is an open circuit.
The 60-Second Full Reset Procedure
This is the single most important troubleshooting step you can perform. It is Shark’s own recommended procedure for a non-responsive unit. Here is the exact process:
- Place the vacuum on its charging dock or ensure the charger is plugged into the vacuum.
- Leave it connected for a full 5 minutes. This attempts a “trickle charge” to wake the battery.
- After 5 minutes, unplug the charger from the wall outlet (or disconnect it from the vacuum).
- Remove the battery pack from the vacuum. On most Apex models, you press a release button on the back of the handle or near the battery compartment and slide the battery out.
- Let the battery sit completely isolated from the vacuum and charger for exactly 60 seconds. This clears any residual charge and resets the battery’s internal memory/protection circuits.
- Reinsert the battery firmly into the vacuum until it clicks into place.
- Plug the charger back into the wall and connect it to the vacuum.
- Press the power button. A light should illuminate, and the vacuum should power on. If it does, let it charge uninterrupted for several hours.
If this works, you have successfully revived a battery in sleep mode. If it doesn’t, the battery may be permanently faulty.
Physical Battery Inspection and Replacement
With the battery removed, give it a thorough visual and tactile inspection. Look for these red flags:
- Swelling or bulging: Any puffiness, distortion, or rounding of the normally flat battery sides is a critical safety hazard. Do not charge or use this battery. Dispose of it properly at an electronics recycler and purchase a new OEM Shark battery.
- Cracks, punctures, or liquid damage: Any breach in the battery casing means it is unsafe and must be replaced immediately.
- Corrosion on the battery contacts: White, crusty residue on the metal terminals that connect to the vacuum. Clean these gently with a cotton swab and isopropyl alcohol, ensuring they are bone dry before reinserting.
If the battery shows any of these signs, or if it is more than 3-4 years old and holds a very short charge even when working, battery replacement is the solution. Purchase only genuine Shark replacement batteries to ensure compatibility and safety.
Section 3: Airflow, Filters, and Safety Cut-Offs
Your Shark Apex is a study in airflow engineering. It’s designed to shut down instantly if airflow is impeded to prevent motor burnout. A Shark Apex not turning on can be a safety feature in action. If the vacuum detects a severe blockage during its pre-start self-check (some models do this), it may refuse to power the motor at all.
Visual guide about Shark Apex Not Turning On
Image source: sharkvacuum.blog
The Critical Pre-Motor Filter
This is the #1 filter you must check. Located just before the motor, its job is to catch the finest dust that escapes the primary dust cup. If this filter is clogged solid with caked-on dirt and debris, it creates immense resistance. The vacuum’s logic board senses this and locks out the motor to protect it. Action: Remove the pre-motor filter (usually a rectangular foam or pleated cartridge). Tap it firmly over a trash can to dislodge debris. For a deep clean, wash it with lukewarm water and a mild detergent, rinse thoroughly, and let it air-dry for at least 24 hours before reinserting. Never operate the vacuum with a wet filter.
Post-Motor Filter and Exhaust
While less common as a startup blocker, a severely clogged post-motor filter (the HEPA filter at the back) can also contribute to a system-wide airflow failure. Remove and inspect it. If it’s dark and matted with dust, clean or replace it according to the manual. Also, check the exhaust vent grille on the back of the vacuum. Ensure no stray socks, large hair clumps, or debris are blocking the vent holes.
The Dust Cup and All Pathways
An overfull or clogged dust cup can restrict airflow. Empty it completely. Then, look through the entire air pathway: from the brush roll housing, up the wand, into the hose connection, and into the dust cup inlet. Use a long, flexible brush (like a bottle brush) to dislodge any packed-in debris, hair, or string wrapped around the brush roll or inside the wand. A single dense hairball can be enough to trigger a shutdown.
Section 4: Sensors, Electronics, and False Alarms
The Shark Apex is “smart.” It uses various sensors to monitor its internal state. A dirty or faulty sensor can send incorrect data to the main control board, resulting in a Shark Apex not turning on because the computer thinks there’s a problem.
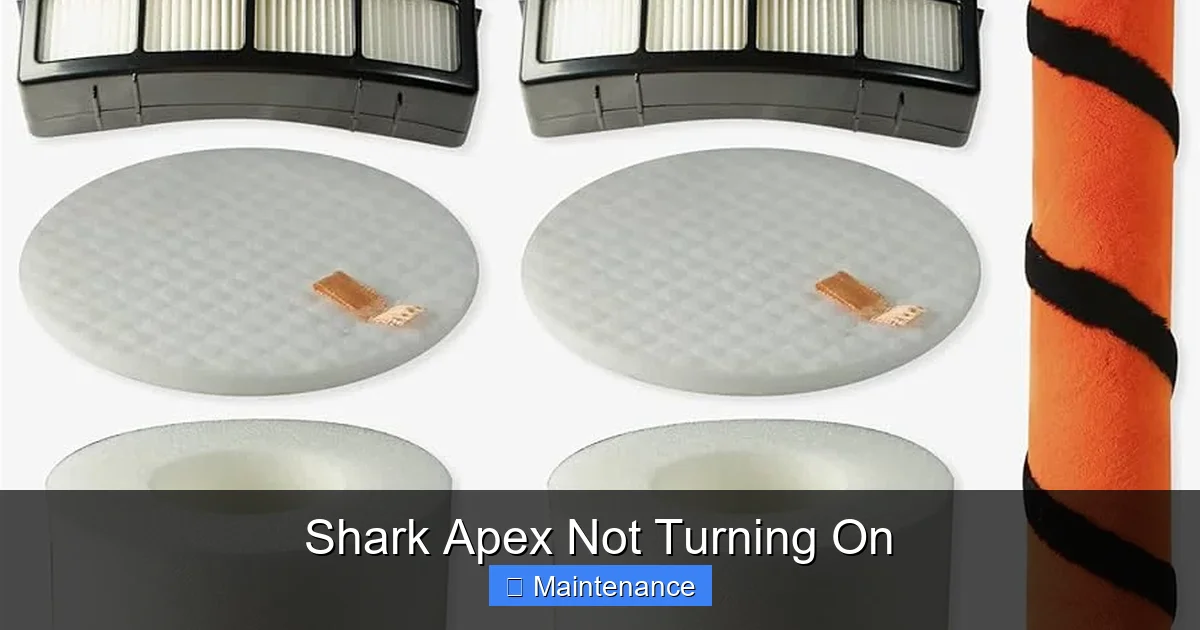
Visual guide about Shark Apex Not Turning On
Image source: m.media-amazon.com
The “Full Bin” Sensor
Most Apex models have an infrared sensor that detects when the dust cup is full. It’s typically a small, clear plastic window on the side or front of the dust cup. If this window is coated with a fine layer of dust, it can block the IR beam, making the vacuum think the bin is perpetually full. Fix: Locate the sensor window (consult your manual). Gently wipe it clean with a dry microfiber cloth. Do not use liquids that could leave a residue. After cleaning, try powering on.
Brush Roll and Height Adjustment Sensors
Some models have sensors to detect if the brush roll is jammed or if the vacuum is on an uneven surface. Inspect the brush roll area. Is there a thick layer of carpet fiber or hair binding the brush roll? Manually rotate the brush roll by hand. Does it spin freely in both directions? If it’s seized, you must clear the jam. Check the height adjustment dial/knob. Ensure it is not stuck or broken.
TheWi-Fi/App Module (If Applicable)
For connected Shark Apex models, a corrupted Wi-Fi module or app connection can sometimes cause a lock-up. Try a “soft reset” of the vacuum’s electronics: unplug the charger, remove the battery for 60 seconds (as in Section 2), then reinsert and try powering on without connecting to Wi-Fi. If it turns on, the issue may be app-related. You may need to delete the vacuum from the Shark app and re-pair it.
Section 5: Deeper Internal and Mechanical Faults
If you’ve traversed power, battery, filters, and sensors with no success, the fault has moved into the vacuum’s core components. These are less common but more serious.
Failed Power Switch
The physical power button on the handle or top of the vacuum is a mechanical switch that can wear out. It may feel “mushy” or not click. If you’re comfortable with basic electronics, you can test for continuity with a multimeter (with the vacuum unplugged and battery removed). If the switch is faulty, it needs to be replaced. This requires disassembling part of the handle, which can be tricky. Search for “Shark Apex power button replacement [Your Model Number]” for specific guides and part numbers.
Motor or Motor Brushes
A seized or burned-out motor will prevent startup and may produce a faint burning smell. You might hear a faint click from the solenoid when pressing the power button (the sound of the circuit trying to engage), but nothing else. Diagnosing a motor requires removing the motor housing. Worn carbon brushes inside the motor are a common wear item that can cause failure. Replacing motor brushes is a moderate repair; replacing the entire motor assembly is a major one and often approaches the cost of a new vacuum.
Main PCB (Printed Circuit Board) Failure
The brain of the operation. If the PCB has suffered a power surge, water damage, or component failure, the vacuum is dead. Symptoms can include no lights, no sounds, and a completely unresponsive unit even with a known-good battery and charger. Look for any scorch marks, bulging capacitors, or water residue on the board. PCB repair is highly specialized and usually not cost-effective; replacement is the standard fix.
Section 6: The Decision Tree: Repair vs. Replace
After your diagnostic journey, you will have clues. Now, you must decide the next step.
When to Pursue DIY Repair
Proceed if: the issue was resolved by a filter clean, battery reset, or sensor wipe. If you’ve identified a single, inexpensive, user-replaceable part (like a pre-motor filter, a charging pin, or the power switch) and you feel confident following a YouTube tutorial for your exact model number. Shark provides excellent exploded-view diagrams and parts lists on their website. Use your model number (found on the rating plate, usually on the back or bottom) to find the correct part.
When to Call Shark Support or a Professional
Stop and call if: your vacuum is still under the original warranty (typically 5-7 years for the motor, 1-2 years for other parts). Do not open the vacuum if under warranty, as this will void it. Contact Shark Customer Care. They may offer to ship a replacement part or, for a fee, a refurbished unit. If the warranty is expired but the fault points to the motor, PCB, or a complex internal assembly, seek a reputable small appliance repair shop that specifically lists vacuum repair experience. Get a diagnostic quote first. Often, the cost of diagnosis plus labor for a motor or PCB replacement can exceed 50-70% of the cost of a new comparable Shark model, making replacement the smarter financial choice.
Conclusion: Empowering the Shark Owner
A Shark Apex not turning on is a significant inconvenience, but it is rarely an insurmountable mystery. The key is a structured, logical approach, starting from the wall outlet and working your way inward to the motor. You have now been equipped with the diagnostic flowchart used by professionals: Power Source -> Battery & Reset -> Filters & Airflow -> Sensors -> Internal Components. By methodically eliminating each category, you will either restore your vacuum’s function or arrive at a clear, evidence-based conclusion about its fate. Remember, Shark designed these vacuums for durability, but like any complex machine with moving parts and electronics, they require periodic maintenance. Cleaning filters, emptying the dust cup after every use, and checking for obstructions are not just chores; they are the primary defenses against a non-starting vacuum. Treat your Shark Apex with this informed care, and it will reward you with years of powerful, reliable cleaning. If your journey ends with a needed repair, you now have the knowledge to have an informed conversation with a technician or to confidently order the correct part and fix it yourself.
Frequently Asked Questions
My Shark Apex is completely dead with no lights or sounds. What is the first thing I should check?
The absolute first step is to verify the wall outlet is working by testing it with another device like a lamp. A tripped breaker or a dead GFCI outlet is a very common cause that is often overlooked. Once you confirm outlet power, ensure the charger is firmly connected at both ends.
How do I perform the battery reset on a Shark Apex that won’t turn on?
Connect the charger to the vacuum and wall for 5 minutes. Then, unplug the charger and completely remove the battery from the vacuum. Let the isolated battery sit for 60 seconds. Reinsert the battery firmly, reconnect the charger, and try to power on. This reset clears the battery’s internal protection circuits.
Can a clogged filter really prevent my Shark Apex from turning on?
Yes, absolutely. A severely clogged pre-motor filter is a leading cause. The vacuum’s safety system detects the extreme airflow restriction and will lock out the motor to prevent damage. Always check and clean the pre-motor foam filter first if you have a power issue.
How often should I clean the filters to prevent startup problems?
The pre-motor foam filter should be tapped clean after every few uses and washed with water monthly (or as indicated by the “Filter” maintenance light). The post-motor HEPA filter should be washed every 3-6 months. Never operate the vacuum with a wet filter.
My Shark Apex turns on but immediately shuts off. Is this the same problem?
This is a closely related symptom. An immediate shutdown after startup is almost always an airflow blockage (clogged filter, full dust cup, jammed brush roll) or a sensor issue (like a dirty “Full Bin” sensor). The system powers the motor, detects a fault, and cuts power instantly. Re-check all filters and pathways thoroughly.
Is it worth repairing a Shark Apex with a suspected motor or circuit board failure?
For major internal components like the motor or main PCB, repair costs are often high. First, check your warranty status. If out of warranty, get a diagnostic quote. If the repair cost exceeds 50-60% of the price of a new comparable Shark model, replacement is usually the more economical choice. For older models, parts availability can also be an issue.