Maintaining your Shark cordless vacuum’s filter is the single most important routine task to preserve its powerful suction and extend its lifespan. A clogged filter reduces cleaning efficiency and strains the motor. The process is straightforward: always unplug the vacuum, locate the filter (usually in the dust cup assembly), gently remove it, and clean it according to its type—most are washable. Crucially, the filter must be completely air-dried for at least 24 hours before reinstallation to prevent damage. Following a regular cleaning schedule, typically every 1-3 months depending on use, ensures your vacuum operates optimally and your air stays cleaner.
Has your trusty Shark cordless vacuum started to feel a little… weak? That powerful suction you relied on seems to have dwindled, and maybe it even smells a bit musty after use. Before you worry about a failing motor or consider a costly replacement, there’s one incredibly common—and easily fixable—culprit: a dirty filter. Your Shark cordless vacuum’s filter is its lungs. It traps fine dust, allergens, and debris, preventing them from being blown back into your home and protecting the internal components. But when it gets clogged, your vacuum literally can’t breathe. The good news? Cleaning your Shark cordless filter is a simple, quick, and cost-free maintenance task that will restore your vacuum’s power and keep your home’s air cleaner. This complete guide will walk you through every single step, from finding the filter to ensuring it’s perfectly dry and reinstalled.
Key Takeaways
- Unplug First: Always disconnect your Shark cordless vacuum from its charger before attempting any filter maintenance for safety.
- Locate Correctly: The primary filter is housed inside the dust cup assembly; release the latch, separate the cup, and find the filter holder.
- Clean Gently: For washable filters, use lukewarm water and a soft brush. Never use soap, detergents, or wring the filter, as this damages the media.
- Dry Thoroughly: Air-dry the filter at room temperature for a minimum of 24 hours. Never use external heat like hairdryers or radiators.
- Reassemble Properly: Ensure the filter is 100% dry and correctly seated in its housing before locking the dust cup back in place.
- Check the Manual: Always confirm your specific Shark model’s filter type (washable vs. non-washable) in the user guide before cleaning.
- Schedule Regularly: Clean your Shark cordless filter every 1-3 months based on usage frequency to maintain peak performance and air quality.
📑 Table of Contents
- Why Cleaning Your Shark Cordless Filter is Non-Negotiable
- Identifying Your Shark Cordless Filter: Location and Types
- The Step-by-Step Guide to Cleaning Your Washable Shark Cordless Filter
- Reassembly, Testing, and Establishing a Maintenance Schedule
- Troubleshooting: What If Cleaning Doesn’t Restore Suction?
- Long-Term Care: Extending the Life of Your Shark and Filter
- Conclusion: A Simple Habit for a Powerful Clean
Why Cleaning Your Shark Cordless Filter is Non-Negotiable
Think about how often you use your cordless Shark. Maybe it’s a quick daily touch-up on hard floors, a full-room vacuuming of carpets twice a week, or tackling pet hair daily. Every time it runs, the fan pulls air—along with microscopic dust, dander, pollen, and soil particles—through the system. The filter’s job is to catch all that fine particulate matter. Over time, this layer of captured debris builds up, forming a dense barrier that restricts airflow.
The Domino Effect of a Clogged Filter
When airflow is restricted, several things happen simultaneously. First, and most obviously, suction power drops significantly. Your vacuum won’t pick up dirt as effectively, leaving you with a floor that looks less clean than you’d like. Second, the vacuum’s motor has to work much harder to pull air through the clogged filter. This extra strain leads to increased motor temperature, accelerated wear and tear, and a drastically shortened lifespan for your appliance. Third, a saturated filter can start to re-release trapped particles and odors back into your home’s atmosphere, completely defeating the purpose of vacuuming for allergy sufferers and anyone concerned with indoor air quality. Finally, a blocked filter can cause the vacuum’s safety cut-off switch to engage, shutting the machine down unexpectedly during use.
The Benefits of a Clean Filter: More Than Just Suction
By establishing a routine of cleaning your Shark cordless filter, you’re investing in several key benefits. You’ll enjoy consistent, powerful cleaning performance every time you use the vacuum. You’ll protect the expensive motor and internal electronics from premature failure. You’ll maintain better indoor air quality by ensuring allergens are truly captured and not recirculated. And you’ll save money in the long run by avoiding premature filter replacements (for non-washable types) or the need for a new vacuum altogether. It’s the epitome of a small task with a massive return on investment.
Identifying Your Shark Cordless Filter: Location and Types
Shark has produced numerous cordless vacuum models over the years, including the popular Shark Vertex, Shark Stratos, Shark IZ, and earlier Shark Rocket Cordless lines. While the exact design varies slightly, the fundamental architecture is similar. The primary filter is almost always located within the dust cup assembly. This is the removable, usually transparent or translucent, container that collects all the larger debris like hair, crumbs, and carpet fibers.
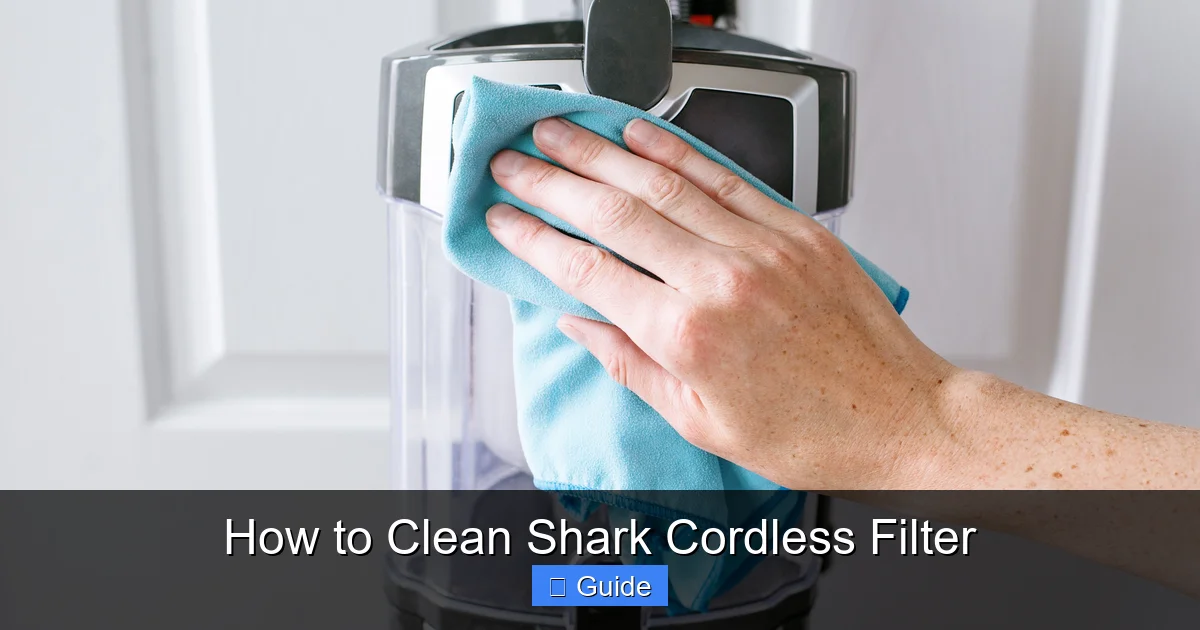
Visual guide about How to Clean Shark Cordless Filter
Image source: thespruce.com
General Location Steps
To begin, place your Shark cordless vacuum on a flat surface. Locate the release button or latch for the dust cup. This is typically on the front or top of the vacuum head, near where the wand attaches. Press the release and gently pull the dust cup away from the main body of the vacuum. You should now have the empty dust cup in your hands. Look inside the cup. You will see a plastic housing or cartridge that holds the filter media. This is your filter unit. It may be a cylindrical pleated filter, a rectangular foam filter, or a combination of both, depending on your model.
Washable vs. Non-Washable Filters: A Critical Distinction
This is the most important identification step. Shark uses two primary filter technologies in its cordless vacuums:
- Washable Filters (Most Common): These are typically made of a pleated, paper-like media or a foam material. They are designed to be rinsed with water, air-dried, and reused multiple times. They are often blue or white in color. The user manual will explicitly state they are washable.
- Non-Washable / Replaceable Filters: Some models, particularly certain anti-allergen or HEPA versions, use a more delicate, non-washable media. These are usually labeled as “replace only” and are often a different color or texture. Attempting to wash these will destroy them. They have a recommended lifespan (e.g., 6-12 months) and must be purchased as a replacement part.
Action Step: If you have your user manual, consult it immediately. If not, search for your exact model number (on a label on the vacuum’s body or battery) on the Shark website. Never guess. Washing a non-washable filter will ruin it and could void any remaining warranty.
The Step-by-Step Guide to Cleaning Your Washable Shark Cordless Filter
Assuming you have confirmed you have a washable filter, let’s get into the detailed process. The key principles are: be gentle, use only water, and dry completely. No exceptions.
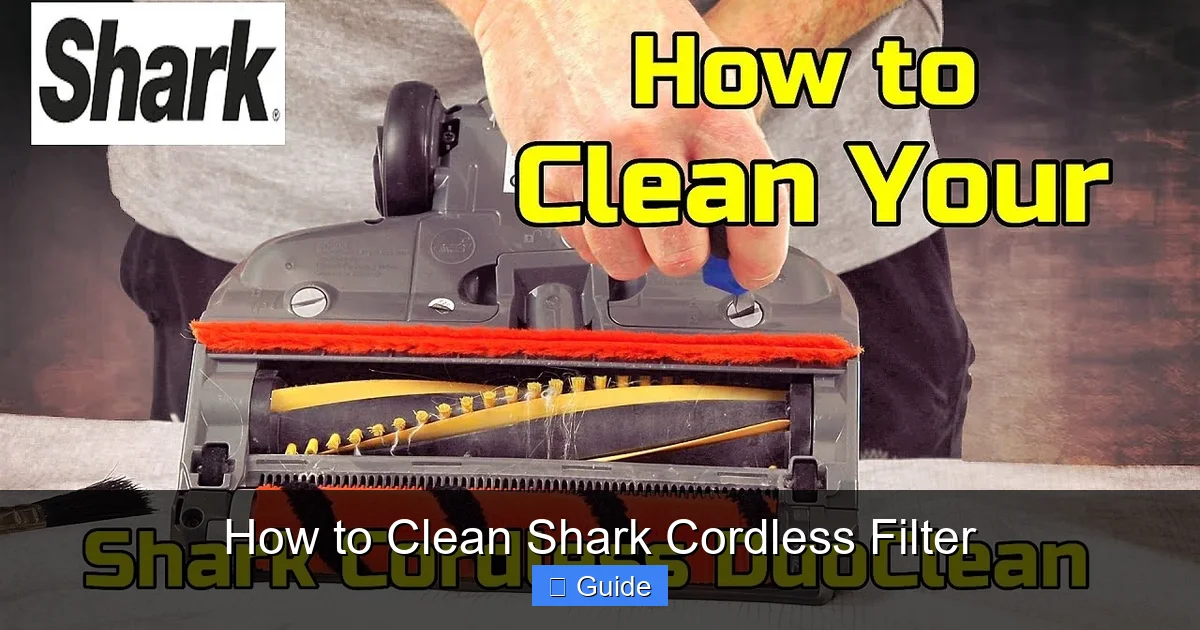
Visual guide about How to Clean Shark Cordless Filter
Image source: i.ytimg.com
Step 1: Preparation and Removal
First, ensure your Shark cordless vacuum is powered off and, most importantly, unplugged from its charging dock. This prevents any accidental activation. Next, press the dust cup release and detach it from the vacuum body. Take it to a sink or large basin. Open the filter compartment—this may involve pressing a tab or unscrewing a small cover. Gently lift the filter out. You’ll likely see it’s heavily coated in gray or brown dust. This is normal.
Step 2: The Cleaning Process (Water Only)
Hold the filter over a sink or basin. Use lukewarm water—not hot, as heat can warp or damage the filter media. Gently pour or spray water through the filter in the direction opposite to normal airflow (usually from the dirty side to the clean side). You’ll see dirty water run off. For stubborn, caked-on dust, use your fingers to gently agitate the filter pleats or a soft-bristled brush (like a clean toothbrush) to loosen debris. Never scrub harshly, twist, wring, or squeeze the filter. The goal is to rinse, not to extract water by force. If your model has both a foam pre-filter and a pleated main filter, clean both separately using the same method.
Step 3: The “No Soap” Rule and Odor Removal
Do not use dish soap, detergent, vinegar, or any other cleaning agent. Residue from these substances can clog the filter’s microscopic pores and degrade the material, reducing its effectiveness. If your filter has a persistent odor (common with pet owners or if used on spills), a thorough rinse with clean water is usually sufficient. For tougher smells, after the initial rinse, you can soak the filter for 10-15 minutes in a solution of lukewarm water and a tiny amount of baking soda (about 1 teaspoon per cup of water). Rinse it again extremely well with clean water afterward to remove all baking soda particles.
Step 4: The Most Important Step – Drying
This cannot be stressed enough. The filter must be 100% bone dry before it goes back into your vacuum. Any residual moisture will be sucked into the motor, causing corrosion, mold growth, and almost certain damage. Shake the filter gently over the sink to remove excess water. Then, place it in a well-ventilated, room-temperature area away from direct sunlight, heaters, or radiators. Prop it up or lay it flat on a clean towel. Change the towel if it becomes damp. Allow a minimum of 24 hours for drying. In humid climates, extend this to 36-48 hours. Do not use a hairdryer, clothes dryer, oven, or forced-air heater—the heat will melt or warp the filter media. Patience is a virtue here; using a damp filter is the fastest way to ruin your vacuum.
Reassembly, Testing, and Establishing a Maintenance Schedule
Once your filter is completely dry, the reassembly process is the reverse of removal, but attention to detail is key.
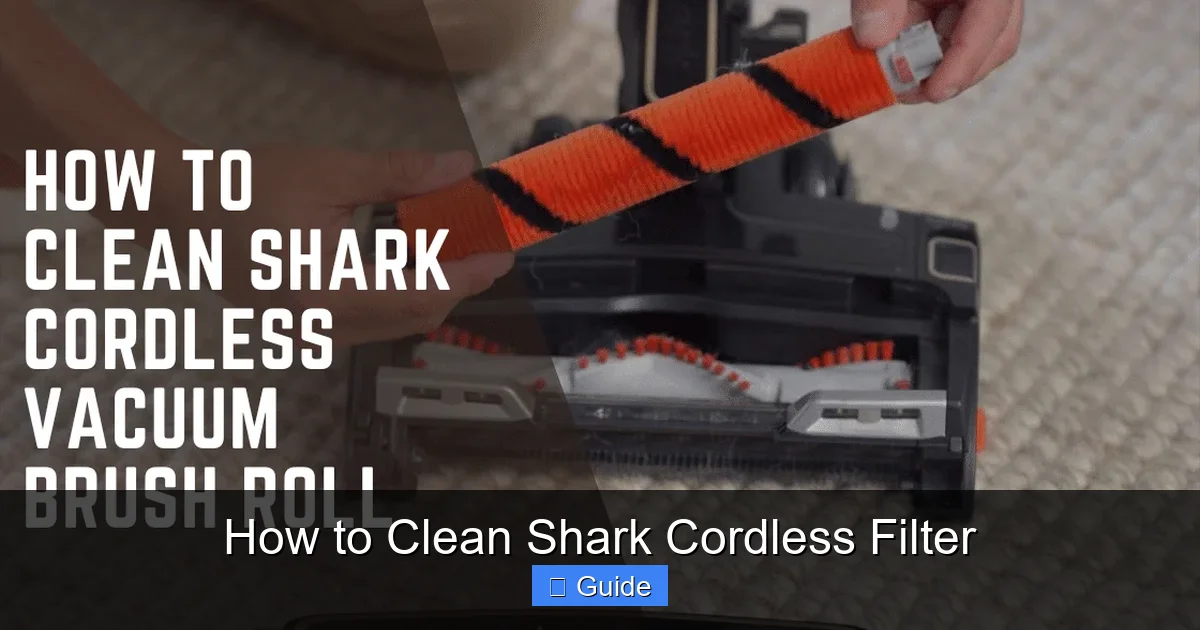
Visual guide about How to Clean Shark Cordless Filter
Image source: cleanersadvisor.com
Step 5: Reassembly with Care
Take your dry filter and inspect it. It should feel crisp and light. Ensure it is entirely free of any moisture. Carefully place it back into its designated housing in the dust cup, making sure it sits flush and is oriented correctly (there may be tabs or a specific shape that guides placement). If your dust cup has a separate foam pre-filter, ensure that is also dry and seated properly. Snap or screw the filter compartment cover back on securely. Now, reattach the dust cup to the vacuum body. You should hear a distinct click or feel it lock into place. Give it a gentle tug to confirm it’s secure.
Step 6: The Initial Test
Before returning the vacuum to its normal routine, do a quick test. Plug the vacuum into its charger briefly just to power it on (you don’t need to run it for long). Turn it on and listen. The motor sound should be clean and consistent, not strained or gagging. Check for any unusual vibrations. Then, run it over a small patch of floor. You should immediately notice the restored suction power. If it still sounds weak, double-check that the dust cup is fully locked and that the filter is seated correctly.
Creating Your Personalized Cleaning Calendar
How often should you clean your Shark cordless filter? There’s no one-size-fits-all answer, as it depends entirely on your home’s conditions. Use this general guide to build your schedule:
- Light Use (Hard Floors Only, No Pets, 1-2x/week): Every 2-3 months.
- Average Use (Mixed Surfaces, Occasional Pet Hair, 3-4x/week): Every 1-2 months.
- Heavy Use (Full Carpets, Multiple Pets, Daily Use): Every 3-4 weeks.
Also, make it a habit to visually inspect the filter monthly. If it looks visibly gray and clogged, clean it regardless of your schedule. It’s far better to clean too often than not enough. Keep a note in your phone calendar or on your fridge as a reminder.
Troubleshooting: What If Cleaning Doesn’t Restore Suction?
You’ve followed every step meticulously. The filter is spotless and bone dry, but your Shark cordless vacuum still lacks its former gusto. Don’t panic. A weak suction after a filter clean usually points to one of a few other common issues.
Check the Dust Cup and Pre-Filters
First, ensure the dust cup itself is completely empty. Even with a clean filter, a full cup will block airflow. Empty it after every single use for best results. Second, many Shark models have a foam pre-filter that sits before the main pleated filter. This foam filter catches larger debris and protects the main filter. If this foam filter is clogged with hair and lint (which happens quickly), it will choke airflow just like a dirty main filter. Locate it (it’s often in the same compartment or just before the main filter) and clean it with the same gentle water-and-brush method. Ensure it’s also completely dry.
Inspect for Blockages in the Airpath
The entire vacuum is an airpath: from the floor head, up the wand, through the hose or connection, into the dust cup, through the filter, and out the exhaust. A blockage anywhere will kill suction. Check the wand and hose for any clogs. Use a long, flexible brush or even a straightened wire coat hanger (wrapped in a cloth to avoid scratching) to gently dislodge any debris. Look into the floor head—is the brush roll clear of hair and carpet fibers? Is the intake port on the bottom of the head obstructed? A blocked brush roll housing is a very common cause of weak suction.
Battery and Motor Considerations
Cordless vacuums rely on battery power. A weak or failing battery can cause the motor to run at reduced speed, mimicking a clogged filter symptom. If your vacuum runs for significantly less time than it used to on a full charge, the battery may need replacement (a separate process). Finally, if all else is clean and clear, and suction is still poor, there may be an internal motor issue or a severely degraded filter that has lost its structural integrity despite cleaning. In this case, contacting Shark customer support or a certified repair center is the next step.
Long-Term Care: Extending the Life of Your Shark and Filter
Cleaning the filter is the cornerstone of maintenance, but it’s part of a bigger picture of care that will keep your Shark cordless vacuum performing like new for years.
Post-Use Rituals for Optimal Health
Develop two quick habits after every vacuuming session. First, empty the dust cup immediately. Letting debris sit in there allows moisture from captured dirt to dampen the filter and promotes mildew growth. Second, check the brush roll. Flip the vacuum over and look at the brush roll. If you have pets or vacuum carpets, you’ll likely find hair wrapped around it. Use the provided cleaning tool (or scissors) to cut and remove all tangles. A jammed brush roll strains the motor and reduces agitation, which is half of your vacuum’s cleaning power.
Storage and Environmental Factors
Store your Shark cordless vacuum on its wall-mount charging dock or in a cool, dry closet. Avoid storing it in damp basements, hot garages, or direct sunlight, as extreme temperatures and humidity can degrade the battery, plastic parts, and filter media over time. When storing for an extended period (over a month), it’s a good practice to remove the filter, ensure it’s clean and dry, and store it separately in a sealed plastic bag to protect it from dust and ambient moisture.
Knowing When to Replace the Filter
Even with perfect care, washable filters have a finite lifespan. The repeated wetting, drying, and mechanical stress will eventually wear out the filter media. Signs it’s time for a replacement include: the filter becomes permanently discolored (deep yellow or brown) and no longer returns to a light gray after cleaning; it develops a permanent musty smell that washing can’t remove; it feels brittle or tears easily when handled; or, you notice suction is still subpar after a deep clean of the entire airpath. Shark sells official replacement filters for each model; using a genuine part ensures proper fit and filtration efficiency. Typically, a well-maintained washable filter lasts 1-2 years with heavy use, or potentially longer with lighter use.
Conclusion: A Simple Habit for a Powerful Clean
Cleaning your Shark cordless filter isn’t a chore; it’s an essential act of maintenance that pays you back every single time you vacuum. By understanding where your filter is, identifying its type, and following the gentle, water-only cleaning and thorough drying process, you take complete control of your vacuum’s performance. You eliminate the most common cause of suction loss, protect your investment from motor damage, and ensure the air in your home is genuinely being cleaned, not just recirculated. Pair this with regular dust cup emptying, brush roll de-tangling, and a smart cleaning schedule, and your Shark cordless vacuum will remain a powerful, reliable tool in your cleaning arsenal for years to come. The next time you notice a dip in power, don’t reach for the phone—reach for your sink. A clean filter is all it might take to bring your Shark roaring back to life.
Frequently Asked Questions
Can I use soap or detergent to clean my Shark cordless filter?
No, you should never use soap, detergent, vinegar, or any chemical cleaners. These can leave a residue that clogs the filter’s microscopic pores and degrade the filter media, permanently reducing its ability to capture fine particles. Use only lukewarm water and a soft brush for agitation.
How do I know if my Shark cordless filter is washable or needs to be replaced?
The only sure way is to consult your Shark vacuum’s user manual. Generally, washable filters are made of pleated paper-like material or foam and are often blue or white. Non-washable/replacement filters are usually labeled as such and may have a different texture. When in doubt, search your model number on the Shark website to find the specific filter type and care instructions.
My filter is dry but my vacuum still smells musty. What should I do?
A persistent odor after cleaning usually means the filter media itself is saturated with smells that water alone can’t remove, or there is mildew/mold growing in a damp spot within the dust cup or hose assembly. Ensure every single component—dust cup, pre-filters, hose, and the main filter—is 100% dry. If the smell remains after a thorough cleaning and drying, the filter is likely at the end of its life and needs to be replaced.
Is it safe to use a hairdryer to speed up the drying process?
Absolutely not. Applying heat from a hairdryer, radiator, or oven will warp, shrink, or melt the delicate filter media, destroying its structure and rendering it useless. The filter must be air-dried at room temperature only. Patience is critical to avoid a costly replacement.
What if I don’t have a brush to clean the filter pleats?
You can use your fingers to gently rub along the pleats under running water to dislodge debris. For very tight pleats, a clean, soft-bristled toothbrush (dedicated solely to this task) is ideal. The goal is gentle mechanical action to loosen dust, not to scrub aggressively.
My Shark cordless vacuum has no obvious filter inside the dust cup. Where is it?
Some newer Shark models, like certain Shark IZ series, have a more integrated system. The filter may be housed in a separate, small rectangular or circular cartridge that clicks into the top or side of the dust cup assembly, rather than sitting inside the cup itself. Carefully examine all parts of the dust cup and its surrounding housing for a removable filter unit. The manual for your specific model is the definitive guide to its location.