Shark Hydrovac leaking issues are a common but fixable problem for many owners. These leaks typically stem from worn seals, cracked hoses, or a damaged recovery tank. By systematically inspecting these key areas and performing simple maintenance, you can often resolve the leak yourself. Proactive care and timely part replacement are essential to keep your Shark Hydrovac functioning efficiently and leak-free.
Key Takeaways
- Most leaks originate from three places: The recovery tank seal, the hose connections, or the hose itself. Always check these first.
- A systematic diagnosis saves time: Isolate the leak by testing with just water in the tank, then with the machine running, to pinpoint the exact source.
- Many fixes are simple DIY projects: Replacing a tank lid gasket or a hose o-ring is often an inexpensive and easy repair you can do in minutes.
- Prevention is key: Rinse and dry your Hydrovac thoroughly after each use, especially the tank and seals, to prevent mold and material degradation.
- Not all leaks are equal: A slow drip from a seal is different from a steady stream from a cracked hose; this determines your repair urgency and method.
- Model matters: Leak points and part numbers can vary between Shark Hydrovac models (like the SV780, S3501, etc.). Always verify your exact model number.
- Warranty may cover it: If your machine is still under warranty and the leak is from a defective part, contact Shark customer service before attempting repairs that could void coverage.
📑 Table of Contents
- Understanding the Shark Hydrovac Leaking Issue
- First Steps: Safety and Preliminary Diagnosis
- Common Leak Sources and Their Fixes
- Deep Dive: Tank and Internal Components
- Proactive Maintenance to Prevent Future Leaks
- When to Seek Professional Help or Consider Replacement
- Conclusion: Taking Control of the Leak
Understanding the Shark Hydrovac Leaking Issue
You’ve just finished a deep clean, proud of your spotless floors. You go to empty your Shark Hydrovac’s recovery tank, and instead of a neat pour, you get a puddle on your clean floor. Or maybe you notice a constant drip while you’re working. That sinking feeling is all too familiar to many Hydrovac owners. A Shark Hydrovac leaking is one of the most frequently reported issues, but it’s rarely a sign that your valuable machine is destined for the trash. In fact, with a calm, methodical approach, you can diagnose and fix the vast majority of these leaks yourself, saving you money and extending the life of your cleaner.
The Shark Hydrovac is a brilliant hybrid—a vacuum that uses water as its primary filter, trapping dirt and debris in a tank of water. This system is incredibly effective but introduces components—like a large water tank, multiple seals, and wet/dry hoses—that are potential failure points. A leak isn’t just a mess; it reduces suction power, can damage the motor if water enters it, and creates unnecessary work. The goal of this guide is to transform you from someone frustrated by a puddle into a confident troubleshooter who knows exactly where to look and what to do when a Shark Hydrovac leaking problem arises.
First Steps: Safety and Preliminary Diagnosis
Before you lay a finger on a screwdriver, safety comes first. A Hydrovac handles water and electricity. Always unplug the machine from the wall outlet before performing any inspection or repair. This is non-negotiable. Next, work in a well-lit area and have some towels or a shallow pan ready to catch any residual water when you disassemble parts. The key to solving a Shark Hydrovac leaking mystery is to find the leak’s origin point. Is it leaking when the machine is just sitting there with water in the tank? Or only when it’s running and suction is applied? This simple test is your most powerful diagnostic tool.
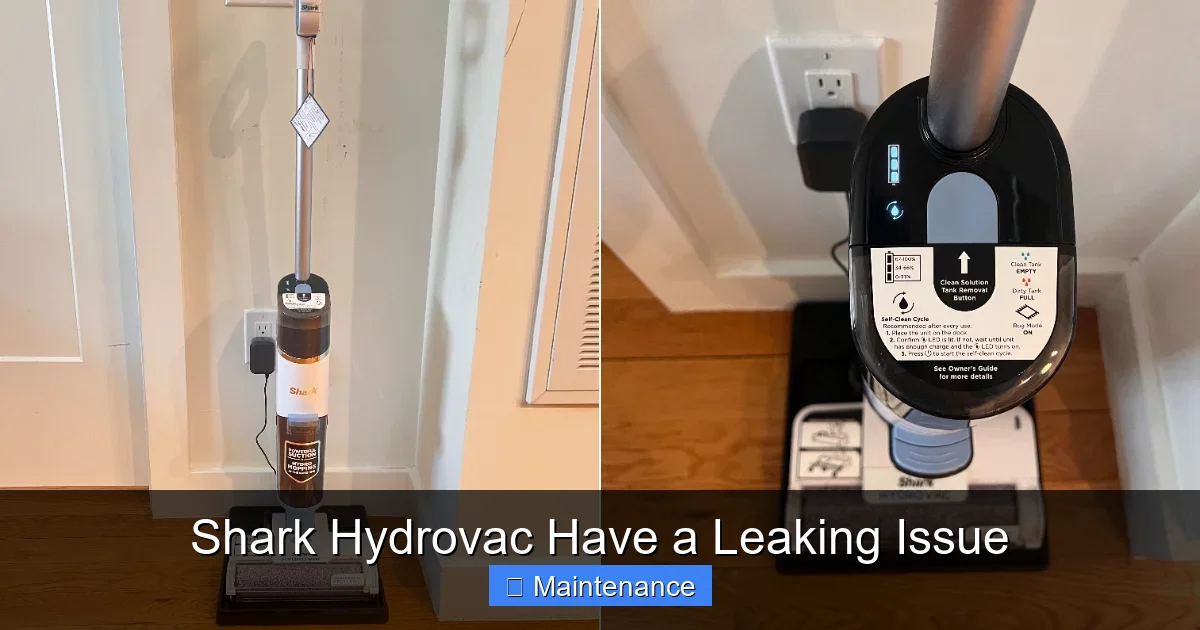
Visual guide about Shark Hydrovac Have a Leaking Issue
Image source: media1.popsugar-assets.com
The Static Water Test
Start here. With the machine unplugged, fill the recovery tank with clean water only, to about the “Max Fill” line. Do not operate it. Simply lift the tank (if it’s removable) or tilt the unit gently and look for drips. Pay close attention to:
- The area where the tank lid meets the tank body.
- The opening where the tank connects to the main unit body.
- Any hose connections directly on the tank.
If you see a leak now, the culprit is almost certainly a seal, gasket, or crack in the tank itself, and it’s a static pressure issue. If no leak appears, move to the next test.
The Running Vacuum Test
Now, we introduce suction. With the tank filled with water (you can add a little bit of the original detergent for smell, but it’s not necessary), reassemble everything and plug the machine in. Turn it on in a well-ventilated area, like a garage or outdoors. Run it for a minute or two. Observe the same areas as before, but now also watch:
- The point where the hose connects to the vacuum body (the intake port).
- Along the length of the hose, especially at bends or where it might have been kinked.
- The exhaust port (where air blows out), though leaks here are less common and usually just air.
A leak that only appears under suction points to a faulty seal or gasket that can’t hold the negative pressure, or a tiny crack in a hose that opens up when the hose walls are compressed. A Shark Hydrovac leaking under suction is the most common scenario.
Common Leak Sources and Their Fixes
Armed with your test results, you can now target the most frequent offenders. Let’s break down the top three sources of a Shark Hydrovac leaking problem, from easiest to most involved to fix.
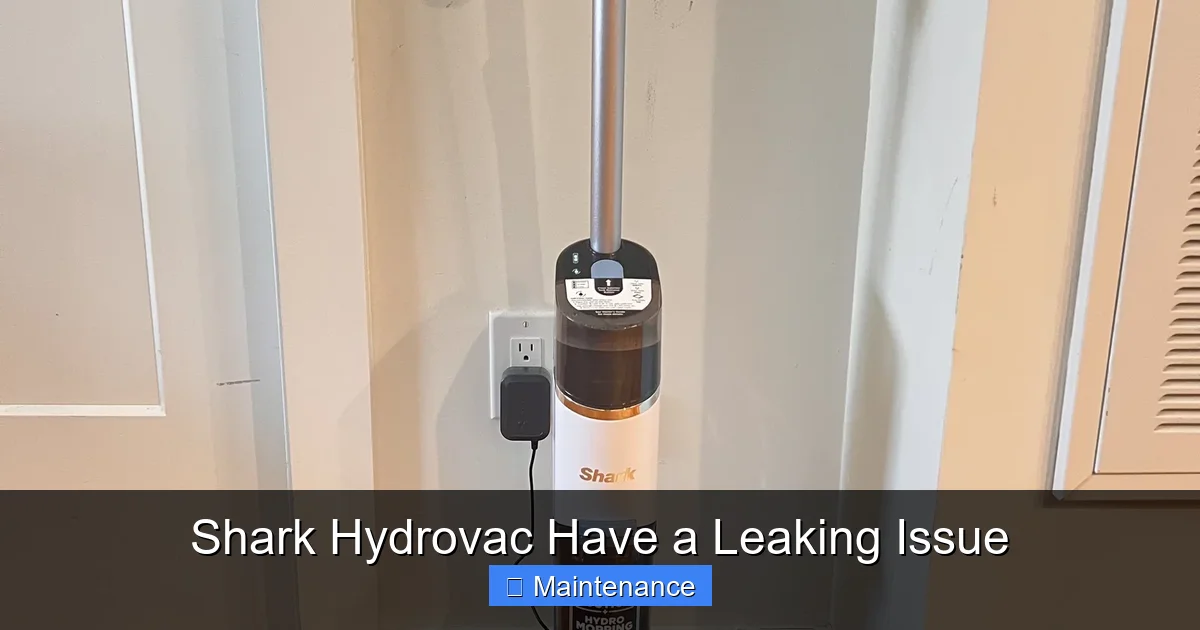
Visual guide about Shark Hydrovac Have a Leaking Issue
Image source: media1.popsugar-assets.com
The Recovery Tank Lid Seal/Gasket
This is the number one suspect. The rubber or silicone gasket that creates an airtight seal between the tank and its lid degrades over time. It can become brittle, warped, or develop tiny tears from repeated use and exposure to cleaning chemicals and hot water.
How to Inspect: Remove the tank lid. Run your fingers along the entire gasket on both the lid and the tank rim. Look for cracks, nicks, flat spots, or areas where it no longer sits flush. Pull it gently; if it’s stretched out or doesn’t spring back, it’s failed.
The Fix: This is often the simplest fix. You need to find the correct replacement gasket. Shark’s website or authorized parts dealers will have them. Note your exact model number (usually on a label on the back or bottom). Once you have the new gasket, simply peel off the old one (if it’s adhesive-backed) and press the new one firmly into the groove on the lid or tank rim, ensuring it’s seated evenly all the way around. Reassemble and run your static water test again. This alone solves a huge percentage of Shark Hydrovac leaking complaints.
Hose Connections and O-Rings
The hose is your vacuum’s lifeline, and its connection points are weak links. There are typically two main connections: the hose-to-tank connection and the hose-to-wand/hand tool connection. Each has a small rubber O-ring that creates the watertight and airtight seal.
How to Inspect: Disconnect the hose at both ends. Look inside the male ends of the connectors. You’ll see a tiny, circular rubber O-ring. Pull it out with a small flat-head screwdriver or your fingernail. Check it for cracks, flattening, or missing pieces. Also, inspect the female socket on the tank and tool for any debris or damage that could prevent a seal.
The Fix: O-rings are incredibly cheap and easy to replace. Take the old one to a hardware store to match the size (usually a standard #8 or #10 size) or order a Shark replacement kit. Lubricate the new O-ring lightly with a silicone-based grease (like for plumbing fixtures) before installing it. This helps it seal and prevents it from binding or tearing. Push it firmly into its groove so it sits flush. Reconnect the hose tightly. A faulty O-ring is a classic cause of a Shark Hydrovac leaking at the connection points.
Cracked or Damaged Hose
This is a more serious issue. The hose is subjected to constant flexing, dragging, and potential crushing. Over time, especially near the ends or at sharp bends, the plastic or reinforced material can crack. A hairline crack might only leak under suction.
How to Inspect: Fully extend the hose and run your fingers along its entire length, inside and out. Look for visible cracks, splits, or areas that feel soft or weak. You can also perform a “blocked hose test”: with the machine off, plug one end of the hose with your palm and submerge the other end in water. If you see bubbles coming from a spot on the hose when you apply slight pressure (like blowing into it), you’ve found a leak.
The Fix: Unfortunately, a cracked hose usually means replacement. Shark does not typically sell repair kits for the hose itself. You can sometimes find generic wet/dry vacuum hoses that will fit, but ensure the diameter and connection types match. For a temporary fix on a small crack, you might try a strong waterproof epoxy or a hose repair clamp, but these are not reliable long-term solutions for a machine that uses suction and water pressure. A new hose is the correct fix for a Shark Hydrovac leaking from the hose body.
Deep Dive: Tank and Internal Components
If the gasket and hose are pristine, the leak may be coming from deeper within the system. These issues are less common but possible.
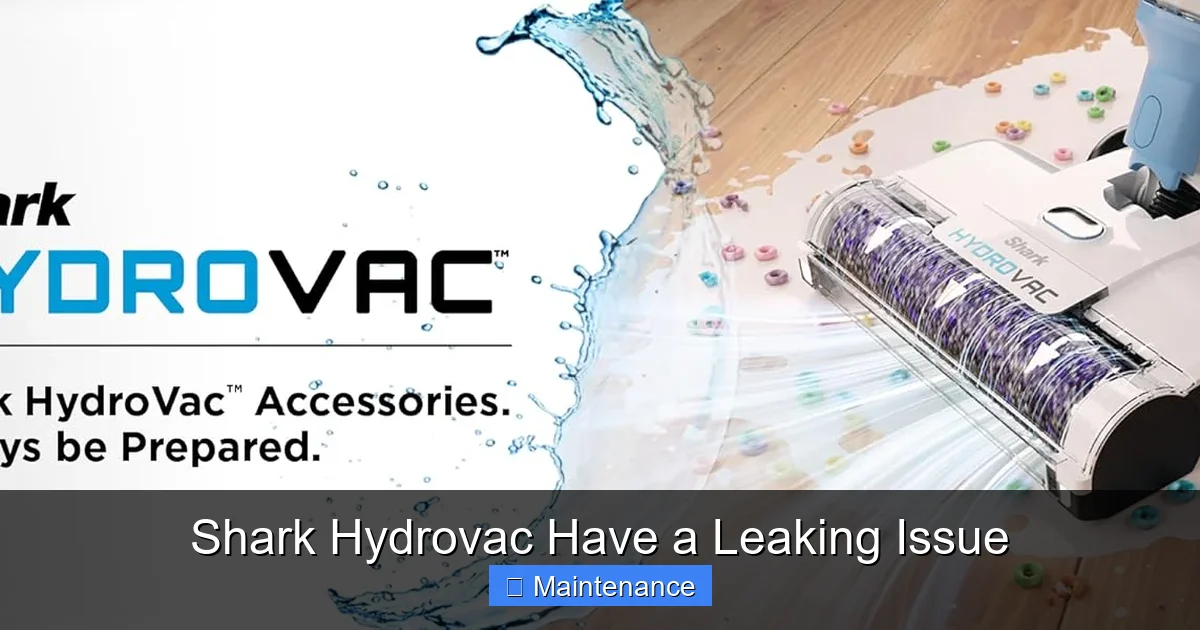
Visual guide about Shark Hydrovac Have a Leaking Issue
Image source: m.media-amazon.com
Cracked or Warped Recovery Tank
Plastic can crack from impact (like being dropped) or stress. The tank may also warp if exposed to very hot water or left sitting with dirty water for long periods, degrading the plastic.
How to Inspect: Empty and dry the tank completely. Examine it under bright light, focusing on seams, corners, and the area around the lid hinge (if applicable). Feel for rough spots or hairline fractures. Fill it with water and look from the outside; sometimes a crack will show as a faint wet line.
The Fix: A cracked tank is generally not repairable in a way that is safe and durable for a wet vacuum. The pressure cycles and water exposure will eventually cause any adhesive or epoxy to fail. The solution is a tank replacement. Contact Shark for a parts quote or search for a third-party supplier. Consider the cost of the part plus shipping versus the value of the machine. For older models, a new tank might not be cost-effective.
Internal Seal or Float Assembly
Inside the tank, there is often a float assembly (a ball or cage that rises with water level to shut off suction when full) and a seal where the internal suction tube enters the tank. If this seal fails, water can travel up the tube and leak out the exhaust or motor housing.
How to Inspect: This requires partial disassembly. Consult your user manual for instructions on removing the tank and accessing internal components. Look for water trails or mineral deposits on the inside of the vacuum body below the tank connection. Check the float assembly for cracks and ensure its seal is intact.
The Fix: Replacing the internal seal or the entire float assembly is possible if you can source the part. This is a more advanced repair. If you’re uncomfortable with it, or if the leak is from an unseen crack in the tank’s internal port, professional assessment is recommended. A Shark Hydrovac leaking internally can eventually reach the motor, causing catastrophic failure.
Proactive Maintenance to Prevent Future Leaks
The best way to deal with a Shark Hydrovac leaking is to prevent it from happening in the first place. A few minutes of care after each use will add years to your machine’s life.
The Golden Rule: Rinse and Dry
Never let dirty water sit in the tank. After every use, empty the tank completely. Then, rinse it thoroughly with clean water. The biggest enemy is residue—dirt, soap scum, and minerals from hard water. This residue can dry into a crusty layer that degrades seals and promotes mold and mildew growth, which eats away at rubber gaskets. After rinsing, shake out excess water and leave the tank lid off in a well-ventilated area to air dry completely. Do the same for the hose—hang it with both ends open to prevent moisture trapping.
Gentle Cleaning of Seals and Gaskets
Once a month, or if you notice any film on your gaskets, clean them. Remove the tank lid gasket. Wash it with mild soapy water and a soft cloth. Avoid harsh chemicals, bleach, or solvents, as they will dry out and crack the rubber. Rinse well and let it air dry before reinstalling. This simple step keeps the seal supple and effective.
Proper Storage and Handling
Don’t kink or sharply bend the hose during storage. Coil it loosely. Store the unit with the tank lid slightly ajar if possible, to allow air circulation and prevent a “sucked shut” seal that can warp over time. Avoid storing the Hydrovac in extreme temperatures (like a freezing garage or hot attic), as thermal expansion and contraction stress plastic and rubber components.
When to Seek Professional Help or Consider Replacement
Not every problem has a DIY solution. Knowing when to stop and call for help is crucial to avoid causing more damage.
Signs It’s Time for a Pro
If you’ve replaced the obvious gaskets and O-rings and the Shark Hydrovac leaking persists, the issue may be internal or structural. Signs that point to professional repair or evaluation include:
- Water leaking from the motor housing or exhaust port.
- A crack in the main vacuum body or tank that is large or in a high-stress area.
- Loss of suction that doesn’t return after fixing a leak, indicating a possible internal obstruction or motor issue.
- Strange noises (grinding, whining) accompanying the leak, suggesting bearing or seal failure near the motor.
At this stage, getting a quote from an appliance repair shop that services vacuums is wise. Sometimes, the cost of parts and labor approaches or exceeds the value of the machine, especially for older models.
Evaluating Replacement vs. Repair
Consider the age and original cost of your Shark Hydrovac. If it’s a 5-year-old model and the repair quote is 50% or more of what a new, comparable model costs, replacement might be the smarter financial choice. Newer models often have improved seals, materials, and design. However, if your machine is relatively new, under warranty, or you’re sentimentally attached, repair is the way to go. Also, consider environmental impact—repairing is usually greener than discarding.
Conclusion: Taking Control of the Leak
A Shark Hydrovac leaking is an annoyance, but it is almost never a death sentence for your vacuum. By understanding the system—the tank, its seals, the hose, and its connections—you become empowered to be your own repair technician. Start with the simplest, most common fixes: inspect and replace the tank lid gasket and all hose O-rings. These two actions resolve the lion’s share of leak complaints. Always prioritize safety by unplugging the machine, and use a methodical diagnostic approach with the static water and running tests.
Embrace a routine of thorough rinsing and drying after each use. This habit is the single most effective prevention strategy. Remember that parts wear out; a replaced gasket is a small price to pay for years of continued service from your Shark Hydrovac. If your troubleshooting leads to a cracked tank or internal motor-area leak, weigh the cost of repair against replacement. With the knowledge in this guide, you can face that puddle on the floor with confidence, knowing you have the steps to stop it for good.
Frequently Asked Questions
What is the most common cause of a Shark Hydrovac leaking?
The most common cause is a degraded or damaged tank lid gasket/seal. Over time, this rubber piece hardens, cracks, or warps, losing its ability to create an airtight and watertight seal when the tank is assembled.
Can I use my Shark Hydrovac if it has a small leak?
It’s not recommended. A small leak can allow water to enter the motor or fan housing, causing permanent damage. It also reduces suction power significantly. You should stop using it and diagnose the leak immediately to prevent further, more costly damage.
Are Shark Hydrovac parts like gaskets and O-rings easy to replace?
Yes, absolutely. The tank gasket and hose O-rings are designed for simple, tool-free replacement in most cases. You just need to purchase the correct part number for your specific model, which you can find on Shark’s website using your model number.
My Shark Hydrovac is under warranty. Should I try to fix the leak myself?
If your machine is still within the warranty period, you should contact Shark Customer Support first. They may instruct you on a simple fix or arrange for a warranty service/ replacement. Opening the machine beyond basic external maintenance could potentially void the warranty, so always check the warranty terms and contact the manufacturer before performing internal repairs.
How can I prevent my Shark Hydrovac from leaking in the future?
The best prevention is a strict post-use routine: always empty the tank completely, rinse it thoroughly with clean water, and allow the tank, lid, gasket, and hose to air dry completely before reassembly and storage. This prevents residue buildup and rubber degradation.
Why does my Shark Hydrovac only leak when it’s running?
A leak that only occurs during operation is typically caused by a seal or gasket that cannot hold negative pressure (suction). The suction force pulls air (and sometimes water) through a tiny gap that doesn’t leak when the machine is off. Common culprits are the tank lid gasket or a hose O-ring that is worn but not completely failed.