Is your Shark Ion Rocket vacuum refusing to charge? This frustrating issue is often caused by simple, fixable problems like dirty charging contacts, a faulty charger, or a battery that has reached the end of its lifespan. Before you panic or buy a new battery, follow this comprehensive guide to diagnose and resolve the “Shark Ion Rocket battery not charging” problem with systematic troubleshooting and essential maintenance tips.
You’ve finished your cleaning routine, you place your trusty Shark Ion Rocket back on its charging dock, and the little light doesn’t come on. You try wiggling it, you check the outlet—everything seems fine. That sinking feeling is real. A cordless vacuum is only as good as its battery, and when the battery won’t charge, your primary cleaning tool is suddenly a heavy paperweight. But before you resign yourself to an expensive replacement or a trip to the repair shop, take a deep breath. The dreaded “Shark Ion Rocket battery not charging” problem is frequently solvable with some basic detective work and common household items. This guide will walk you through every possible cause, from the embarrassingly simple to the more complex, so you can get your vacuum back in action.
Key Takeaways
- Dirty Charging Contacts: The #1 cause is often debris and dust blocking the electrical connection between the vacuum and charger. Regular cleaning is critical.
- Faulty Charger or Base: The charger itself or the charging base can fail. Testing with a known-good charger is the fastest way to diagnose this.
- Battery Degradation: All lithium-ion batteries wear out. After 2-3 years of regular use, a “Shark Ion Rocket battery not charging” often means the battery needs replacement.
- Resetting the System: A full power cycle—removing the battery and holding the power button—can clear temporary electronic glitches.
- Preventive Maintenance: Store the vacuum on the charger, avoid complete discharge, and keep it clean to maximize battery health and charging reliability.
- Safety First: If you smell burning or see swelling, stop using the vacuum immediately. This indicates a serious battery failure requiring safe disposal.
📑 Table of Contents
- 1. Understanding the Core Components: Battery, Charger, and Contacts
- 2. Systematic Troubleshooting: The Step-by-Step Diagnostic
- 3. Deep Dive: Cleaning and Maintenance for Long-Term Health
- 4. Recognizing When the Battery is Truly Dead
- 5. Charger and Base Failure: Diagnosis and Solutions
- 6. When to Consider Professional Repair or Replacement
- Strong Conclusion
1. Understanding the Core Components: Battery, Charger, and Contacts
To troubleshoot effectively, you need to understand the three key players in the charging system. Think of it as a simple chain: the wall outlet powers the charger, the charger delivers power to the vacuum via the charging contacts, and the battery stores that power. If any link in this chain is broken, charging fails. The Shark Ion Rocket uses a lithium-ion (Li-ion) battery, which is generally reliable but has specific care requirements. The charging process is managed by a small circuit board in both the vacuum and the charger. The physical connection happens at two metal pins on the vacuum’s underside that must align perfectly with two metal strips on the charging base. Anything interfering with this alignment or conductivity—dust, hair, a slightly bent pin—can halt charging.
The Battery’s Role and Lifespan
Li-ion batteries aren’t immortal. They have a finite number of charge cycles (typically 300-500 full cycles) before their capacity degrades significantly. A battery that won’t hold a charge or won’t charge at all after a few years is often just at the end of its natural life. Environmental factors like extreme heat (storing in a hot garage) or consistently draining it to 0% can accelerate this degradation. If your Shark Ion Rocket is over 2-3 years old and has been used regularly, a worn-out battery is a prime suspect for the “not charging” issue.
The Charger and Base: The Often-Forgotten Culprit
We assume the charger that came with the vacuum will last forever, but these power adapters can and do fail. The internal components can burn out, or the cable can develop a break we can’t see. The charging base itself contains the metal strips for contact and can get dirty or damaged. A loose connection in the base’s wire or a faulty LED indicator light are other signs of charger problems. Always test this component separately if possible.
The Critical Charging Contacts
This is the most common point of failure. Every time you vacuum, debris is thrown into the air. A significant amount of that dust, hair, and carpet fibers ends up inside the vacuum’s intake and, inevitably, around the charging port on the bottom. That port has two small metal pins. The base has two metal strips. When you dock the vacuum, these must touch cleanly. A thin layer of dust or a wad of hair can act as an insulator, preventing the electrical circuit from completing. It’s a simple fix, but it’s the solution to a huge percentage of charging complaints.
2. Systematic Troubleshooting: The Step-by-Step Diagnostic
Don’t just guess. Work through this logical sequence from the easiest and most likely fix to the more involved ones. This methodical approach will save you time and money.
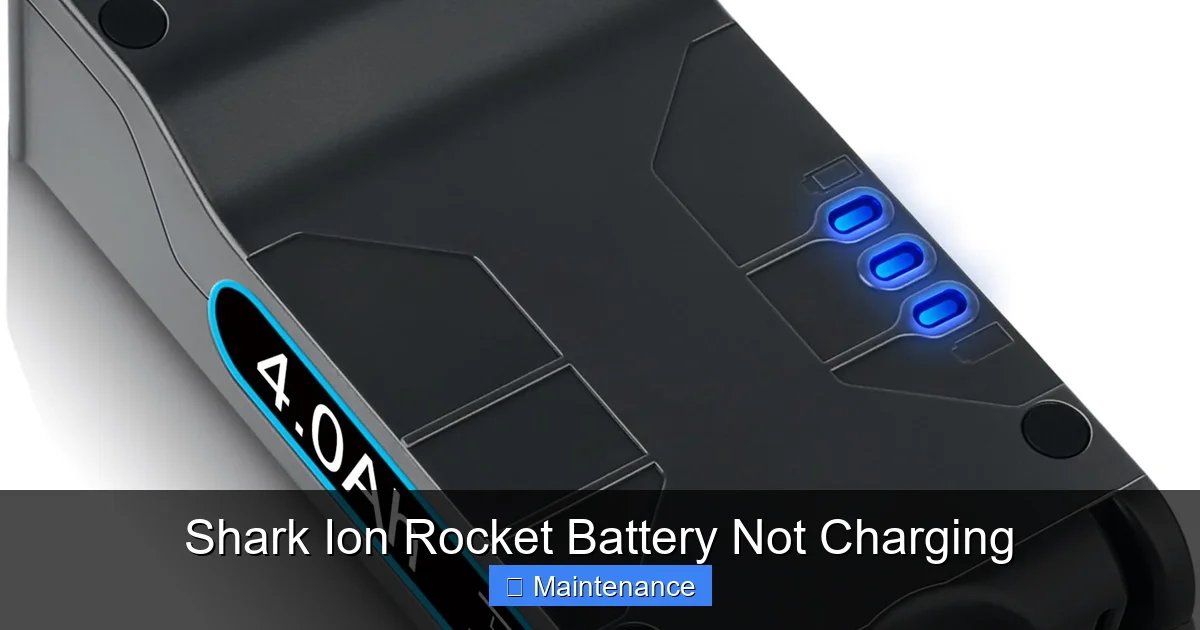
Visual guide about Shark Ion Rocket Battery Not Charging
Image source: m.media-amazon.com
Step 1: The Basic Power Check
First, confirm the charger is receiving power. Plug the charger directly into a wall outlet you know is working, not a power strip that might be switched off. Look for an LED indicator light on the charger itself—most Shark chargers have one. If it’s off, the problem could be the outlet, the charger cable, or the charger’s internal fuse. Try a different outlet. If the charger light is on, proceed. If it’s off, try a different, known-good Shark charger if you have one (from another model, for example). If a different charger works, your original charger is dead.
Step 2: Inspect and Clean the Charging Contacts
This is the most important and frequently successful step. Turn the vacuum over and locate the two small metal charging pins on the underside. Use a flashlight. You’ll likely see a grey or black film of dust, or maybe even a clump of hair wrapped around the pins. Now, inspect the charging base. Look at the two long metal strips. They will also be dirty. You must clean BOTH the pins on the vacuum AND the strips on the base. The best tool is a dry, lint-free microfiber cloth. Gently but firmly rub the metal surfaces until they are shiny and clean. For stubborn debris, use a cotton swab lightly dipped in isopropyl alcohol (90%+ is best). Never use water or household cleaners. The alcohol evaporates quickly and leaves no residue. After cleaning, let everything dry for 60 seconds. Then, carefully align the vacuum and dock it. Listen for a firm “click” and watch for the charging light on the vacuum or base to illuminate.
Step 3: Reset the Vacuum’s Internal Memory
Sometimes, the vacuum’s internal circuitry can get into a confused state, especially if the battery was completely drained. A full power cycle can reset it. Remove the battery from the vacuum (there’s usually a release button or latch). With the battery out, press and hold the power button on the vacuum for 15-30 seconds. This drains any residual power from the capacitors. Now, reinsert the battery firmly, ensuring it clicks into place. Dock the vacuum on the charger. Give it at least 5-10 minutes to see if the charging light activates.
Step 4: Check the Battery Itself
If cleaning and resetting didn’t work, the battery may be the issue. First, ensure it’s seated correctly. Remove it and reinsert it, listening for the click. Inspect the battery’s metal contact points (where it connects to the vacuum) and clean them with an alcohol-dampened cotton swab, just like the charging pins. Next, if your model has a battery release latch, sometimes that mechanism can wear out and not hold the battery with enough pressure to make contact. Gently wiggle the battery while it’s on the charger to see if the light flickers on. If it does, the latch may be faulty. Finally, if you have access to a compatible, known-good Shark Ion Rocket battery, try it in your vacuum. If the new battery charges, your old one is dead. If the new battery also doesn’t charge, the problem is likely in the vacuum’s charging port circuit or the charger/base.
3. Deep Dive: Cleaning and Maintenance for Long-Term Health
Prevention is infinitely better than cure. A clean vacuum is a happy vacuum. Integrating these habits into your routine will drastically reduce the chance of future charging problems and extend the life of all components.
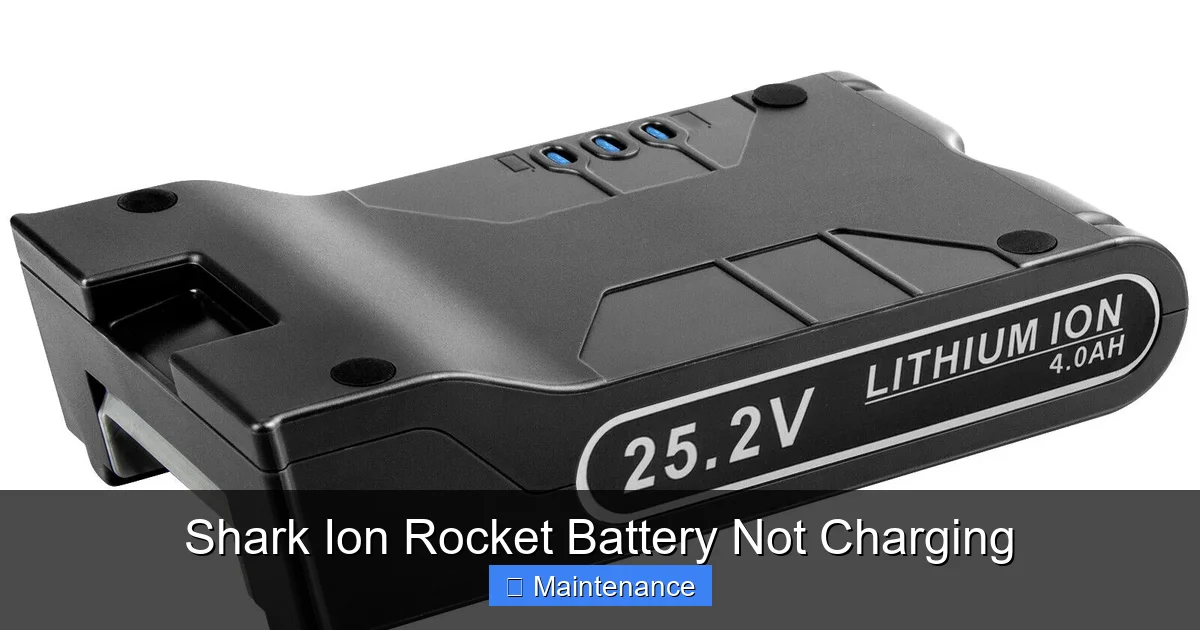
Visual guide about Shark Ion Rocket Battery Not Charging
Image source: itechbatt.com
Monthly Contact Cleaning Routine
Make it a habit. Once a month, or every few uses if you have pets or a lot of carpet, perform a quick contact clean. Use a dry toothbrush to dislodge any lint or hair wrapped around the charging pins and in the crevices of the base. Follow with the microfiber cloth and alcohol swab. This 60-second task is the single most effective maintenance you can perform for your Shark Ion Rocket’s charging system.
Full Vacuum Maintenance
A clogged filter or a full dust cup makes the motor work harder, which can drain the battery faster and put more stress on the entire system. Empty the dust cup after every use. Wash the filters (the pre-motor foam and felt filter, and the post-motor HEPA filter) with cold water every 2-3 months. Let them air-dry completely for 24 hours before reinserting. A blocked exhaust will also strain the motor. Check and clean the exhaust vent on the back of the vacuum regularly.
Proper Storage Practices
How you store your vacuum impacts battery health. The ideal storage location is on its charging base, in a cool, dry place away from direct sunlight, heaters, or garages where temperatures swing wildly. If you won’t be using it for a month or more (like during a vacation), store it with the battery about 50% charged in a cool spot. Avoid leaving it on the charger 24/7/365. Modern Shark chargers have a trickle charge to prevent overcharging, but it’s still best practice to unplug the charger from the wall if the vacuum will sit on the dock, fully charged, for several weeks.
4. Recognizing When the Battery is Truly Dead
After ruling out dirt and charger issues, you must face the possibility of battery failure. Here’s how to confirm it.
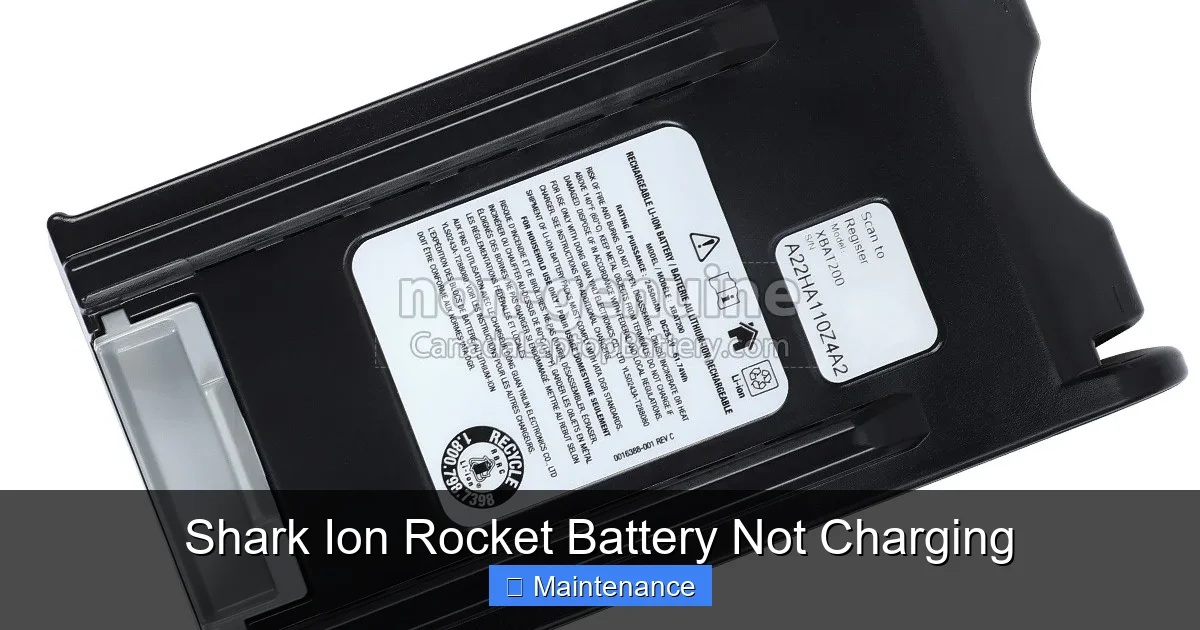
Visual guide about Shark Ion Rocket Battery Not Charging
Image source: canadalaptopbattery.com
Symptoms of a Failed Battery
- Extremely Short Runtime: It runs for 1-2 minutes on a full charge.
- Sudden Shutdown: It powers off abruptly during use, even when the battery indicator shows charge remaining.
- No Charge Acceptance: After thorough cleaning and resetting, it shows no signs of charging on a known-good dock/charger.
- Physical Signs: The battery case is swollen, bulging, or feels hot to the touch during charging/discharging. Stop using it immediately.
- Age: It’s over 3 years old and has seen heavy use (multiple times per week).
How to Test a Suspect Battery
The most definitive test is substitution. If you can borrow a compatible battery from a friend or purchase a new one, install it. If the vacuum charges and runs normally, your diagnosis is confirmed. Some advanced users with a multimeter can test the battery’s voltage output, but this is risky if you don’t know what you’re doing and can damage the battery management system. For most, the substitution test is the safest and most reliable method.
5. Charger and Base Failure: Diagnosis and Solutions
If the battery tests good in another vacuum, or if a new battery doesn’t charge in yours, the fault lies with the charging apparatus.
Diagnosing the Charger
Look for visible damage: frayed cables, bent prongs on the wall plug, or a cracked adapter housing. Smell it—a faint electrical burning odor is a bad sign. Use a multimeter to check the DC output voltage (the small barrel plug end). You should get a reading close to what’s printed on the charger label (e.g., 22V). If it’s significantly lower or zero, the charger is dead. Without a multimeter, the best test is to try your charger on a compatible friend’s Shark Ion Rocket. If it doesn’t charge their vacuum, your charger is faulty.
Issues with the Charging Base
The base is a passive component, but it can fail. The metal strips can become so corroded or coated in gunk that cleaning doesn’t help. The internal wiring can break from repeated docking stress. Visually inspect the strips. Are they bent, broken, or severely pitted? Check the connection point where the base’s wire plugs into the wall adapter. Try wiggling it. Sometimes the solder joint inside the base fails. If the base is the issue, Shark typically sells it as a separate replacement part, which is cheaper than buying a whole new vacuum.
6. When to Consider Professional Repair or Replacement
Not every problem is DIY-friendly. Knowing when to stop and seek help is important for safety and cost-effectiveness.
Internal Electrical Issues
If you’ve confirmed a good battery and a good charger, but the vacuum still won’t charge, the problem is likely internal. This could be a faulty charging port, a broken wire inside the vacuum’s neck, or a failed circuit board on the main body. Diagnosing and repairing this requires disassembling the vacuum, which can be complex and risks damaging other components. Unless you’re experienced with appliance repair, this is the time to get a quote from an authorized Shark service center or a reputable small appliance repair shop.
Cost-Benefit Analysis
Get a repair estimate. A new Shark Ion Rocket vacuum typically costs between $150-$300 depending on the model and sales. A replacement battery is usually $50-$80. A charging base is $30-$60. A repair for an internal electrical fault could easily be $80-$120 in labor alone. If your vacuum is older and the repair cost approaches 50% of a new unit’s price, replacing the vacuum is often the more sensible long-term choice. For a newer model under warranty, contact Shark customer support immediately.
Safety and Environmental Concerns
Never attempt to puncture, disassemble, or incinerate a lithium-ion battery. A damaged battery can catch fire or explode. If your battery is swollen, leaking, or smells odd, place it in a non-flammable container (like a metal bucket) and take it to a designated battery recycling drop-off point (often found at electronics retailers or municipal waste facilities). Do not put it in the regular trash.
Strong Conclusion
The “Shark Ion Rocket battery not charging” conundrum is almost never a mystery without a solution. By arming yourself with a systematic approach—starting with the simple yet critical act of cleaning the charging contacts, then moving to reset procedures, battery health checks, and charger diagnostics—you can solve the vast majority of these issues yourself in under 15 minutes. Remember, your vacuum is a machine that needs care. That 60-second monthly cleaning of the contacts is the golden rule that will save you countless hours of frustration. Treat it well, and your Shark Ion Rocket will reward you with years of reliable, cord-free cleaning. Now, go grab that microfiber cloth and get your power back.
Frequently Asked Questions
Why is my Shark Ion Rocket not charging even after I cleaned the contacts?
If cleaning didn’t work, the issue is likely a faulty charger, a dead battery, or an internal electrical fault in the vacuum. Try testing with a known-good charger and/or a known-good battery to isolate the problem. If those are good, the vacuum’s charging port circuit may be broken.
How do I perform a full reset on my Shark Ion Rocket?
Remove the battery from the vacuum. Press and hold the power button on the vacuum for 30 seconds to discharge residual power. Reinsert the battery firmly, ensuring it clicks. Place the vacuum on the charger and wait 10 minutes to see if the charging light activates.
What do the charging lights on my Shark Ion Rocket mean?
Typically, a solid red light means charging, a solid green light means fully charged, and a blinking red light can indicate a fault or a battery temperature issue (too hot or too cold to charge). Consult your specific model’s manual for exact light sequences, as they can vary slightly.
How long should a Shark Ion Rocket battery last before it needs replacing?
With proper care, a Shark Ion Rocket lithium-ion battery should last for 2-3 years of regular use (3-4 times per week). Its capacity will gradually diminish over time. If runtime drops to less than 10-15 minutes on a full charge, it’s likely time for a replacement.
Can I use a third-party charger with my Shark Ion Rocket?
It is not recommended. Third-party chargers often lack the precise voltage regulation and safety circuitry of the genuine Shark charger. Using an incompatible charger can damage the battery, create a fire hazard, and void any remaining warranty. Always use the official Shark charger or an exact OEM replacement.
What is the best way to store my Shark Ion Rocket to preserve battery life?
Store it on its charging base in a cool, dry room-temperature environment. If storing for more than a month, charge the battery to about 50% and remove it from the vacuum, storing it separately in a cool, dry place. Avoid extreme temperatures, which are the biggest enemy of lithium-ion batteries.