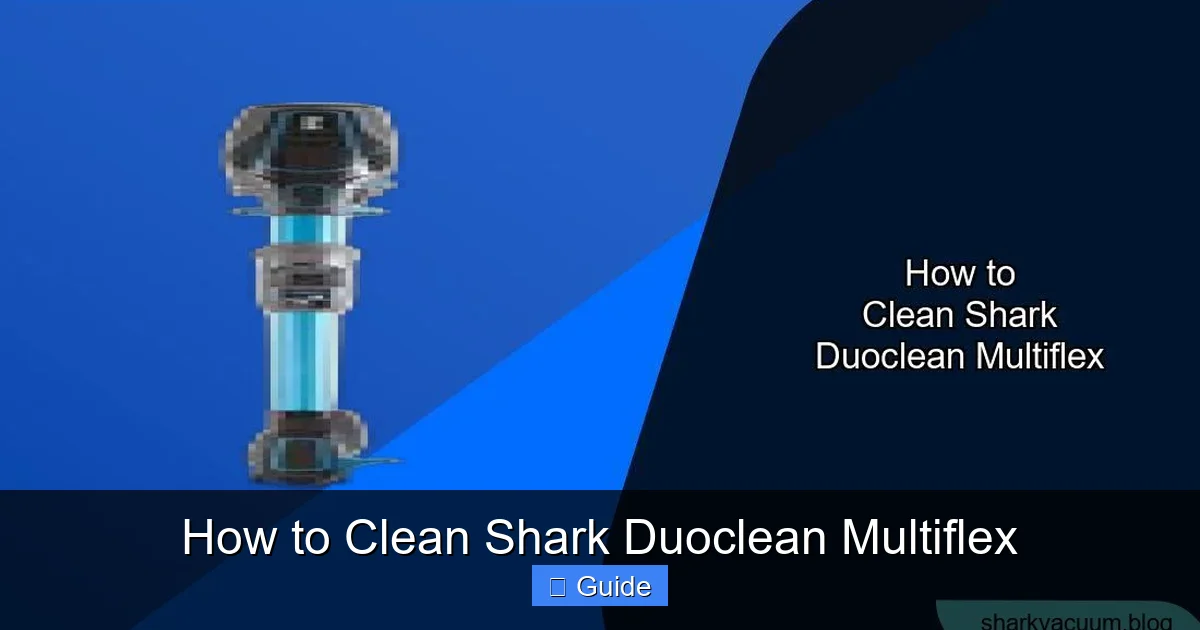
Maintaining your Shark Duoclean Multiflex is essential for preserving its powerful cleaning performance and extending its lifespan. This comprehensive guide walks you through disassembling, cleaning, and reassembling every key component—from the dust cup and multi-surface brushroll to the advanced filtration system and hose. By following these simple, regular maintenance steps, you’ll prevent clogs, maintain strong suction, eliminate odors, and ensure your vacuum is always ready for any mess. Neglecting cleaning leads to reduced efficiency, motor strain, and costly replacements.
So, you’ve invested in a Shark Duoclean Multiflex vacuum. It’s a workhorse, designed to tackle everything from pet hair on the stairs to crumbs on the hardwoods with its unique DuoClean dual-brushroll system. But here’s the secret your Shark doesn’t shout from the rooftops: its legendary performance isn’t a “set it and forget it” deal. Like any high-performance machine, it needs regular, proper care to keep delivering that powerful, consistent suction you bought it for. A clogged brushroll, a dusty filter, or a full dust cup doesn’t just mean a less clean home—it strains the motor, wastes energy, and can lead to expensive repairs down the line.
This guide is your complete, no-nonsense manual for cleaning your Shark Duoclean Multiflex. We’re not just talking about a quick tap-out of the dust cup. We’re diving deep into every nook, cranny, brushroll, and filter. Whether you have the classic NV356 or the newer NV360 model, the core cleaning principles are identical. We’ll break it down into simple, safe steps you can master in under an hour. Think of this as giving your trusty cleaning sidekick a spa day. It deserves it, and your floors will thank you. Let’s get started.
Key Takeaways
- Unplug First: Always disconnect the Shark Duoclean Multiflex from power before any cleaning or maintenance to ensure safety.
- Empty the Dust Cup After Every Use: Regularly emptying the one-touch dust cup prevents debris from caking inside, maintaining maximum suction power and preventing motor strain.
- Wash Filters Monthly: The pre-motor foam and felt filters must be removed, washed with cold water, and air-dried completely for 24 hours to protect the motor and maintain air quality.
- Clean the Brushroll Bi-Weekly: Hair, string, and carpet fibers wrap around the self-cleaning brushroll. Regularly cutting and removing this debris is crucial to prevent clogs and brushroll damage.
- Inspect and Clear the Hose: Check the flexible hose and wand for blockages using a long, flexible tool like a broom handle or coat hanger to restore full airflow.
- Avoid Harsh Chemicals: Never use cleaners, solvents, or oils on any vacuum parts. Stick to mild soap and water for washable components to avoid damage.
- Reassemble Correctly: Ensure all components—especially filters and the dust cup—are fully dry and properly seated before use to prevent leaks and motor damage.
📑 Table of Contents
- Essential Prep Work & Safety First
- Deep Cleaning the Dust Cup and One-Touch Release System
- Mastering Filter Maintenance: Foam, Felt, and HEPA
- Resurrecting the Self-Cleaning Brushroll
- Clearing the Air Path: Hose, Wand, and Attachments
- Exterior Care, Reassembly, and Final Checks
- Establishing a Simple Maintenance Schedule
- Conclusion: Your Investment in Clean
Essential Prep Work & Safety First
Before we touch a single screw, let’s lay the groundwork. Rushing into cleaning without proper prep is the fastest way to lose small parts or, worse, damage your vacuum.
Gather Your Cleaning Station
Find a well-lit area, ideally on a towel or large sheet of newspaper. You’ll need: a soft-bristled brush (an old toothbrush works perfectly), a microfiber cloth, a sink or large basin, mild dish soap, a long, flexible tool for the hose (like a straightened wire coat hanger with the end taped or a long handled scrub brush), and maybe a pair of small scissors for cutting tangled hair. Have your Shark’s user manual handy for reference on part locations.
The Golden Rule: Unplug and Cool Down
This is non-negotiable. Always ensure the vacuum is completely unplugged from the wall outlet. If you’ve just finished a long cleaning session, allow the motor to cool for 10-15 minutes. Moving a hot motor can be dangerous and may warp internal components.
Disassembly Strategy
Our goal is to clean the entire air path: from the floor, up the hose, through the filters, and out the exhaust. We’ll work backwards, starting with the dust cup and ending with the exterior. As you remove parts, lay them out in the order you removed them. This simple habit makes reassembly a breeze and prevents that frantic “where does this tiny piece go?!” panic.
Deep Cleaning the Dust Cup and One-Touch Release System
The dust cup is your vacuum’s stomach. If it’s not emptied and cleaned properly, everything else suffers. The Shark Duoclean Multiflex features the convenient One-Touch release, but debris can still pack into the seals and the cup itself.

Visual guide about How to Clean Shark Duoclean Multiflex
Image source: m.media-amazon.com
Step 1: Removal and Emptying
Locate the large, red “One-Touch” release button on the top of the dust cup assembly. Press it firmly and lift the entire dust cup straight up and off the main vacuum body. Hold it over a trash can and press the secondary release button (usually on the side or bottom) to open the bottom flap. Tap and shake vigorously to dislodge all dry debris. For fine dust that cakes on, use the brush from your cleaning kit to scrub the interior walls.
Step 2: Washing the Dust Cup
The dust cup is fully washable. Take it to your sink. Use warm water and a drop of mild dish soap. Do not use any abrasive cleaners or scouring pads. Scrub the interior, the rubber seals, and the One-Touch mechanism with your soft brush. Pay special attention to the small channels where the bottom flap seals—this is a prime spot for fine dust to accumulate and cause leaks. Rinse thoroughly until water runs clear. Shake off excess water.
Step 3: Drying is Critical
This is the most important step for the dust cup. You must let it air-dry completely for at least 24 hours. Place it upright or on its side in a well-ventilated area, away from direct sunlight or heat sources. Do not reassemble or use the vacuum with a damp dust cup, as this can cause leaks into the motor and filters.
Mastering Filter Maintenance: Foam, Felt, and HEPA
Your Duoclean Multiflex likely has a two-stage filtration system: a pre-motor foam filter and a pre-motor felt filter (sometimes a combination cartridge). Some models also have a post-motor HEPA filter. These are the lungs of your vacuum. Clogged filters suffocate your machine.
Visual guide about How to Clean Shark Duoclean Multiflex
Image source: sharkvacuum.blog
Locating and Removing the Filters
Turn the vacuum over. On the back, near where the dust cup attaches, you’ll find a filter cover—usually a rectangular or circular door that clicks or unscrews. Open it. Inside, you’ll see the foam filter (often blue or grey, spongy) and the felt filter (often grey, fibrous, and pleated). The HEPA filter, if present, is usually located on the exhaust port on the back or side of the main body. Gently pull each filter straight out. Note their orientation for correct reinstallation.
The Washing Ritual (For Washable Filters Only)
Check your manual! Not all filters are washable. The foam and felt filters on most Duoclean Multiflex models are washable. Never wash a HEPA filter unless explicitly stated. Fill your sink with cold water (hot water can damage the filter media) and add a tiny drop of mild soap. Submerge the filter and gently squeeze and agitate it. You’ll see dirty water swirl out. Rinse under a gentle stream of cold water until completely clear. Do not wring or twist. Gently press water out between your palms.
The 24-Hour Air-Dry Rule
This cannot be stressed enough. Place the filters on a towel in a warm, dry spot with good airflow. They must be 100% bone dry. Any residual moisture will travel into the motor when you use the vacuum, causing catastrophic failure. A good trick is to set a fan to blow across them. Patience here saves you from a $100+ motor replacement.
Resurrecting the Self-Cleaning Brushroll
This is the heart of your Duoclean’s cleaning power. The two counter-rotating brushrolls (one for carpet, one for hard floors) are fantastic at agitating debris, but they’re also a magnet for hair, string, and carpet fibers. A bound-up brushroll spins poorly, creates friction (burning smells!), and stops picking up dirt.
Visual guide about How to Clean Shark Duoclean Multiflex
Image source: files.constantcontact.com
Accessing the Brushroll Housing
Lay the vacuum on its back. On the underside of the cleaning head, you’ll see the brushroll cover—a rectangular plate, usually grey or black, secured by 4-6 screws (often Torx/star-head). Use the appropriate screwdriver to remove all screws. Keep them safe. Lift the cover off.
Inspecting and Unclogging
You’ll see the two brushrolls side-by-side. Rotate them by hand. They should spin freely. Now, look closely at the bearings (the plastic ends) and along the bristles. You’ll likely see a mat of hair and fibers. This is your target.
- For Hair & String: Use the tip of your scissors to carefully cut through the tangled mass along the length of the brushroll. Then, using your fingers or the edge of the scissors, peel and pull the debris off. Be gentle to avoid pulling out bristles.
- For Compacted Debris: Use your soft brush to scrub the crevices between the bristles and around the bearings. A wooden skewer or toothpick can help dislodge packed gunk from the bearing seats.
Checking the Self-Cleaning Mechanism
The Duoclean’s magic is its self-cleaning rollers. As you clear debris, check the small rubber fins and the clearance between the two brushrolls. Ensure nothing is jammed between them. Wipe the entire housing interior with a damp cloth to remove fine dust.
Clearing the Air Path: Hose, Wand, and Attachments
Even with a clean cup and filters, a blockage in the hose or wand will kill suction. This is often the culprit when suction seems weak but everything else looks clean.
Inspecting the Hose and Wand
Detach the hose from the vacuum body and from the wand. Stretch it out straight. Visually inspect the interior. Shine a flashlight through one end. Look for obstructions like small toys, paper, or dense lint balls. Use your flexible tool (the taped coat hanger) to gently prod and dislodge any visible clogs. Work slowly to avoid puncturing the hose. For the wand, do the same. Often, a quick shake and tap over a trash can will dislodge loose debris.
Cleaning Attachments
Don’t forget your tools! The crevice tool, dusting brush, and upholstery tool all collect debris. Tap them out, use your brush to clean the bristles (for the dusting brush), and wipe the plastic with a damp cloth. Check the small air holes in the tools—clear them with a pin if needed.
The “Blow-Out” Test
Reassemble the hose and wand loosely (don’t attach to the vacuum yet). Take it outside or to a well-ventilated area. Blow forcefully into one end. You should feel a strong, unobstructed rush of air from the other end. If airflow is weak, you still have a blockage to find and clear.
Exterior Care, Reassembly, and Final Checks
Now that the internal air path is pristine, let’s make the outside shine and put it all back together correctly.
Wiping Down the Body
Use a microfiber cloth dampened with plain water or a 50/50 water-vinegar solution (test on a small inconspicuous area first). Wipe down the entire vacuum body, handle, and wheels. Pay attention to the wheel wells—they collect hair and carpet fibers. Use a toothbrush to clean around the wheels and their axles. Dry thoroughly with a clean microfiber towel.
Reassembly: The Final Puzzle
This is where your “parts layout” pays off.
- Filters: Insert the completely dry felt filter first (if separate), then the dry foam filter, ensuring they sit flush in their housing. Close the filter cover securely.
- Brushroll: Place the cleaned brushroll assembly back into the housing, ensuring the bearings sit in their slots correctly. Replace the cover and screw it down tightly in a cross pattern (like tightening lug nuts on a car) to ensure an even seal.
- Dust Cup: Ensure the dry dust cup is fully open and the seals are clean. Align it with the intake on the vacuum body and press down firmly until you hear a click. Verify the One-Touch button works to open the bottom.
- Hose & Attachments: Reattach the hose to the vacuum and the wand. Store attachments on the vacuum’s onboard rack.
The Post-Cleaning Power Test
Before you return to your living room, do a final check. Plug the vacuum in. Without turning it on, check for any unusual looseness in the brushroll cover or dust cup. Turn it on and listen. The sound should be the familiar powerful roar, not a high-pitched whine or grinding noise (which could indicate a misaligned brushroll). Feel for strong suction at the wand end. Finally, run it over a small, visible patch of floor to confirm it’s picking up debris effectively. Congratulations! Your Shark Duoclean Multiflex is now operating at peak efficiency.
Establishing a Simple Maintenance Schedule
Cleaning doesn’t have to be a massive quarterly chore. Integrate these tasks into your routine for effortless upkeep.
After Every Use (30 Seconds)
Empty the dust cup. Tap out the wand and hose if they seem full. This prevents debris from settling and becoming harder to remove later.
Weekly (2-3 Minutes)
Check the brushroll for visible hair and string. Cut and remove any tangles. Wipe the exterior and wheels with a damp cloth. Visually inspect the filters for heavy dust buildup.
Monthly (15-20 Minutes)
This is your filter washing day. Remove, wash, and start the drying process for the foam and felt filters. Do a more thorough brushroll inspection and cleaning. Check the hose for any developing clogs.
Every 6 Months (30-45 Minutes)
Perform this full deep-clean guide. Disassemble everything, wash all washable parts, and give the entire vacuum a detailed inspection. Look for worn bristles on the brushroll, cracks in the hose, or wear on the seals. This proactive approach catches small problems before they become big ones.
Conclusion: Your Investment in Clean
Cleaning your Shark Duoclean Multiflex isn’t a burden—it’s an investment. It’s an investment in the longevity of a machine you rely on, in the consistent cleanliness of your home, and in the health of your family’s indoor air. A vacuum with clogged filters and bound brushrolls is just pushing dirt around, not removing it. By dedicating a little time to this straightforward maintenance ritual, you protect your purchase, ensure every cleaning session is maximally effective, and enjoy that powerful, reliable Shark performance for years to come. You’ve got this. Now go enjoy your freshly cleaned, efficiently running vacuum on those beautifully maintained floors.
Frequently Asked Questions
How often should I wash the filters on my Shark Duoclean Multiflex?
Shark recommends washing the pre-motor foam and felt filters every month with normal use. If you have pets, allergies, or clean primarily carpeted areas, you may need to wash them every 2-3 weeks. Always allow them to air-dry for a full 24 hours before reuse.
My brushroll isn’t spinning, what should I check first?
First, unplug the vacuum. Lay it on its back and remove the brushroll cover. Check for and remove any hair, string, or carpet fibers tightly wrapped around the brushroll and its bearings. This is the most common cause. If it spins freely after cleaning, the issue was a blockage.
Can I use vinegar or all-purpose cleaner on the dust cup or filters?
For the dust cup, a mild dish soap and water solution is perfectly safe. For filters, only use cold water. Never use vinegar, bleach, or other cleaners on filters, as they can degrade the filter media and reduce their effectiveness, potentially damaging your vacuum’s motor.
Why does my vacuum smell musty even after emptying the dust cup?
The odor is likely trapped in the filters, brushroll, or hose. Follow this full cleaning guide, paying special attention to washing the filters and thoroughly scrubbing the brushroll housing and hose interior with a soapy cloth. Ensure all parts are completely dry before reassembling, as moisture causes mildew smells.
What’s the best way to store my Shark Duoclean Multiflex?
Store it in a cool, dry place. Ensure the dust cup is empty and completely dry, and all filters are dry. Store it with the hose loosely coiled (not kinked) and the wand detached if space is tight. Avoid storing it in a damp basement or hot garage, which can degrade plastic and rubber seals faster.
How can I tell if my filters are damaged and need replacing?
Inspect the filters after washing. If the foam filter is torn, crumbly, or doesn’t return to its original shape when squeezed, replace it. If the felt filter is ripped, severely discolored, or shedding fibers into your sink, it needs replacement. Filter performance degrades over time, and Shark recommends replacing them every 6-12 months depending on use.