Programming your Shark Ion Robot is simpler than you think, transforming it from a basic vacuum into a customized cleaning assistant. By downloading the official SharkNinja app, connecting your robot to your home Wi-Fi network, and learning to use its scheduling and zone-cleaning features, you can automate your entire floor care routine. This guide walks you through every step, from initial unboxing to advanced troubleshooting, ensuring you get the most intelligent, efficient clean possible from your device.
Key Takeaways
- Setup is App-Centric: The Shark Ion Robot is primarily programmed and controlled through the SharkNinja app on your smartphone, not just the physical remote.
- Wi-Fi is Mandatory for Programming: To access scheduling, custom cleaning zones, and firmware updates, your robot must be connected to a 2.4GHz Wi-Fi network.
- Scheduling is the Core Feature: You can set specific days and times for your robot to clean automatically, creating a hands-off maintenance routine.
- No-Go Zones & Custom Maps Add Precision: Use the app’s “Create No-Go Zone” feature to block off areas like pet bowls or toy piles, and utilize “Clean Specific Rooms” on compatible models.
- Regular Maintenance Keeps Performance High: A well-programmed robot still needs clean brushes, empty bins, and fresh filters to operate at its programmed best.
- Troubleshooting Often Starts with Connectivity: The most common programming issues stem from Wi-Fi problems, which are usually resolved by checking your router and robot’s placement.
- The Physical Remote is for Manual Control: While you can steer the robot manually with the remote, its true “programming” power lies within the app’s automated features.
📑 Table of Contents
Unboxing and Initial Setup: Your First Steps
So you’ve unboxed your new Shark Ion Robot. It sits there, sleek and quiet, a promise of effortless clean floors. But before it can become your automated cleaning partner, it needs a proper introduction to your home. This initial setup isn’t just about turning it on; it’s the foundational programming that unlocks all its smart features. Think of it as teaching your robot its home address and the basic rules of the house.
The very first step, surprisingly, has nothing to do with the app. You need to physically prepare the robot. This means removing all protective packaging and stickers—yes, even the tiny one on the bumper! Then, locate the two main brushes underneath. They often click into place during shipping. Give them a firm tug to ensure they are fully locked. A loose brush is a common reason for poor cleaning performance later. Next, find the dustbin. It’s usually at the back. Open it, remove the filter (it’s often wrapped in plastic), and take out any foam or cardboard inserts. Rinse the filter with cold water (let it dry for 24 hours before first use) and give the bin a quick wipe. Finally, place the charging dock on a flat, hard surface against a wall, with at least 1.5 feet of open space on either side and 5 feet in front. This gives the robot room to approach and dock reliably.
Downloading and Installing the SharkNinja App
This is the gateway. Your phone or tablet becomes the command center. Go to the Apple App Store or Google Play Store and search for “SharkNinja” or “Shark IQ“—the app name can vary slightly by model year but will prominently feature the Shark logo. Download and install it. Open the app and create a free account. This account is crucial; it stores your robot’s schedules and settings in the cloud, so you can access them from any device.
Once logged in, the app will prompt you to “Add a Device.” Select “Robot Vacuum” and then your specific model (e.g., Shark Ion Robot AV750, AV753, etc.). The app will then provide clear, visual, step-by-step instructions. It will typically ask you to press and hold the “Clean” button on your robot until you hear a tone, indicating it’s in pairing mode. The app then searches for the robot’s Wi-Fi signal. This is the moment of connection.
Connecting to Your Home Wi-Fi Network
Here’s the critical technical detail: your Shark Ion Robot only connects to 2.4GHz Wi-Fi networks. It does not support 5GHz. Many modern routers are “dual-band,” broadcasting both. If your robot fails to connect, this is the first thing to check. You may need to temporarily disable your 5GHz network or create a separate 2.4GHz network name (SSID) in your router settings. The app will guide you to select your network from a list and enter your password.
Place the robot on its charging dock during this process. A solid blue light (or a specific pattern) usually indicates a successful connection. Once connected, the app will confirm and often prompt you to name your robot. Giving it a fun name like “Dusty” or “Roomba Jr.” makes interacting with it more personal. You’ve now completed the basic programming that allows your robot to receive commands from the cloud. The physical remote that came with it can still steer it manually, but the real power is now in your pocket.
Mastering the SharkNinja App: Your Command Center
With the robot connected, the app transforms from a setup tool into your full-featured control panel. Take a few minutes to explore the home screen. You’ll see the robot’s status (Cleaning, Docked, Charging, Error), battery level, and last cleaning time. The main action button is usually a large “Clean” or “Start Cleaning” icon. Tapping this sends the robot out for an immediate, full-home clean. But the true programming magic is in the menu—often represented by three horizontal lines (a “hamburger” menu) or a settings gear icon. This is where you dive into scheduling, zones, and history.
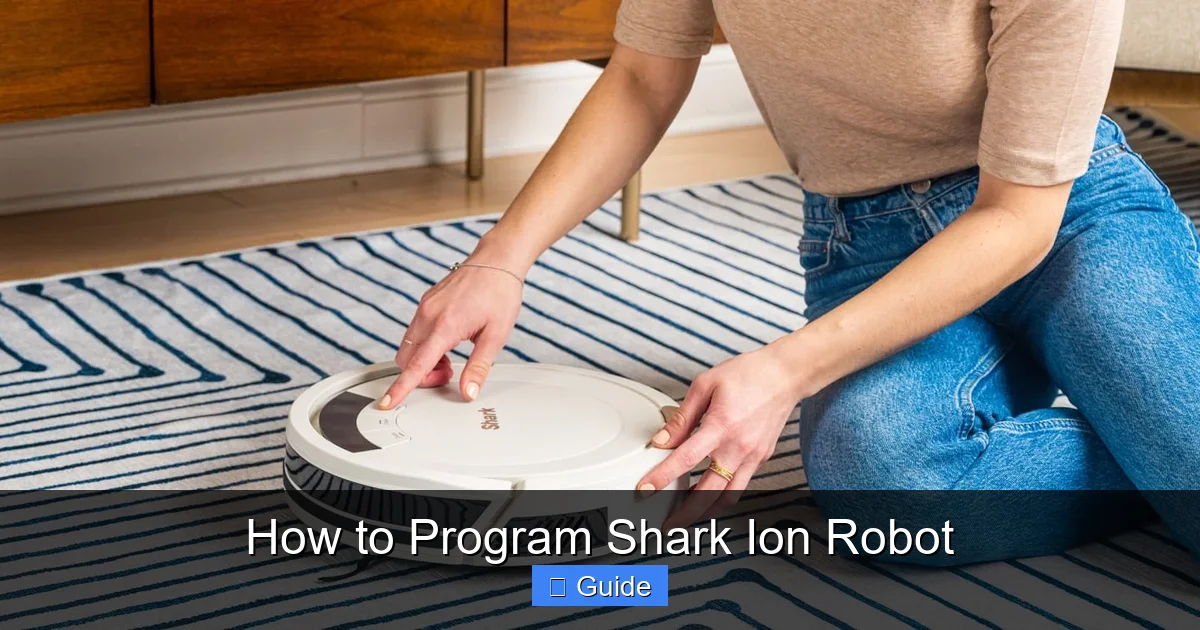
Visual guide about How to Program Shark Ion Robot
Image source: media-cldnry.s-nbcnews.com
First, explore the “History” or “Cleaning Log” tab. This is invaluable. It shows every cleaning session: date, start/end time, duration, and area covered in square feet. If you notice the robot isn’t covering as much area as expected, this log helps you diagnose issues—maybe it’s getting stuck under furniture or the brushes are clogged. Next, find the “Settings” for your specific robot. Here you can rename it, check for firmware updates (which Shark releases periodically to improve navigation and cleaning logic), and adjust notification preferences. Enable push notifications for “Job Complete” and “Error” so you know when it’s done or needs help.
Navigating the Control Panel: Buttons and Their Jobs
The app’s main control panel during a clean is powerful. You’ll see a live map on compatible models (like those with IQ Navigation). Even on non-mapping models, you have key controls:
- Pause/Resume: The most used button. Pause to move a rug or pick up a child’s toy, then resume.
- Return to Dock: Sends the robot home mid-clean. Useful if you need to vacuum a specific room quickly before heading out.
- Spot Clean: This is a programmed mode. When activated, the robot will clean a focused area (typically a 3×3 foot zone) in a tight spiral pattern. Use it for spilled cereal or kitty litter. You can often adjust the spot size in settings.
- Locate Robot: Makes the robot beep. Essential for finding it under the couch when it’s finished but you can’t see it.
Spend a few minutes running a full clean while watching the app. On mapping models, observe the map building in real-time. This visual feedback helps you understand how your robot “sees” your space, which is crucial for the next level of programming: custom zones.
Scheduling and Customization: Automating Your Clean
This is the holy grail of robot vacuum programming—setting it and forgetting it. The scheduling feature lets you create a recurring cleaning routine that fits your life. In the app, look for “Schedule” or “Clean Schedule.” You’ll be presented with a weekly calendar view. Tap on a day (e.g., Monday). You can then set one or two cleaning times per day. A common and effective schedule is to run the robot every weekday morning at 10 AM while you’re at work, and again on Saturday afternoon. The robot will automatically leave its dock, clean the entire accessible floor area, and return to charge, all without you lifting a finger.

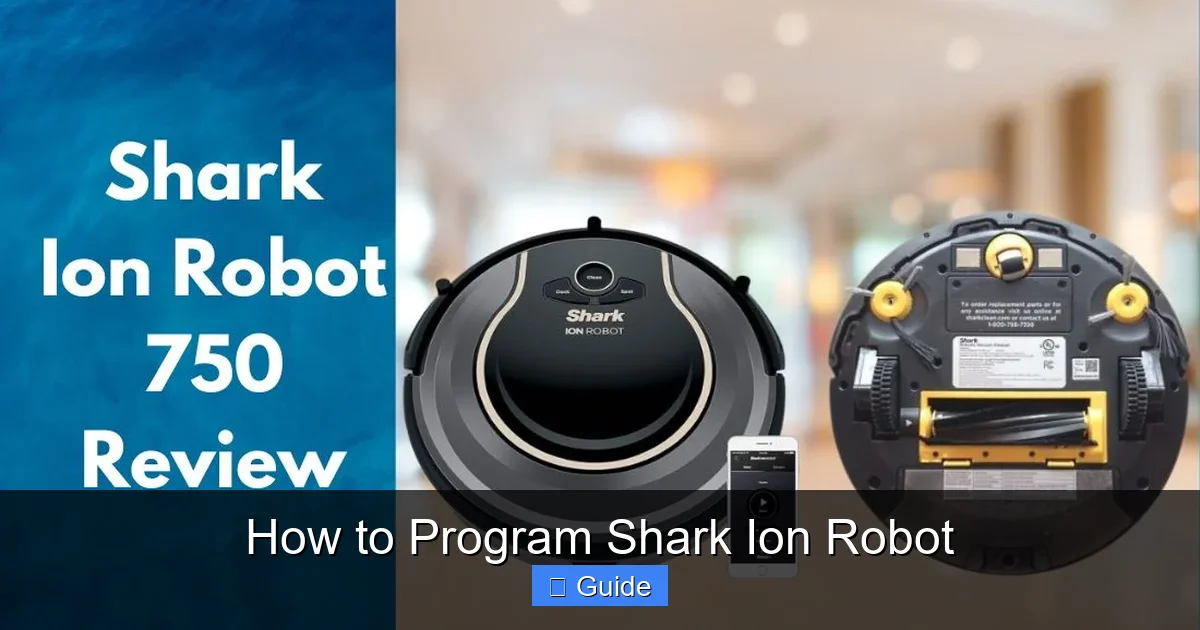
Visual guide about How to Program Shark Ion Robot
Image source: i0.wp.com
When setting a schedule, consider your home’s traffic patterns. If you have pets that shed heavily, a daily schedule might be best. If your home is mostly empty during the week, a 2-3 day schedule is sufficient. The app will show your next scheduled clean on the home screen. You can easily skip a scheduled clean by tapping a “Skip Next Clean” option if you’re having a party or the floors are already clean.
Creating No-Go Zones and Virtual Walls
Not every part of your floor needs a robot’s attention. The pet food station, a child’s play area with tiny LEGO bricks, or a delicate area rug are all places you want to protect. This is where No-Go Zones come in. On models with mapping capabilities, you draw these zones directly on the live map in the app. You create a rectangular or square boundary, place it over the area to avoid, and save it. The robot will then treat that zone as an invisible wall, never entering it.
For non-mapping models, you use the included Virtual Wall accessory. This is a small device that emits a straight-line infrared barrier. You place it on the floor, point it across a doorway or in front of a rug, and it creates a 10-foot long “wall” the robot won’t cross. Programming here is physical placement rather than digital drawing. Some newer models offer both options. The key takeaway: always set up No-Go Zones or Virtual Walls before your first scheduled clean to prevent mishaps like the robot sucking up pet food or getting tangled in a rug fringe.
Room-Specific Cleaning (On Compatible Models)
If your Shark Ion Robot has a mapping feature (often called “IQ Navigation” or “Room Awareness”), you unlock the most advanced programming: cleaning specific rooms. After a few full-home runs, the app will have built a detailed map. You can then label each room on the map—”Living Room,” “Kitchen,” “Bedroom 1.” Once labeled, you can tap on any room name and select “Clean Room.” The robot will navigate directly to that room and clean just that space. This is perfect for spot-cleaning the kitchen after cooking or the entryway after a rainy day. You can also create multi-room clean jobs, like “Clean Kitchen and Dining Room.” This level of customization saves significant time and battery compared to running the whole-house cycle for a small mess.
Advanced Programming Features and Tips
Beyond the basics, your Shark Ion Robot has subtle features that, when programmed correctly, dramatically improve results. One is the “Clean Mode” or “Suction Strength” setting. In the app settings, you’ll often find options like “Eco” (quieter, longer runtime) and “Max” (more suction for carpets or deep messes). Program your schedule to use “Max” for days after you vacuum with an upright, and “Eco” for daily maintenance. This balances cleaning power with noise and battery life.
Visual guide about How to Program Shark Ion Robot
Image source: sharkvacuum.blog
Another advanced tip involves understanding your robot’s navigation. Shark’s newer models use a systematic, row-by-row pattern. If you have an open-concept floor plan, this works great. But in a home with many narrow hallways or a cluttered floor, the robot can sometimes get “confused.” The solution is strategic dock placement and furniture management. Ensure the dock is in a central, open location with a clear path to most rooms. Also, try to keep the middle of high-traffic areas as clear as possible. The less the robot has to navigate around obstacles, the more efficient its programmed path will be, and the more complete its coverage will be.
Programming for Different Floor Types
Most Shark Ion Robots transition seamlessly from hard floors to low-pile rugs. However, for high-pile rugs or shag area rugs, you might need to program around them. The robot’s wheels can get stuck, and its suction can pull the rug. Here, your No-Go Zones are your best friend. Draw a zone around the high-pile rug if you want the hard floors around it cleaned, but not the rug itself. Alternatively, you can use the “Max” suction mode specifically on days you know the rug needs attention, as the extra power sometimes helps it traverse the pile. The goal is to program your robot to work *with* your home’s layout, not fight against it.
Integrating with Smart Home Ecosystems
This is the frontier of robot programming. Depending on your model’s age and capabilities, it might integrate with Amazon Alexa or Google Assistant. Check the app for a “Smart Home” or “Voice Control” section. After enabling the skill/action and linking your accounts, you can use voice commands like, “Alexa, tell Shark to start cleaning” or “Hey Google, ask Shark to clean the kitchen.” This isn’t deep programming, but it’s a powerful layer of convenience. You can combine this with your app schedules: have the robot run on its schedule, but also use voice for spontaneous, room-specific cleans. It turns your robot from a scheduled appliance into an on-demand cleaning tool.
Maintenance as Part of the Program
Programming your Shark Ion Robot isn’t a “set it and forget it” task that ends after the app setup. A major part of ensuring your programmed schedules run successfully is a disciplined maintenance routine. The app actually helps with this! Many models will send push notifications like “Clean Brushes” or “Empty Bin” based on runtime. These are not suggestions; they are critical to your robot’s performance. A clogged brush roll will cause it to miss debris and potentially strain the motor. A full bin will reduce suction power mid-clean, making your scheduled clean ineffective.
Build a maintenance calendar. Weekly: remove the robot from the dock, tap out the dustbin, and use the included cleaning tool to cut any hair or fibers wrapped around the main brush and side brush. Monthly: remove the main brush assembly completely and check for debris in the bearings. Rinse the filter (if washable) and let it dry for 24 hours. Every 6-12 months, depending on usage, replace the filter and consider new main brushes and side brushes. A robot with worn brushes won’t clean well, no matter how perfectly you programmed its schedule. Think of maintenance as the necessary “software update” for your robot’s hardware.
Diagnosing Clean Failures Through the App
When your scheduled clean doesn’t happen, or the robot returns to dock too quickly, the app is your diagnostic tool. Go to the “History” log. An error code (like “Error 5” or “Brush Roll Stuck”) will be listed. The app will often have a “Troubleshoot” button next to the error that provides specific steps: “Check for obstructions on main brush,” “Clean charging contacts.” This is direct programming feedback. The robot is telling you what it needs to resume its programmed task. Common issues include:
- Cannot Find Dock: Ensure the dock is plugged in, the power light is on, and there’s nothing blocking the robot’s approach (like a chair leg).
- Stuck in One Area: Look for a dark rug, a room transition (like from tile to carpet with a thick border), or a stray cord that trapped it. Use the app’s “Locate” feature, then manually move it to an open area.
- Missed Large Areas: This often means furniture has been moved, creating new obstacles, or a door was closed, blocking access. Check your No-Go Zones—did you accidentally block a major pathway?
The app’s error messages are your robot’s voice. Learning to interpret them is a key part of being a successful programmer-owner.
Troubleshooting Common Programming and Connectivity Issues
Even with perfect setup, you’ll occasionally hit a snag. The most frequent programming roadblocks are connectivity-based. Your robot’s “brain” is in the cloud. If it can’t talk to the cloud, it can’t receive your scheduled commands or send you notifications. The first question is always: Is the robot connected to Wi-Fi? Check the app’s home screen for a Wi-Fi icon. If it’s grayed out or missing, the robot has lost connection. Start with the simplest fix: power cycle. Turn off the robot’s power switch (on the side), unplug the dock for 10 seconds, plug the dock back in, turn the robot on, and place it on the dock. The blue connection light should blink and then become solid. If not, your router may be the issue. Ensure your router’s firewall isn’t blocking the robot (Shark’s ports are standard). A router reboot often helps. If problems persist, you may need to delete the robot from the app and re-add it, going through the pairing process again. This re-establishes the bond.
The Factory Reset: Your Nuclear Option
If your robot is behaving erratically—ignoring schedules, not responding to app commands, or you’re moving to a new home with a new Wi-Fi network—a factory reset may be necessary. This returns the robot to its out-of-box state, wiping all Wi-Fi settings, schedules, and map data. The process varies by model but typically involves locating a small pinhole reset button on the underside or side of the robot. Use a paperclip to press and hold it for 10-15 seconds until you hear a tone. The robot will reboot. You must then go through the entire app setup process again, from Wi-Fi connection to map building. Use this as a last resort, as you will lose all your programmed preferences and the robot will have to relearn your home’s layout.
When Schedules Don’t Save or Run
You meticulously set a schedule in the app, hit “Save,” and see it listed. But when the time comes, your robot naps in its dock. First, confirm the schedule is “Active.” Some apps have a toggle switch next to each scheduled day. Ensure it’s on. Second, check your robot’s physical power switch. It must be ON for scheduled cleans to run. Third, verify the robot is on its dock at the scheduled time. If you manually park it somewhere else (like in a bedroom for a spot clean), it won’t trigger the schedule. Finally, ensure your phone’s app is logged in and has notification permissions. While not always required for the schedule to run locally, a severed link between your account and the robot can sometimes cause sync issues. Logging out and back into the app can refresh this connection.
Frequently Asked Questions
Why won’t my Shark Ion Robot connect to my Wi-Fi?
This is the most common issue. First, verify you are trying to connect to a 2.4GHz network, as the robot does not support 5GHz. Ensure your router is close enough to the robot’s charging dock during setup. Restart both your router and the robot. If problems continue, try “forgetting” the network on your phone and re-entering the password carefully in the SharkNinja app.
How do I fix a schedule that I programmed but isn’t running?
Check three things: 1) Is the schedule toggle switch turned “On” in the app? 2) Is the robot’s physical power switch turned on? 3) Is the robot sitting on its charging dock at the scheduled time? If all are correct, try deleting the schedule and recreating it from scratch in the app.
Can I program my Shark Ion Robot to clean while I’m not home?
Absolutely. That is the primary purpose of the scheduling feature. Once your robot is connected to Wi-Fi and a schedule is set in the SharkNinja app, it will automatically start cleaning at the designated times, even if your phone is miles away. Just ensure the robot is on its dock and powered on.
How do I create a No-Go Zone for my robot?
For mapping models (with IQ Navigation), open the SharkNinja app, go to your robot’s map, and select “Create No-Go Zone.” Draw a box over the area you want to block (like a pet bowl or a rug). Save it, and the robot will avoid that area on all future cleans. For non-mapping models, use the included Virtual Wall device, placing it on the floor to create an infrared barrier.
My robot is programmed to clean daily, but the app says the bin is full after one clean. What gives?
This likely means your robot is encountering more debris than usual, or the bin sensor is dirty. First, empty the bin thoroughly and wipe the sensor (a small plastic window on the bin) with a dry cloth. Second, check your programmed schedule—if you recently added a pet or have seasonal shedding, you may need to empty the bin mid-cycle or increase cleaning frequency. A clogged filter can also cause this error; rinse and dry your filter.
How do I reset my Shark Ion Robot to factory settings to set it up on a new Wi-Fi network?
Locate the small reset pinhole on the underside or side of the robot. Use a paperclip to press and hold the button inside for 10-15 seconds until you hear a tone. The robot will power cycle. You must then open the SharkNinja app, delete the old robot device, and go through the entire setup process again to connect it to your new Wi-Fi network and reprogram all schedules and zones.