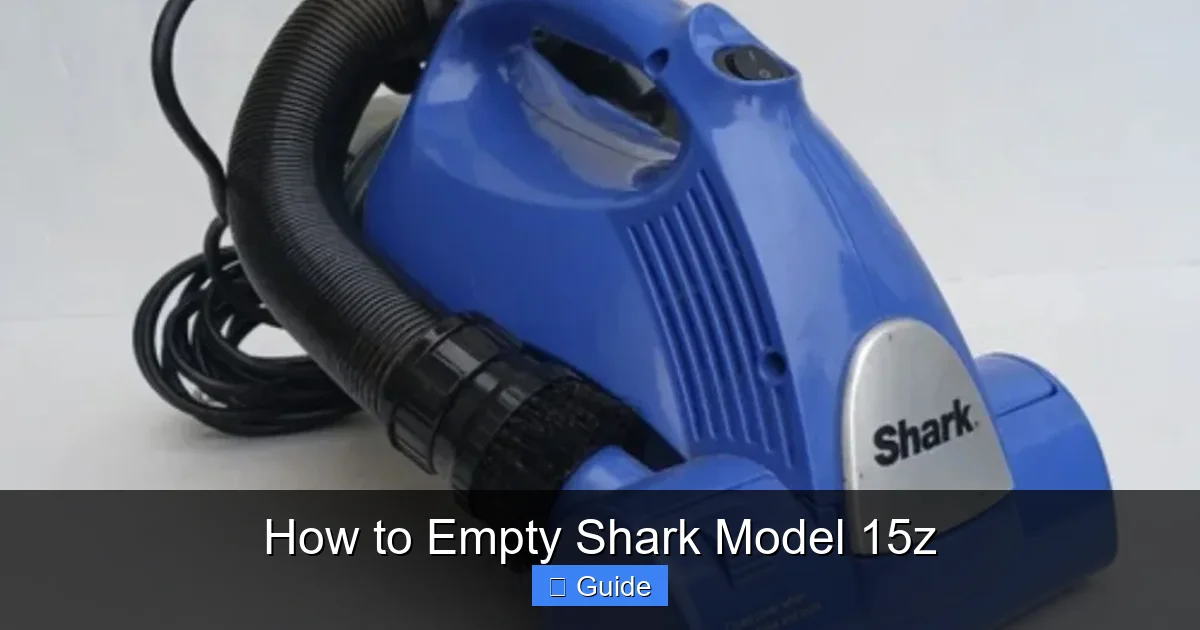
Emptying your Shark Model 15z is a simple, hygienic process designed to minimize contact with dirt and dust. The key is to use the one-touch, bottom-release mechanism correctly over a trash receptacle. Always ensure the vacuum is unplugged and the dust cup is completely detached before tapping or rinsing. Following these steps consistently prevents clogs, maintains powerful suction, and extends the life of your vacuum’s filters and components.
Key Takeaways
- Unplug First: Always disconnect the Shark Model 15z from the power source before beginning any emptying or maintenance procedure for safety.
- Use the Bottom Release: The primary emptying mechanism is the one-touch bottom door; press the release button while holding the dust cup over a trash can.
- Detach for Deep Cleaning: For thorough cleaning, fully detach the dust cup from the handle, separate the upper and lower chambers, and rinse with water.
- Check and Clean Filters: Emptying the dust cup is the perfect time to inspect and clean the pre-motor foam and felt filters according to the manual’s schedule.
- Avoid Water in Electronics: Never rinse the motorized floor head, hose, electrical components, or the upper dust cup chamber that houses the motor.
- Dry Completely: If you rinse the dust cup or filters, allow all parts to air-dry completely for at least 24 hours before reassembly to prevent damage and odors.
- Regular Maintenance: Empty the dust cup after every few uses or when the “full” indicator activates to maintain peak performance and prevent clogs.
[FEATURED_IMAGE_PLACEHOLDER]
📑 Table of Contents
- Understanding Your Shark Model 15z: The Anti-Allergen Complete Seal Technology
- Essential Preparation: Setting Up for a Mess-Free Empty
- Step-by-Step: The Standard One-Touch Emptying Method
- Deep Clean: Detaching and Rinsing the Dust Cup
- Filter Maintenance: The Unsung Hero of Suction
- Troubleshooting: What to Do When Emptying Doesn’t Go as Planned
- Conclusion: Making Maintenance a Habit for Longevity
Understanding Your Shark Model 15z: The Anti-Allergen Complete Seal Technology
The Shark Navigator Lift-Away (Model 15z) is a powerhouse of cleaning technology, famous for its “Anti-Allergen Complete Seal Technology.” This system is engineered to trap 99.9% of dust and allergens inside the vacuum, preventing them from escaping back into your home’s air. The heart of this system is the dust cup and its sophisticated filtration stack, which includes a pre-motor foam filter, a felt filter, and post-motor HEPA filter. Understanding how this sealed system works is the first step to mastering its maintenance, especially emptying it properly. A full or improperly emptied dust cup is the most common reason for a loss of suction power. When the cup is packed, air can’t flow freely through the cyclonic chamber, and the vacuum’s performance drops dramatically. Furthermore, a neglected dust cup can harbor odors and microbes, defeating the purpose of an allergen-sealing system. Therefore, learning the correct, hygienic method to empty your Shark 15z isn’t just about tidiness—it’s about preserving the machine’s core cleaning capability and ensuring a healthy home environment.
The Anatomy of the Dust Cup Assembly
The dust cup on your Model 15z is not a simple bag. It’s a two-part, cyclonic separation chamber. The upper chamber (the clear part you see) connects to the motor and hose. The lower chamber (the bottom part) is where the debris collects. Between them is a critical seal and the one-touch bottom release door. When you press the release button, a latch disengages, and a small door on the bottom of the lower chamber swings open, allowing the compressed debris to fall out. This design is meant to be “no-touch,” meaning your hands should never have to scoop out packed dirt. The entire lower chamber can also be detached from the upper chamber for a more thorough rinse. Recognizing these parts—upper chamber, lower chamber, release button, and seal—is essential for the steps that follow.
Essential Preparation: Setting Up for a Mess-Free Empty
Before you even think about pressing that release button, proper setup is 90% of the battle against a messy emptying process. Rushing this step is how dust clouds end up on your kitchen floor. First, and this is non-negotiable: unplug the vacuum. This is a safety precaution to prevent any accidental activation of the motor or brush roll. Next, you need to choose your location. The ideal spot is directly over an open, standard-sized trash can. If your trash can has a lid, open it fully. Consider doing this outside or in a garage if possible, as even the best technique can kick up a tiny puff of fine dust. Have a large, flat surface (like a newspaper, a trash bag, or a dedicated mat) ready to place the dust cup on if you need to disassemble it for rinsing. This protects your floors from any drips or residual dust. Finally, take a moment to firmly tap the sides of the dust cup while it’s still attached to the vacuum. A few sharp taps on the sides and bottom, over the trash, will loosen compacted debris from the cyclonic walls and settle it to the bottom, ensuring it all falls out when you open the door. This simple pre-tap makes the release far more effective.
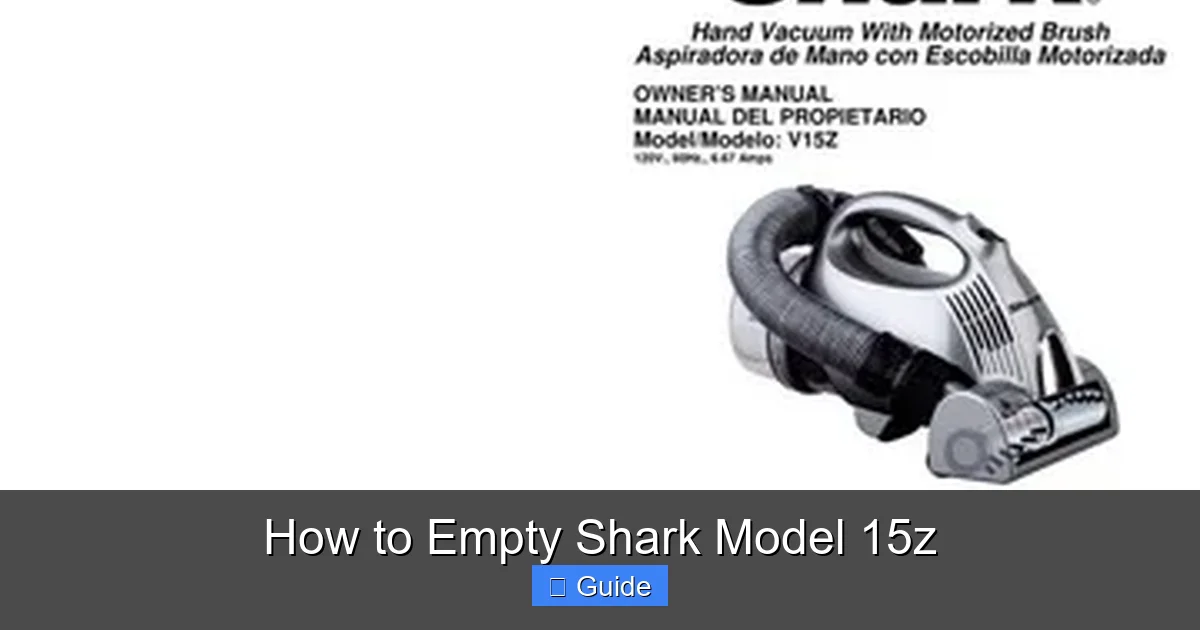
Visual guide about How to Empty Shark Model 15z
Image source: manua.ls
Tools You (Don’t) Need
One of the best features of the Shark 15z is that it requires no special tools for emptying. You will not need a screwdriver, a brush (for the cup itself), or cleaning chemicals. The only “tools” you might find helpful are: 1) A pair of disposable gloves if you are particularly sensitive to dust or have a severe allergy, though the no-touch design should minimize contact. 2) A small, soft-bristled brush (like a clean paintbrush or makeup brush) only for gently cleaning the rubber seal around the release door if debris gets trapped there. 3) Your sink or a tub for rinsing the detached lower chamber. Avoid using any sharp objects inside the dust cup, as you could scratch the plastic or damage the seal, compromising the vacuum’s suction and allergen sealing ability.
Step-by-Step: The Standard One-Touch Emptying Method
This is the routine you should perform every 2-3 uses, or whenever the dust cup is half to three-quarters full. It’s quick, hygienic, and designed for daily maintenance. The entire process should take less than 30 seconds once you’re practiced. The golden rule is: keep the dust cup vertical and pointed straight down into the trash receptacle at all times during the release. Any angle allows debris to spill out the sides. Let’s walk through it.
Visual guide about How to Empty Shark Model 15z
Image source: archive.org
1. Position and Secure
With the vacuum unplugged, carry it to your pre-selected trash can. Hold the vacuum upright by the handle. With your other hand, firmly grasp the dust cup handle (the loop on the side of the upper chamber). Position the bottom of the dust cup directly over the center of the trash can opening. Ensure your grip is stable. You may want to brace your wrist or elbow against your body for extra control.
2. Locate and Press the Release Button
The release button is a large, gray or black button located on the front of the dust cup, just below where the upper and lower chambers meet. It is spring-loaded. Using the thumb of the hand holding the dust cup handle (or the index finger of your other hand, if you’re bracing it), press this button firmly inward. You will hear and feel a distinct click. Do not just tap it; hold it pressed in.
3. Tilt Slightly and Shake
While continuing to hold the button down, give the dust cup a very slight, controlled tilt forward (the top moves away from you, bottom moves toward the trash). This angle is just enough to allow gravity to work, but not so much that debris spills from the sides. Then, give the dust cup a couple of firm side-to-side shakes or a gentle up-and-down bounce (1-2 inches). The bottom door should now be fully open. The compressed debris—mostly fine dust, hair, and larger particles—will cascade down into the trash can. You should see the debris column fall cleanly. Continue shaking gently until the flow of debris trickles to a stop.
4. Release and Close
Once the bulk of the debris is out, release the button. The spring-loaded mechanism will snap the bottom door shut with an audible click. Visually confirm the door is fully closed and flush with the bottom of the cup. Give the cup one final, light tap against the side of the trash can to dislodge any last stubborn particles. You are now done with the standard empty. Reattach the dust cup to the vacuum if you had detached it for any reason, and you’re ready to clean again.
Deep Clean: Detaching and Rinsing the Dust Cup
The one-touch method is for routine emptying. However, over time, a fine layer of dust and grime will coat the interior walls of the lower chamber, and hair and fibers can wrap around the central cyclonic column. This reduces efficiency and can cause odors. For a thorough clean, you need to detach the entire lower chamber. Shark recommends this deep clean every 1-2 months, depending on your usage and the types of debris you pick up (pet hair, fine construction dust, etc.). This process involves water, so it must be done away from the vacuum’s electrical components.
Visual guide about How to Empty Shark Model 15z
Image source: sharkvacuum.blog
1. Detaching the Lower Chamber
First, ensure the vacuum is unplugged. Press the release button on the dust cup as described in the standard method to open the bottom door and empty any loose debris. Now, locate the release latch on the front of the dust cup assembly. This is a different, usually larger, plastic tab or lever that connects the upper and lower chambers. With the dust cup still attached to the vacuum’s handle for stability, press this latch inward and slide the lower chamber downward. It will come free in your hand. You now have two separate pieces: the upper chamber (with hose connection) and the lower chamber (with the bottom door). Place the upper chamber safely aside on a dry surface. Do not get it wet.
2. Separating and Rinsing
Take the detached lower chamber to your sink. Over the drain or in a basin, press the bottom release button again to open the door. Use a gentle stream of lukewarm water to rinse the interior thoroughly. Pay special attention to the central cyclonic column and the vortex area where debris spins. A soft sponge or your fingers can be used to dislodge any stuck-on material. Do not use soap, detergent, or cleaning chemicals inside the cup, as residues can be difficult to rinse completely and may damage the plastic or create fumes when the vacuum heats up. Rinse until the water runs clear. Also rinse the exterior and the rubber seal around the door. Shake off excess water.
3. Drying is Critical
This is the most important part of the deep clean. Never reassemble or use the vacuum with any part wet. Water in the upper chamber can drip into the motor and cause catastrophic failure. Shake the lower chamber vigorously to remove as much water as possible. Then, place it in a well-ventilated area, upside down (door facing up) on a towel or drying rack. Allow it to air-dry completely for at least 24 hours. The same applies if you ever rinse the pre-motor foam filter (which is located inside the upper chamber, behind a door). That filter must be 100% dry before reinstalling. Patience here prevents mold, mildew, and motor damage.
Filter Maintenance: The Unsung Hero of Suction
Emptying the dust cup is only half the maintenance battle. The Shark 15z’s sealed suction system relies on a series of filters to capture the finest particles that the cyclonic action misses. If these filters are clogged with dust, airflow is choked, and suction plummets. The Model 15z typically has three filters: the pre-motor foam filter, the pre-motor felt filter (sometimes integrated), and the post-motor HEPA filter. The foam filter is usually washable; the felt and HEPA filters are not and must be tapped out and replaced periodically. Always refer to your specific model’s manual, as configurations can vary slightly.
Locating and Accessing the Filters
The pre-motor filters are located inside the upper dust cup chamber. To access them, you must first detach the dust cup from the vacuum (as described for the deep clean). On the side of the upper chamber, there is a small, rectangular door or cover secured by a twist-lock or clip. Open this to reveal the foam and felt filters stacked together. The post-motor HEPA filter is located on the back of the vacuum motor unit, which is the main body you hold when using it. There is usually a cover on the back that pops off to reveal this cartridge-style filter.
Cleaning and Replacement Schedule
The washable foam filter should be rinsed with cold water (no soap) every 1-2 months, or more often with heavy use. Squeeze out excess water and let it air-dry for 24+ hours. The felt filter is not washable. Every 3-6 months, take it outside and gently tap it over a trash can to dislodge dust. If it becomes discolored or stiff, it needs replacement. The HEPA filter also needs tapping out every few months and should be replaced approximately once a year, or as indicated by suction loss after cleaning other components. Never operate the vacuum without all filters properly installed and dry. A clogged filter is a common reason for a Shark vacuum to smell like burning or overheat.
Troubleshooting: What to Do When Emptying Doesn’t Go as Planned
Even with the best technique, you might encounter issues. Here’s how to solve the most common emptying-related problems. If the bottom door won’t open when you press the button, ensure you are pressing the correct button (the small one on the front of the lower chamber) and that you are pressing it in fully. Debris packed tightly against the door seal can sometimes jam it. Try firmly tapping the sides of the cup first, then press and hold the button while giving it a vigorous shake. If it’s completely stuck, you may need to manually release the internal latch with a plastic tool, but this is rare. If debris spills out the sides during release, you are almost certainly tilting the cup too much. The key is a vertical drop with only a minimal forward tilt. Practice over a newspaper first. If the dust cup won’t detach from the handle, check that you are pressing the correct large latch on the front of the cup assembly and sliding it downward firmly. Sometimes a small piece of debris can lodge in the release mechanism. Tap the area gently. If the vacuum has a bad odor after emptying, it’s likely the filters are saturated with fine dust that has been baking in the heat, or the dust cup wasn’t rinsed thoroughly after a deep clean. Remove and inspect all filters, tap them out, and if washable, rinse and dry them completely. Wash the dust cup with a vinegar-water solution (1 part vinegar to 10 parts water), rinse thoroughly, and ensure it is bone-dry before reassembly.
Addressing Persistent Clogs in the Hose or Wand
A clog is not an emptying issue per se, but it’s often discovered when you empty the cup and see that debris isn’t making it into the cup at all. If you notice a severe drop in suction and the dust cup remains empty after use, check the hose and wand. Disconnect the hose from the vacuum and the wand. Look through it for obstructions. A straightened wire coat hanger (with the hook end removed) can sometimes be used carefully to dislodge a clog, but be gentle to avoid puncturing the hose. The most common clog point is at the connection between the wand and the floor head. Detach the floor head and check the intake opening. Hair and string often wrap around the brush roll bar here, restricting airflow. Regularly checking and cleaning the brush roll is part of holistic maintenance that complements proper cup emptying.
Conclusion: Making Maintenance a Habit for Longevity
Mastering the art of emptying your Shark Navigator Lift-Away Model 15z is a simple yet profoundly impactful skill for any homeowner. It transforms a chore into a 30-second ritual that safeguards your investment in clean air and powerful cleaning. Remember the core principles: always unplug, position correctly over the trash, use the one-touch bottom release with a vertical hold, and perform a deep rinse and filter check monthly. By preventing dust cup overflow and filter clogs, you maintain the vacuum’s legendary suction and its allergen-sealing integrity. A well-maintained Shark 15z isn’t just a tool; it’s a partner in creating a healthier home. Incorporate these steps into your routine after every couple of cleaning sessions, and you’ll enjoy peak performance from your vacuum for years to come. Your floors will be cleaner, your air will be fresher, and you’ll never have to wrestle with a clogged, smelly vacuum again.
Frequently Asked Questions
Can I wash the entire dust cup with soap and water?
No. Only the detached lower chamber (the bottom part) should be rinsed with water, and never with soap or detergent. The upper chamber houses the motor and electrical connections and must never get wet. Soap residues can also damage the plastic and create odors.
How often should I deep clean the dust cup by rinsing it?
For most households, rinsing the detached lower chamber every 1-2 months is sufficient. If you have pets, allergies, or do major cleaning (like post-renovation), you may need to rinse it monthly to prevent grime buildup and odors.
My Shark 15z’s suction is weak even after emptying the dust cup. What’s wrong?
>A weak suction after an empty cup almost always points to clogged filters. Remove and inspect the pre-motor foam and felt filters. Tap them out thoroughly over a trash can. If the foam filter is washable, ensure it is 100% dry before reinstalling. Also check the hose and wand for blockages.
When do the filters need to be replaced, not just cleaned?
The pre-motor felt filter should be replaced every 6-12 months. The post-motor HEPA filter typically needs replacement once a year. If a filter remains discolored and clogged after tapping, or if it develops a tear, replace it immediately. Using damaged or overly dirty filters compromises the vacuum’s seal and suction.
What is the correct way to store my Shark 15z after emptying?
Store it upright in a cool, dry place. Ensure the dust cup is completely empty and dry. It’s a good practice to leave the bottom release door open for a few hours after rinsing to ensure all moisture evaporates from the seal area before closing it for storage.
The release button feels sticky or doesn’t pop back. How do I fix it?
This is usually caused by dust or debris caked in the mechanism. With the cup detached, use a dry, soft brush (like a clean toothbrush) to gently clean around the button and the internal latch area. You can also use a can of compressed air to blow out any fine particles. Avoid using liquids or lubricants, as they can attract more dust.