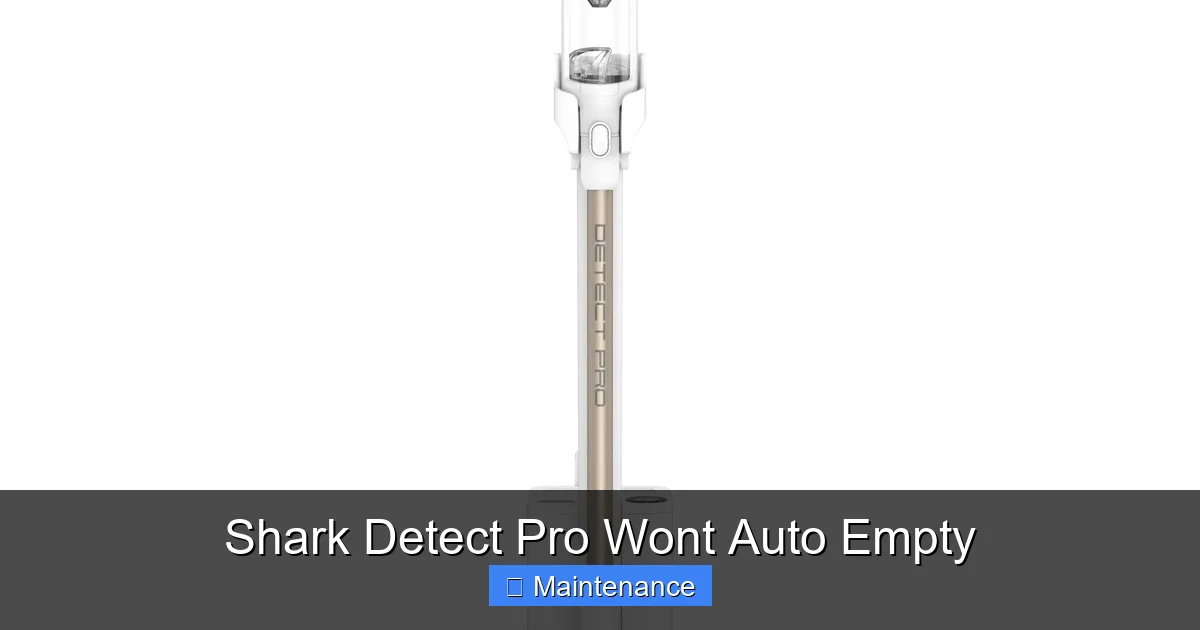
If your Shark Detect Pro vacuum isn’t auto-emptying, you’re not alone—this common issue has several fixable causes. From clogged airways to sensor problems, we’ll walk you through step-by-step troubleshooting to restore its self-emptying function. Regular maintenance and understanding the system’s mechanics are key to preventing future headaches and keeping your home spotless without interruption.
You hear the familiar docking sound. Your Shark Detect Pro vacuum has obediently returned to its charging base after a long cleaning session. You expect the satisfying whir of the self-emptying cycle to begin, a hallmark of modern convenience. But silence. Or maybe a faint, struggling hum. The indicator light blinks an error code you don’t recognize. The debris bin on your vacuum remains stubbornly full. That moment of frustration is all too common for owners of robotic vacuums with self-emptying bases. When your Shark Detect Pro won’t auto empty, it doesn’t just mean a full bin; it means a breakdown in a key piece of your automated cleaning ecosystem. This comprehensive guide is built from real-world troubleshooting, user reports, and technical insights to move you from frustration to solution. We will dissect the system, explore every common failure point, and provide clear, actionable steps to diagnose and fix the issue yourself, saving you time, money, and the hassle of a service call.
Understanding that the “Shark Detect Pro won’t auto empty” problem is usually not a catastrophic failure is your first and most powerful tool. The system is a marvel of coordinated engineering: the robot must dock perfectly, align a specific exhaust port with the base’s intake, create an airtight seal, and then trigger a powerful motor to suck debris into a large disposable bag. A hiccup in any single step—a misalignment, a dusty sensor, a slightly clogged hose—can halt the entire process. Our goal is to systematically check each of these steps. Think of it as a detective story where the clues are sounds, lights, and the physical state of your devices. By the end of this article, you will have the knowledge to be your own vacuum repair technician, ensuring your Shark Detect Pro lives up to its promise of truly hands-off cleaning.
Key Takeaways
- The problem is often a simple clog: Debris jams in the vacuum’s wand, hose, or the base’s intake are the #1 reason a Shark Detect Pro won’t auto empty.
- Sensors need to be clean: Infrared or mechanical sensors in the docking station can get dusty or obstructed, preventing the cycle from starting.
- A full base bag is a silent culprit: The system is designed to stop auto-empty when the disposable bag in the base is full.
- Power and connection matter: Ensure the base is plugged into a working outlet and the vacuum’s battery is charged enough to initiate the cycle.
- Resetting can solve glitches: A full power cycle of both the vacuum and the base often clears temporary electronic errors.
- Prevention is easier than repair: A quick weekly cleaning of the base’s inlet and sensors drastically reduces the chance of failure.
- Hardware failure is rare but possible: A faulty motor in the base or a broken seal on the vacuum’s exhaust may require professional repair or part replacement.
📑 Table of Contents
- How the Self-Emptying System is Designed to Work
- Diagnosing the “Won’t Auto Empty” Symptom: Your First 10-Minute Check
- Clearing Clogs: The Most Common Fix
- Resetting and Recalibrating the System
- Advanced Troubleshooting: Sensors and Seals
- Preventive Maintenance: Stopping the Problem Before It Starts
- When to Contact Shark Support or Consider Repair
- Conclusion: Reclaiming the Hands-Off Promise
How the Self-Emptying System is Designed to Work
Before we can fix what’s broken, we must understand what “working” looks like. The self-emptying function on the Shark Detect Pro (and most competing brands) is a choreographed sequence of mechanical and electronic events. Visualizing this process is critical for effective troubleshooting.
The Docking Sequence and Seal Creation
The cycle begins the moment the Detect Pro initiates its return to the base. Using its navigation sensors, it must make contact with the charging pins and, crucially, align its rear exhaust port perfectly over the base’s large, central suction inlet. On the base, there is a flexible, rubberized skirt or lip designed to create an airtight seal against the vacuum’s exhaust port. This seal is non-negotiable; without it, the powerful suction motor in the base cannot generate the necessary airflow. If the robot is even a centimeter off-center, the seal fails. This is why a clean, unobstructed docking area on the base and a clean exhaust port on the robot are foundational to the system.
The Suction and Transfer Cycle
Once a proper seal is confirmed by sensors (often infrared or pressure-based), the base’s internal motor roars to life. It creates a powerful downward suction through its intake. Simultaneously, the robot’s internal dustbin door opens, connecting its debris chamber to the exhaust port. The high-velocity air stream pulls all the dust, hair, and debris from the robot’s bin, through the exhaust, and down into the large, sealed disposable bag housed inside the base. This cycle typically lasts 10-15 seconds. The base’s control board monitors the motor’s current draw; if it detects a stall (indicating a severe clog or a full bag), it will abort the cycle and signal an error.
Completion and Reset
After a successful transfer, the robot’s dustbin door closes, the base motor stops, and the seal is released. The robot then moves forward slightly to disengage and begin charging. The base may perform a quick “purge” cycle to clear any residual debris from its internal hose. The entire process is silent to the user until the final confirmation beep or light change. When your Shark Detect Pro won’t auto empty, the failure is happening somewhere in this precise sequence. Your job is to identify which link in the chain is weak.
Diagnosing the “Won’t Auto Empty” Symptom: Your First 10-Minute Check
Do not immediately disassemble anything. The most common fixes take less than five minutes and require no tools. This initial diagnostic phase is about observation and simple cleaning.
Visual guide about Shark Detect Pro Wont Auto Empty
Image source: media-www.canadiantire.ca
Listen and Watch: The Initial Clues
When you command an empty (or when the robot returns after a cleaning), get close to the base. What do you hear and see? A faint click or whir but no full suction? This often means the base’s motor is trying to start but is stalled, pointing to a clog or a full bag. Complete silence and no lights? This suggests a power or communication issue—the base may not be receiving the signal to start, or it has no power. An unusual grinding or rattling noise? This is a red flag for a foreign object (like a toy piece or a hard nut) lodged in the base’s impeller. The vacuum docks but immediately backs away? This indicates the docking alignment sensors are not seeing a proper “docked” position, often due to debris on the docking contacts or a misaligned robot.
The Essential Pre-Clean: Base and Robot Exhaust
Grab a dry microfiber cloth. First, clean the base’s intake. Turn the base over and locate the large, central suction hole. Use a flashlight. You will likely see a mat of hair, carpet fibers, and fine dust coating the rim and the inner plastic. Pull it out with your fingers or a pair of tweezers. This is the most common clog. Second, clean the robot’s exhaust port. Flip the Shark Detect Pro over. Find the rectangular exhaust port on the rear underside, just above the main brushroll. This port must mate perfectly with the base’s intake. Clear any debris from its edges and the surrounding area. A single strand of hair caught here can break the seal. Third, wipe the charging pins. On both the base and the robot, clean the metallic charging contacts with a cloth slightly dampened with isopropyl alcohol. Oxidized or dirty contacts prevent charging and communication, which can interrupt the auto-empty command.
Check the Obvious: Power and Bag Status
It seems too simple, but it’s frequently overlooked. Ensure the base’s power adapter is firmly plugged into a working wall outlet. Test the outlet with another device. Check that the adapter itself is not frayed or damaged. Next, locate the access panel for the disposable bag on the base (usually on the side or back). Open it. Is the bag visibly full, bulging, or clogged with debris? The system has a mechanical sensor that detects increased back pressure. A full bag will automatically disable the auto-empty function to prevent motor burnout. If the bag is more than 75% full, replace it. This is the second most common reason a Shark Detect Pro won’t auto empty.
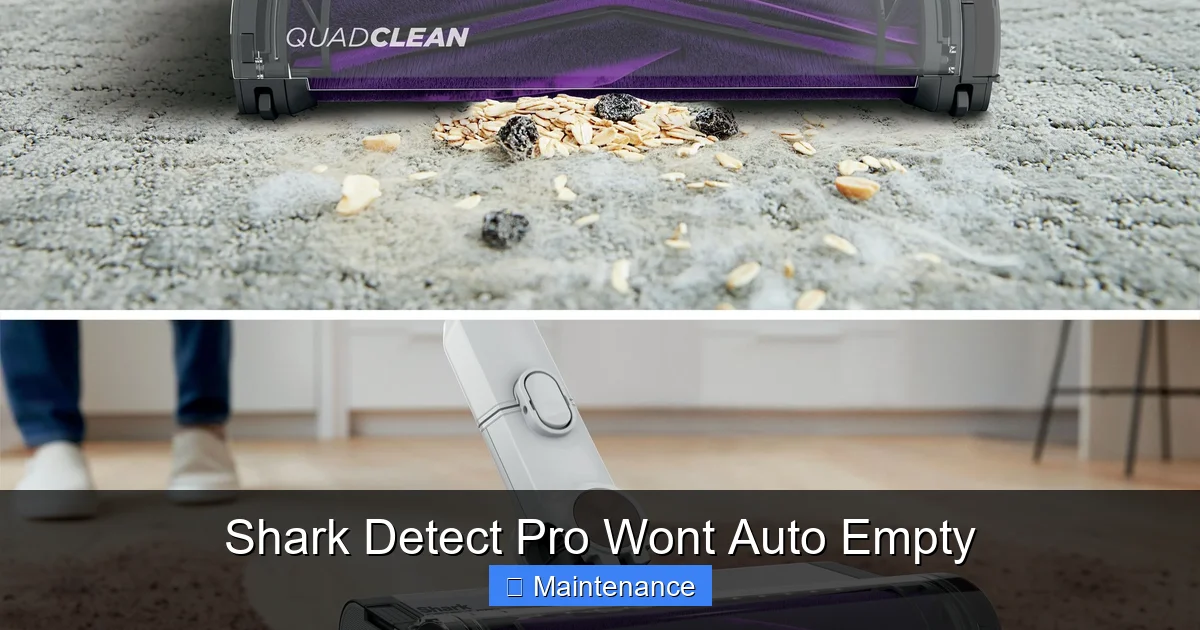
Clearing Clogs: The Most Common Fix
If your initial checks didn’t solve it, a deeper clog is almost certainly the issue. These clogs form not in the obvious places, but in the narrow transitions and bends of the system.
Visual guide about Shark Detect Pro Wont Auto Empty
Image source: media-www.canadiantire.ca
The Hidden Culprit: The Base’s Internal Hose
The base has a short, flexible hose that connects the external intake to the disposable bag chamber. This hose has a sharp 90-degree bend. Debris, especially long pet hair and carpet fibers, can weave into a dense mat right at this bend, creating a solid plug. How to clear it: Disconnect the base from power. Remove the disposable bag. You should see the hose opening. Use a long, flexible tool—a straightened wire coat hanger with a small hook on the end, a specialized vacuum hose cleaning brush, or even a compressed air canister (used in short bursts from the bag end)—to gently probe and dislodge the clog. Work from both ends if possible. Be careful not to puncture the hose. A successful clear will be obvious by the sudden rush of air and the removal of a hairy mass.
The Robot’s Wand and Internal Channels
Debris can also compact inside the Shark Detect Pro itself, between the main dustbin and the exhaust port. Procedure: Remove the dustbin. Look inside the cavity where the bin sits. You will see a chute leading to the exhaust. Use a flashlight and a thin, flexible brush (an old, clean toothbrush works) to sweep debris out of this chute. Pay special attention to the area around the exhaust door mechanism. If the door is sticky or doesn’t open fully during a cycle, it can restrict airflow. Clean around its hinges with the brush. Reassemble and test.
Main Brushroll and Side Brush
While not directly in the exhaust path, a severely tangled main brushroll or side brush can put extra strain on the motor during cleaning, causing it to work less efficiently and deposit more debris into the bin in a compacted form. This compacted debris is harder to suction out during auto-empty. As part of your maintenance, regularly remove and clean these brushes. Cut away any hair or fibers wrapped around the brushroll bearings.
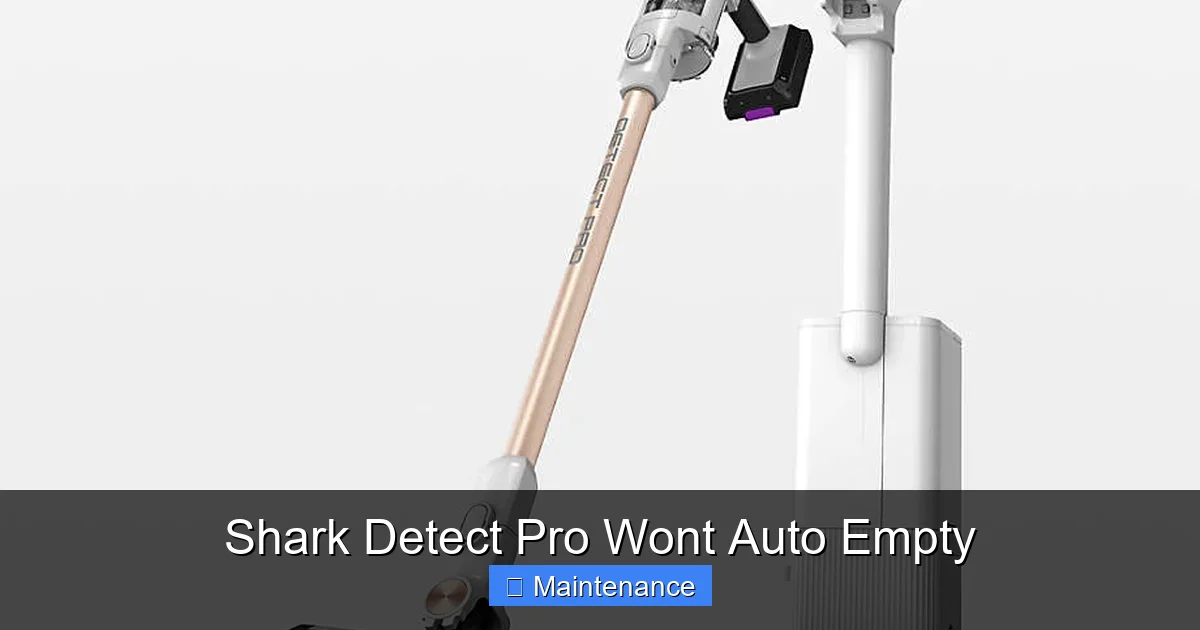
Resetting and Recalibrating the System
Sometimes, the issue is electronic, not physical. The base’s control board or the robot’s navigation system may need a hard reset to re-establish proper communication and docking alignment.
Visual guide about Shark Detect Pro Wont Auto Empty
Image source: cb.scene7.com
The Full Power Cycle
This is the first electronic troubleshooting step. Step 1: Place the Shark Detect Pro on its base. Step 2: Unplug the base’s power adapter from the wall. Step 3: Remove the robot from the base and power it off using its physical power button. Step 4: Wait a full 60 seconds. This clears the capacitors and resets the memory. Step 5: Plug the base back in. Wait for its status light to become solid (indicating it’s powered and ready). Step 6: Place the robot back on the base, ensuring it seats firmly. Power the robot on. Initiate an empty cycle via the app or by pressing the “Clean” button on the robot for 3 seconds (refer to your manual for exact command). Often, this simple reset resolves communication glitches that prevent the auto-empty command from being sent or received.
Docking Alignment Recalibration
If the robot docks but the cycle fails, its alignment may be off. Shark robots often have a “Find Home” or “Re-dock” function in the app. Use this to force the robot to re-navigate to the base. Before doing this, ensure the base is on a hard, flat surface against a wall, with at least 1.5 feet of clearance on either side and 3 feet in front. No rugs, cables, or furniture legs should be in this zone. A mispositioned base is a leading cause of poor docking. After using the re-dock function, watch the robot approach. It should back straight onto the base without veering left or right. If it consistently approaches at an angle, the base’s positioning or the robot’s navigation sensors (the front bumper and cliff sensors) need cleaning.
Advanced Troubleshooting: Sensors and Seals
When the obvious is clear and the reset didn’t work, we move to the more nuanced components.
Inspecting and Cleaning the Base Seal
The rubber skirt on the base that creates the seal can become stiff, cracked, or misshapen over time. It can also accumulate a thin layer of dust and debris that prevents a perfect vacuum seal. Inspection: Turn the base over. Run your finger along the entire rubber seal. It should be supple and form a complete, unbroken circle. Look for any cuts, tears, or areas where it has flattened permanently. Cleaning: Wipe the seal thoroughly with a damp cloth. For stubborn debris, use a cotton swab dipped in a little soapy water, then wipe again with a clean, damp cloth. Ensure it is completely dry before use. A compromised seal is a silent killer of the auto-empty function; even a pinhole leak will cause the motor to stall from insufficient suction pressure.
The Infrared (IR) Communication Window
Many Shark bases use an infrared window to communicate with the robot during docking. On the base, this is a small, dark plastic or glass window, usually near the docking pins. On the robot, there is a corresponding IR receiver, often near the front bumper. If either window is covered in dust, pet hair, or a smudge, the “handshake” between robot and base fails. The robot thinks it’s docked, but the base never receives the “start empty” signal. Fix: Gently clean both IR windows with a microfiber cloth. Use a can of compressed air to blow out any debris from the crevices around them. Ensure no stickers or reflective surfaces are near the base that could interfere with the IR beam.
Preventive Maintenance: Stopping the Problem Before It Starts
The old adage “an ounce of prevention is worth a pound of cure” is gospel for robot vacuum ownership. A few minutes of weekly care prevents the “Shark Detect Pro won’t auto empty” nightmare.
Establish a Weekly Cleaning Ritual
Dedicate 5 minutes every week to your system. For the Base: Unplug it. Remove and discard the full bag. While it’s open, use your vacuum’s crevice tool (or a handheld vacuum) to suck out any loose debris from the bag chamber and the intake hose. Wipe the rubber seal and the interior of the intake with a dry cloth. Clean the IR window and charging pins. For the Robot: Remove the dustbin and tap it out over a trash can. Use the included cleaning tool to scrape debris from the bin’s filter and the exhaust port area. Clear the main brushroll and side brush of hair. Wipe the charging contacts on the robot. This ritual keeps airways clear, sensors sharp, and components aligned.
Mind Your Environment
Your home’s contents directly impact the system. High-Pile Rugs: These can shed massive amounts of fiber that wrap around brushes and clog hoses. Consider running your Detect Pro on these rugs without the mopping pad (if equipped) and with the suction power setting on “Max” to cut through the pile. Socks, Strings, and Cables: These are the archenemies of any robotic vacuum. Use cable management clips to secure loose wires. Perform a quick “pre-scan” of high-traffic areas for small objects like children’s socks, hair ties, or pet toys. Hard Floor Transitions: Be mindful of thresholds. If the robot must climb a high lip to reach a room, it may do so with a jarring impact that can slightly misalign its internal components over time, affecting docking precision.
When to Contact Shark Support or Consider Repair
After exhaustive troubleshooting—deep cleaning all airways, replacing the bag, performing multiple resets, and verifying perfect base placement—the problem persists. It’s time to consider a deeper issue.
Diagnosing a Faulty Base Motor
The most likely major component failure is the suction motor inside the base. A failing motor may start but immediately stall under any load (even an empty system). You can sometimes test this by removing the bag and placing your hand over the base’s intake (with the base powered on and a “start empty” command initiated). You should feel a strong, steady suction. If it’s weak, intermittent, or you hear a struggling hum with no airflow, the motor is likely dead. Unfortunately, in most Shark models, the motor is not a user-serviceable part. Contact Shark Customer Support. If your unit is under the limited warranty (typically 1-3 years depending on purchase date), you may be eligible for a repair or replacement. Have your model number and serial number ready.
Seal and Gasket Replacement
Over years of use, the rubber seal on the base can degrade, becoming hard and brittle, losing its ability to compress and seal. If you’ve meticulously cleaned it and it still looks flattened or cracked, it may need replacement. Search for “Shark [Your Base Model] seal replacement” online. Shark may sell official parts, or third-party suppliers on sites like Amazon or eBay often offer compatible gaskets. Replacing it is usually a simple process of pulling off the old one and pressing the new one into its groove. This is a cost-effective fix that can breathe new life into an older base.
Conclusion: Reclaiming the Hands-Off Promise
Your Shark Detect Pro’s self-emptying base is a luxury feature designed to make life easier. When it fails, it feels like a betrayal of that promise. But as we’ve detailed, the vast majority of “Shark Detect Pro won’t auto empty” incidents are not terminal. They are the result of predictable, preventable, and fixable issues: hair mats in the base intake, a full disposable bag, misaligned docking, or a dusty sensor. The path forward is methodical. Start with the simple, free fixes: clean the obvious clogs, check the bag, reset the system. Move to the more involved: clear the hidden base hose, inspect the seal, recalibrate the docking. Embrace a weekly maintenance habit. By understanding the system’s rhythm and treating it with a little care, you restore its function and extend its lifespan. You paid for a set-and-forget cleaning solution. With this knowledge, you can ensure it delivers exactly that, cycle after cycle, keeping your floors clean and your mind at ease. Don’t let a simple clog rob you of your automated sanctuary.
Frequently Asked Questions
What does a solid red light on my Shark base mean during an auto-empty attempt?
A solid red light is typically a “bag full” or “clog detected” error. The base’s sensor has identified excessive back pressure. First, replace the disposable bag if it’s full. If the bag is new, immediately check for and clear any clogs in the base’s intake hose and the robot’s exhaust port, as described in the troubleshooting sections.
Can I manually empty the base’s bag if the auto-empty function fails?
Yes, absolutely. The base’s disposable bag is designed for manual removal and replacement. Open the access panel on the base, pull out the full bag, seal it with the attached tab, and discard it. Install a new, official Shark bag. You can then manually empty your robot’s dustbin into a trash can and place it back on the base to resume charging.
My robot docks perfectly, but the auto-empty cycle never starts. What gives?
>This usually points to a communication failure. Ensure the base’s IR window and the robot’s corresponding sensor are spotlessly clean. Perform a full power cycle (unplug base, power off robot, wait 60 seconds). Also, check the Shark app for any notifications or firmware updates for both the robot and the base, as updates can fix communication bugs.
Is it normal to hear a loud noise during auto-empty?
The base motor is quite powerful and produces a distinct, loud whooshing sound during the 10-15 second cycle. This is normal. However, if you hear a grinding, screeching, or rattling noise, stop the cycle immediately. This indicates a foreign object (like a coin, rock, or small toy) has entered the base’s impeller and must be removed.
Will using third-party replacement bags affect auto-empty performance?
Always use genuine Shark disposable bags designed for your specific base model. Third-party bags often have inferior filtration media and may not seal perfectly against the base’s internal connectors. This can cause leaks, reduce suction, trigger false “bag full” errors, and allow fine dust to escape back into your home during the emptying cycle.
How often should I replace the base’s disposable bag?
This depends entirely on your home’s debris load (pets, carpeting, etc.). For an average home with one pet, the bag typically lasts 1-2 months with regular robot use. Never wait for it to completely burst. Replace it when it is about 75-80% full, as a overly full bag dramatically reduces suction efficiency and strains the motor. The base’s indicator light will also alert you when it’s full.