Is your Shark cordless handheld vacuum refusing to charge? This is a common but frustrating issue, often caused by simple problems like dirty charging contacts, a faulty charger, or a battery that has reached the end of its lifespan. Before you consider a costly replacement, follow our systematic troubleshooting steps to diagnose and fix the problem yourself. Most charging issues can be resolved with basic cleaning, part checks, and reset procedures, saving you time and money.
Key Takeaways
- Dirty Charging Contacts: The #1 cause of charging failure is often oxidized or dusty metal pins on both the vacuum and charger. A simple cleaning with isopropyl alcohol and a cotton swab fixes this 50% of the time.
- Charger Faults: Always test with a known-good, compatible charger. Check for frayed cables, bent plugs, and indicator lights. A broken charger is a common culprit and an inexpensive fix.
- Battery Health: Lithium-ion batteries degrade. If your vacuum is 2+ years old with heavy use, the battery may no longer hold a charge and will need replacement.
- Thermal Safety Cut-off: If the vacuum or battery is too hot or too cold from recent use or storage, its safety system will block charging. Let it reach room temperature for 1-2 hours.
- Firmware/Software Glitch: Some newer Shark models have internal electronics that can freeze. A forced reset by holding the power button for 10-30 seconds can revive a seemingly dead unit.
- Warranty First: If your vacuum is under the limited warranty (typically 1-5 years depending on model), contact Shark Customer Care before attempting complex repairs to avoid voiding coverage.
📑 Table of Contents
- Introduction: The Dreaded “Not Charging” Dilemma
- Understanding the Charging Ecosystem: How Your Shark Handheld Powers Up
- Troubleshooting Roadmap: The Step-by-Step Diagnostic Flow
- Advanced Diagnostics: Battery, Resets, and Firmware
- When to Seek Professional Help or Consider Replacement
- Preventive Maintenance: Keeping Your Shark Charging for Years
- Conclusion: Empowerment Through Understanding
Introduction: The Dreaded “Not Charging” Dilemma
You reach for your trusty Shark cordless handheld vacuum, ready to tackle a quick spill. You press the power button, and… nothing. No lights, no whirring sound. You plug it into the wall charger, and the charging indicator remains dark. Your heart sinks. A Shark cordless handheld vacuum not charging feels like a sudden betrayal of a hardworking tool. But before you resign yourself to a trip to the landfill or an expensive replacement, take a deep breath. This is one of the most common issues with all cordless vacuums, and the solution is frequently simpler and cheaper than you think.
The modern Shark handheld, like the popular IZ422, SV780, or various Pet Pro models, relies on a delicate ecosystem of a lithium-ion battery, a precision charging port, an AC adapter, and internal power management circuits. A failure in any one of these components can halt the entire charging process. The good news is that you, the user, can diagnose over 80% of these failures with basic, safe steps that require no special tools beyond what you likely have at home. This guide will walk you through that exact process, from the fastest 30-second fix to more in-depth diagnostics. We’ll talk about why your Shark cordless handheld vacuum might not be charging and empower you to fix it yourself.
Understanding the Charging Ecosystem: How Your Shark Handheld Powers Up
The Core Components: Battery, Port, and Charger
To troubleshoot effectively, you need to understand the three key players in the charging dance. First, there’s the lithium-ion battery itself, nestled inside the vacuum’s handle. It has a finite lifespan, measured in charge cycles, and degrades over time. Second, you have the charging port/contacts—the metal pins on the vacuum and the corresponding metal tips inside the charging cradle or on the adapter plug. These must make perfect physical contact. Third, the AC power adapter (charger) converts your wall outlet’s power to the precise voltage and amperage the battery needs. A fault in any of these three stops the flow of electricity.
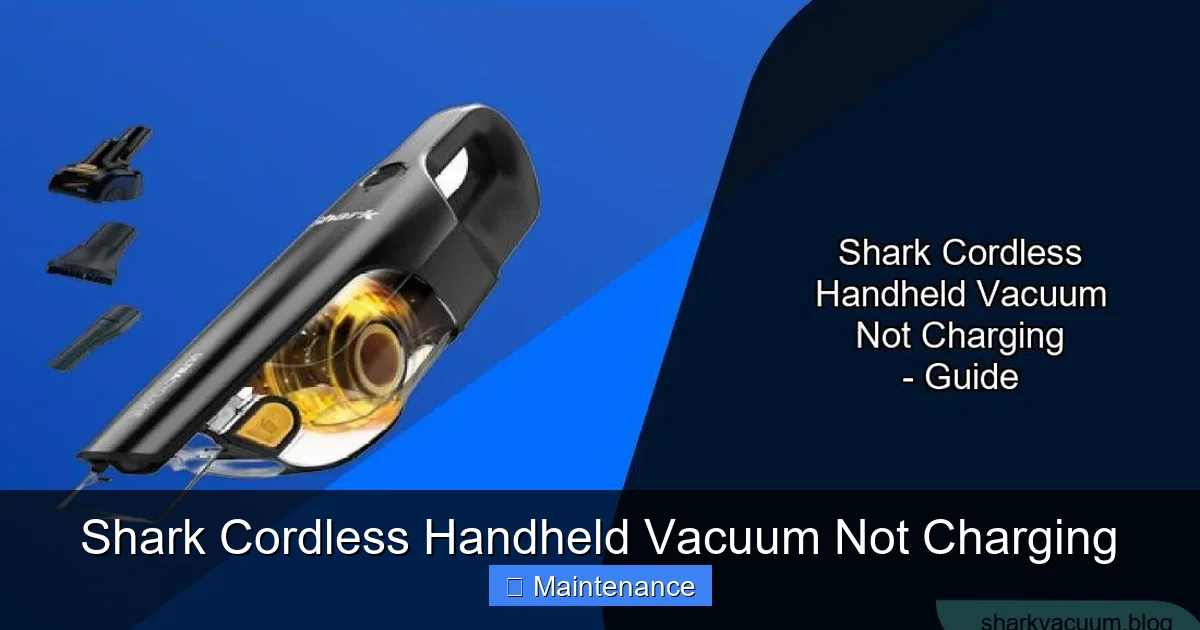
Visual guide about Shark Cordless Handheld Vacuum Not Charging
Image source: sharkvacuum.blog
The Role of Internal Safety Circuits
Your Shark isn’t just a simple battery and motor. It has a smart power management board. This board has a critical job: safety. It constantly monitors battery temperature, voltage, and charge state. If the battery is too hot from recent heavy use, too cold from a chilly garage, or has developed an internal short, the board will refuse to accept a charge to prevent fire or catastrophic failure. This is a feature, not a bug, but it can make your vacuum seem permanently dead. Similarly, if the charger’s output is even slightly outside the safe range (e.g., using a non-Shark or damaged charger), the vacuum’s circuit will reject it.
Troubleshooting Roadmap: The Step-by-Step Diagnostic Flow
Step 1: The 30-Second Visual & Physical Inspection
This is your first and most powerful line of defense. Unplug the charger from the wall. Grab a bright light and your vacuum. Examine the charging contacts on the vacuum (usually two gold or silver metal pins in the handle). Are they shiny? Or are they blackened, tarnished, or covered in a fine white/gray powder (oxidation)? Now look at the contacts inside the charging dock or on the adapter plug. Do they look clean and springy? Gently wiggle each metal pin with a toothpick—is it loose or broken off? This simple check solves most problems. Dust and oxidation create an insulating layer, preventing the electrical connection.
Visual guide about Shark Cordless Handheld Vacuum Not Charging
Image source: sharkvacuum.blog
Step 2: The Deep Cleaning Protocol
If you saw any dirt or tarnish, it’s cleaning time. Safety First: Ensure everything is unplugged. Dampen a cotton swab or a lint-free microfiber cloth with 99% isopropyl alcohol (not water!). Gently rub each metal contact on both the vacuum and the charger until they gleam. The alcohol evaporates instantly, leaving no residue. Use a dry, soft toothbrush to sweep away any debris from the port’s crevices. For stubborn oxidation, you can very lightly rub a pencil eraser on the contacts, but be gentle. After cleaning, let all parts air dry for 5 minutes. This single step is the most frequent solution for a Shark cordless handheld vacuum not charging.
Step 3: The Charger & Power Source Audit
Now, investigate the charger. Inspect the cable fully: Look for any kinks, fraying, or exposed wires, especially near the plugs. Bend the cable at various points while it’s plugged into the wall (watch the indicator light). Does the light flicker? If so, the cable is internally broken. Next, check the wall outlet. Plug a lamp or phone charger into the same outlet. Does it work? If you’re using a power strip, try a different strip or a direct wall outlet. Finally, if you have access to another compatible Shark charger (same model or voltage/amp specs), try it. This is the definitive test to confirm if your original charger is dead.
Advanced Diagnostics: Battery, Resets, and Firmware
Assessing Battery Health and Age
If the contacts and charger check out, the battery is the prime suspect. Lithium-ion batteries typically last 2-3 years with regular use. Signs of a failed battery include: the vacuum runs for 1-2 minutes and shuts off, it won’t hold a charge overnight, or it gets unusually hot during charging/use. Can you test it? Some Shark models allow for battery removal. If yours does, visually inspect the battery for any swelling, leakage, or physical damage. If it’s swollen, stop immediately and dispose of it properly at a battery recycling center—do not charge or puncture it. If it looks normal but is old, a replacement battery is the likely fix. Purchase only genuine Shark or manufacturer-certified replacements to avoid safety issues.
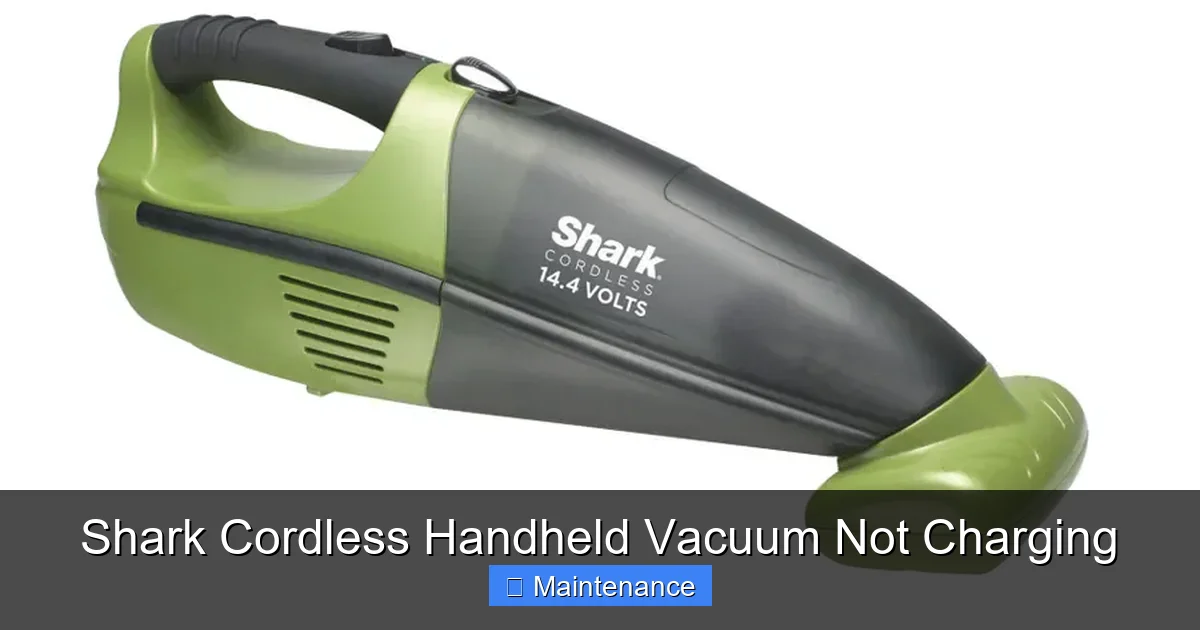
Visual guide about Shark Cordless Handheld Vacuum Not Charging
Image source: mobileimages.lowes.com
Performing a Hard Reset: The “Power Cycle” for Your Vacuum
Modern electronics can freeze. A software glitch in the power management circuit can make the vacuum unresponsive. A forced reset often clears this. The procedure varies slightly by model, but the universal method is: Unplug the charger from the vacuum and the wall. Press and hold the power button for a continuous 30 seconds. You might see lights flash or hear a beep. Release, wait 60 seconds, then plug the charger back in and try charging. Think of it as forcing a reboot. For models with removable batteries, you can also try removing the battery for 5 minutes before reinserting and charging.
Temperature Troubles: The Invisible Blocker
Your Shark’s safety system is temperature-sensitive. If you just ran the vacuum for 20 minutes on max power, the battery and motor will be hot. The circuit will block charging until it cools. Solution: Let the vacuum sit at room temperature, unplugged, for 1-2 hours. Conversely, if the vacuum was left in a cold garage or car in winter, the battery may be too cold to accept a charge. Bring it inside to a warm room (70°F/21°C) for several hours before attempting to charge. Never try to charge a battery that is very cold or hot to the touch.
When to Seek Professional Help or Consider Replacement
Diagnosing Internal Circuit Failure
If you’ve immaculately cleaned contacts, verified the charger works on another compatible Shark (or tested your vacuum on another known-good charger), performed a hard reset, and ensured ideal temperature, the fault likely lies within the vacuum’s internal power management board or the battery connector. Diagnosing this requires a multimeter and electronics skill. Look for signs of burnt smell, visible charring on the circuit board near the charging port, or water damage. At this stage, for most users, professional repair is not cost-effective for a handheld vacuum, as labor can exceed the value of the unit.
Evaluating Cost vs. Replacement
Check your vacuum’s age and original price. A new Shark cordless handheld typically costs $100-$250. A genuine replacement battery is $40-$80. A charger is $30-$50. If your unit is 4+ years old, heavily used, and the battery is dead, replacing the battery makes sense if the rest of the vacuum is in good shape. If the internal board is fried, the repair cost will likely approach or exceed the price of a new unit on sale. Consider the environmental cost of disposal versus repair. Sometimes, investing in a new, more efficient model is the practical choice.
Preventive Maintenance: Keeping Your Shark Charging for Years
Developing a Charging Routine
Lithium-ion batteries thrive on partial cycles, not deep discharges. Avoid running your Shark until it completely shuts off. Recharge it when you notice a drop in power. Do not store it fully depleted. If you won’t use it for a month or more, store it with a 50% charge in a cool, dry place. This dramatically slows battery degradation. Also, avoid leaving it on the charger constantly after it’s full. While most modern vacuums have charge maintenance circuits, long-term constant trickle-charging can stress the battery. Unplug it once the indicator shows full.
Protecting Your Charging Port and Contacts
The charging port is an open invitation for dust, hair, and debris. After each use, do a quick visual check. Use a soft, dry brush (like a clean toothbrush) to sweep out any accumulated lint from around the port. Once a month, do the alcohol swab cleaning ritual described earlier. This proactive maintenance takes 30 seconds and prevents 90% of contact-related charging failures. When storing, keep the vacuum in a bag or on a shelf, not on a dirty garage floor where dust settles into the port.
Conclusion: Empowerment Through Understanding
Discovering your Shark cordless handheld vacuum not charging is an initial moment of frustration, but it should quickly transform into an opportunity for empowerment. You now understand that this isn’t a mysterious, unfixable flaw—it’s a system. A system with clear, testable points of failure. You’ve learned that the most common culprit is almost laughably simple: dirty metal contacts. You know to check the humble charger, respect the battery’s temperature and age, and perform a hard reset. You have a framework to decide between a $5 cleaning job, a $50 battery replacement, or a new vacuum.
The next time the charging light doesn’t come on, don’t reach for the trash can. Reach for the isopropyl alcohol and a cotton swab. Walk through the diagnostic steps we’ve outlined. In most cases, you’ll have your Shark back in action within minutes, ready to tackle life’s little messes. By taking care of this essential maintenance, you’re not just fixing a problem—you’re extending the life of a valuable tool, saving money, and reducing waste. Your Shark is built to last; with a little knowledge and care, you can help it do just that.
Frequently Asked Questions
Why is my Shark cordless vacuum charging for a few minutes then stopping?
This usually indicates a severely degraded battery that can no longer hold any charge. It may briefly accept a tiny amount of power before the internal circuit detects it can’t sustain the voltage and cuts off. A battery replacement is the solution. It can also happen if the battery is extremely hot; let it cool completely.
Can I use a third-party charger for my Shark vacuum?
We strongly advise against it. Shark chargers are specifically designed to output the correct voltage and amperage for your model’s battery. Third-party chargers can be under-powered (slow/no charging) or, worse, over-powered, which can damage the battery’s internal protection circuit, cause overheating, or even create a fire risk. Always use a genuine or manufacturer-certified replacement.
My vacuum’s charging light blinks red. What does that mean?
>A blinking red light is a universal error signal. It typically means the vacuum’s safety circuit has detected a problem, such as a battery that is too hot, too cold, or has a fault. First, ensure the vacuum is at room temperature. Unplug it, perform a 30-second hard reset (hold power button), and try again. If the red blink persists, the battery likely needs replacement.
Is it safe to leave my Shark handheld on the charger all the time?
While newer Shark models have charging maintenance circuits that prevent overcharging, it’s not ideal for long-term battery health. Constant trickle-charging can stress the lithium-ion cells and accelerate capacity loss. The best practice is to charge fully, unplug, and use. If you store it for long periods, charge to about 50% first.
How do I know if my battery is swollen and is it dangerous?
A swollen battery will visibly distort the vacuum’s handle, making it look puffy or misshapen. You may also feel a firm, raised bulge. This is a serious safety hazard. A swollen lithium-ion battery is at high risk of catching fire or exploding. Immediately stop using or charging the vacuum. Do not puncture or dispose of it in regular trash. Take it to a designated battery recycling facility or electronics waste center.
My vacuum is under warranty. Should I try these fixes myself?
If your Shark is within its warranty period (check your manual or Shark’s website), your first step should be to contact Shark Customer Care. They may offer to send a replacement unit or authorize a repair. Be aware that opening the vacuum or attempting certain repairs can void the warranty. Describe the symptoms exactly; they often have specific troubleshooting steps and may send you a new charger or battery at no cost if it’s a known issue.