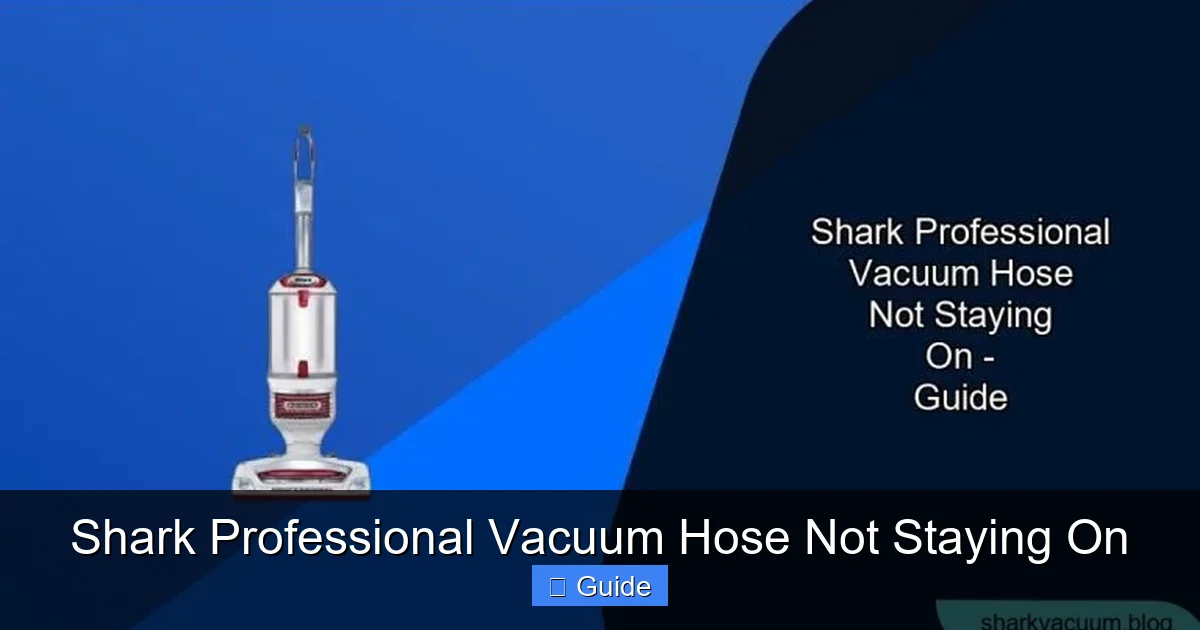
A Shark Professional vacuum hose that won’t stay on is almost always a fixable issue, not a sign of a broken machine. The problem typically stems from a worn or damaged locking mechanism on either the hose cuff or the wand, a buildup of debris preventing a secure seal, or simply incorrect reassembly technique. Most solutions involve a thorough inspection, a proper clean, and ensuring the “push-twist-lock” connection is fully engaged. Before ordering expensive parts, diagnosing the exact point of failure will save you time and money.
Key Takeaways
- The issue is usually mechanical, not catastrophic: A disconnected hose is most often caused by wear on plastic locking tabs, debris in the connection, or user error, not a failed motor or internal system.
- Inspect both the hose cuff and the wand tip: The problem lies at the connection point. Look for cracked, missing, or worn locking tabs on both the hose’s female end and the wand’s male end.
- Debris is a silent culprit: Hair, string, and fine dust can pack into the locking groove, physically blocking the tabs from engaging fully and creating a “false click.”
- Technique matters: The Shark Professional system uses a “push-twist-lock” mechanism. It must be pushed in firmly and twisted clockwise until you hear and feel a definitive click.
- Parts are replaceable: The hose cuff (the end with the locking mechanism) is often sold separately by Shark and third-party suppliers, making a full hose replacement unnecessary in many cases.
- Warranty may cover it: If your vacuum is still under Shark’s limited warranty and the disconnection is due to a manufacturing defect, you may be eligible for a free replacement part.
- Prevention is key: Regularly checking and cleaning the connection points, and avoiding yanking the hose off by the cuff instead of the release button, dramatically extends the life of the locking mechanism.
📑 Table of Contents
- The Infuriating Moment: Your Shark Professional Hose Won’t Stay On
- Understanding the Shark Professional Locking Mechanism
- Step 1: A Methodical Visual and Tactile Inspection
- Step 2: The Deep Clean – Eliminating the “False Click”
- Step 3: The Art of Proper Reassembly
- Step 4: Identifying and Replacing Worn Parts
- Step 5: Advanced Diagnostics and When to Seek Help
- Conclusion: Don’t Throw It Away—Fix It
The Infuriating Moment: Your Shark Professional Hose Won’t Stay On
You’re in the middle of cleaning, momentum is high, and suddenly—pop!—the hose flies off the wand. Again. You stoop, reattach it, give it a firm push and twist, get that satisfying click, and continue. Five minutes later, it happens again. That cycle of frustration is all too familiar for many Shark Professional vacuum owners. The vacuum hose not staying on isn’t just annoying; it brings your entire cleaning session to a grinding halt. But before you resign yourself to duct tape or consider a new vacuum, take a deep breath. This is one of the most common—and most solvable—issues with these powerful machines. In this complete guide, we’ll walk through every possible cause, from the simplest user error to a worn-out part, and give you the step-by-step knowledge to diagnose and fix it yourself. You don’t need to be a mechanic; you just need a systematic approach and maybe a good light.
Understanding the Shark Professional Locking Mechanism
To fix a problem, you must first understand the system. Shark Professional vacuums (like theNavigator Lift-Away, Rotator, and Vertex series) primarily use a push-twist-lock mechanism at the hose-to-wand connection. This isn’t a simple friction fit. It’s an intentional mechanical lock designed to be secure yet releasable.

Visual guide about Shark Professional Vacuum Hose Not Staying On
Image source: sharkvacuum.blog
How the “Push-Twist-Lock” is Supposed to Work
When you push the hose cuff (the rigid, plastic end of the hose) onto the metal or plastic wand tip, you are aligning several small, flexible plastic locking tabs on the hose cuff with corresponding grooves on the wand. As you push, these tabs compress. Then, as you twist the hose clockwise (from your perspective, looking at the connection), the tabs ride up a ramp and snap into a locked groove. This is the audible and tactile “click.” Once locked, the tabs prevent the hose from being pulled straight off. To release, you press the obvious release button (usually on the side of the hose cuff), which depresses the tabs, allowing you to pull the hose straight off without twisting.
Why This Design Can Fail
This system relies on perfect alignment and intact components. Failure happens when:
- The locking tabs on the hose cuff become worn, cracked, or broken. Over years of use, the constant flexing can fatigue the plastic.
- The locking groove on the wand becomes worn or smooth. If the groove is damaged, the tabs can’t catch.
- Debris (hair, carpet fibers, dust) packs into the locking groove or around the tabs. This physically blocks the tabs from engaging fully, even if you hear a click. It’s a “false click.”
- The user does not twist the hose fully after pushing. The tabs must traverse the entire ramp and settle into the groove. A partial turn won’t lock.
- The hose cuff or wand tip is cracked or damaged from a fall or impact. This misaligns the entire mechanism.
Step 1: A Methodical Visual and Tactile Inspection
Do not guess. Get a bright flashlight and examine the connection points closely. This inspection is the most critical diagnostic step.
Visual guide about Shark Professional Vacuum Hose Not Staying On
Image source: sharkvacuum.blog
Inspecting the Hose Cuff (The Female End)
This is the rigid, usually black or gray plastic piece at the end of your flexible hose. Look at the inner circumference where the locking tabs are located.
- Count and examine the tabs: There are typically 3-4 equally spaced plastic tabs. Are they all present? Are any visibly cracked, broken off, or severely worn down to nubs? Use your fingernail to gently try to flex each tab inward. They should have some springiness. If a tab is dead and doesn’t flex, it’s broken.
- Check the release button: Press the release button several times. Does it move smoothly and spring back? A sticky or broken button can indicate internal mechanism damage or debris.
- Look for cracks: Inspect the entire cuff housing for any hairline cracks, especially around the button area or where it attaches to the flexible hose. Cracks can cause misalignment.
Inspecting the Wand Tip (The Male End)
This is the end of the wand or extension tube you are connecting the hose to. It’s often metal but can be plastic on some models.
- Find the locking groove: Look for a shallow, circular groove machined or molded into the wand tip, just below the smooth upper shaft. This is where the hose tabs lock into.
- Assess the groove: Is it a clean, well-defined notch? Or is it worn smooth, rounded off, or full of packed debris? Use a wooden toothpick or plastic pick to gently scrape out any packed hair or dust from the groove. Be careful not to scratch it further.
- Check for dents or bends: A wand tip that is even slightly bent from being stepped on or dropped will not allow the hose cuff to sit flush and lock properly.
Pro Tip: Take a photo of both connection points on your phone. This helps with part identification if you need to order a replacement and lets you compare wear over time.
Step 2: The Deep Clean – Eliminating the “False Click”
If your inspection reveals no major cracks or broken tabs, the #1 suspect is debris. A clean connection is a secure connection. This step often solves the problem instantly.
Visual guide about Shark Professional Vacuum Hose Not Staying On
Image source: sharkvacuum.blog
Tools You’ll Need
- A bright flashlight
- A set of plastic dental picks or bamboo skewers (metal can scratch)
- Compressed air (optional but helpful)
- Cotton swabs (Q-tips)
- Isopropyl alcohol (rubbing alcohol)
- A small, soft-bristled brush (like a clean toothbrush)
Cleaning the Hose Cuff
1. Fully extend the hose and lock it in its shortest position if it’s a telescoping model for easier access.
2. Shine the flashlight into the hose cuff opening. You’ll see the locking tabs and the channel they sit in.
3. Use the plastic pick to meticulously scoop out any accumulated hair, string, or lint that is wrapped around the tabs or packed in the channel behind them. This is often a dense, felt-like mat of debris.
4. Dip a cotton swab in a little isopropyl alcohol. Wipe around the entire inner circumference, focusing on the tabs and the area where they pivot. The alcohol dissolves sticky dust and evaporates quickly.
5. Use the soft brush to sweep away any loosened debris. Follow with a blast of compressed air to blow out fine particles.
6. Critical: After cleaning, manually flex each locking tab inward several times. This ensures they are free to move and not gummed up.
Cleaning the Wand Tip
1. Remove the wand from the vacuum body if possible for better access.
2. Locate the locking groove. It’s often the most neglected spot on the entire vacuum.
3. Use the plastic pick to deeply scrape the groove from end to end. You’ll be amazed at what comes out—it’s usually a black, fibrous rope of carpet hair and dust.
4. Run a cotton swab dipped in alcohol along the groove. The swab should come out clean.
5. Wipe the entire smooth upper shaft of the wand tip just below the groove. Any debris here can prevent the hose cuff from seating fully.
6. Ensure the wand tip is completely dry before reassembly, as moisture can attract more dust.
Step 3: The Art of Proper Reassembly
Even with pristine parts, incorrect technique will cause a disconnect. You must perform the lock sequence correctly and completely.
The Correct “Push-Twist-Lock” Sequence
- Align: Hold the hose cuff and the wand tip so their connection points are facing each other. There is usually no specific orientation requirement; the locking mechanism is universal.
- Push: Push the hose cuff straight onto the wand tip with firm, even pressure. You should feel it slide on smoothly until it bottoms out. It will not yet be locked.
- Twist: While maintaining pushing pressure, rotate the hose cuff clockwise (the same direction you would to tighten a jar lid). You should feel increasing resistance.
- Click and Settle: Continue twisting until you hear and feel a distinct, solid CLICK. This is the tabs snapping into the locked groove. You may need to twist 1/4 to 1/2 a turn past the initial resistance point.
- Test: Before starting to clean, give the connection a firm, straight pull (not a twist). It should not budge. Then, press the release button and pull straight off to ensure it releases properly.
Common Technique Mistakes to Avoid
- The “Push and Wiggle”: Some users push the hose on and then wiggle it side-to-side, thinking this helps it lock. This actually prevents the tabs from aligning properly with the groove.
- Insufficient Twist: Stopping at the first feel of resistance. You must twist until the click happens. The resistance is the tabs climbing the ramp; the click is them falling into the groove.
- Forcing It: If it won’t push on smoothly, stop. Something is misaligned or blocked. Forcing it can crack the housing. Remove it and re-inspect.
- Pulling Off by the Cuff: Always use the release button. Yanking the hose off by the plastic cuff places extreme stress on the locking tabs and the point where the cuff meets the flexible hose, leading to premature failure.
Step 4: Identifying and Replacing Worn Parts
If your inspection revealed broken locking tabs, a cracked cuff, or a severely worn wand groove that cleaning couldn’t fix, part replacement is the next step. The good news is you rarely need a whole new hose.
The Hose Cuff: The Most Common Failure Point
The hose cuff is the weak link. It endures all the pushing, twisting, and release button pressing. Shark sells this part separately for many models. It’s often called a “Hose Assembly,” “Hose Cuff,” or “Hose End.”
- How to Identify Your Part: Locate the model number of your Shark Professional vacuum. It’s on a sticker on the back or bottom of the canister/body. Go to the Shark official website or a reputable parts retailer (like PartSelect or eReplacementParts.com). Search for your model number and look in the “Hose & Accessories” or “Upper Hose” section.
- Universal vs. OEM: You can often find an OEM (Original Equipment Manufacturer) part, which is identical to the one that came on your vacuum. There are also high-quality universal aftermarket hose cuffs that are designed to fit multiple Shark models and are frequently cheaper. Read reviews carefully to ensure compatibility.
- Replacement is Simple: The cuff is attached to the flexible hose with a large plastic clip or a screw. Usually, you depress a tab or unscrew it to free the old cuff, then slide the new one on and secure it. No tools are often needed. The new cuff will have fresh, springy locking tabs.
When the Wand Tip is the Problem
This is less common but trickier. If the metal or plastic wand tip itself has a damaged locking groove, the entire wand section may need replacing.
- Check Availability: Wands are typically sold as complete sections (e.g., “Upper Wand,” “Extension Wand”). Identify which section has the faulty tip (it’s usually the first or second section from the hose).
- Cost Consideration: A new wand section can cost 30-50% of the price of a whole new vacuum. If your vacuum is older and out of warranty, you must weigh the cost of parts against the value of the machine.
- Creative Fix (Temporary): In a pinch, some users have had limited success very carefully filling the worn groove with a two-part epoxy putty, shaping it to recreate the notch, and letting it cure fully. This is a last-resort hack and not recommended for long-term reliability.
Step 5: Advanced Diagnostics and When to Seek Help
You’ve cleaned, you’ve inspected, you’ve reassembled correctly, and you may have even replaced the hose cuff. Yet, the hose still pops off. Now it’s time for deeper investigation.
Is There an Internal Issue?
While rare, a severe clog in the main vacuum hose or wand can create immense backpressure. This pressure can literally push the hose connection apart during use, especially when you lift the vacuum head off the floor. Try running the vacuum with the hose disconnected from the wand, just sucking air through the hose itself. Does the motor sound strained or laboring? If so, you have a clog somewhere in the main suction path that must be cleared first.
Checking the Hose-to-Canister Connection
Some Shark Professional models have a second hose connection at the canister body (where the hose plugs into the vacuum itself). If this connection is loose or faulty, it can affect the overall pressure dynamics and make the wand connection feel unstable. Ensure that connection is also secure.
Contacting Shark Customer Support
If your vacuum is still under the limited warranty (typically 5-7 years for the motor, 1-2 years for parts), contact Shark directly. Have your model number and serial number ready. Explain the issue and the steps you’ve already taken (cleaning, inspection). They may offer to send a replacement hose cuff or wand section at no cost if they deem it a warranty defect. Be polite and persistent. If it’s out of warranty, their parts department can still be a source for genuine OEM parts, though at your expense.
Conclusion: Don’t Throw It Away—Fix It
A Shark Professional vacuum hose not staying on is a maddening but almost always repairable problem. The journey from frustration to fix follows a clear path: inspect meticulously, clean religiously, reassemble with proper technique, and replace the worn part if necessary. In the vast majority of cases, the solution is found in the first two steps—a thorough cleaning of debris from the locking groove and tabs. It’s a five-minute job with a huge payoff. By understanding the simple but clever push-twist-lock mechanism, you empower yourself to maintain your vacuum’s performance for years. Before you spend a dime on a new hose or a new vacuum, roll up your sleeves, grab a flashlight and a pick, and give your Shark’s connection the attention it deserves. That satisfying, permanent click you hear after a successful repair? That’s the sound of your cleaning routine getting back on track.
Frequently Asked Questions
Why does my Shark vacuum hose keep popping off even after I click it into place?
This is almost always due to debris packed into the locking groove on the wand or around the tabs on the hose cuff, creating a “false click.” A thorough cleaning of both connection points with a pick and alcohol usually resolves this issue.
How do I know if my hose cuff is broken and needs replacing?
Look closely at the plastic locking tabs inside the hose cuff. If any are cracked, missing, or so worn down they don’t flex inward when pressed, the cuff is faulty. Also, check for any cracks in the plastic housing itself. These are clear signs a new cuff is needed.
Can I use a universal hose cuff for my Shark Professional vacuum?
Yes, many high-quality universal aftermarket hose cuffs are designed to fit multiple Shark models. Carefully check the product description and customer reviews to confirm compatibility with your specific model number before purchasing.
Is it safe to use my Shark if the hose keeps coming off?
It’s not dangerous, but it is inefficient and can be frustrating. The main risk is that the sudden loss of suction can blow dust and debris back into the air you’re breathing. It’s best to fix the problem before continuing regular cleaning sessions.
My vacuum is out of warranty. Is it worth fixing the hose connection?
Almost certainly yes. A replacement hose cuff typically costs between $15 and $30. A new Shark Professional vacuum costs several hundred dollars. Unless the entire hose is shredded or the motor is dead, repairing the connection is the far more economical choice.
What’s the difference between the hose connection on a Shark Professional and a regular Shark?
Shark Professional models (Navigator Lift-Away, Rotator, Vertex) use the robust push-twist-lock mechanism described here. Many entry-level Shark vacuums use a simpler friction-fit or button-release system that does not twist. The locking mechanism is a key feature of the Professional line for enhanced durability and suction security.