Is your Shark Professional Slim Steam Mop not working properly? This is incredibly frustrating, but often the fix is simple and you can do it yourself. Most issues stem from basic maintenance oversights, mineral buildup, or easy-to-reset safety features. Before you panic or call customer service, this guide walks you through the most common reasons your Shark steam mop won’t produce steam, leaks water, overheats, or shuts off unexpectedly. We provide clear, step-by-step solutions to get your trusty cleaning tool back in action.
Key Takeaways
- No Steam? Check Water & Reset: The #1 cause is an empty or improperly filled water tank. Always use fresh, cold distilled water and press the reset button (if equipped) after unplugging for 30 minutes.
- Leaks Come From Seals & Filters: A leaking mop usually means a worn-out silicone seal on the water tank cap or a clogged, saturated foam filter. Replacing these inexpensive parts often solves the problem.
- Overheating Means Blockage: If the mop gets too hot to touch or shuts off, mineral scale is blocking the heating element or steam vents. A thorough descaling with white vinegar is essential.
- Strange Noises Are Normal (Sometimes):strong> A gurgling or pumping sound when first turned on is the system priming. Loud grinding or rattling indicates a failing internal pump, which needs professional repair.
- Error Lights Have Codes: A flashing red light often indicates overheating from a blockage. Consult your manual’s LED guide; a solid red usually means a component failure.
- Prevention Is Best: Using only distilled water, emptying the tank after each use, and performing a monthly descaling routine will prevent 90% of all “not working” issues.
- Warranty First: If your mop is under the limited warranty, contact Shark directly before attempting complex repairs. You may be eligible for a free replacement or covered part.
[FEATURED_IMAGE_PLACEHOLDER]
📑 Table of Contents
- Introduction: When Your Trusty Cleaning Sidekick Goes Silent
- Section 1: The Essential First Steps – Don’t Skip This!
- Section 2: Diagnosing “No Steam” – The Most Common Complaint
- Section 3: Addressing Leaks & Drips – A Wet Problem
- Section 4: Overheating, Shutting Off, and Error Lights
- Section 5: Advanced Issues – Strange Noises and Pump Failure
- Section 6: Maintenance – The Key to Preventing “Not Working”
- Section 7: When to Contact Shark Support & Warranty Info
- Strong Conclusion: Reviving Your Steam Cleaning Power
Introduction: When Your Trusty Cleaning Sidekick Goes Silent
You fill the reservoir, plug in your Shark Professional Slim Steam Mop, press the trigger, and… nothing. No soothing hiss of steam, no warm mist hitting the floor. Just a silent, unresponsive plastic body. That moment of pure frustration is all too familiar for many owners. The immediate thought is often, “It’s broken. I need a new one.” But before you head to the store or click “add to cart” online, take a deep breath. A Shark Professional Slim Steam Mop not working is a common complaint, and the vast majority of the time, the culprit is not a fatal flaw but a simple, fixable issue you can handle in minutes with items you already have at home.
This guide is your definitive troubleshooting companion. We’ll move systematically from the absolute basics (is it plugged in? is there water?) to more complex internal problems. We’ll explain why things go wrong, not just how to fix them, so you can understand your machine and prevent future failures. Think of it as a friendly chat with a repair technician who wants to save you time, money, and hassle. Let’s get your Shark steaming again.
Section 1: The Essential First Steps – Don’t Skip This!
When faced with a Shark Professional Slim Steam Mop not working, panic is the enemy. Rushing to disassemble or force buttons can cause more harm. Always start here, with these foundational checks that solve most problems.
Visual guide about Shark Professional Slim Steam Mop Not Working
Image source: sharkvacuum.blog
1.1. The Power & Plug Check
It sounds absurdly simple, but it happens. Ensure the mop is plugged into a working, grounded outlet. Test the outlet with another device like a lamp. Check the entire length of the power cord for any cuts, frays, or damage. A broken internal wire is a common cause of a completely dead mop. If the cord is damaged, stop using it immediately for safety and contact Shark support.
1.2. The Water Tank: The Heart of the System
The steam mop requires water to function. This is the most frequent oversight.
- Is it empty? Sounds obvious, but check. The tank has a minimum fill line. Never operate below this line.
- What kind of water are you using? This is critical. Always use cold, distilled water. Tap water contains minerals (calcium, magnesium) that build up as limescale inside the heating chamber and steam nozzles. This scale acts as an insulator, preventing the element from heating water efficiently and eventually blocking steam flow. Using tap water guarantees future failure. If you must use tap water, you must descale far more frequently.
- Is the tank seated correctly? Remove the tank and re-seat it firmly into its housing. There is a connector that must align properly for water to flow from the tank to the heating system. A misaligned tank breaks this circuit.
- Check the cap seal: The rubber seal inside the water tank cap can wear out, shrink, or get a piece of debris trapped under it. This prevents a proper vacuum seal, which is necessary for the pump to draw water. Run your finger around the seal; it should be smooth and intact. Clean it gently with a damp cloth.
1.3. The Reset Button: Your Secret Weapon
Many Shark steam mops, including Professional Slim models, have an internal thermal fuse. If the mop overheats (often due to a blockage), this fuse trips and cuts power to the heating element as a safety measure. The mop will appear completely dead—lights off, no sound. The fix is a reset.
- Unplug the mop from the wall outlet.
- Let it sit for at least 30 minutes. This allows the internal components to cool down fully.
- Locate the reset button. It’s typically a small, red button on the back or underside of the mop body, sometimes recessed. You may need a paperclip to press it.
- Press and release the button firmly.
- Re-plug the mop and try again.
If the reset button pops out again immediately after powering on, there is still a serious blockage or component failure causing overheating.
Section 2: Diagnosing “No Steam” – The Most Common Complaint
Your mop powers on, lights are on, the pump might even gurgle, but no steam emerges from the pads. This is the classic symptom. The problem lies somewhere between the water tank and the steam jets. Let’s trace the path.
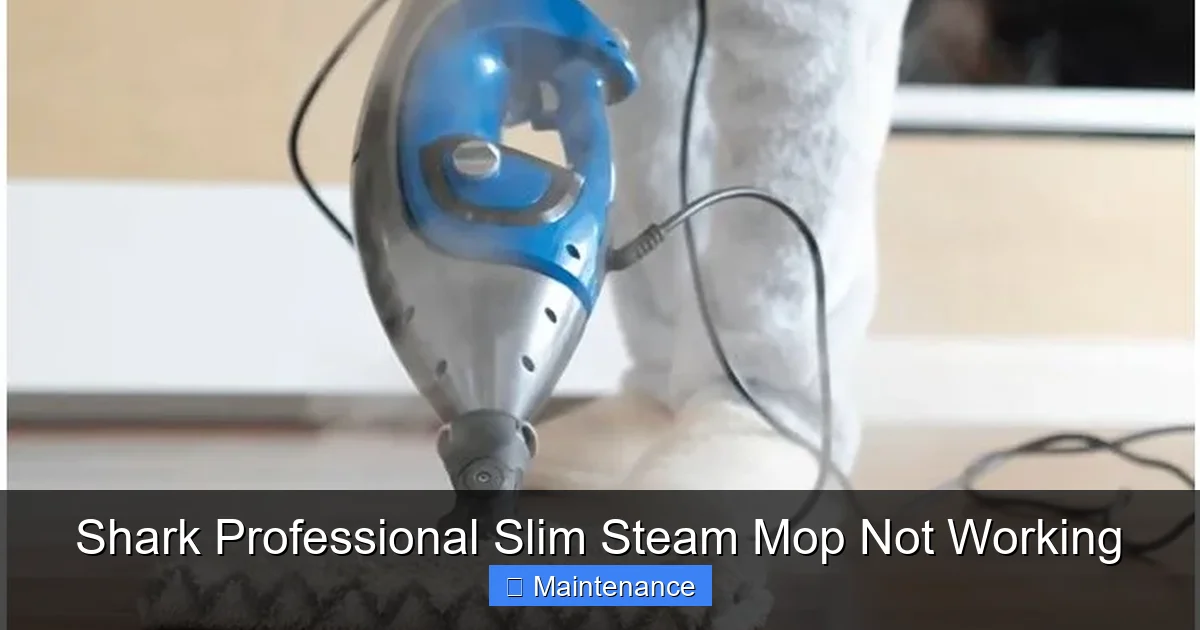
Visual guide about Shark Professional Slim Steam Mop Not Working
Image source: boiltrack.com
2.1. Priming the System: The First 2-3 Minutes
After a reset or after being stored empty, the heating chamber and internal hose may be empty. When you first turn the mop on, you should hear a distinct pumping or gurgling sound for 1-3 minutes as it pulls water from the tank and fills the system. If you hear this sound, be patient. Wait 3-5 minutes before pressing the steam trigger. The water needs to heat up to boiling. If you don’t hear any pumping sound at all, the issue is with the water not being drawn from the tank (check tank seal/connection) or a failed pump motor.
2.2. Clogged Steam Nozzles/Jets
Even with a clear path, the tiny holes on the bottom of the mop head can get clogged with dried-on debris, carpet fibers, or mineral deposits. This is especially true if you used the mop on a very dirty floor or with hard water.
- Solution: With the mop cool and unplugged, turn it upside down. Use a bright light to inspect the steam holes. They should be clear circles. Gently poke through each hole with a straightened paperclip or a wooden toothpick (metal can scratch the surface). Never use a metal pick on the ceramic plates if your model has them. For mineral buildup, soak the mop head in a 50/50 white vinegar and water solution for 30 minutes, then scrub the nozzle area with a soft brush.
2.3. A Saturated, Dirty Foam Filter
Inside the water tank cap assembly is a small, white, cylindrical foam filter. Its job is to catch debris and prevent it from entering the pump. Over time, this filter becomes clogged with gunk and mineral particles, restricting water flow to a trickle or stopping it entirely.
- Solution: Remove the water tank cap. You’ll see the foam filter pushed into a hole. Pry it out gently with a flathead screwdriver or your fingernail. It will be discolored and hard. This filter is not cleanable. It is a consumable part designed to be replaced. Shark sells replacement filter kits (like the “Shark Steam Mop Filter Kit”). Replace it with a new one. This is one of the most common and overlooked fixes for a Shark Professional Slim Steam Mop not working.
2.4. Internal Hose Blockage (The Harder Fix)
The flexible hose that connects the water tank to the heating chamber can also get clogged, usually with a chunk of hardened mineral scale. This requires more disassembly.
- Procedure: You’ll need to remove the mop head and the bottom cover plate (usually held by several screws). This exposes the internal hose. Gently disconnect it from both ends (the tank connector and the heating chamber inlet). Blow compressed air through it or use a flexible bottle brush dipped in vinegar to scrub it out. Reconnect securely. If the hose is brittle or cracked, replace it.
Section 3: Addressing Leaks & Drips – A Wet Problem
Finding a puddle under your steam mop or noticing water dripping from the handle during use is a sign of a failed seal. Water should only exit as steam from the bottom.
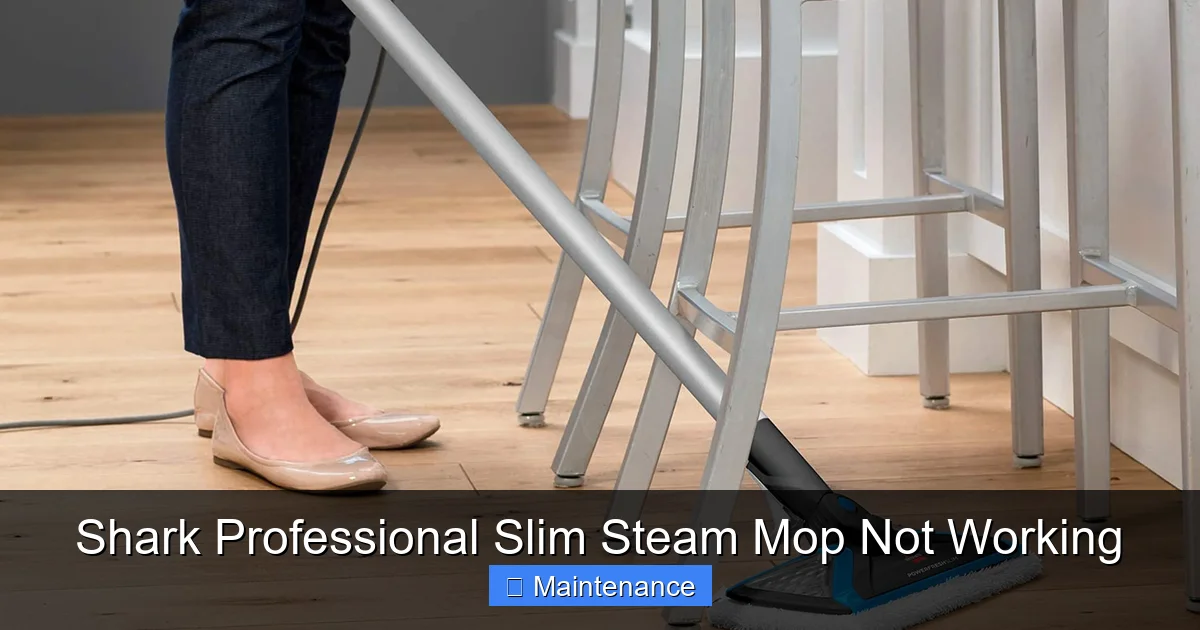
Visual guide about Shark Professional Slim Steam Mop Not Working
Image source: cdn.mos.cms.futurecdn.net
3.1. The Usual Suspect: The Tank Cap Seal
As mentioned, the rubber gasket on the underside of the tank cap creates the vacuum seal. When this seal deteriorates, water can leak out around the cap threads or drip down into the handle and motor housing when you tilt the mop.
- Inspection & Fix: Remove the cap and inspect the seal meticulously. Look for nicks, cracks, flattening, or any debris (a tiny hair can break the seal). Clean the seal and the mating surface on the tank neck with a lint-free cloth. If the seal is damaged, you must replace it. Shark sells the cap assembly with a new seal, or sometimes just the seal itself. This is a cheap and easy fix.
3.2. Worn O-Rings on Internal Connections
There are small O-rings (rubber gaskets) sealing the connections between the internal hose, the pump, and the heating chamber. These can dry out, crack, and leak over time, especially if the mop was stored without being dried out.
- Fix: During your internal hose inspection (Section 2.4), check each connection point where hoses meet metal or plastic fittings. Look for tiny rubber rings. If they are cracked or missing, you need to source replacements. You can often find universal O-ring assortments at hardware stores, but getting the exact size from Shark ensures a proper fit. Apply a tiny dab of food-grade silicone grease to the new O-ring before installing to help it seat and last longer.
3.3. Cracked Water Tank
Less common, but possible. A hairline crack in the plastic tank itself, often from a drop or stress, will cause a constant leak.
- Diagnosis: Fill the tank with water (without attaching it) and look for drips. You can also submerge it in a sink of water and look for bubbles.
- Fix: There is no good repair for a cracked tank. You must replace it. Contact Shark for a replacement part or consider a new mop if it’s out of warranty.
Section 4: Overheating, Shutting Off, and Error Lights
Your mop works for a few minutes, gets very hot, then shuts down. Or a red LED starts flashing. This is the mop’s safety system kicking in, and it’s telling you there’s a serious blockage or a component is failing.
4.1. The Scale Culprit
Limescale buildup is public enemy #1 for steam appliances. It coats the heating element, insulating it and causing it to run much hotter than designed to achieve the same water temperature. The thermal sensor detects this excessive heat and triggers a shutdown. The scale also clogs the tiny steam passages, increasing pressure and temperature.
- The Solution: Descaling. This is not optional maintenance; it is mandatory. Do this every 1-2 months if using distilled water, and monthly if you ever used tap water.
- Descaling Process:
- Ensure the mop is cool and unplugged. Remove the water tank.
- Mix a 1:1 solution of white distilled vinegar and water. Do NOT use commercial descalers unless explicitly approved by Shark, as they can be too harsh.
- Fill the tank with the vinegar solution.
- Plug in the mop, turn it on, and let it run (without pressing the trigger) in a well-ventilated area (like a garage) for 5-10 minutes until you see steam and smell vinegar. The vinegar will circulate through the system, dissolving scale.
- Turn off and unplug. Let it cool completely.
- Dump the vinegar solution. Rinse the tank thoroughly with clean distilled water.
- Repeat the entire process with a tank of clean distilled water to flush out any remaining vinegar taste/smell. Your mop is now descaled.
4.2. Understanding the LED Indicators
Consult your manual’s LED section, as codes can vary slightly by model year. Generally:
- Solid Green: Normal operation, heated and ready.
- Flashing Green: Heating up (normal during warm-up).
- Solid Red: A component failure (likely the pump, thermal fuse, or heating element). This usually requires professional repair or replacement under warranty.
- Flashing Red: Overheating due to a blockage. Perform a full descaling (Section 4.1) and clean all steam jets. Reset the mop (Section 1.3). If it flashes again immediately, the blockage is severe or the thermal sensor is faulty.
Section 5: Advanced Issues – Strange Noises and Pump Failure
Sometimes the problem isn’t “no steam” but a concerning sound or a complete failure of the water pump.
5.1. Normal vs. Abnormal Sounds
- Normal: A steady, rhythmic gurgling or bubbling sound when first turned on (the pump priming). A low hum from the motor.
- Abnormal: A loud, high-pitched grinding, squealing, or constant rattling. This indicates the pump motor’s bearings are failing or internal gears are stripped. The pump may still run but not create enough pressure to push water/steam. This is not a DIY fix for most. The pump assembly needs to be replaced by a technician or under warranty.
5.2. The Pump Motor Itself
The small electric pump is what draws water from the tank and forces it through the heating chamber. If it fails, you get no sound, no water movement, and no steam. You might hear a faint click when you press the trigger (the solenoid activating), but no pump action.
- Diagnosis: This is tricky without a multimeter to test for voltage at the pump. If you’ve ruled out power, water in tank, a clear filter, and a reset hasn’t helped, the pump is the likely candidate.
- Fix: Pump replacement is a common warranty claim. If out of warranty, you can purchase a replacement pump motor assembly from Shark or third-party suppliers, but it requires significant disassembly (removing the handle grips, internal wiring, etc.). Only attempt if you are comfortable with electronics repair.
Section 6: Maintenance – The Key to Preventing “Not Working”
Your Shark Professional Slim Steam Mop is a precision machine. Treating it well guarantees years of service. The opposite is also true: neglect leads to the problems we’ve discussed.
6.1. The Golden Rule: Distilled Water Only
We cannot stress this enough. The $1-2 you save on a gallon of tap water will cost you $50 in parts and hours of labor descaling later. Make distilled water your only water source.
6.2. Post-Use Ritual: Empty, Flush, Dry
After every single use:
- Unplug the mop and let it cool for 10 minutes.
- Empty any remaining water from the tank.
- Wipe the inside of the tank with a dry cloth to remove moisture.
- Store the mop with the tank cap OFF and the mop standing upright. This allows any residual moisture to evaporate completely, preventing mold, mildew, and mineral crystallization inside the tank and cap seal.
6.3. Monthly Deep Clean & Descaling
Even with distilled water, perform the descaling routine (Section 4.1) once a month. While you have it apart, clean the foam filter housing with a cotton swab dipped in vinegar, and wipe down the entire mop with a damp cloth.
6.4. Pad Care
Always use clean, dry or slightly damp pads. Never use fabric softener sheets or dryer sheets, as they leave a waxy coating that clogs steam jets. Wash reusable microfiber pads separately from towels (no fabric softener in the wash or dryer).
Section 7: When to Contact Shark Support & Warranty Info
You’ve tried everything. The mop is clean, descaled, has a new filter and seal, the reset button holds, but it still doesn’t work. Now what?
7.1. Understanding the Warranty
The Shark Professional Slim Steam Mop typically comes with a limited warranty (often 1 year from date of purchase). This covers defects in materials and workmanship. It does NOT cover damage from misuse (like using tap water, dropping the mop, or attempting unauthorized repairs). Have your proof of purchase ready.
3.2. How to Initiate a Claim
- Do NOT disassemble beyond what we’ve outlined. Sealing the unit with security stickers voiding the warranty is a common practice. If you’ve broken those stickers, your claim may be denied.
- Gather your information: Model number (usually on the back/bottom), serial number, and receipt.
- Contact Shark: Use the official customer support portal on sharkclean.com or call their support line. Be prepared to describe the issue in detail and list all the troubleshooting steps you’ve already taken (this shows you’re serious and helps them diagnose).
- They may issue a replacement part (like a new pump or heating element) if it’s a known fix, or they may ask you to ship the entire unit for evaluation/replacement.
7.3. The Cost-Benefit Analysis
If your mop is out of warranty and the required repair is a new pump or heating element, get a quote for the part + labor. Sometimes, the cost approaches 50-70% of a new mop. Given that newer models with improved features are constantly released, purchasing a new Shark Professional Slim Steam Mop might be the more economical and less frustrating choice.
Strong Conclusion: Reviving Your Steam Cleaning Power
A Shark Professional Slim Steam Mop not working is a major inconvenience, but it is rarely a death sentence for the appliance. The journey from frustration to function almost always begins with the basics: ensuring it has the right water, checking the simple seals and filters, and performing a mandatory reset and descaling. The foam filter and tank cap seal are the Achilles’ heels of this machine—consumable parts that wear out and are meant to be replaced. By embracing a strict regimen of distilled water use, post-use drying, and monthly descaling, you are not just fixing a current problem; you are investing in years of future, trouble-free cleaning power.
Remember, your user manual is your best friend. It contains your specific model’s diagrams, part numbers, and LED code guide. Approach the problem methodically, starting from the water source and moving inward. If your efforts are within the warranty period, leverage Shark’s support—it’s why you bought the brand. With patience and the right knowledge, you can troubleshoot your way back to sparkling, sanitized floors without ever leaving your closet.
Frequently Asked Questions
Why is my Shark steam mop not producing any steam?
The most common reason is an empty water tank or using tap water instead of distilled water, causing mineral blockage. First, ensure the tank is filled with cold distilled water and properly seated. If that doesn’t work, check for a clogged foam filter inside the tank cap or blocked steam jets on the mop head. A system reset after a 30-minute unplug period also solves many issues.
How do I fix a Shark steam mop that is leaking water?
Leaks are usually caused by a worn rubber seal on the water tank cap or a saturated foam filter. Remove the tank cap, inspect and clean the seal, and replace the foam filter if it’s hard or discolored. Also, check for small O-rings on internal hose connections that may have dried out and cracked during disassembly for cleaning.
My Shark steam mop gets very hot and shuts off. What’s wrong?
This is an overheating safety shutdown, almost always due to limescale buildup from using tap water. The scale insulates the heating element. You must perform a thorough descaling using a 1:1 white vinegar and water solution, run the mop to circulate it, then flush twice with fresh distilled water. Ensure all steam jets are clear afterward.
What does a flashing red light on my Shark steam mop mean?
A flashing red light typically indicates the mop has overheated due to a blockage in the steam system. Immediately unplug it, let it cool for 30 minutes, perform a full descaling with vinegar, clean all steam jets, and then try the reset button. If the light flashes again right away, there may be a failed thermal sensor or severe internal blockage.
My Shark steam mop makes a loud grinding noise. Is it broken?
A loud grinding, squealing, or rattling noise (not the normal gurgling pump sound) usually means the internal water pump motor is failing. The pump bearings are worn out or gears are stripped. This is not a typical DIY repair and often requires a pump replacement assembly, which may be covered under warranty.
How often should I descale my Shark Professional Slim Steam Mop?
If you always use 100% distilled water, descale every 1-2 months. If you have ever used tap water, even once, you should descale monthly. Regular descaling prevents the mineral scale that causes overheating, loss of steam, and permanent damage to the heating element and internal passages. Make it part of your monthly cleaning routine.