If your Shark Navigator Freestyle vacuum won’t turn on or off, the issue is almost always related to power delivery—not a fatal flaw. The most common culprits are a depleted or faulty battery, a jammed or dirty power button, or a tripped internal thermal fuse. Start by performing a full reset: remove the battery, unplug the charger, and let everything sit for 30 minutes. Reinsert the battery, ensure it clicks into place, and plug the charger directly into a working wall outlet. If problems persist, systematically check the battery contacts, clean the power button, and inspect for clogs that might cause overheating. Most power failures are resolved with these simple, at-home maintenance steps, saving you from costly replacements or repairs.
You charge it overnight. The light on the charger glows a reassuring green. You press the power button with confidence, ready to tackle the living room. And… nothing. The Shark Navigator Freestyle, your trusty cordless companion, sits dead in its dock. Or worse, it’s running and then suddenly dies, or the button feels stuck and won’t click. The frustration is real. This isn’t just an inconvenience; it’s a disruption to your cleaning routine. But before you resign yourself to a expensive repair bill or the sad landfill, take a deep breath. The phrase “Shark Navigator Freestyle will not turn on or off” is one of the most common troubleshooting queries for this popular vacuum, and the vast majority of the time, the solution is simpler and more accessible than you think. This guide will walk you through every possible cause, from the dead-simple to the slightly more complex, empowering you to diagnose and fix the problem yourself. We’ll speak in plain language, no engineering degree required.
Key Takeaways
- Battery First: A completely dead, aged, or poorly connected battery is the #1 reason a Navigator Freestyle won’t power up. Always start troubleshooting here.
- The Hard Reset is Key: A full system reset—removing the battery and unplugging the charger for 30+ minutes—clears error codes and resets the internal safety fuse, solving many “bricked” units.
- Clean the Button: Dust, hair, and debris can physically jam the power button or interfere with its electrical connection. Regular cleaning prevents this common failure.
- Check for Overheat Protection: A clogged filter, full dustbin, or blocked airflow can trigger a thermal fuse, shutting the vacuum down permanently until it cools and is reset.
- Inspect Physical Damage: Look for cracks in the battery housing, bent contacts, or damage to the charging port. Physical trauma often disrupts the power circuit.
- Charger Health Matters: A faulty or incorrect charger (wrong voltage/amperage) won’t replenish the battery. Test with a known-good charger if possible.
- Warranty is Your Friend: If your Navigator Freestyle is still under Shark’s limited warranty (typically 5 years for the motor, 1-2 years for battery/parts), contact Shark support before attempting complex repairs.
📑 Table of Contents
- Understanding Your Shark Navigator Freestyle: A Power Primer
- Most Common Culprits: A Step-by-Step Diagnostic
- Hidden Threats: Clogs, Filters, and the Thermal Fuse
- Charger & Port Problems: The Invisible Culprit
- When All Else Fails: Internal Components & Professional Help
- Prevention: Keeping Your Freestyle Freely Functional
Understanding Your Shark Navigator Freestyle: A Power Primer
To fix a problem, you first need to understand the system. Your Shark Navigator Freestyle is a marvel of portable engineering, but its power architecture is straightforward. Think of it like a simple circuit: Battery provides power, the switch (button) controls the flow, and the motor uses that power to spin the brush roll and fan. Between these components are safety devices, most notably a thermal fuse that acts as a emergency shut-off if the motor gets too hot from blocked airflow. The charger’s job is to refill the battery’s “tank.” When your vacuum won’t turn on, the break in this chain can be anywhere. Your mission is to find where the chain is broken. The good news? The most frequent break points are the battery and the button—both user-serviceable items.
The Battery: The Heart of the Matter
The lithium-ion battery pack is the lifeblood of your Freestyle. Unlike a corded vacuum that draws power from the wall, your cordless Shark is entirely dependent on the health and charge of this single component. These batteries degrade over time. A typical lithium-ion battery will hold about 80% of its original capacity after 300-500 full charge cycles. After a few years of regular use, its ability to deliver the high voltage the motor needs can diminish to the point where the vacuum’s internal logic thinks the charge is too low to safely operate, and it simply refuses to start. Furthermore, the battery must be seated correctly. There are metal contact pins on both the battery and the vacuum’s body. If these are dirty, bent, or not making full contact, it’s like having a dead car battery with corroded terminals—the engine (motor) will never catch.
The Power Button: Your Point of Contact
The large, often rubberized power button on the handle is your direct interface. It’s also a point of failure. Constant pressing, exposure to dust, hair, and debris, and general wear can cause a few specific issues. The button mechanism itself can become physically jammed with gunk. The tiny internal microswitch beneath the rubber cover can fail. Or, the electrical contacts that connect the button’s circuit to the main PCB (Printed Circuit Board) can become loose or dirty. A button that feels “mushy” or doesn’t click with a distinct tactile response is a major red flag.
Most Common Culprits: A Step-by-Step Diagnostic
Let’s get systematic. Don’t just start taking things apart. Follow this logical progression from the easiest, highest-probability fix to the more involved. You’ll likely solve the problem in the first three steps.
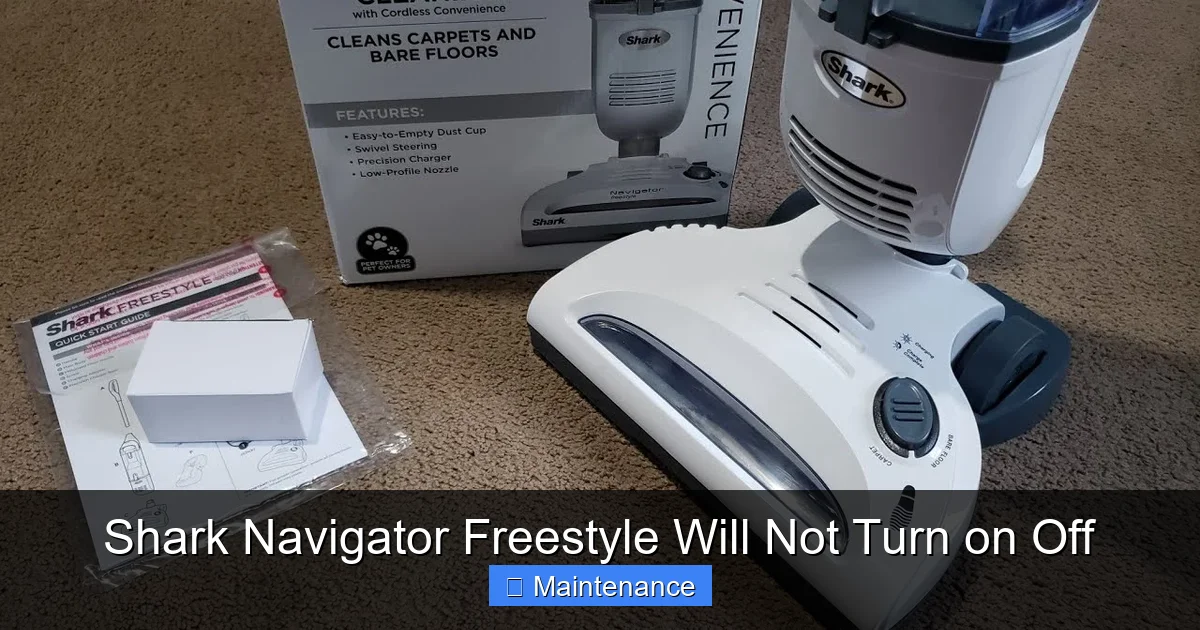
Visual guide about Shark Navigator Freestyle Will Not Turn on Off
Image source: i.ytimg.com
Step 1: The Ultimate Reset – Your First and Best Move
This is the golden rule for any “bricked” electronics, and your Shark Navigator Freestyle is no exception. The vacuum has a built-in microcontroller that can enter a locked state due to a voltage irregularity, a sensor error, or a tripped thermal protection circuit. A simple power cycle (turning it off and on) won’t clear this. You need a deep reset.
- Remove the battery pack. Press the release tab and take the battery completely out of the vacuum body.
- Unplug the charger. Disconnect it from both the wall and the vacuum.
- Wait. Let everything sit disconnected for a full 30 minutes. This ensures all residual power drains from the capacitors on the mainboard, fully resetting the system.
- Reassemble and test. Firmly click the battery back into its slot. Plug the charger directly into a known-good wall outlet (not a power strip). Let it charge for at least 15 minutes before trying to turn it on. The LED should illuminate. Attempt to power it on, both on and off the charger.
This single step resolves a huge percentage of “won’t turn on” cases, especially if the vacuum died mid-use or after being stored for a while.
Step 2: The Battery Deep Dive
If the reset didn’t work, the battery is now the prime suspect.
- Visual Inspection: Look at the battery pack. Is it swollen, bulging, or deformed? Stop immediately. A swollen lithium-ion battery is a safety hazard. Do not charge it or use the vacuum. Dispose of the battery properly at a hazardous waste facility and purchase a new Shark-approved battery.
- Check the Contacts: Use a dry, clean microfiber cloth. Look at the metal pins on both the battery and inside the vacuum’s battery compartment. Are they shiny and clean? Or are they tarnished, dirty, or have a white/green crusty residue (corrosion)? Gently wipe them with the cloth. For stubborn grime, use a cotton swab dipped in a tiny amount of isopropyl alcohol (90%+), let it dry completely, and try again.
- Test the Charge: Does the charger light come on when plugged into the wall? Does it change color (e.g., red to green) when you plug the vacuum in? If the charger has no light, the charger may be dead. If it has a light but the vacuum’s battery indicator (if it has one) doesn’t light up, the issue is likely in the battery or its connection.
- The “Good Battery” Test: This is the definitive test. If you have access to another fully charged, compatible Shark Navigator Freestyle battery (from a friend, neighbor, or purchased), swap it into your vacuum. If the vacuum turns on with the known-good battery, your original battery is dead and needs replacement. If it still doesn’t turn on, the problem lies elsewhere in the vacuum’s body.
Step 3: The Power Button & Switch Investigation
If a known-good battery doesn’t bring your vacuum to life, the power delivery circuit is the next focus, starting with the button itself.
- Clean Thoroughly: Use a can of compressed air to blow out any dust, hair, or debris from around and under the edges of the power button. Press the button repeatedly while blowing to dislodge particles. You can also use a dry toothbrush to scrub the crevices.
- Check for Physical Jam: Press the button from different angles. Does it feel stiff in one direction? Is it stuck down slightly? Gently pry up the edge of the rubber button cover with a plastic spudger or fingernail (be careful not to tear it). Look underneath for any obvious debris or damage to the plastic cap.
- Listen for the Click: When you press the button, you should hear and feel a distinct, crisp click. A mushy or silent press means the internal microswitch is likely worn out or broken. This requires disassembly to replace.
Hidden Threats: Clogs, Filters, and the Thermal Fuse
Your Shark Navigator Freestyle has a brilliant safety feature: it will shut itself off to prevent motor burnout if it gets too hot. This is triggered by a thermal fuse, a one-time use (or sometimes resettable) component that breaks the circuit when a specific temperature is exceeded. The most common cause of overheating is severely restricted airflow.
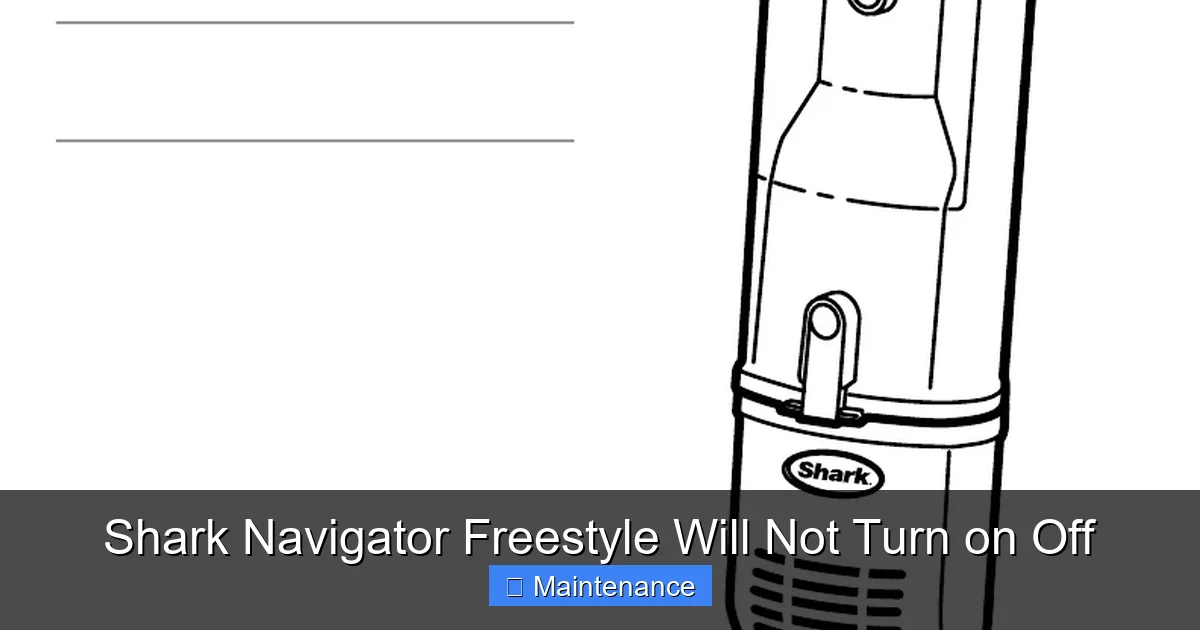
Visual guide about Shark Navigator Freestyle Will Not Turn on Off
Image source: manua.ls
The Airflow Pathway: A Chain Reaction
Air must flow freely from the intake (under the brush roll) through the dustbin, through the filter, and out the exhaust. A blockage anywhere in this chain makes the motor work harder, generating more heat.
- Brush Roll: Hair, string, and carpet fibers wrap around the brush roll bearings, creating drag. Remove the brush roll (there’s usually a release lever) and clean it meticulously. Use a seam ripper or scissors to cut away wrapped hair.
- Dustbin & Intake: Empty the dustbin completely. Check the rubber one-way valve flap at the top of the bin—make sure it’s not stuck open or closed with debris. Look into the hole where the bin connects to the vacuum body; clear any visible clogs.
- Filters: This is critical. Your Freestyle has at least one foam pre-motor filter and often a pleated post-motor filter. If these are clogged with dust and dirt, no air can pass. Remove them. The foam filter is washable with mild soap and water—rinse thoroughly and let it air dry for 24+ hours before reinserting. The pleated filter is usually not washable; tap it out gently over a trash can. If it’s gray and clogged, it needs replacement. A clogged filter is a leading cause of thermal shutdown.
Identifying a Tripped Thermal Fuse
If you’ve cleared all clogs, cleaned all filters, and the vacuum still won’t turn on after a reset, the thermal fuse may have permanently blown. This is a small, usually silver or white component on the main circuit board. Diagnosing it requires a multimeter to test for continuity. If you’re not comfortable with this, it’s a sign to call Shark support or a professional. Replacing the fuse is a soldering job for advanced users. Importantly, if the fuse blew, you must find and fix the original cause of overheating (the clog) before replacing it, or the new fuse will blow immediately.
Charger & Port Problems: The Invisible Culprit
We often blame the vacuum, but sometimes the charger or its connection is the issue.
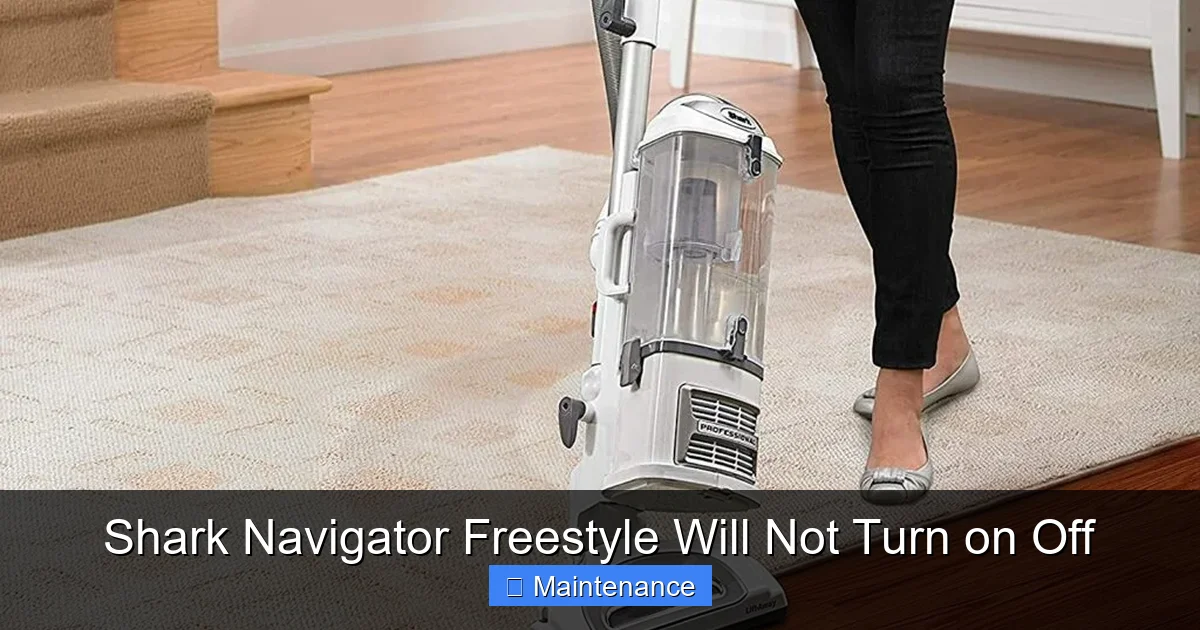
Visual guide about Shark Navigator Freestyle Will Not Turn on Off
Image source: smartvacguide.com
- Test the Outlet: Plug another device, like a phone charger, into the same wall outlet to confirm it’s working.
- Inspect the Charger: Look for frayed cables, bent prongs, or damage to the charging pin that plugs into the vacuum. The pin must be straight and undamaged to make proper contact with the socket on the vacuum.
- Clean the Charging Port: The socket on the vacuum body where the charger plugs in can collect lint, dust, and debris. Use a wooden toothpick or plastic dental pick to gently scoop out any accumulation. Do not use metal, as it can scratch contacts or cause a short.
- Voltage Mismatch: Ensure you are using the exact charger model that came with your Navigator Freestyle. Using a different Shark charger or a universal charger with incorrect voltage/amperage can damage the battery and motherboard over time, leading to power failures.
When All Else Fails: Internal Components & Professional Help
You’ve reset, cleaned, inspected, tested with a good battery, cleared all clogs, and verified the charger. The vacuum remains dead. The issue now likely lies within the vacuum’s internal electronics.
The Main PCB (Circuit Board)
This is the vacuum’s brain. A failed component like a capacitor, a burned trace, or a loose connection on the board can stop all power. Visible signs include burn marks, swollen capacitors, or a burnt smell. Replacing or repairing a PCB is complex and usually not cost-effective for a vacuum in this price range, unless it’s under warranty.
The Motor Itself
A motor that has seized due to wear, debris, or water damage can draw excessive current, tripping protection circuits or blowing fuses immediately upon attempted start. A seized motor will feel very stiff when you try to manually rotate the brush roll belt (if accessible). Motor replacement is a major repair.
Warranty and Professional Repair
This is the moment to check your purchase date and warranty status. Shark typically offers a lifetime warranty on the motor (with proof of purchase) and a 1-2 year limited warranty on parts and battery. Contact Shark Customer Support. They may offer a replacement part, a discounted refurbished unit, or a repair at an authorized service center. Do not attempt to open the main body and tamper with sealed components if your unit is under warranty, as this will void it. For out-of-warranty units, weigh the cost of a professional repair (often $80-$150+) against the price of a new vacuum. Given the Navigator Freestyle’s position in the mid-range market, replacement is frequently the more economical choice.
Prevention: Keeping Your Freestyle Freely Functional
An ounce of prevention is worth a pound of cure. Incorporate these habits to avoid the “won’t turn on” nightmare.
- Charge Smart: Avoid letting the battery die completely. Recharge it when you see the low-battery indicator. Store it with a partial charge (around 50%) if you won’t use it for a month or more.
- Clean After Every Use: Get in the habit of tapping out the dustbin, removing hair from the brush roll, and checking the intake for blockages after each cleaning session. A 2-minute post-clean routine prevents 90% of clogs.
- Wash Filters Regularly: The foam filter should be washed every 3-4 uses under normal conditions, or more frequently if you have pets or allergies. Never reinsert a damp filter. Let it air dry completely for 24 hours.
- Protect the Button: When emptying the dustbin over a trash can, be mindful not to bang the vacuum’s handle, which can jar the power button mechanism.
- Use the Right Charger: Keep your original charger in good condition. Don’t wrap the cable too tightly around the charger brick. Store it in a way that prevents the pin from getting bent.
Your Shark Navigator Freestyle is a workhorse designed for years of reliable service. When it refuses to turn on, the culprit is almost always a power delivery issue you can address. Start with the definitive 30-minute hard reset. Then, methodically work through the battery, button, and airflow clogs. By understanding the simple circuit that powers your vacuum, you transform from a frustrated user into an empowered problem-solver. In most cases, you’ll have your cordless freedom back in under an hour, with no money spent. If the problem persists after exhausting these steps, it’s a signal that an internal component has failed, and at that point, leveraging your warranty or considering a replacement becomes the most sensible path forward. Don’t give up on your Freestyle too quickly—a little targeted maintenance often brings it roaring back to life.
Frequently Asked Questions
My Shark Navigator Freestyle charges but still won’t turn on. What gives?
This is a classic sign of a faulty battery that can no longer hold a charge or deliver sufficient voltage, even if the charger light indicates it’s “full.” The battery’s cells have degraded. The next step is to try a known-good, compatible battery. If that works, you need a new battery.
The power button feels sticky and doesn’t click. Can I fix this?
Yes, often. The most common cause is debris under the rubber button cap. Use compressed air to blast around the button edges and press it repeatedly. If that fails, you may need to carefully pry off the rubber cap to clean underneath or replace the internal microswitch, which requires some disassembly skill.
How do I know if the thermal fuse is blown?
After ensuring all filters are clean, the dustbin is empty, and the brush roll spins freely, perform the 30-minute hard reset. If the vacuum still won’t turn on, the fuse may be blown. Diagnosis requires removing the main body cover and using a multimeter to check for continuity on the small, silver fuse component on the PCB. A lack of continuity means it’s blown.
Is it worth replacing the battery on an older Navigator Freestyle?
Consider the age of your vacuum. If it’s 4+ years old and the motor is still strong, a new battery (~$40-$70) is a great investment to extend its life. If the vacuum has other issues (cracks, motor noise) or is under 2 years old, definitely contact Shark warranty support first for a potential free replacement.
My vacuum turns on but immediately shuts off. Why?
This is almost always a thermal protection issue. The vacuum detects a blockage or overheating and shuts down to prevent damage. Immediately clear the brush roll of hair, empty the dustbin completely, and wash the pre-motor foam filter. Let the vacuum cool in a shaded area for an hour, then try again.
Can water damage cause the “won’t turn on” problem?
Absolutely. If liquid enters the battery compartment or main electronics, it can short circuits and corrode contacts. If this happens, remove the battery immediately. Dry the vacuum thoroughly with a fan for 48+ hours. Do not attempt to charge or turn it on until you are certain it is completely dry. Corrosion may require professional cleaning or component replacement.