A Shark Rocket vacuum with a dust cap that isn’t filling is almost always suffering from a clog or an assembly issue, not a motor failure. This problem drastically reduces suction because the primary air pathway is blocked. The solution typically involves a systematic disassembly, thorough cleaning of the dust cup, its internal channels, and the upper hose connection. This guide provides a detailed, model-agnostic process to diagnose and fix this specific problem, saving you from costly service calls.
Key Takeaways
- Understanding Shark Rocket Vacuum Problem Dust Cap Not Filling: Provides essential knowledge
📑 Table of Contents
Understanding the “Dust Cap Not Filling” Symptom
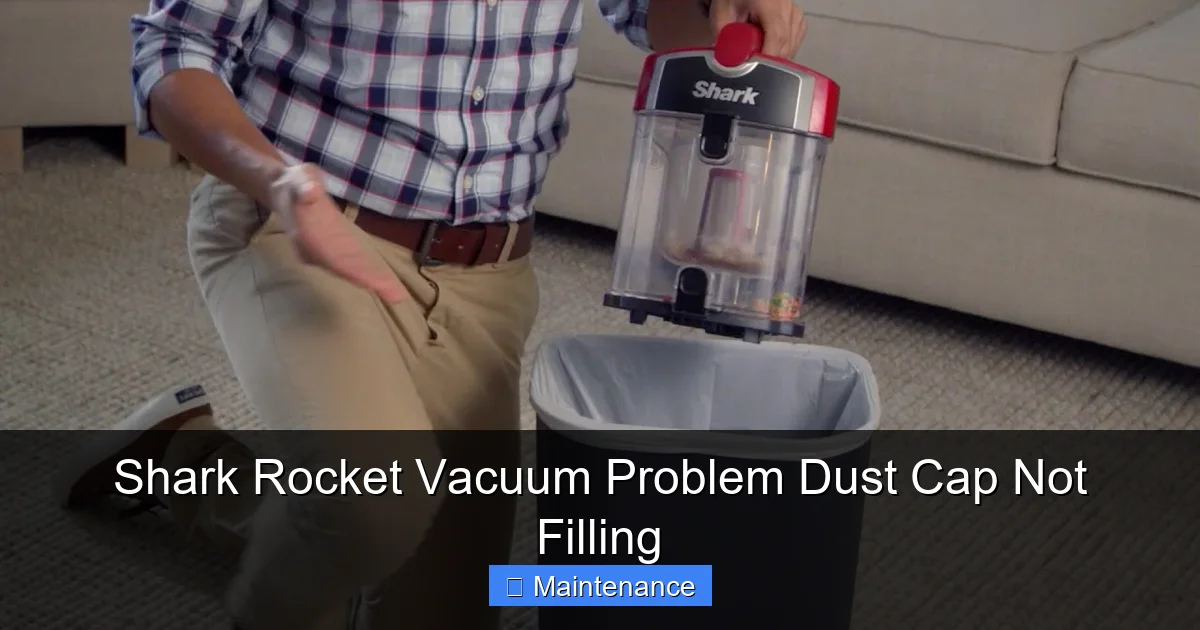
You’re vacuuming, and something feels off. You glance down, and instead of the familiar sight of debris swirling into the clear dust cup, it’s barely collecting anything. The cup remains mostly empty, even though you’re clearly picking up dirt from the floor. This is the classic “Shark Rocket Vacuum Problem Dust Cap Not Filling.” It’s incredibly frustrating because the motor is running, you hear the suction at the floor nozzle, but the collection system is essentially offline. This isn’t a minor drop in performance; it’s a fundamental breakdown in the vacuum’s ability to transport debris from your floor to the bin.
The term “dust cap” here refers to the clear, usually cylindrical or rectangular, container that snaps onto the front of your Shark Rocket. Its primary job is to act as a collection chamber and a visual indicator. When it’s not filling, it means the airflow – the river of air that carries dirt – is being dammed up somewhere between the floor nozzle and the dust cup’s entrance. Think of it like a drinking straw with a kink in it; you can suck all you want, but no liquid (or in this case, debris) is moving. The rest of this guide will walk you through becoming a detective and a plumber for your vacuum, finding that kink and clearing it.
The Most Common Culprits: Clogs and Misassembly
Before you start taking things apart, it’s helpful to understand what you’re looking for. In over 90% of these cases, the problem is one of two things: a physical clog or an incorrect assembly. The Shark Rocket’s design is brilliant for efficiency but creates a few specific nooks and crannies where hair, carpet fibers, and fine dust can compact into a solid plug.
Visual guide about Shark Rocket Vacuum Problem Dust Cap Not Filling
Image source: i.ytimg.com
The Usual Suspects: Where Clogs Hide
The most frequent clog locations form a direct line from the floor to the dust cup. First, check the upholstery tool or crevice tool if you’re using one. These narrow tools are clog magnets. Second, inspect the main suction hose. This is the flexible, usually gray or black, hose that connects your wand or power nozzle to the back of the dust cup. Run your fingers along its entire length, feeling for soft, spongy spots that indicate a dense clog inside. Third, and most critical, is the dust cup inlet port. This is the large opening on the back of the dust cup where the hose plugs in. A wad of hair and carpet lint can form right at this junction, perfectly sealing the entrance. Finally, inside the dust cup itself, there’s a curved internal channel on the lid and a rubber flapper valve that can get jammed open or shut by debris, completely bypassing the collection bin.
The Silent Killer: Improper Seating
Sometimes, the vacuum is perfectly clean, but it still won’t fill the cup. Why? Because the dust cup isn’t sealed correctly to the main body. There are typically two seals: one where the cup clicks onto the motor housing, and one where the cup’s lid locks. If either is not fully engaged, you’ll hear a loud rushing of air at the leak point, and all suction power is diverted. You might even feel strong suction at the hose end but none at the floor nozzle because the air is taking the path of least resistance through the unsealed gap.
Step-by-Step Diagnostic & Clearing Process
Now, let’s get our hands dirty. This process is designed to be methodical, ensuring you check every possible point of failure. Always ensure the vacuum is unplugged from the wall outlet before beginning any disassembly.
Visual guide about Shark Rocket Vacuum Problem Dust Cap Not Filling
Image source: sharkvacuum.blog
Step 1: Isolate the Problem
First, verify the issue isn’t with a specific attachment. Detach the main hose/wand from the dust cup. Now, take your bare Shark Rocket motor body (with dust cup still attached) and place the dust cup inlet directly against a hard floor or a piece of cardboard. Turn the vacuum on. If you feel strong suction at your hand over the inlet, the motor and internal pathways are fine. The problem is downstream – in the hose or wand. If you feel weak or no suction even at the dust cup inlet, the clog is upstream – inside the dust cup assembly or the connection to the motor body. This simple test saves you from unnecessary disassembly.
Step 2: Full Disassembly of the Dust Cup System
This is the most important step. You must separate the entire dust cup assembly from the vacuum.
- Release the Dust Cup: Locate the release button or latch on the back of the dust cup (where it meets the motor housing). Press and hold it, then pull the dust cup straight down and off. You should now have the main vacuum body in one hand and the dust cup (with lid and hose connector) in the other.
- Separate the Lid: Most Shark Rocket dust cups have a twist-lock or clip-on lid. Find the locking mechanism (often a rotating ring or a pair of clips). Release it and lift the lid straight off. You will now see the internal funnel and the rubber flapper valve.
- Detach the Suction Hose: At the back of the dust cup, there is a connector where the main hose attaches. This usually has a twist-lock or a push-button release. Disconnect the hose completely from the dust cup. You now have three separate pieces: 1) the main vacuum body, 2) the empty dust cup body, and 3) the hose/wand assembly.
Step 3: The Deep Clean
Now, clean each piece meticulously.
- The Dust Cup Body: Take it to a trash can or outside. Use a long, thin tool like a straightened coat hanger, a long bottle brush, or even the handle of a long spoon. Carefully insert it into the inlet port (the large hole where the hose was) and probe gently in a circular motion. You’ll often feel and then dislodge a felt-like plug of hair and dust. Push it out into the trash. Wash the dust cup with warm, soapy water. Ensure the small air exhaust port (usually on the side or top) is clear. Let it dry COMPLETELY before reassembly.
- The Dust Cup Lid & Internal Channel: With the lid off, you’ll see a curved plastic funnel leading to the flapper valve. This is a prime clog spot. Use your thin tool to scrape and clean this entire curved path. Check the rubber flapper valve itself. It should move freely up and down. If it’s stiff, sticky, or clogged with debris, clean it with a damp cloth. A stuck flapper valve will not allow air (and debris) to enter the cup.
- The Suction Hose/Wand: This is critical. Feed your cleaning tool from one end of the hose to the other. Start at the end that connects to the dust cup and push through to the floor nozzle end. You may need to do this from both directions. For stubborn clogs, you can try using a garden hose with low water pressure fed through the vacuum hose (with the vacuum body disconnected!) to blast the clog out. Ensure both ends of the hose are completely clear.
- The Main Vacuum Body Inlet: Look into the hole on the main vacuum body where the dust cup originally clicked on. Use a flashlight. Ensure there is no debris blocking the opening at the bottom of this chamber.
Step 4: Reassembly and Test
Reassembly is just as important as cleaning. Do it in reverse order, but with these checks:
- First, ensure the dust cup lid is securely locked. Give it a gentle tug; it should not come off.
- Next, attach the clean, dry dust cup to the main body. You should hear a definitive, firm click. Ensure it’s seated flush all the way around.
- Finally, connect the suction hose to the dust cup. Ensure the twist-lock is tight or the push-button is fully engaged.
- Now, perform your test from Step 1 again. Place the dust cup inlet against the floor and turn on the vacuum. You should feel immediate, powerful suction. If it’s strong here, attach your wand/nozzle and test on a small patch of floor. The dust cup should begin filling within seconds.
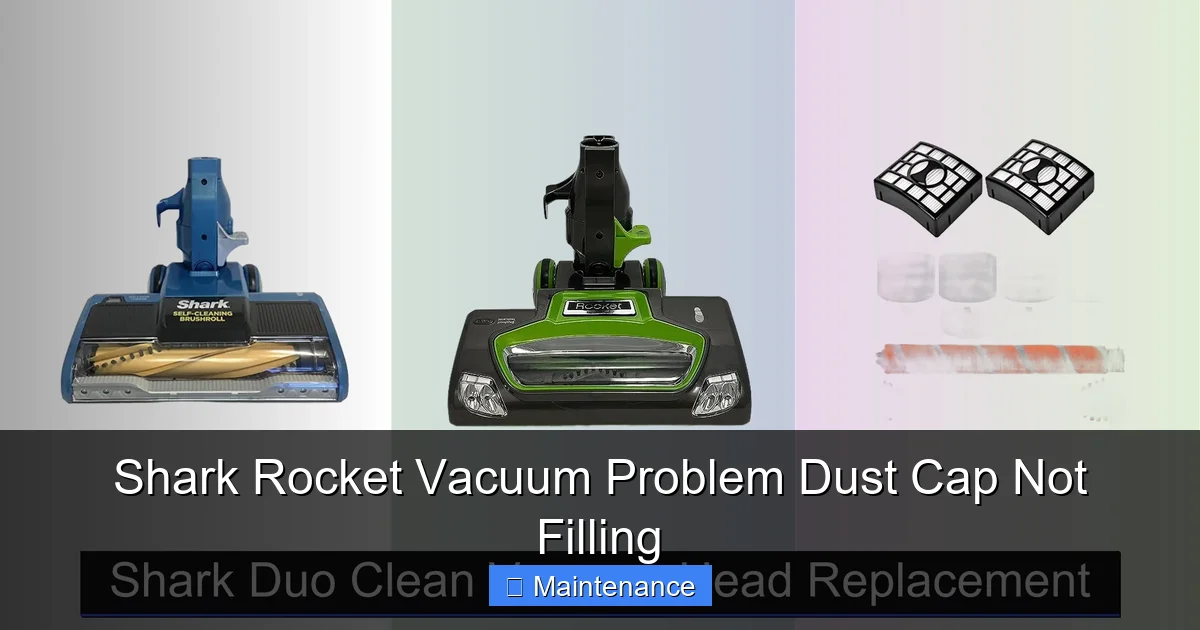
Model-Specific Considerations: HV300 vs. HV500 Series
While the fundamental engineering is identical, the clip and latch mechanisms differ slightly between Shark Rocket model families. Knowing your series helps avoid frustration.

Visual guide about Shark Rocket Vacuum Problem Dust Cap Not Filling
Image source: m.media-amazon.com
The Older HV300/ HV301 Style
These models (often with a more rectangular dust cup) typically use a large, easy-to-press silver release button on the back of the cup to detach it from the motor body. The lid usually has a rotating plastic ring at the base that you twist counter-clockwise to unlock. The hose connector has a push-button tab you press while pulling the hose off.
The Newer HV500/ HV381 Style
These models (often with a more cylindrical or tapered dust cup) frequently use a foot pedal release. You step on a small pedal on the back of the cup to release it from the body. The lid often has two side clips you squeeze to release. The hose connection is usually a twist-lock; you turn the hose connector collar counter-clockwise to unlock it. Always consult your specific model’s user manual (available online by model number) for exact disassembly instructions if you are unsure.
Preventive Maintenance: Keeping the Problem Away
Fixing a clog is satisfying, but preventing it is better. Adopt these simple habits.
Empty Before It’s Full
This is the number one rule. Don’t wait until the dust cup is packed to the brim. Empty it when it’s about half to two-thirds full. A nearly full cup has less internal air volume, which increases airflow velocity and can force debris into the narrow inlet port and internal channels, where it compacts.
Mind What You Vacuum
Your Shark Rocket is a powerful suction tool, not a shredder. Avoid vacuuming:
- Large, bulky items: Paperclips, coins, small toys, or large wads of hair can immediately block the inlet or travel into the hose.
- Wet materials or sticky spills: Unless you have a specifically designed wet/dry model, moisture will soak dust into a solid, concrete-like clog that is nearly impossible to remove.
- Very fine construction dust: Drywall dust, concrete powder, and fine sawdust can pack densely and bypass the dust cup entirely, coating internal components. Sweep this up first.
Regular Quick-Cleans
Every few uses, do a 60-second inspection. Tap the dust cup firmly over a trash can to dislodge any debris packed around the inlet port. Visually check the hose for any visible obstructions. Wipe the rubber flapper valve with a dry cloth. This tiny habit prevents the slow, cumulative buildup that leads to major clogs.
When to Seek Professional Help or Consider Replacement
While most clogs are user-fixable, there are rare scenarios where professional intervention is needed.
Signs of a Bigger Problem
If you have disassembled, cleaned, and reassembled the entire dust cup and hose system perfectly, and the dust cup still will not fill, the issue may be elsewhere. Listen closely: do you hear a high-pitched whine or squeal? This can indicate a failing motor bearing. Is the suction weak everywhere, even at the motor body inlet? This could point to a severely clogged or failed internal filter (the foam filter post-motor) or, in extreme cases, a motor that has lost its pumping capacity. These are less common but possible.
Cost vs. Benefit Analysis
Shark Rocket vacuums are in the mid-price range. If your unit is older (5+ years) and has required multiple clog-related repairs, it might be reaching the end of its practical life. The cost of a professional diagnostic fee plus repair might approach the price of a new, current-model Shark Rocket, which would come with a new warranty and improved features. Weigh the cost of your time, potential repair parts, and the vacuum’s age against the investment in a new machine.
Frequently Asked Questions
Why is my Shark Rocket vacuum running but not picking up dirt into the dust cup?
The most common reason is a complete clog in the air pathway, typically at the dust cup’s inlet port or within the main suction hose. A less common reason is that the dust cup or its lid is not properly sealed to the motor body, causing all suction to leak out.
How do I know if the clog is in the hose or inside the dust cup?
Disconnect the hose from the dust cup. Place the open dust cup inlet port directly against a hard floor and turn the vacuum on. If you feel strong suction at the cup, the clog is in the detached hose or wand. If suction is weak at the cup itself, the clog is inside the dust cup assembly or its connection to the main body.
Is the rubber flapper valve inside the dust cup important for filling?
Yes, extremely. The flapper valve is a one-way door that allows debris and air into the cup but prevents it from blowing back out. If this valve is stuck closed by debris or gunk, the dust cup will seal shut and never fill. Always check that it moves freely during your cleaning.
My Shark Rocket model has a different release button. How do I find the right disassembly guide?
>Locate your exact model number (usually on a sticker on the back or bottom of the motor body). Search online for “[Your Model Number] user manual” or “[Your Model Number] how to clean dust cup.” Shark’s official website and YouTube have excellent model-specific video tutorials.
Can I wash the foam filter inside the motor housing to fix this problem?
While a clogged post-motor foam filter can reduce overall suction, it does not typically cause the specific “dust cap not filling” symptom. That symptom is caused by a blockage *before* the air reaches the motor and filter. However, you should still clean this filter regularly (every 3 months) as part of good maintenance, following the manual’s instructions to let it dry completely for 24 hours before reuse.
What if I’ve cleaned everything and the problem persists?
If all clogs are cleared and the dust cup is perfectly sealed but still not filling, the issue may be a severely clogged or failed internal filter (between the dust cup and motor) or, rarely, a motor that has lost suction power. At this point, contacting Shark Customer Support or a qualified small appliance repair shop for a diagnosis is the recommended next step.